
I decided the first thing I would make would be a side table of some description. This was mainly due to having an existing cheap and knackered side table which had some perfectly serviceable legs.
This side table would serve mainly as a learning opportunity to encounter a number of the skills that are required to take a pallet from the side of the road to a functional piece of furniture. I did not really have a plan and decided to let my gut decide how to approach each step. It doesn’t normally let me down, if it feels right then it probably is….probably.
I’ve retrospectively broken the various parts down into steps in the rough order that I did them. Some of them overlapped of-course but it seemed to make more sense to group them together as steps (FYI This is not a guide by any stretch of imagination!)
Step 0: Find pallets and dismantle, I had covered this in a previous post: https://woodenduck.co.uk/2022/10/18/pallet-buster/
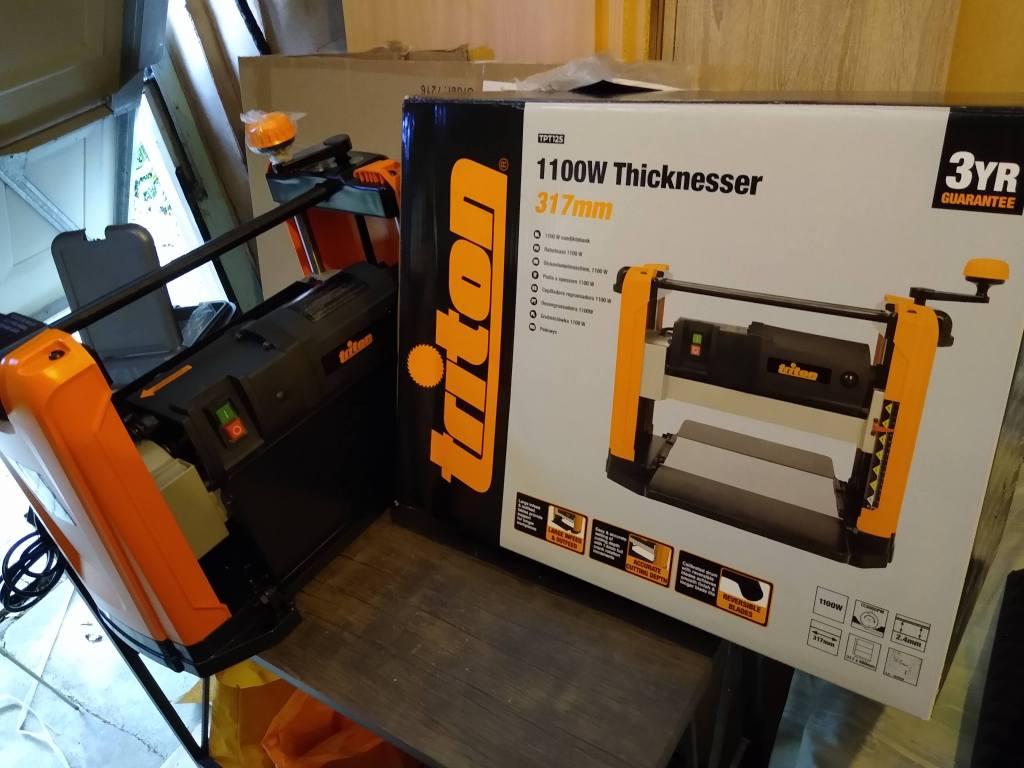
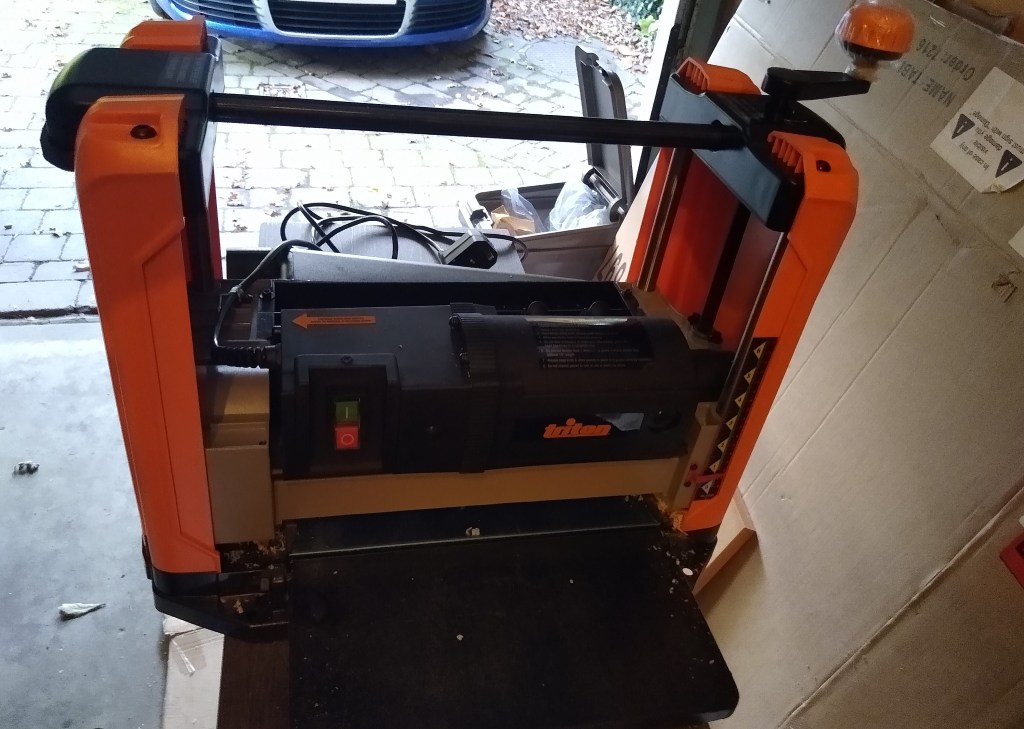
Step 1: Prepare the wood for gluing together. This involved planing the face of each side of wood then ripping each piece in half. I decided fairly early on that I would get a thicknesser and settled on the Triton TPT125. Setting up and using this tool was a piece of cake, however I did learn to properly check the wood for stones and nail remains. I pretty quickly chipped a blade as a buried nail was exposed during a pass. Luckily it was only a tiny chip and all the blades can be flipped over as they are double sided. Later on I invested in a handheld Sealey AK2018 3-in-1 detector, however this proved to be unreliable on small nails. Works great on bigger nails and the voltage detector works. I’m yet to find something better that using my eyeballs.
Triton TPT125: https://amzn.to/3I0n0eJ
Sealey AK2018: https://amzn.to/3HSzxAD
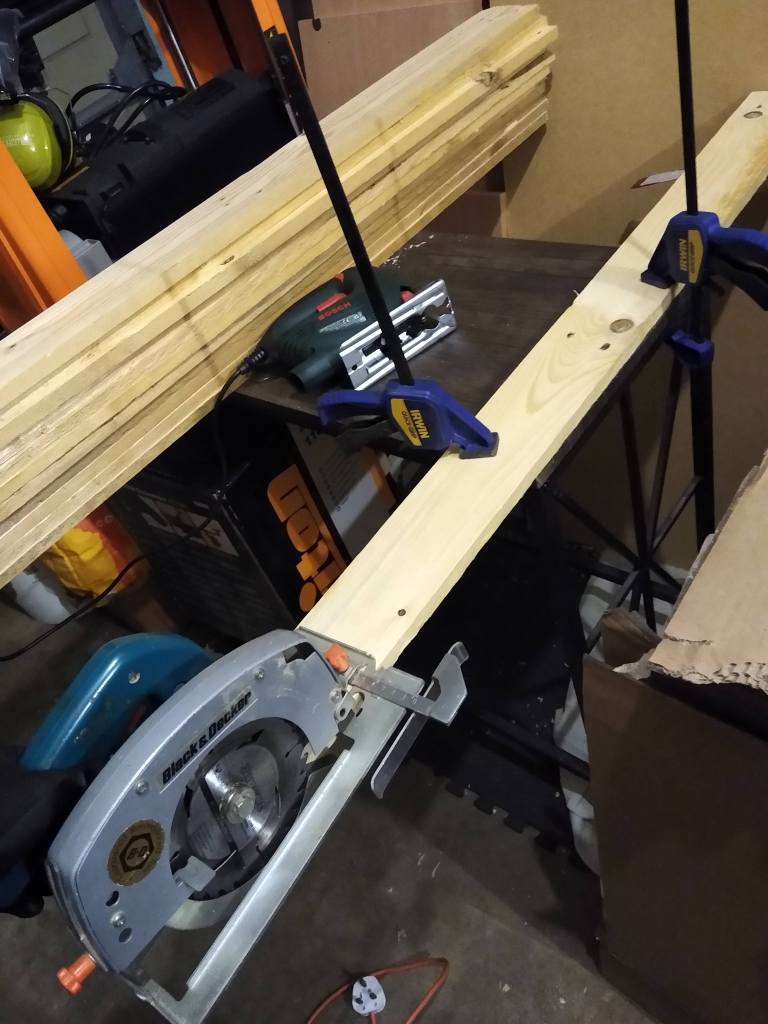
I used circular saw with a guide that was adjusted to cut the wood in half. I quick clamped the wood to a table and flipped the wood at the half way point (as the clamp was in the way). This was sketchy to say the least and I would not recommend it! One day I’ll get a table saw and manifest somewhere to put it.
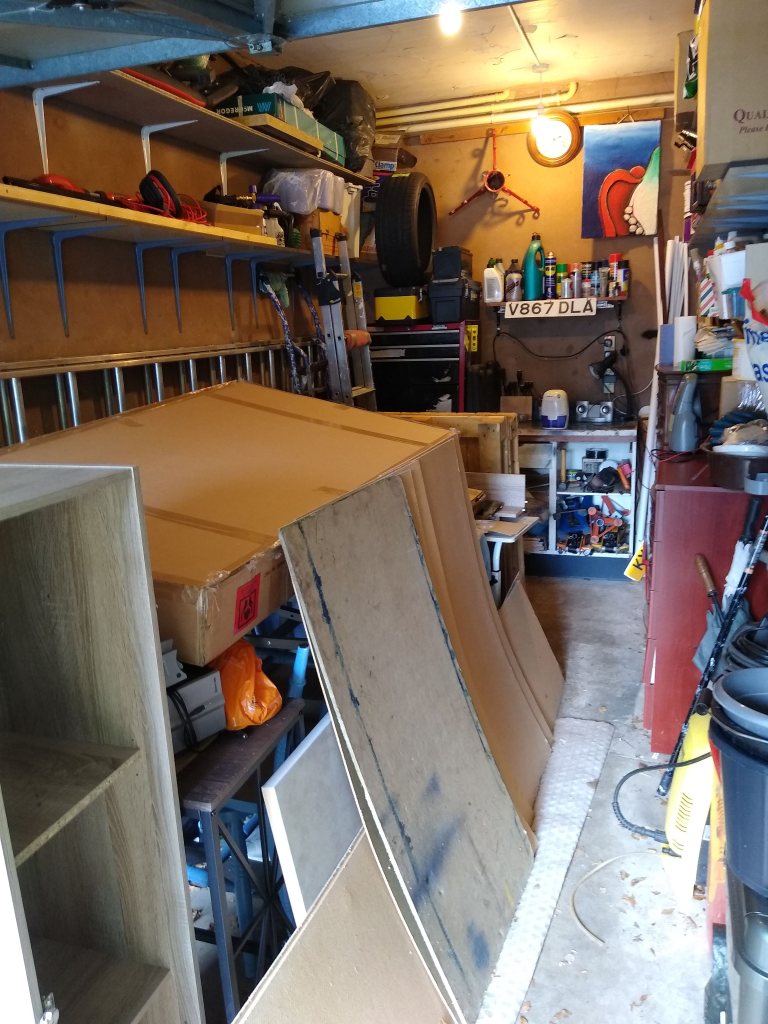
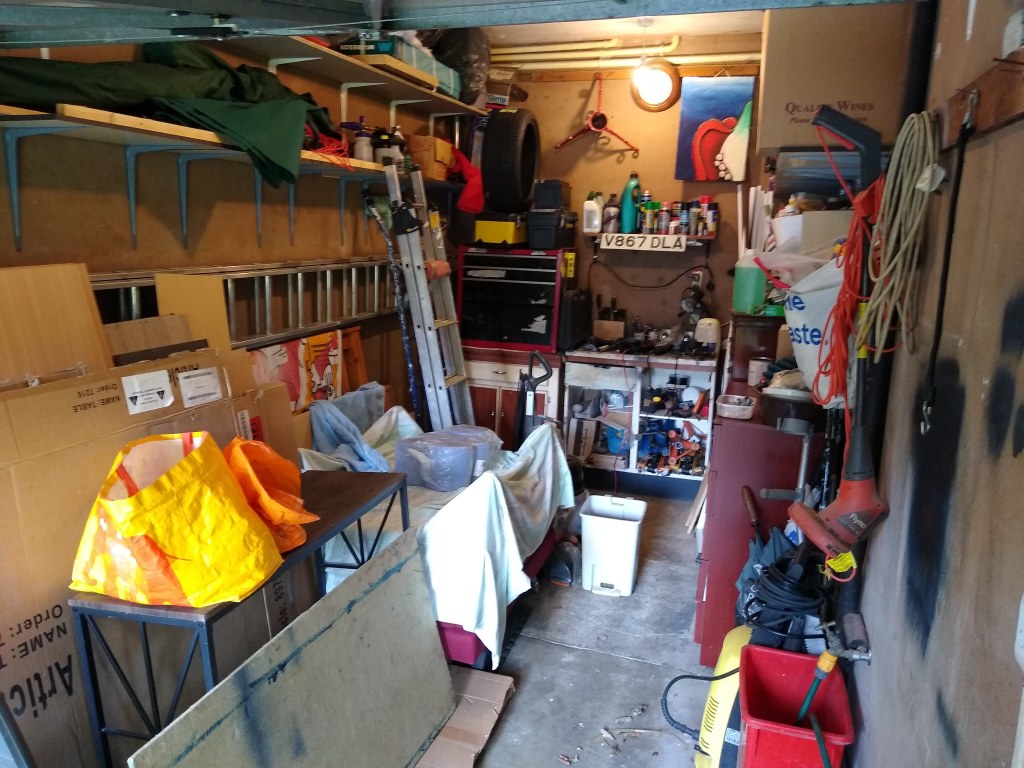
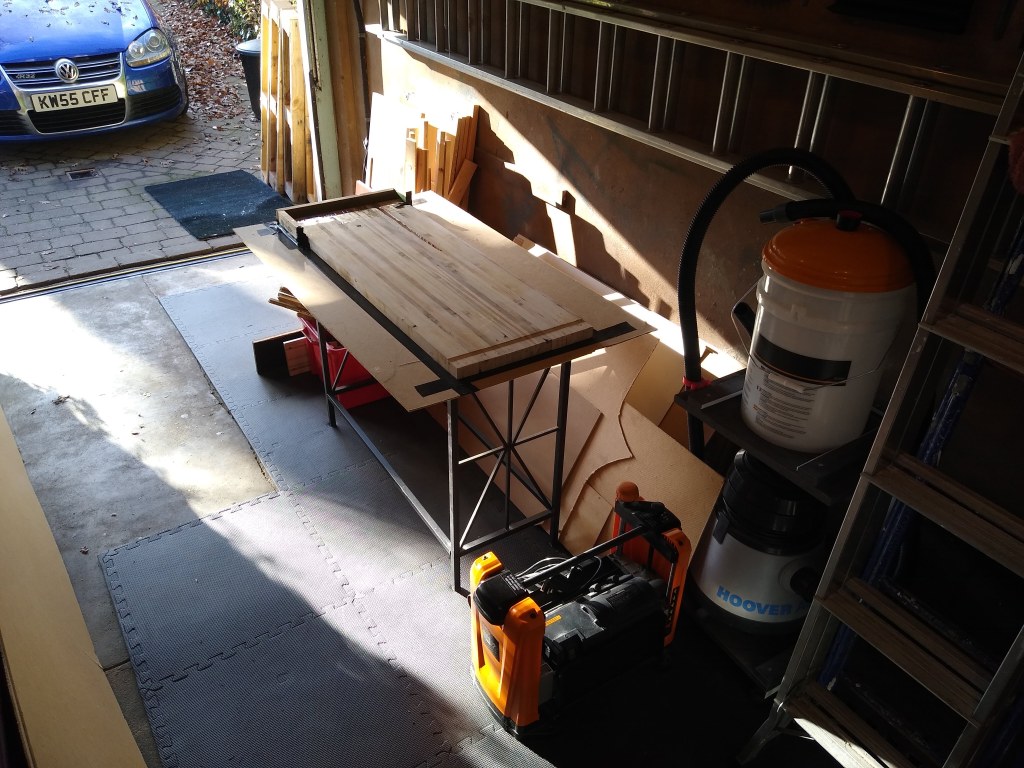
Step 2: Review my current tools and start buying tools that I probably need. The only “woodworking” tools that I had when starting this journey was a 30 year old jigsaw (that sporadically cuts out), an even older circular saw, a couple of rusty hand saws, a few quick clamps and a drill. All my other tools have been for fixing various broken VW’s so not massively helpful for woodworking.
Buy once, cry once. I now understand what that means! I bought the wrong jigsaw. It works well and is a huge improvement on my old one, with adjustable speed, dust extraction and it’s far quieter, however it can’t be mounted on a track. Alas, something I didn’t check. Not a huge deal as I can probably make a jig, however it would have been better to have it compatible out the box:
It’s a Bosch PST 700 E btw: https://amzn.to/3Dzi2Ti
Step 3: Realise how damn loud the thicknesser is and indiscriminately throw acoustic panels up on every spare bit of wall and ceiling. Also, install a weather strip and silicon strips around garage door as water had been getting in under the door. The first batch of foam panels were vacuum packed and reluctant to expand so I had to use the hair dryer technique. The result was that sounds rebounded less than before, so although -DB was probably more or less the same at least it cut out alot of the echo. Sound isolation is something that I will investigate more further down the line.
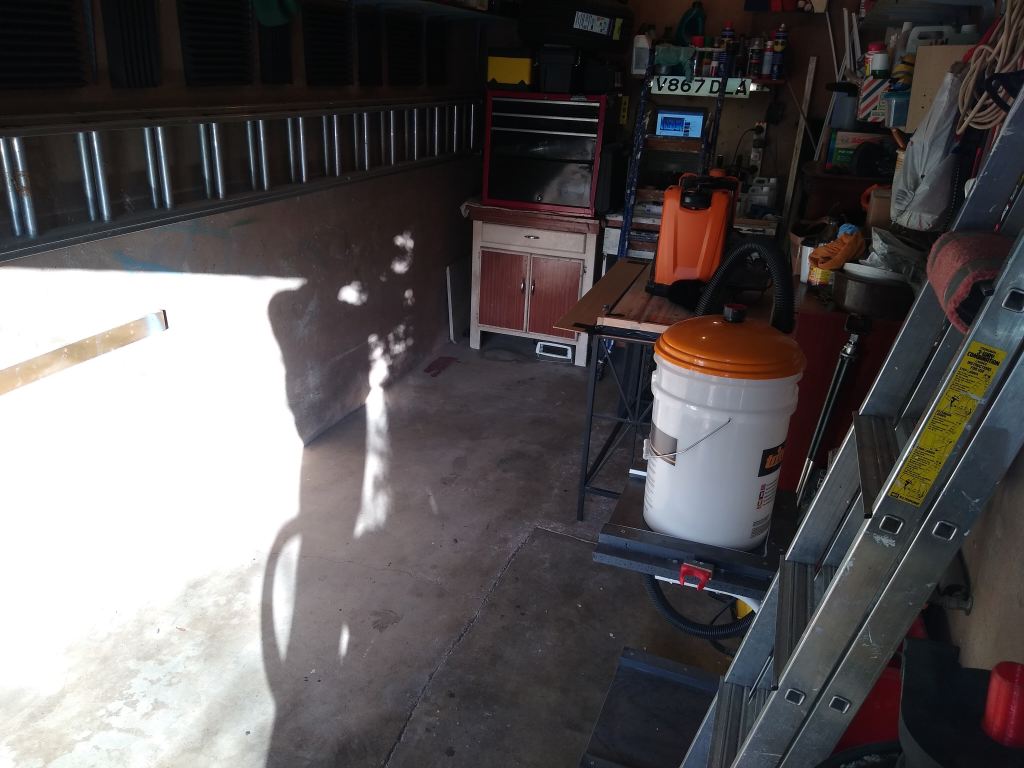
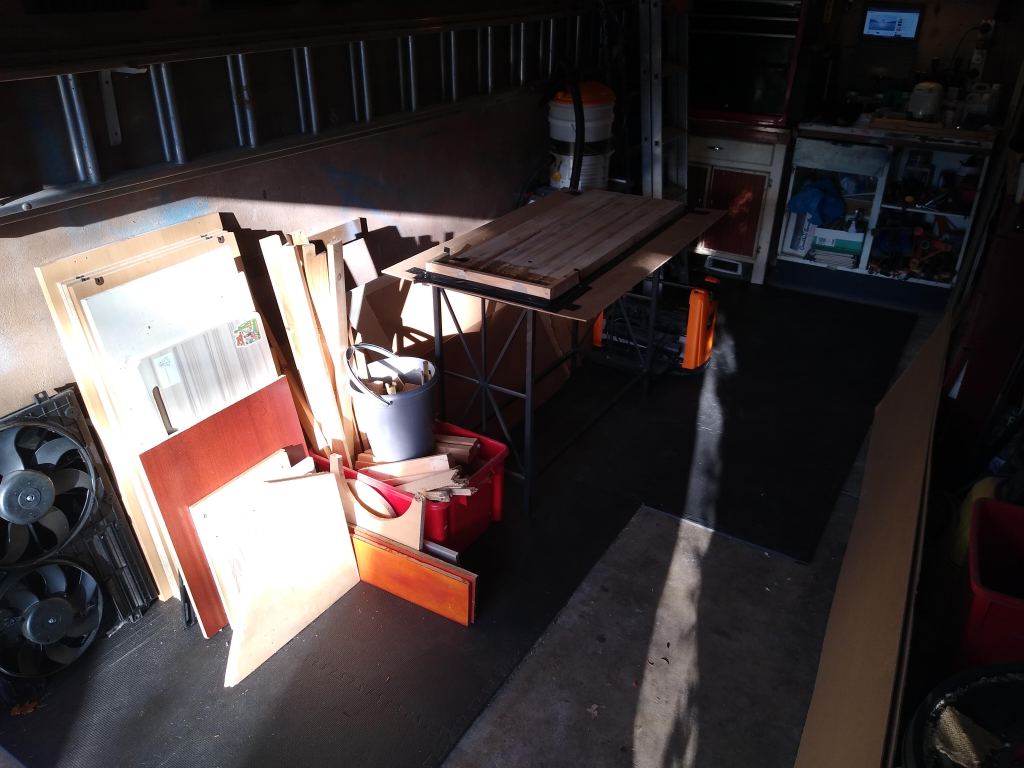
Step 4: Realise there is not enough space to swing a pallet buster in the garage. To make some space I sold and donated the old furniture that was taking up space. I also took the opportunity to stick down some el cheapo flooring in a bid to make it slightly nicer and maybe absorb a little bit more reverb.
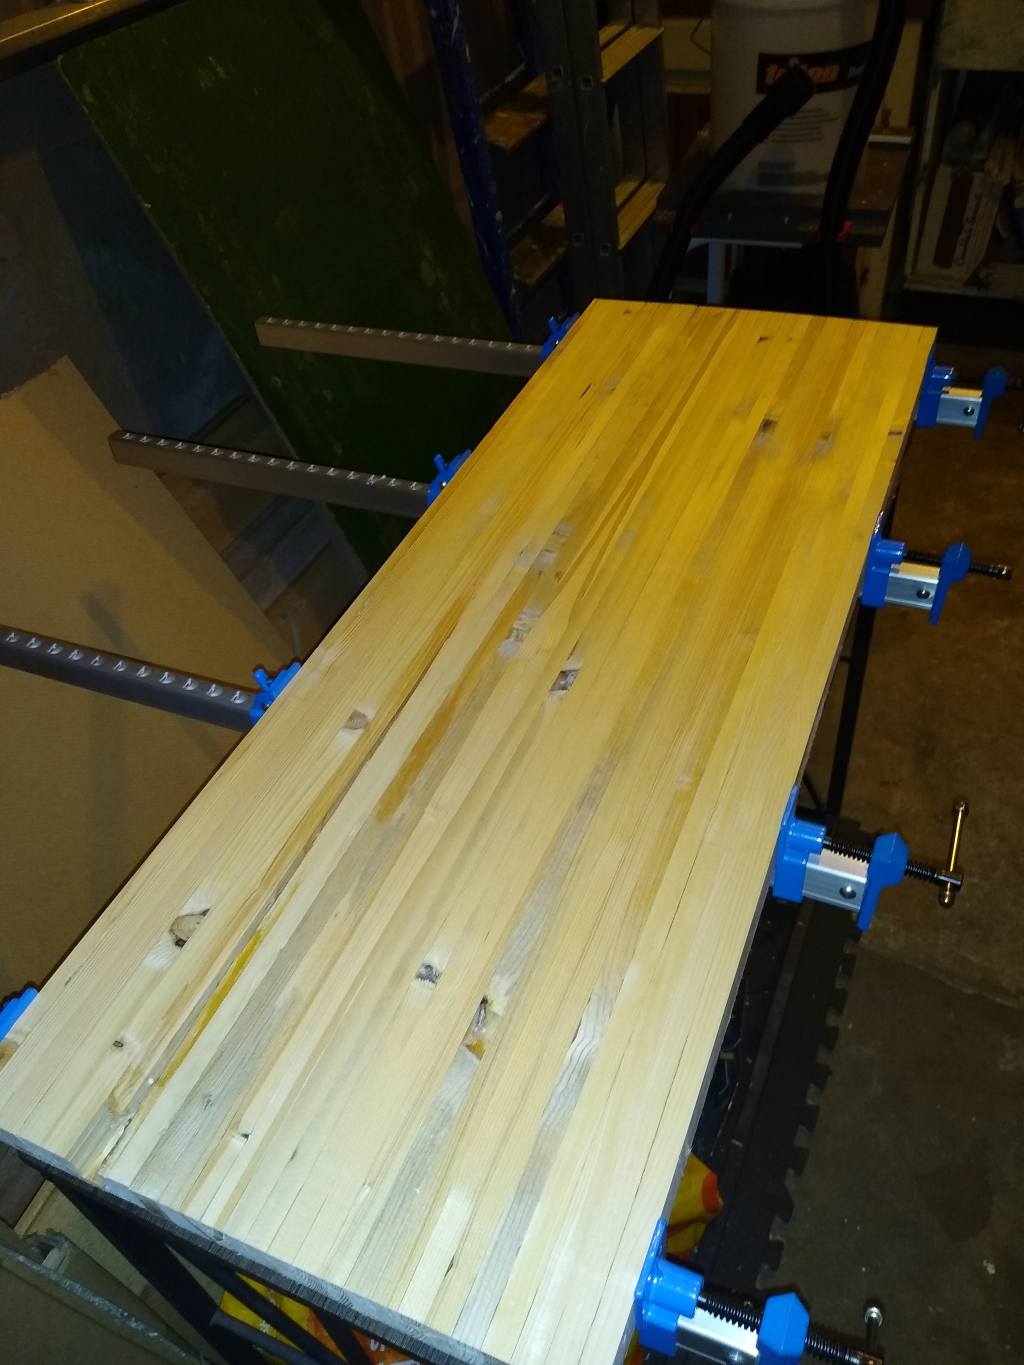
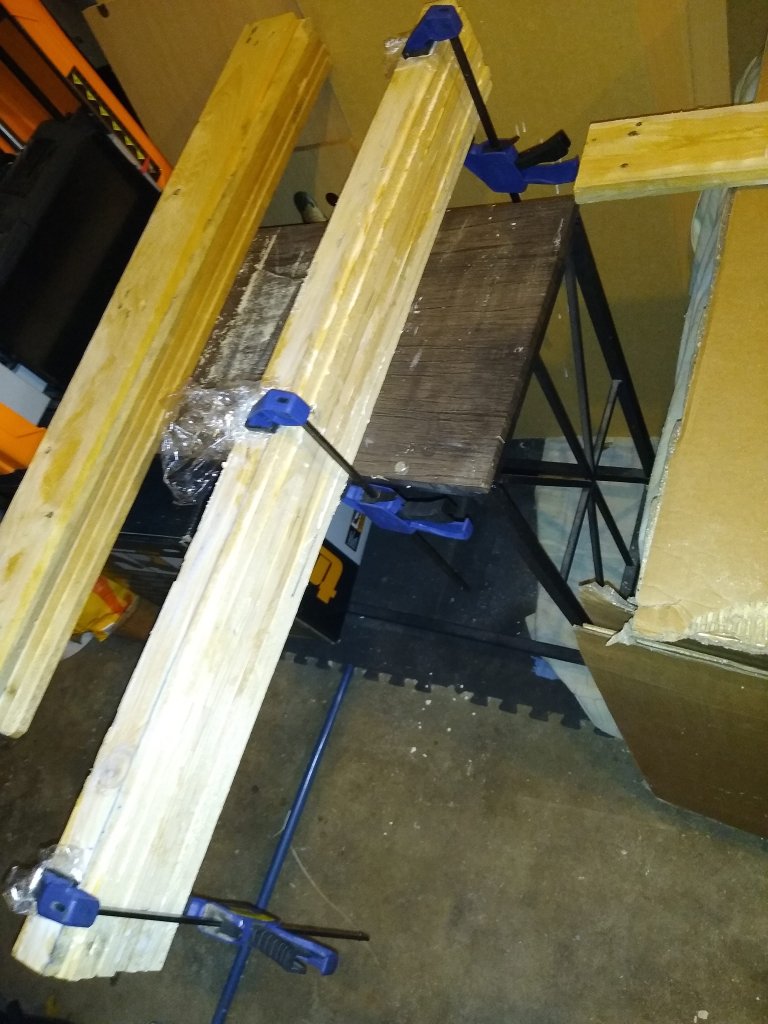
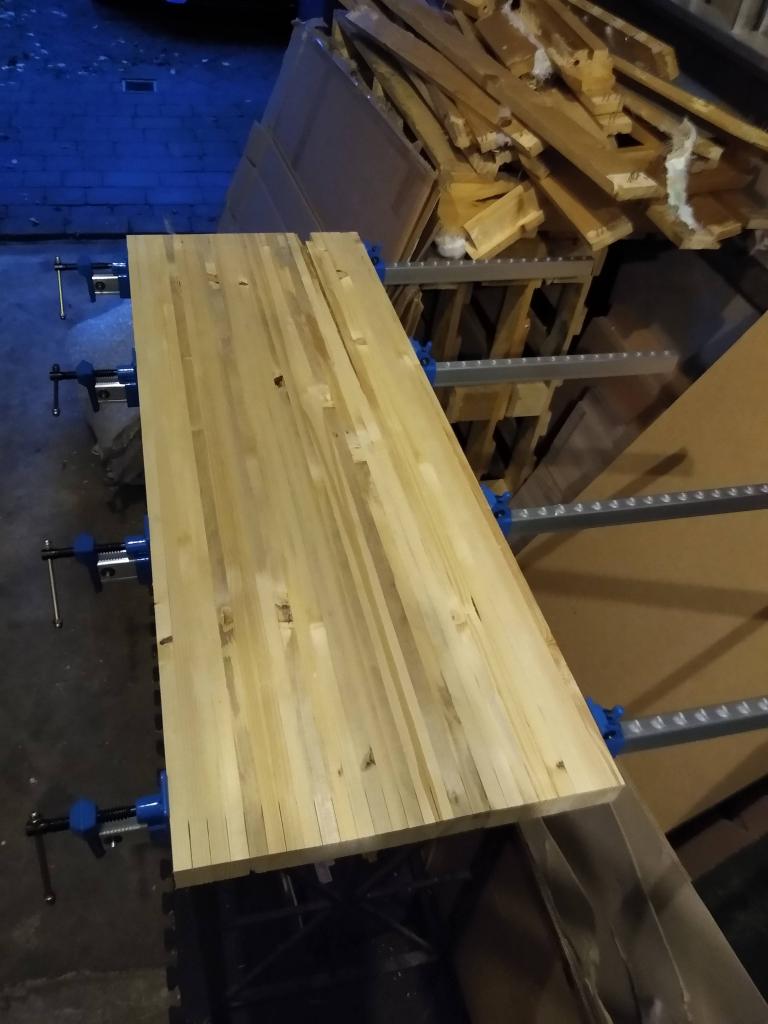
Step 5: Start gluing up! I knew I wanted to send the glued-up table top through the planer so I needed to make two sections and then attach them afterward. This meant I needed to get some longer clamps, I settled on some cheapish sash clamps from Silverline. They are aluminium and not solid so people often insert a wood into them to strengthen them. Linko: https://amzn.to/3jrlQzf
I simply applied BnQ wood glue to each piece of wood and used an old ice scraper to spread it evenly across the whole length of each piece of wood. Then squared them up on the old side table (as it was flat) and applied the quick clamps.
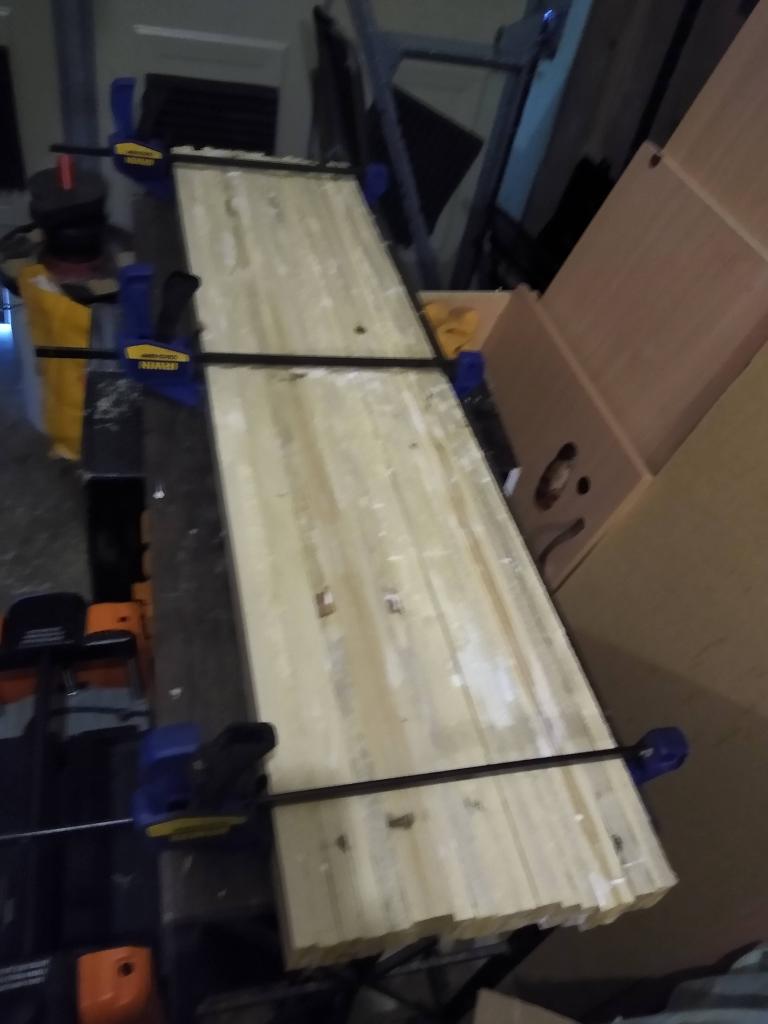
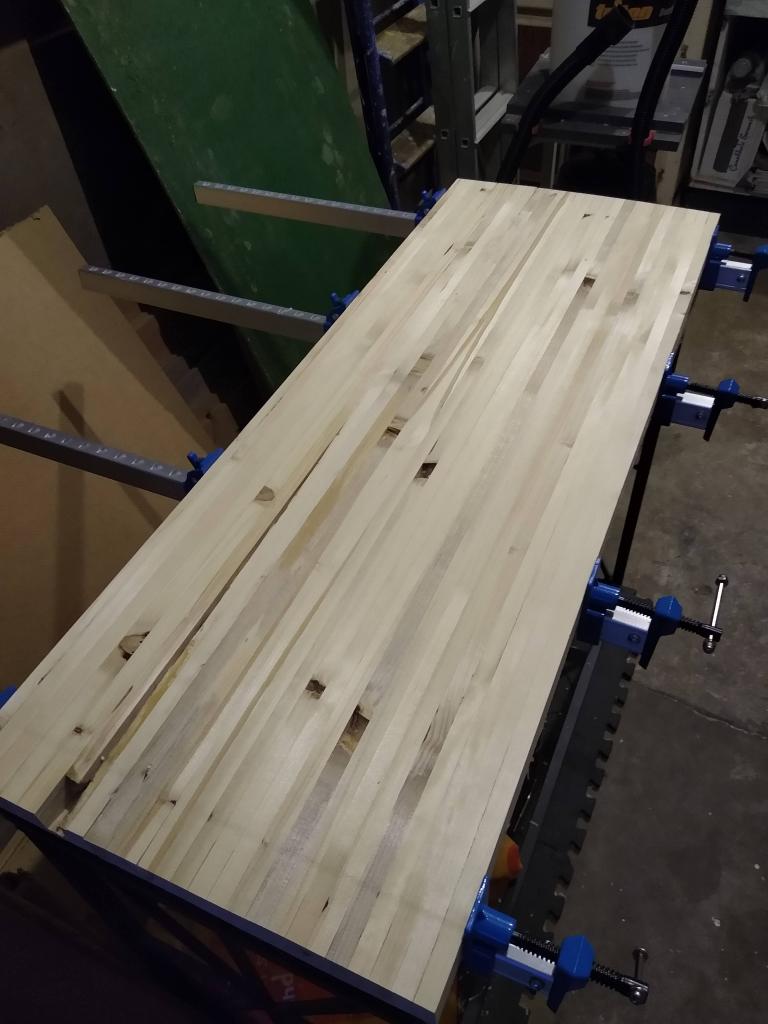
I sent each section through the planer multiple times as they were not an even thickness due to some questionable circular sawing when ripping the wood in half. When they were the same thickness I trimmed the ends off with the jigsaw. Something I noticed was the ends of each section were not completely flush between each piece of wood. There was a hair line gap (see last two pics) where I believe there was not enough pressure applied during the glue up. This would spawn a lengthy and problematic journey of discovery. But we’ll get to that in MTMLM Part 2!

Leave a comment