

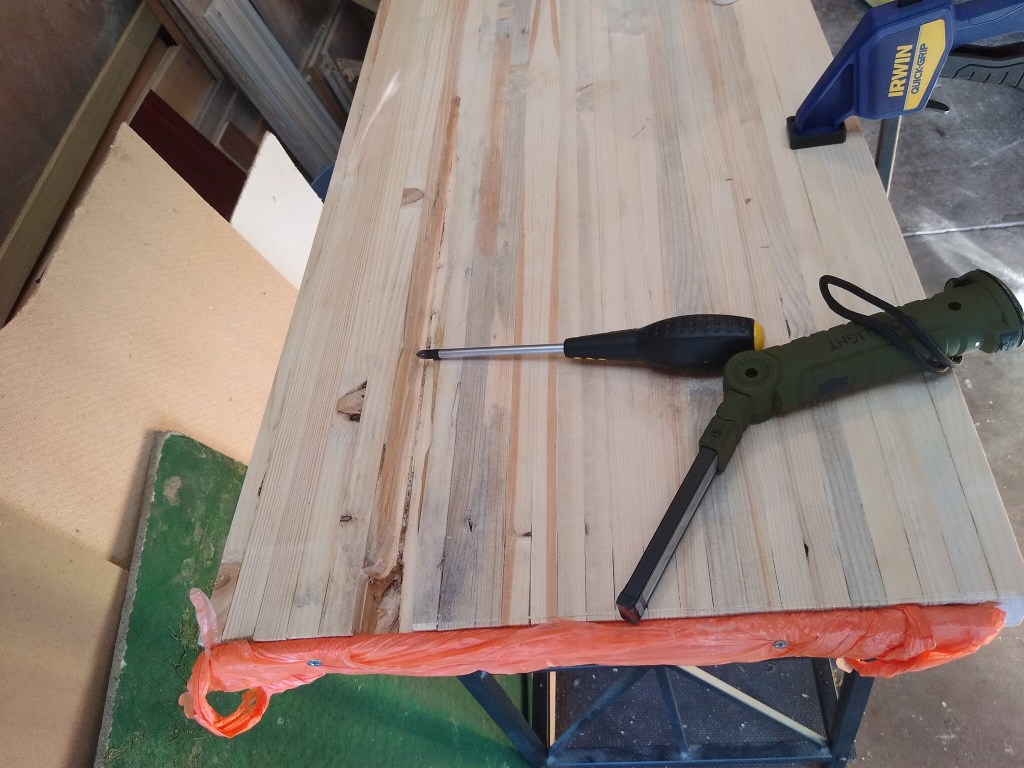
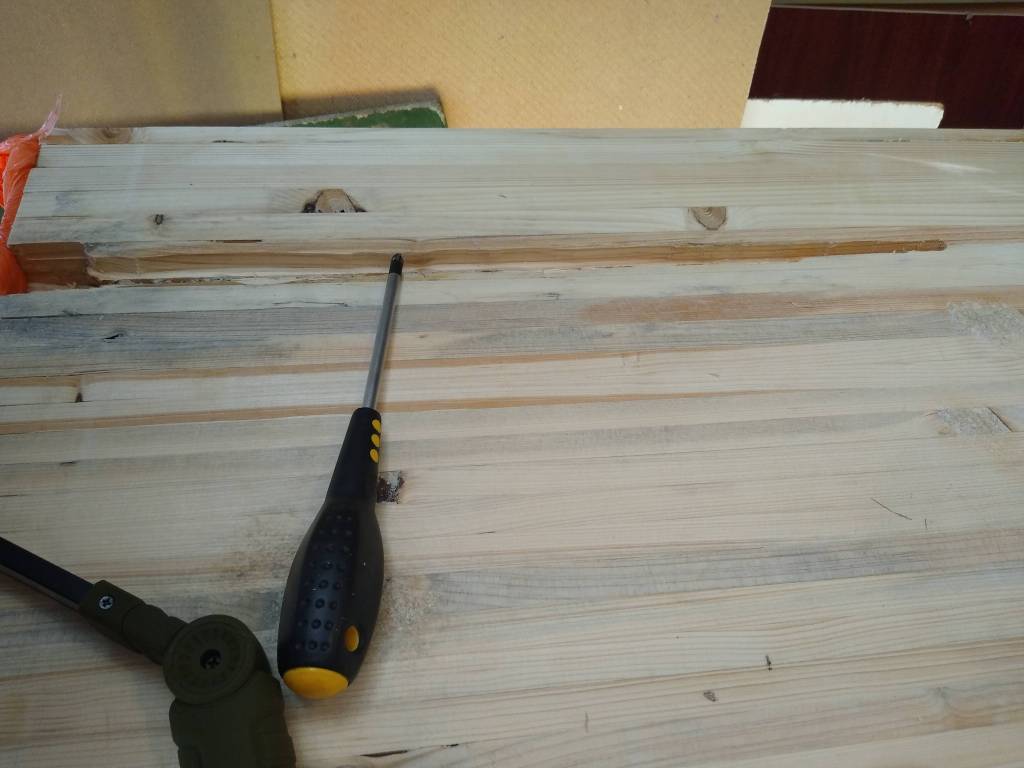
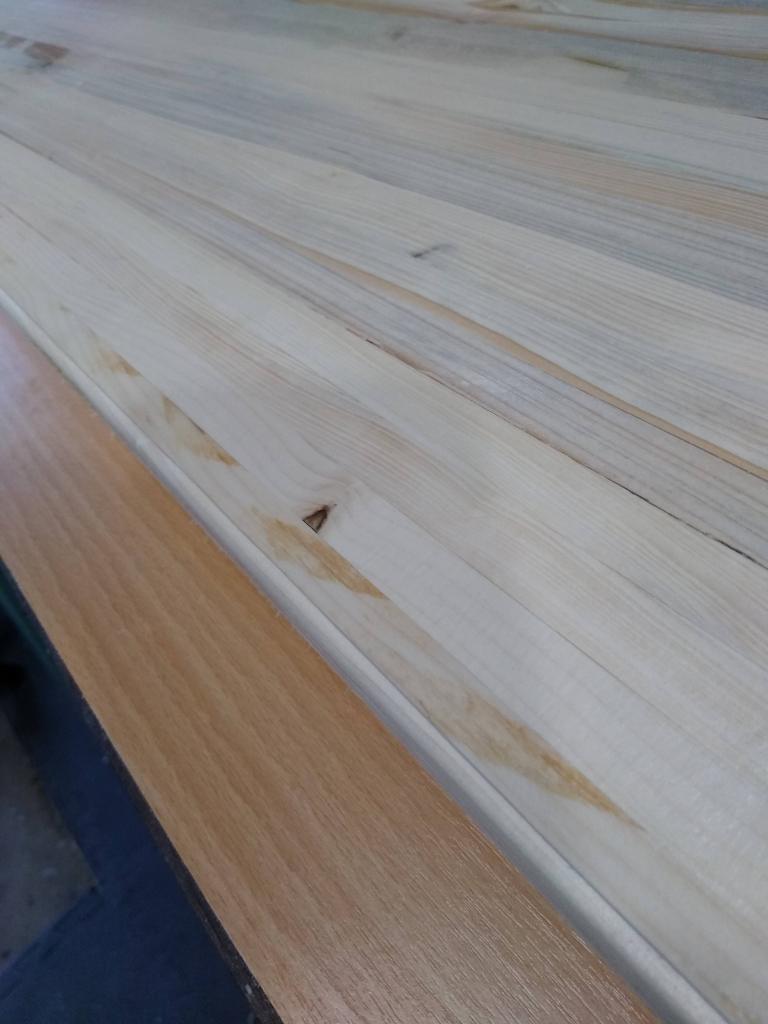
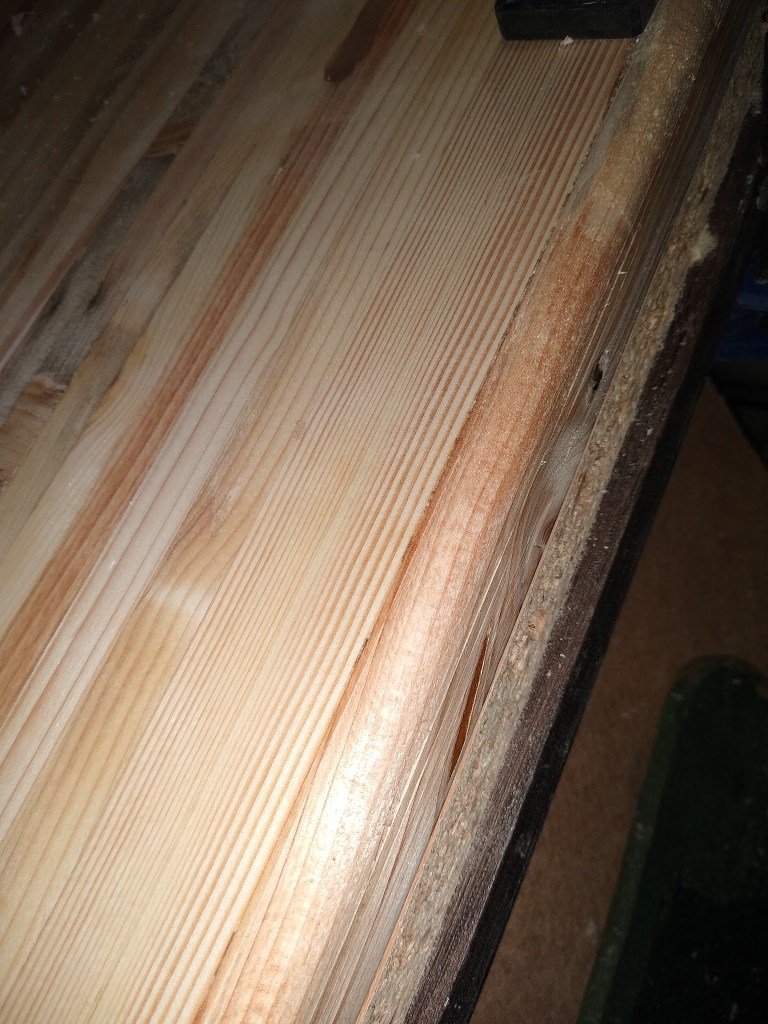
Step 6: After noticing that the ends of the glued-up slats have a slight gap I decided that this could be a good excuse to use some epoxy. Also, there were some bigger voids in between some pieces of wood that epoxy could be used on. This is where things would start to get really messy and complicated.
If there’s one thing that the entire woodworking community seems to agree on is that epoxy is great and should be used on every single project.
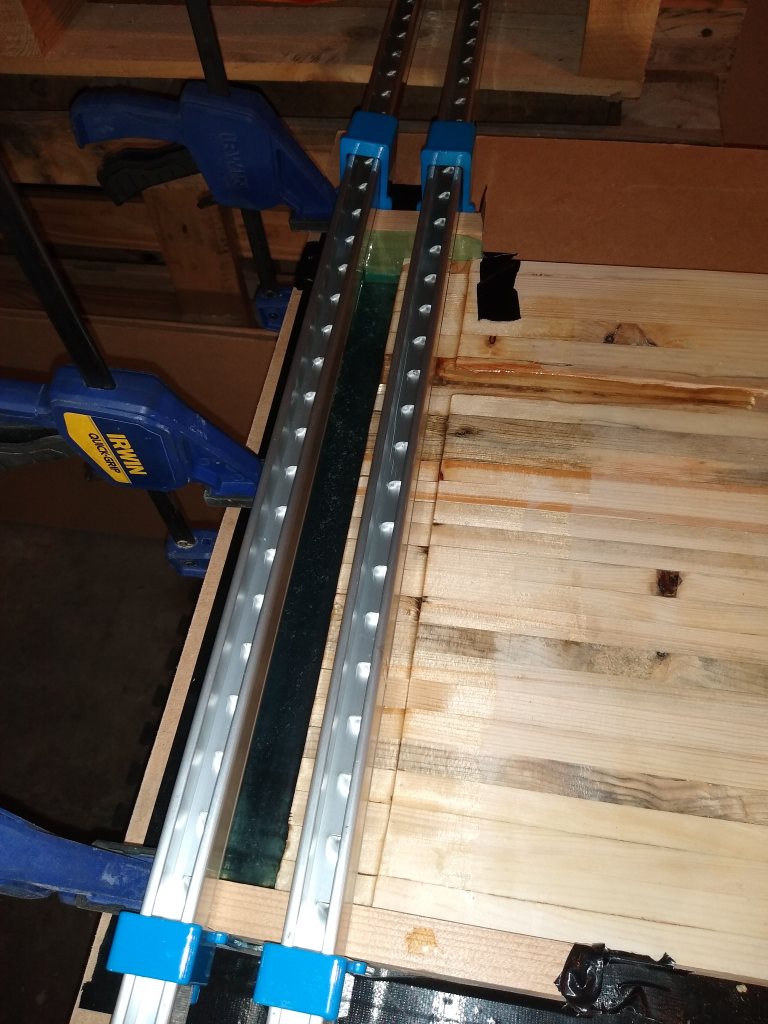
Step 7: Forms. In order to pour epoxy I needed to contain it whilst it was curing in some kind of form. Originally I was just going chisel out and even up the biggest voids to make it more even in depth. Then screw a piece of scrap to each side of the table to make a brim that the epoxy couldn’t pass. Then just fill the void with epoxy and brush it into the hairline gaps. Simples.
Step 8: Buy epoxy, mix up a batch then pour into the voids and cross my fingers. I didn’t cross my fingers enough as my scrap-wood brim with a Sainsburys bag wrapped around it did not make an epoxy proof seal. Weird. It leaked everywhere but it did cure rock solid so at least I got the resin/hardener ratios correct. Looking for silver linings from the multiple balls ups became a necessity to keep my moral up!
I spent some time looking into table top epoxy and ended up watching alot of youtube tutorials and even getting Blacktail studio’s epoxy workshop guide which was very comprehensive.
I settled on this epoxy: https://ebay.us/1fHUxI
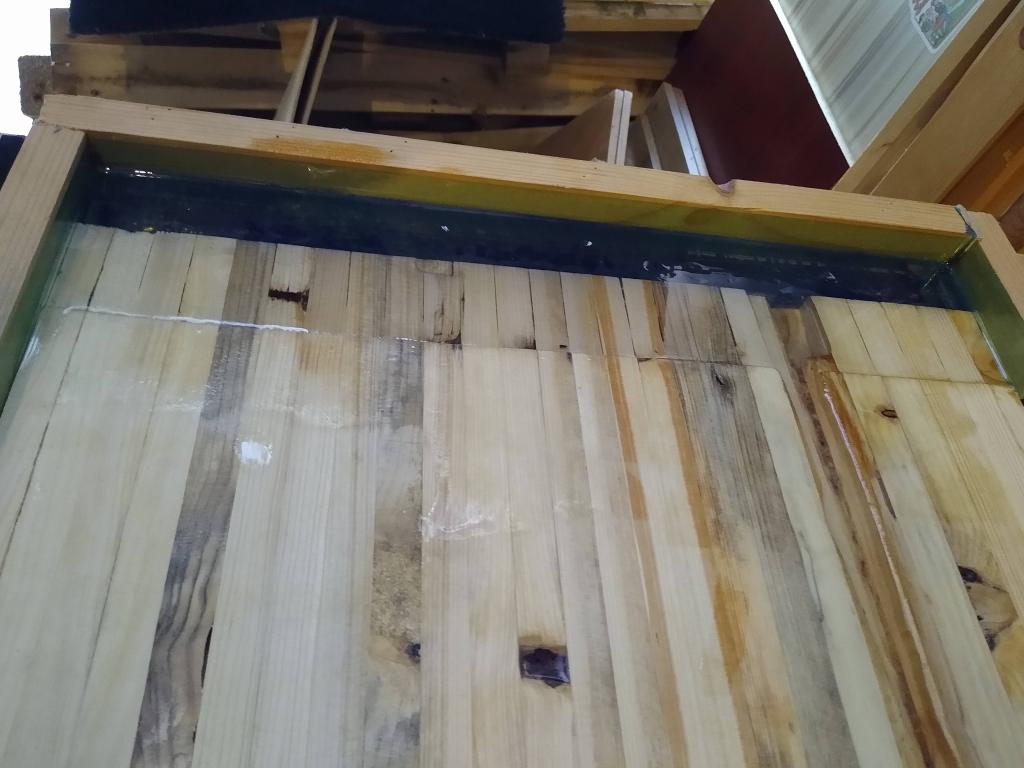
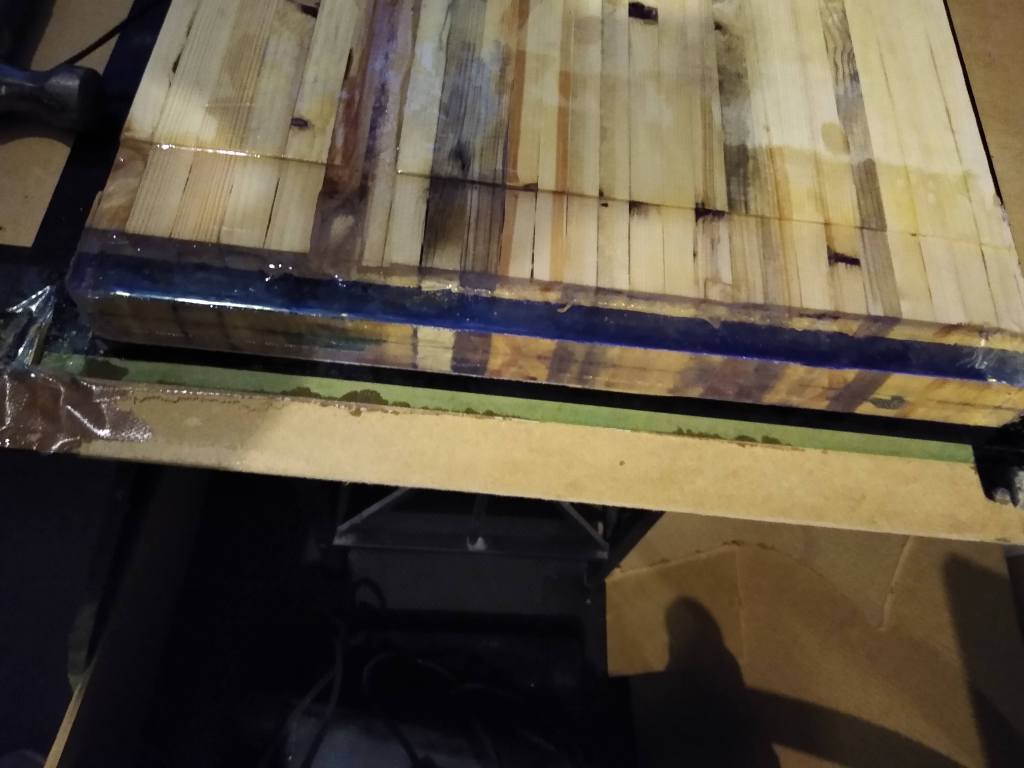
Step 9: After failing the first epoxy pour I decided to make it more complicated and add more points of failure. Genius. I vaguely pictured in my head what it would look like with clear epoxy on the end of each side of the table. Like an end cap of epoxy to fill in any gaps and add a little length to the table. This would of course mean a more comprehensive form that was leakproof.
So I decided to change the “Design” a bit to have an overhanging bit of epoxy on each end of the table. I figure this would be a chance to see how well epoxy stuck to the end of pallet wood with no support on one side. Would it just snap off or could it keep its form and strength whilst hanging off the edge of the table?
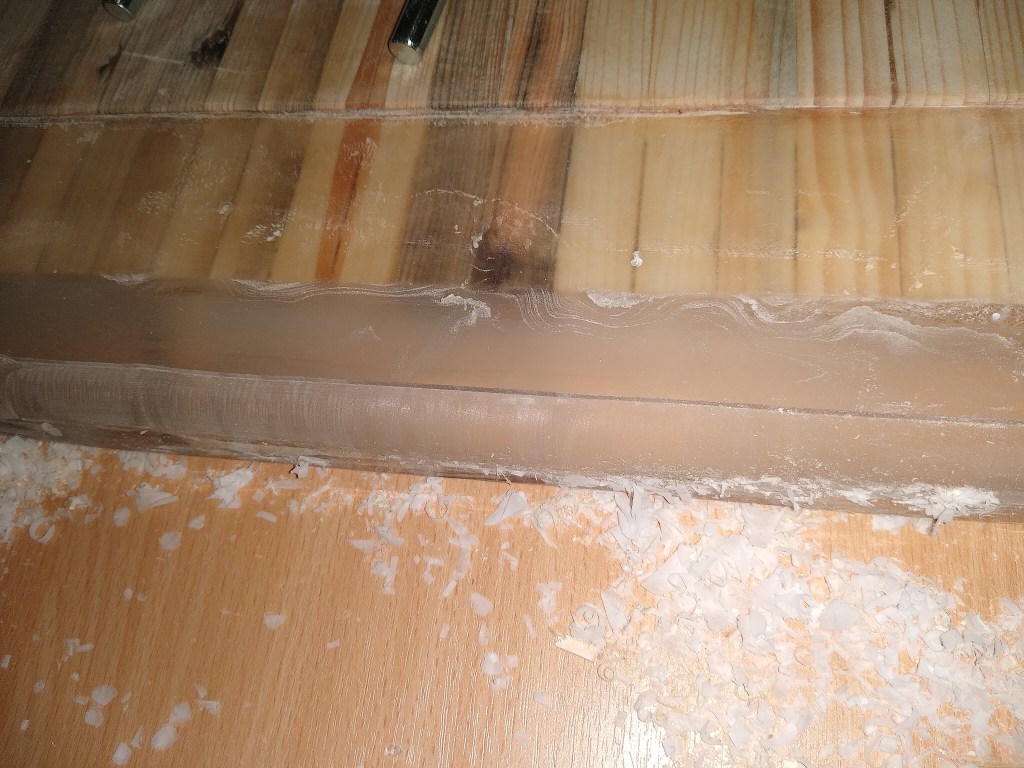
I screwed a couple of bits of wood together to make a C shape that could be clamped to the end of the table and on top of some hardboard. In theory the epoxy would bond to the table but not to the release tape I used on the C shape and hardboard. I’d also used a router (more about that later) to make a small inset section on the end of the table. I left it 24 hours before removing the “form” and my first impression was it had worked!


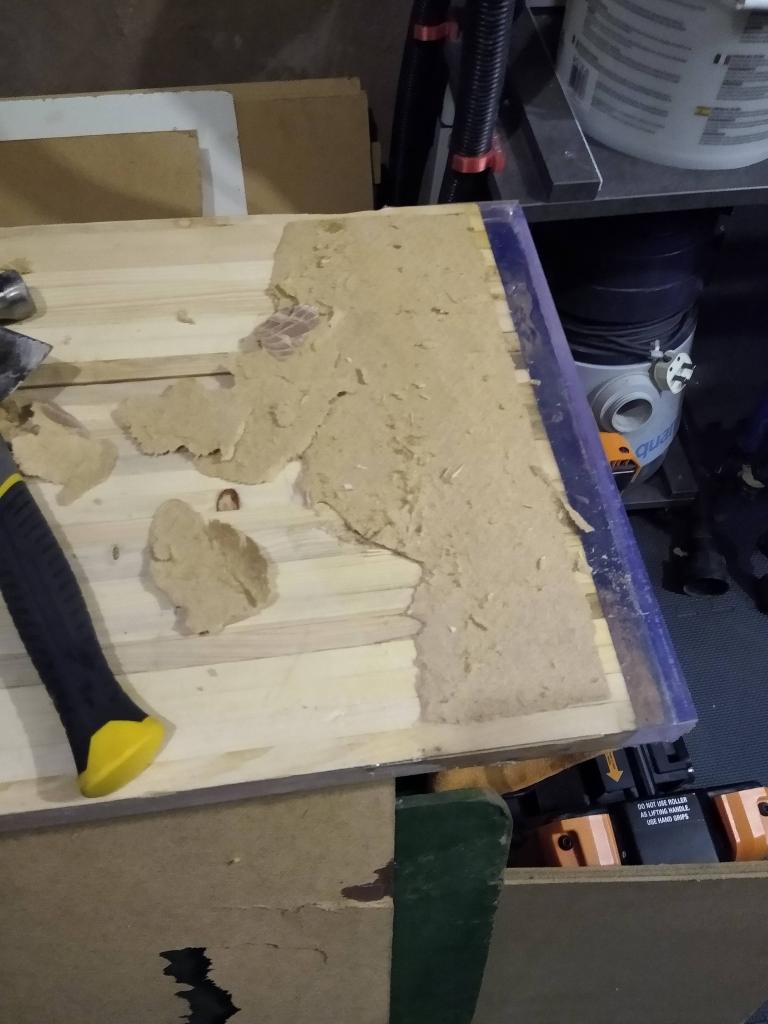
Step 10: Find out my first impression had betrayed me. When I flipped the table over I saw that the epoxy has seeped all across the underside and stuck the hardboard to the table. Next time I will use release tape or release spray on the whole underside.
This resulted in needing to scrape off the stuck hard board and leaked epoxy from the back of the table with a combination of a paint scraper, chisel, orbital sander and a bit of swearing. Tactical swearing gets regularly employed to get me out of jams.

Step 11: After scraping off all the failure from the bottom I realised one end of the table had not cured properly (it was poured at a later time). This was, in part, due to some exceptionally cold conditions in the garage, it was easily below zero overnight which epoxy does not like. After waiting a week it still hadn’t cured (it was gummy) so I decided to cut my losses and scrape/chisel it off.
I had run out of epoxy at this point so needed to buy some more. Cue the next potential mistake, I bought a different epoxy (as it shipped faster). Quick video of the C-shape form set up:
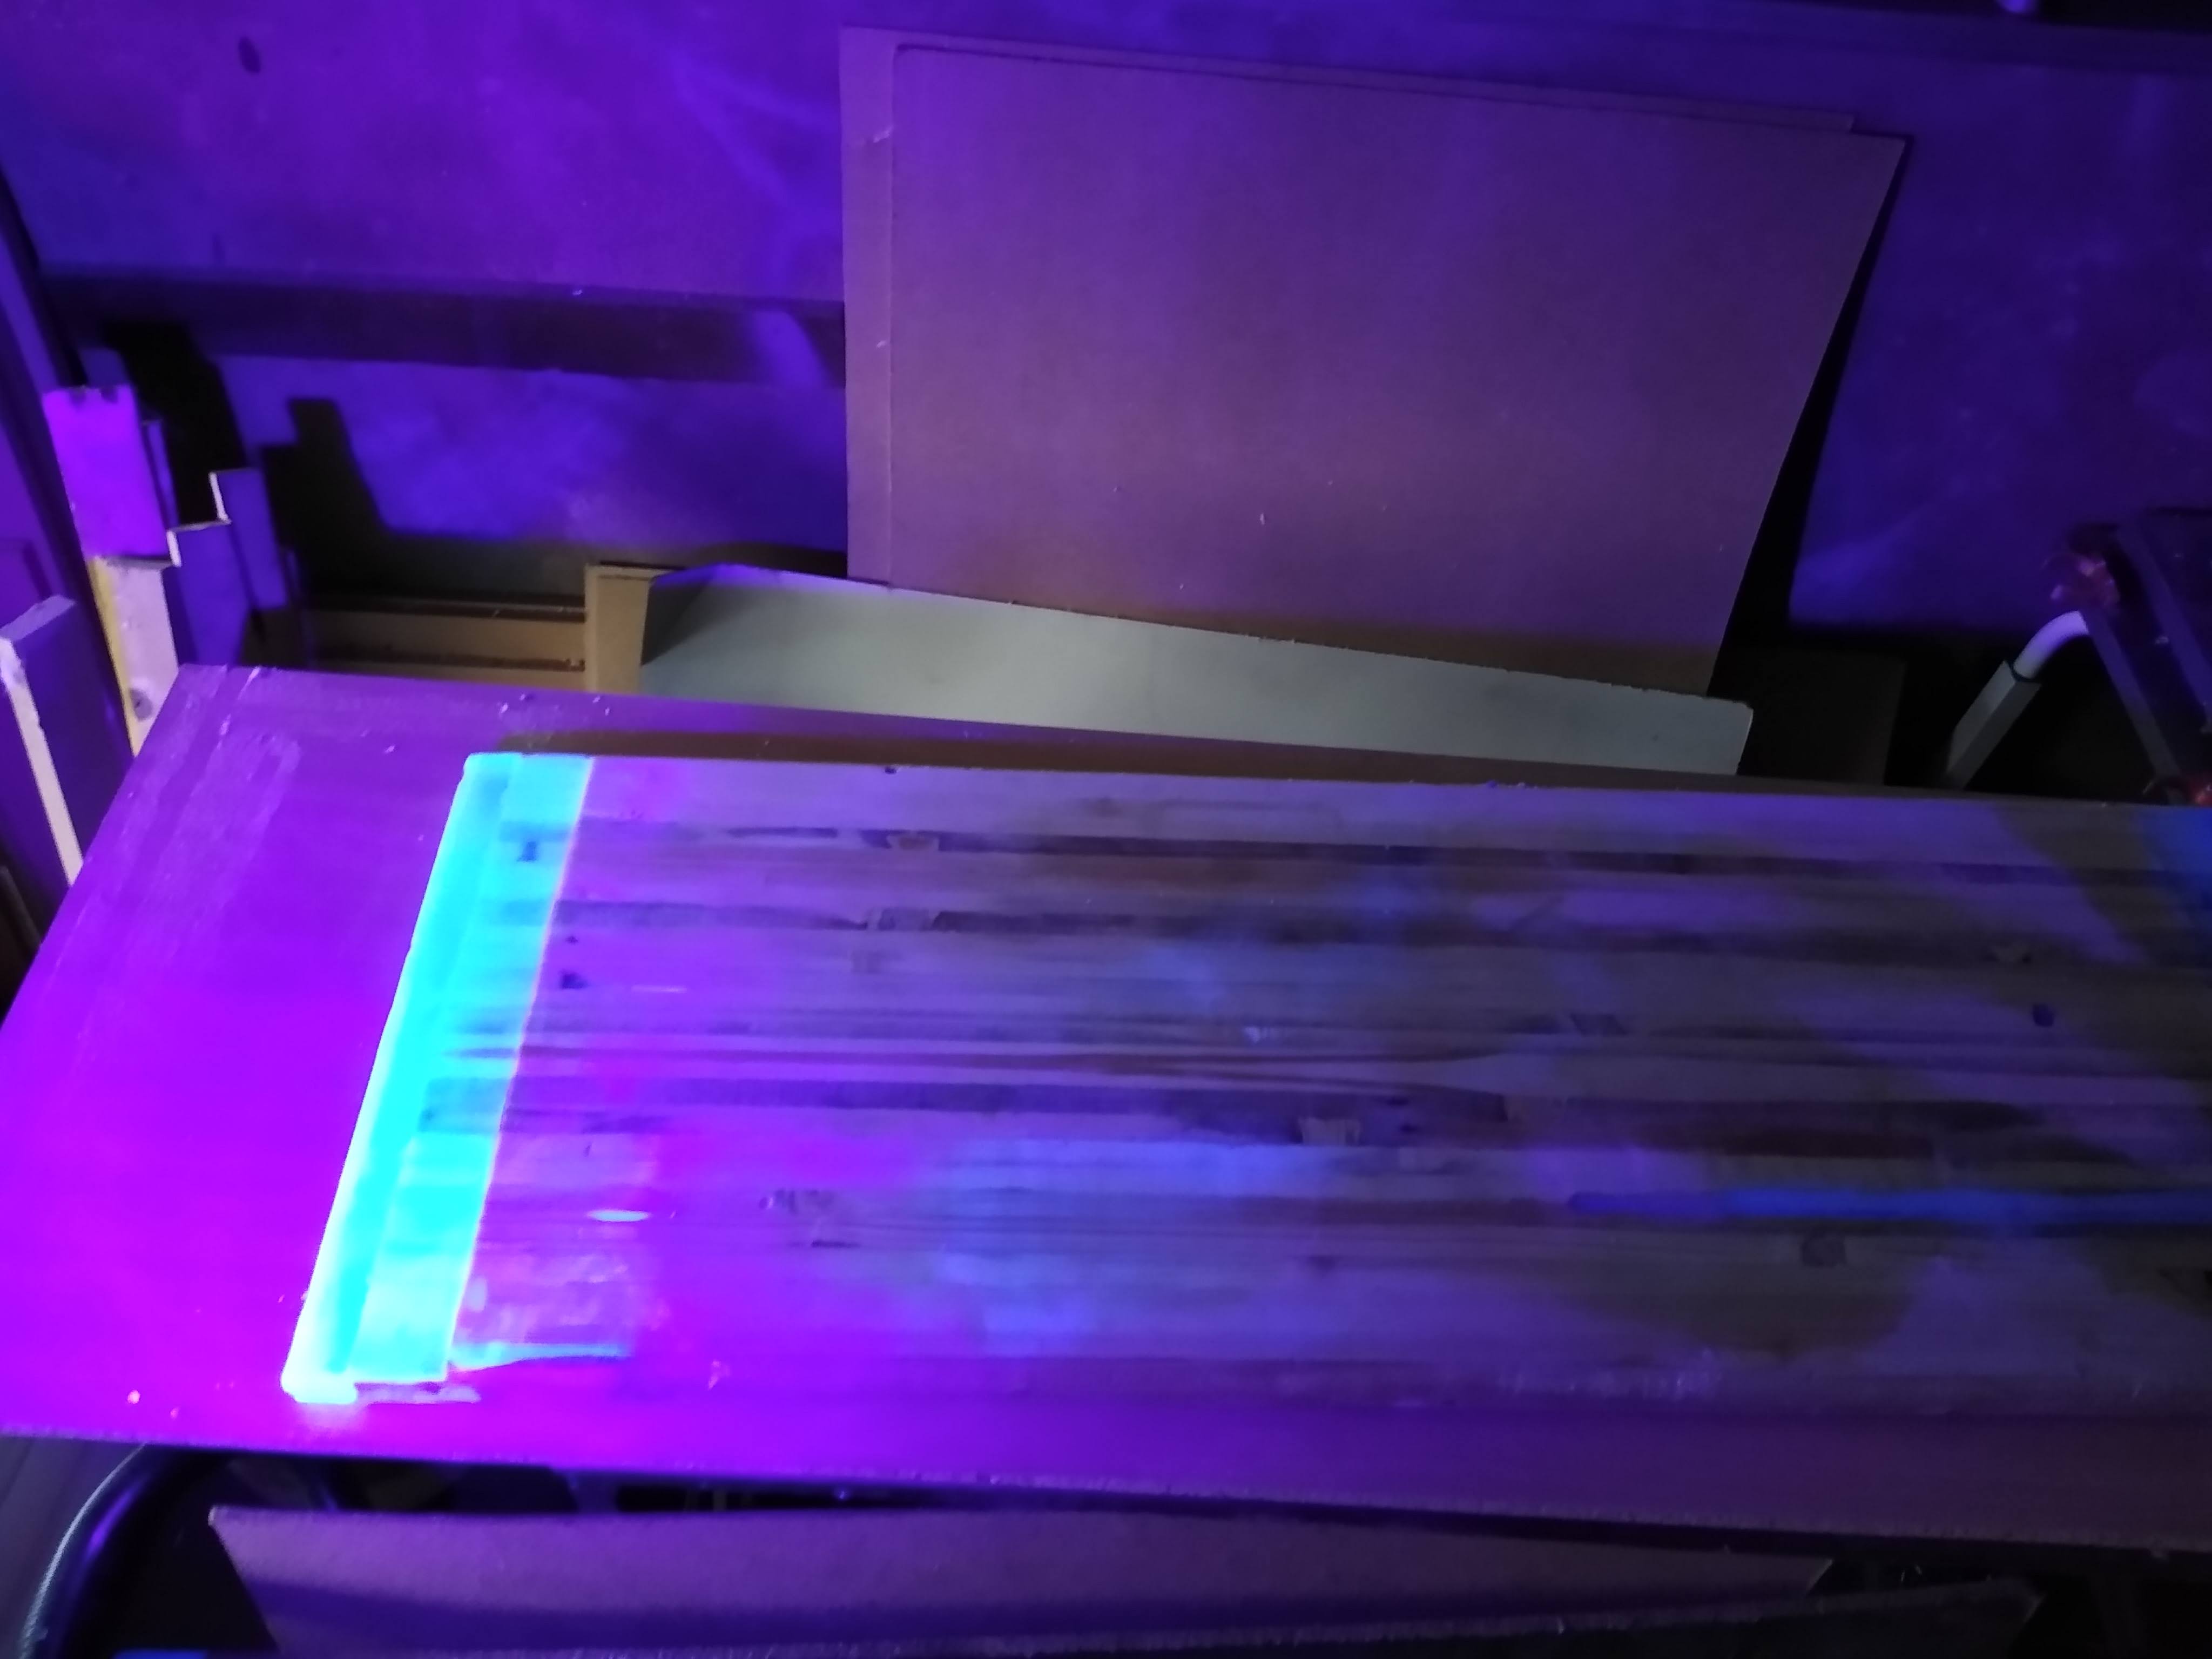
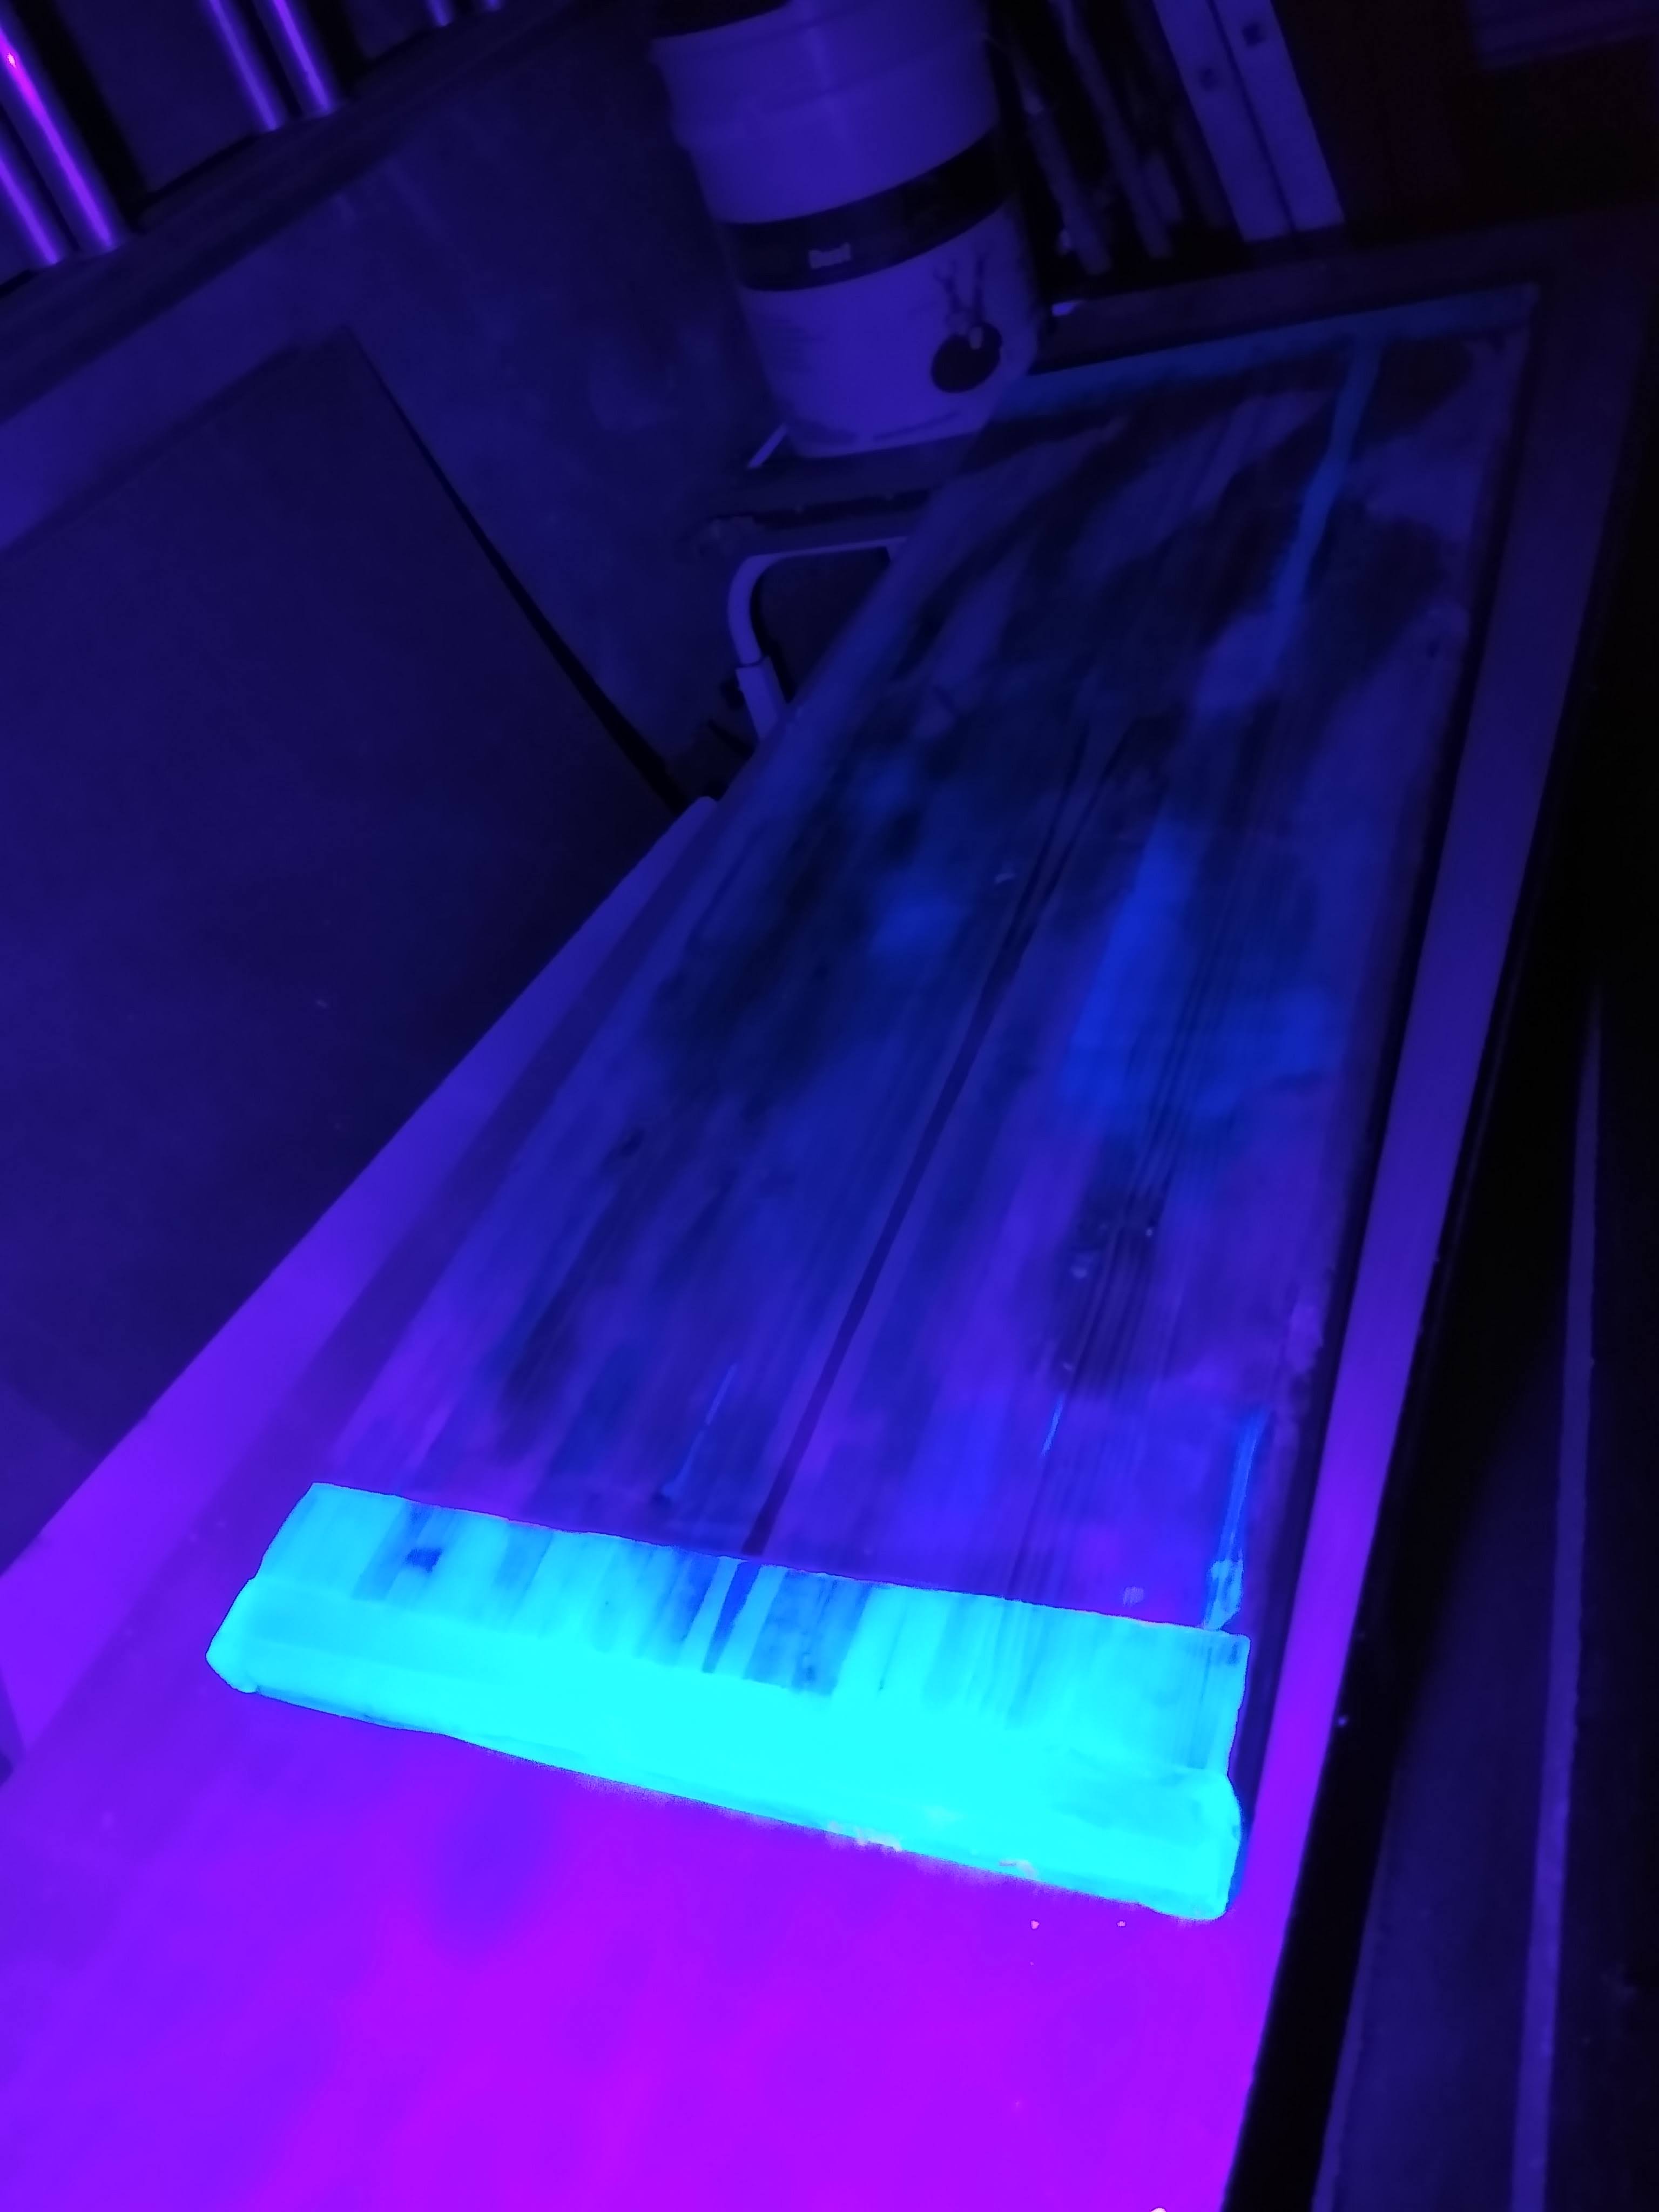
Step 12: Re-pour the new epoxy and wait for it to cure. It was still very cold but I made sure to warm the resin a little before mixing and put on a heater in the garage to take the edge off the cold. This seemed to work fine and cured rock solid. For absolutely no reason I had added some UV dye that I had left from a water-cooled PC build. It seemed to still be pretty reactive to UV even though it was 4 years old. Now it kind of matches the PC, and it sparked an idea for a full-size desk. A full-size desk with a UV inlay has been placed on my laterbase.

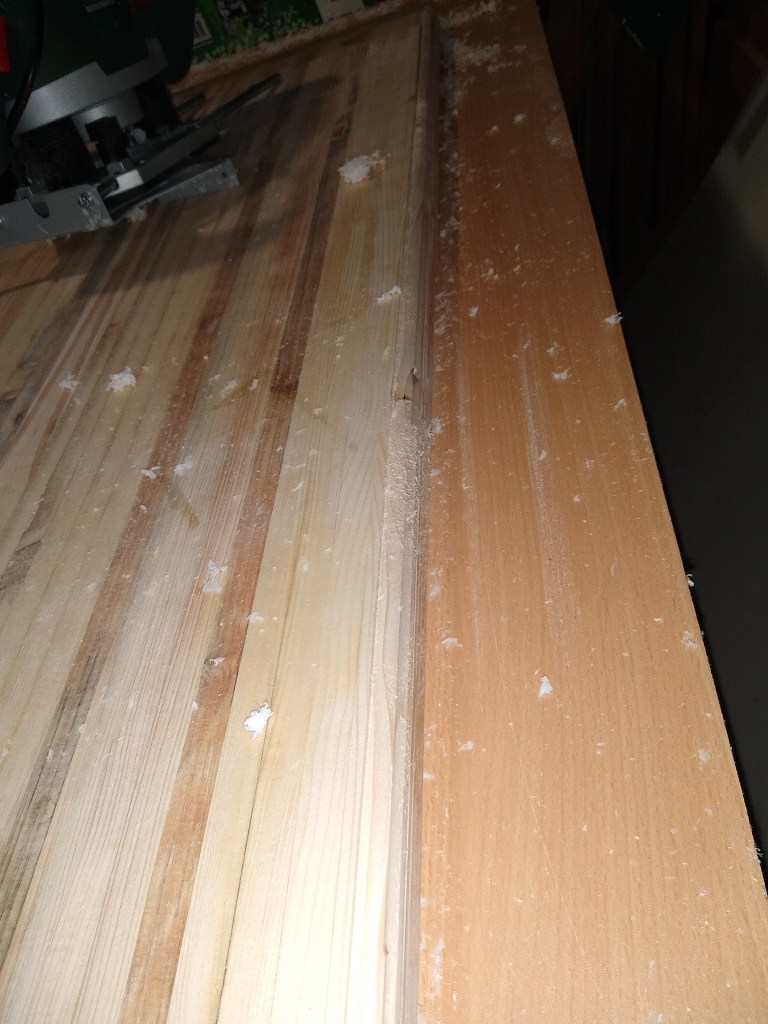
Step 13: Attempt to route out every side of table to get a nice even bevel/chamfer. I got my self a Boshe 1200 AE with a set of cheapo router bits. It was pretty intuitive to use and got it setup in a few mins. A real quick lesson I learnt was to try out the settings on a scrap of wood before jumping straight onto the project piece. The first pass on one side was not deep enough and did not take enough material off, the second attempt took too much material off, but the third attempt was just right. Cut 3 times and don’t measure, the Goldilocks approach to wood working. I found that the router bits also work on the resin but it did leave a scuffed up surface so some more experimenting with different speeds is required.
Router: https://amzn.to/3X9RLC8
Bits: https://amzn.to/3Ydrios

Step 14: Have a moment of questionable cognition and wonder if I could encase the entire table in epoxy. Essentially really leaning into the trial and error nature of this project. As the routing had left some fairly nonuniform finishes, having a new layer of epoxy on top would allow me the opportunity to hone my epoxy routing skills. This would require a proper full-size form which would be a fun thing to build, we’ll get into that on the final part of MTMLM!

Leave a comment