
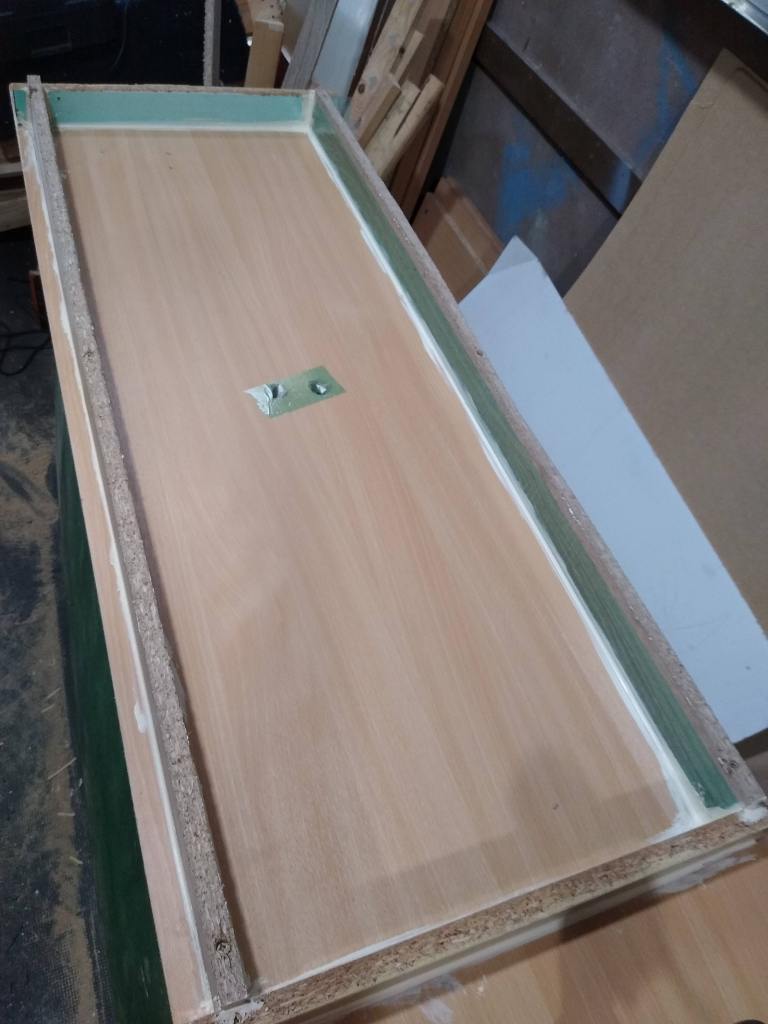
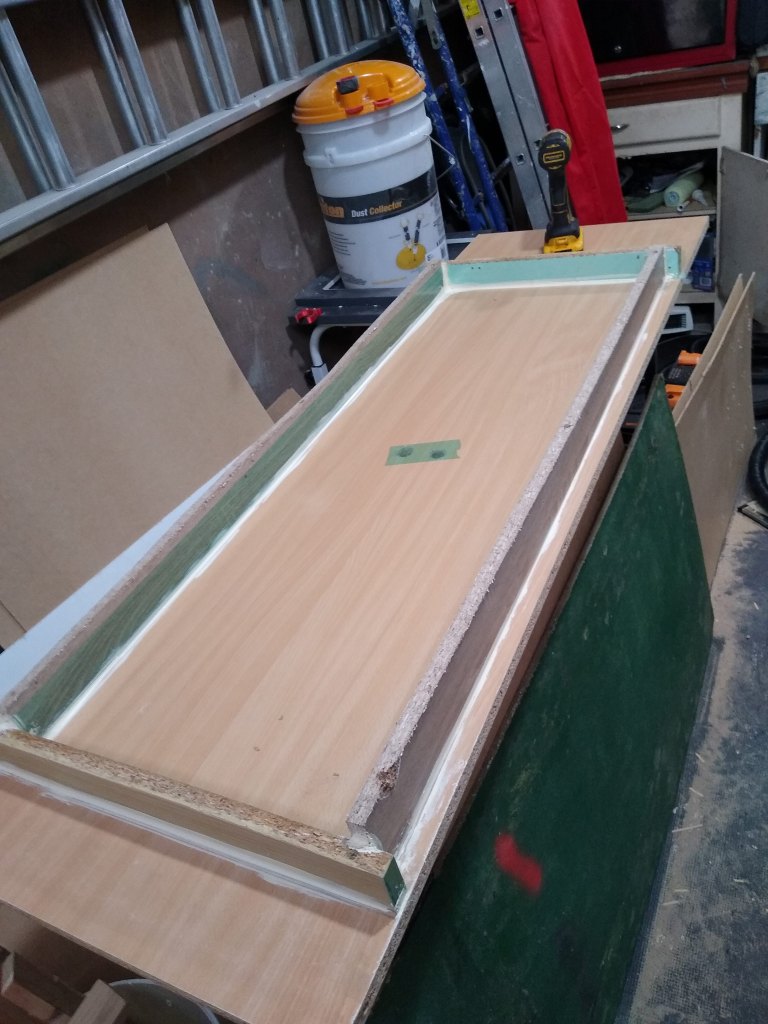
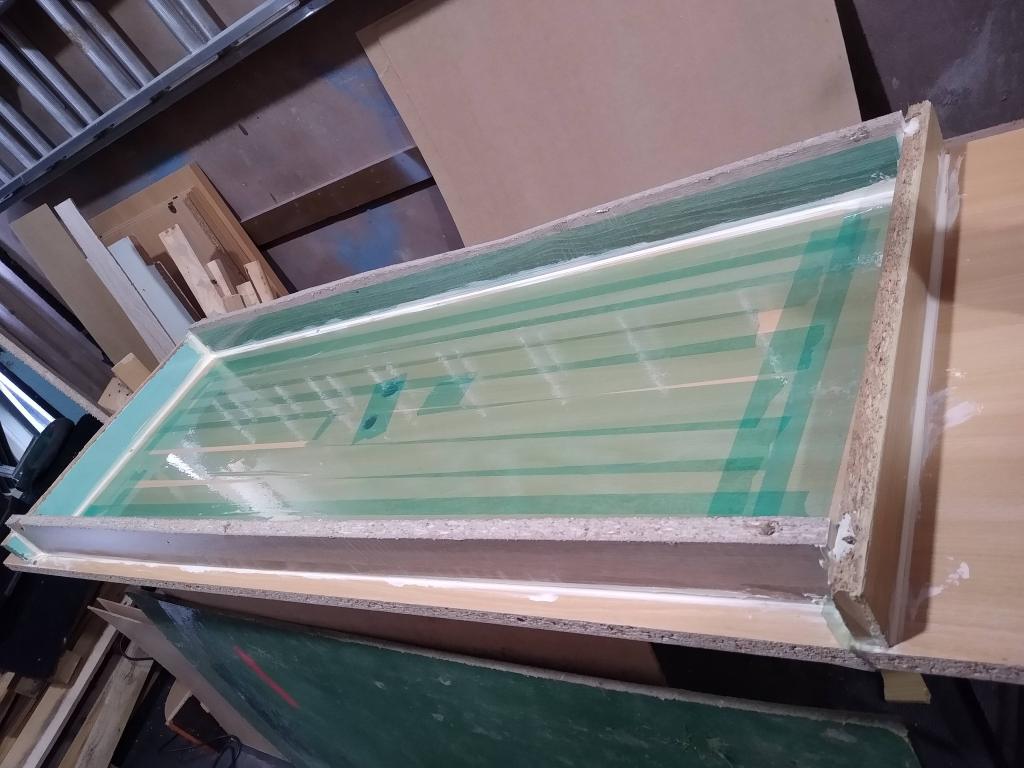
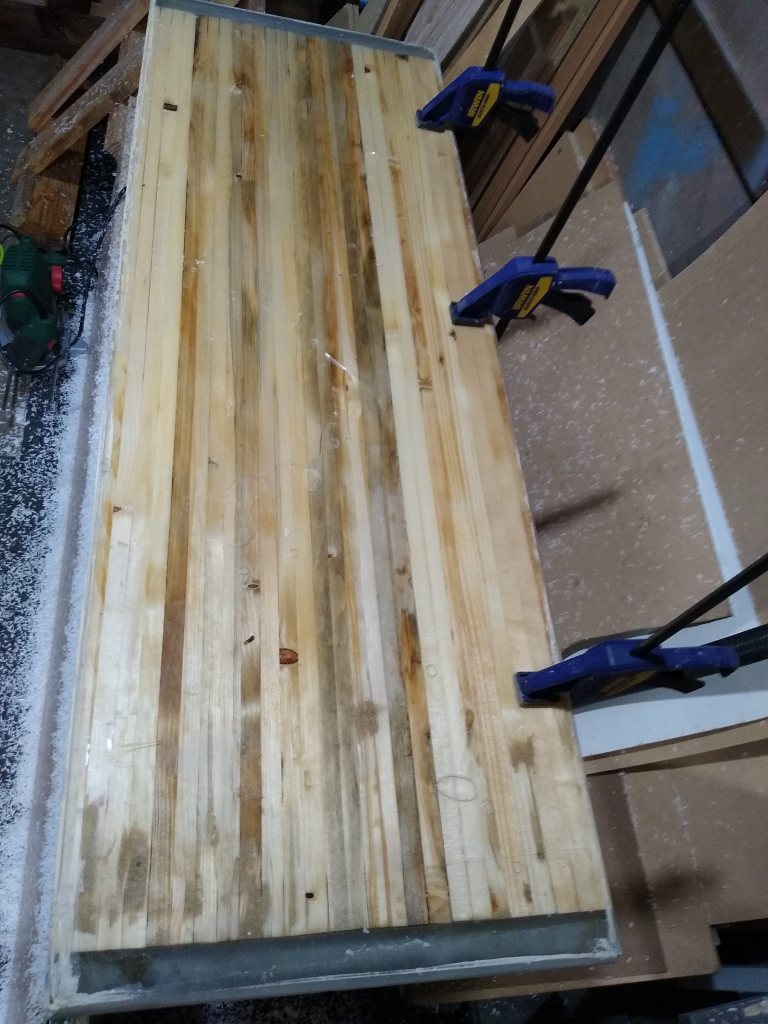
Step 15: Make a proper form this time. An old MDF wardrobe generously donated it’s body parts for the greater good. I traced a line around the table ontop of the MDF panel and then trimmed another panel down with a jigsaw to make the box. Next it was just a case of screwing the box together and calking the bottom before screwing it to the base. I caulked all along the out side and the inside of the box before adding release tape to every surface. No more scraping leaked epoxy for this guy. Probably.
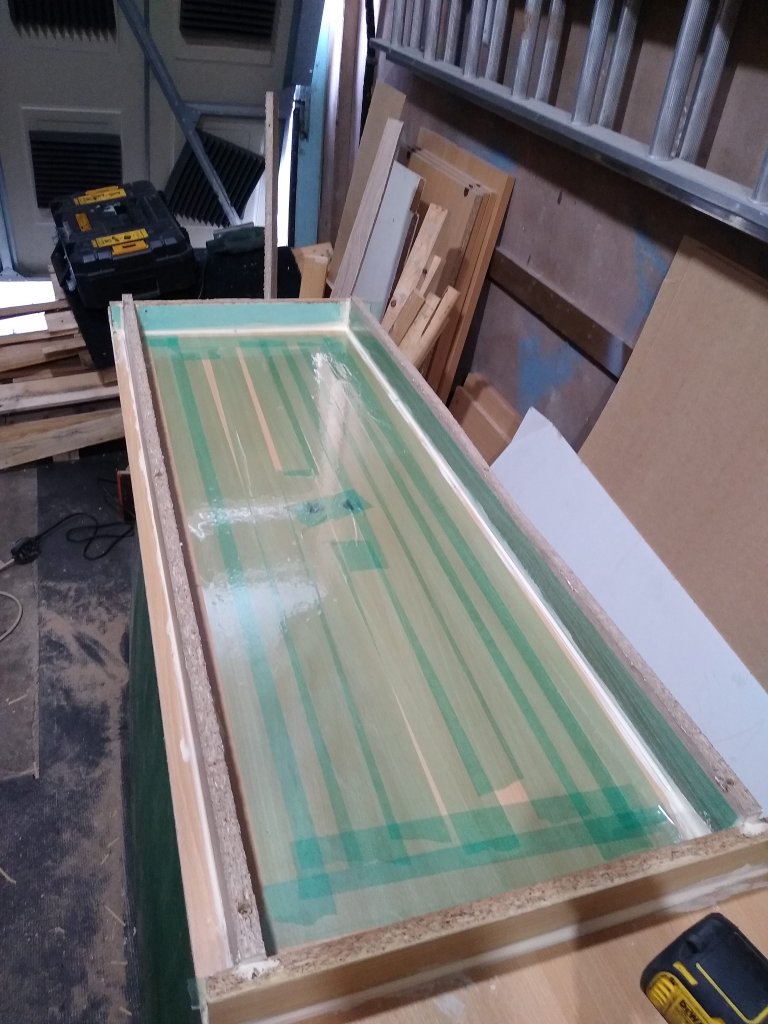
Then I plonked the table top back inside the form and to my amazement, it fitted perfectly, with a slight gap on each side to allow the resin to encase it. I thoroughly mixed the resin then poured it in the form and once again crossed my fingers.
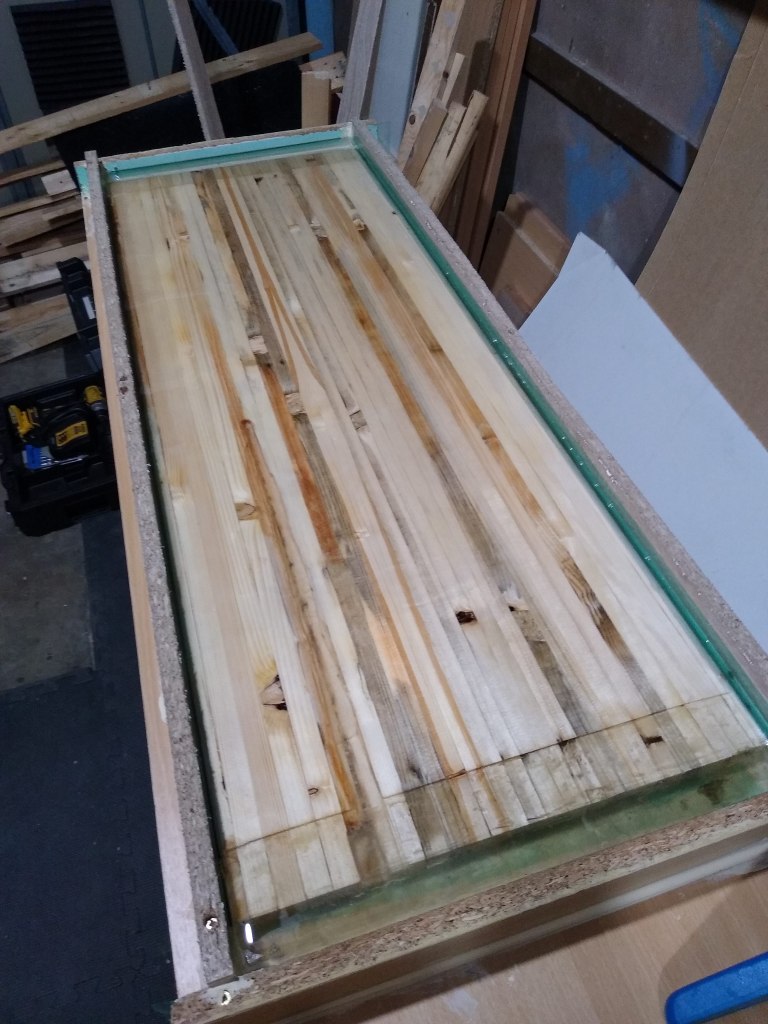
Step 16: Discover a new issue. There was a milky haze in the epoxy. I’m not sure if this was the temperature or some other curing issue, as it was completely clear when it was poured. It was unexpected as I made sure to mix it exactly to spec and poured it within the temperature guidelines. As I mentioned before this was a different epoxy to the first type so maybe it was not as good quality?
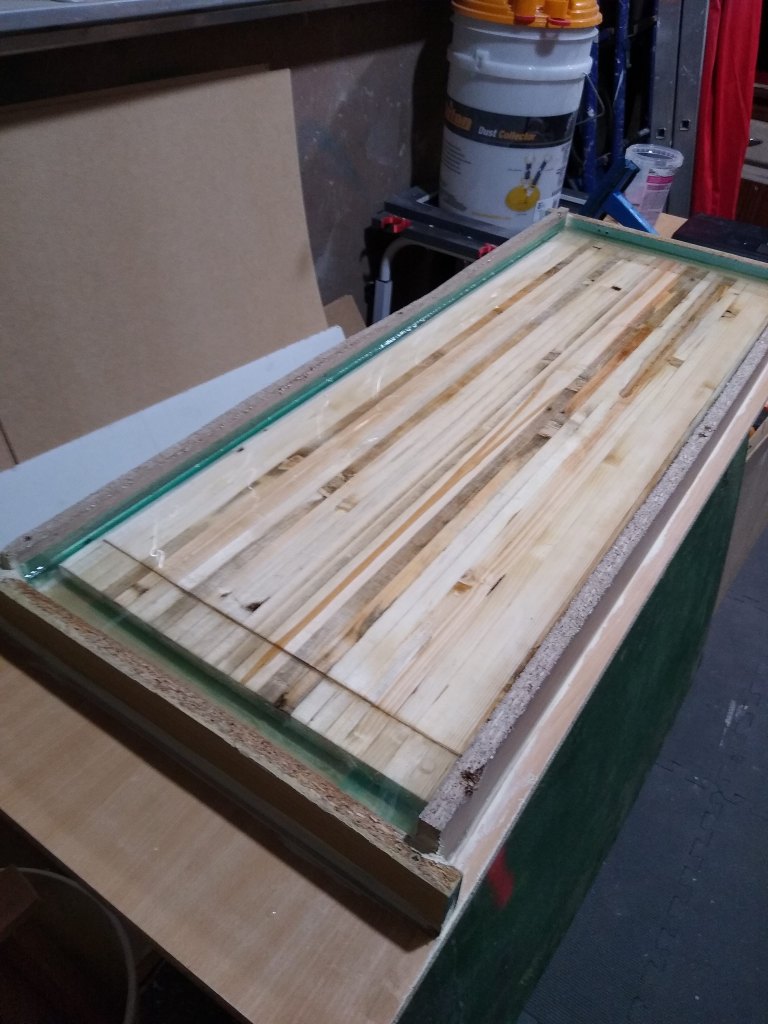
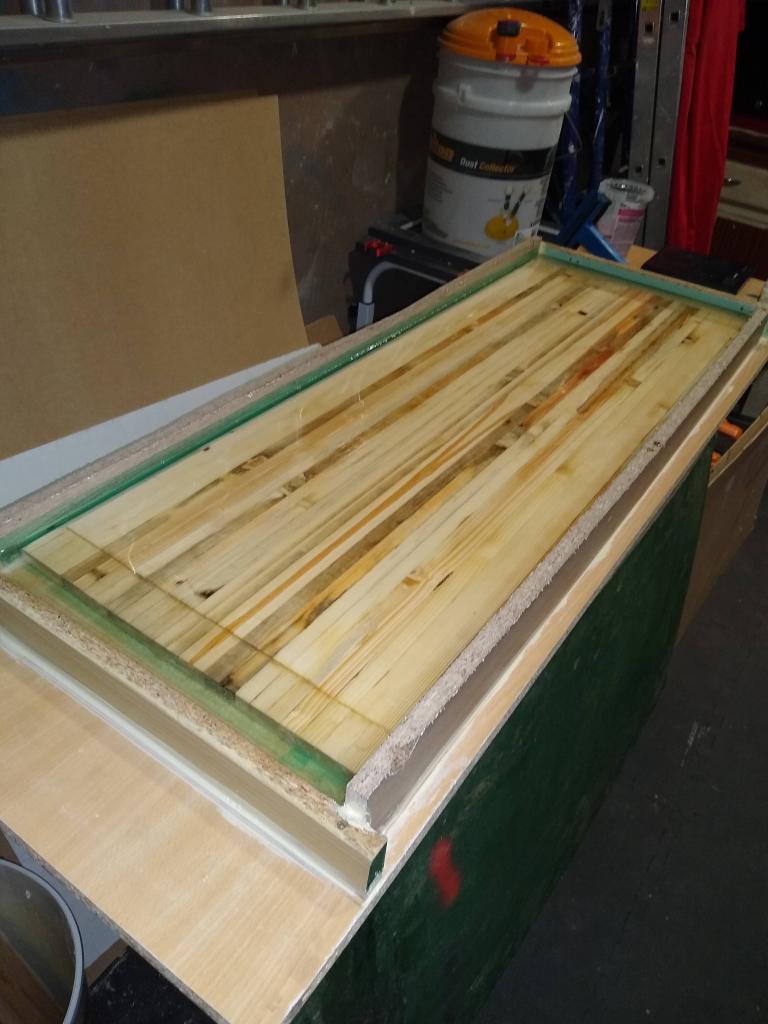
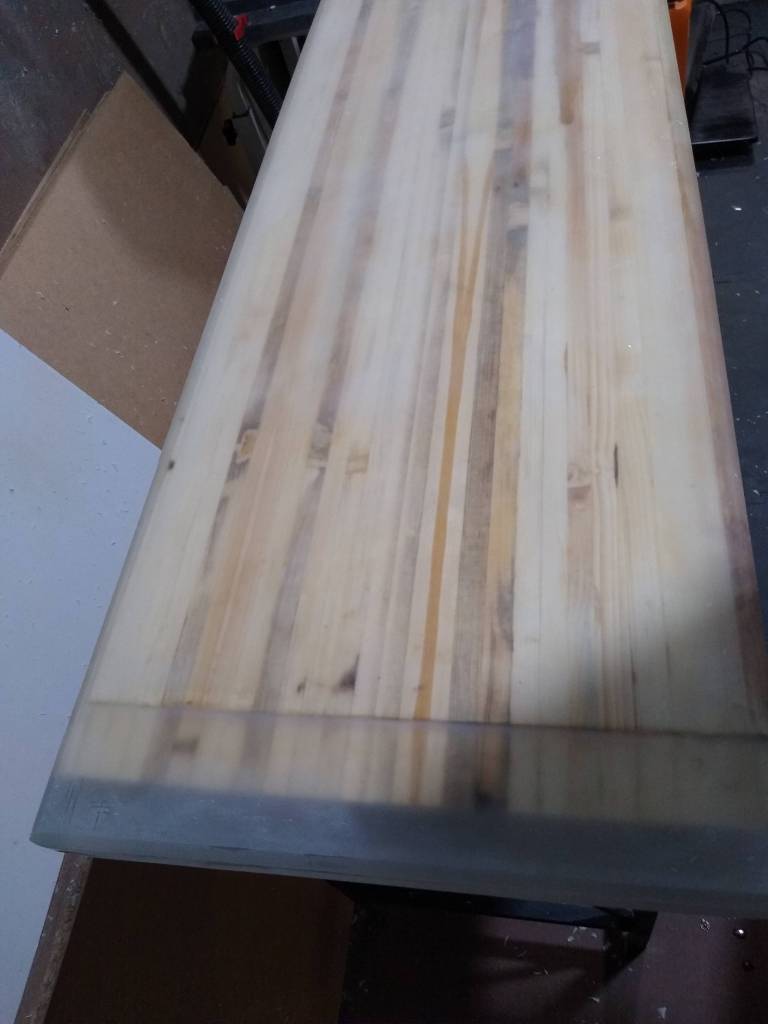
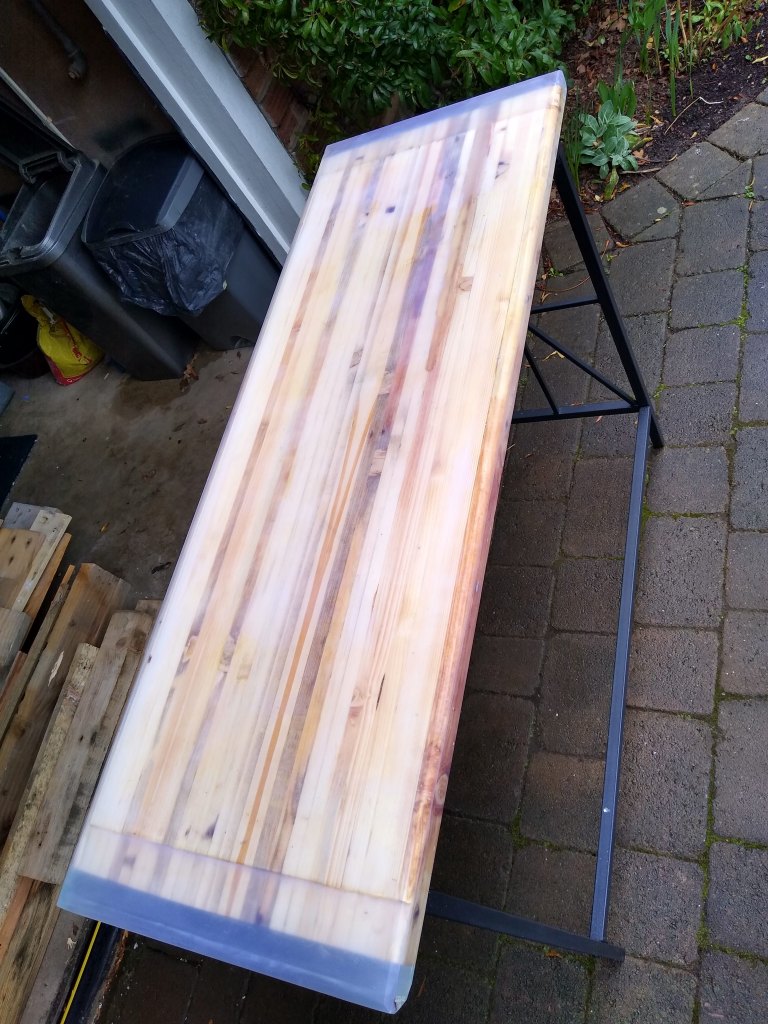
Step 17: Remove the form, inspect the Cure and hope this boy doesn’t cry (any more). When I flipped the table over I saw it had almost uniformly set on the bottom, so it must have been floating on epoxy in the form. There were a handful of empty pockets that would need filling and some imprints of the MDF pattern that would need sanding out. Talking of sanding, I got some 3M Xtract sanding discs (after Cam from Blacktail studios mentioned them) and they are actually much more resistant to clogging.
Link: https://amzn.to/3xsGouL
I also found that the caulk had pretty much set into the epoxy on every side, this wasn’t a huge deal as I was going to route every edge again. The routing went far smoother than last time, apart from a slip on the underside it turned out pretty uniform. I also, also noticed that some tiny bubbles had escaped being popped. I may have to invest in a blow torch as my ancient heat gun is a bit too asthmatic for popping epoxy bubbles.

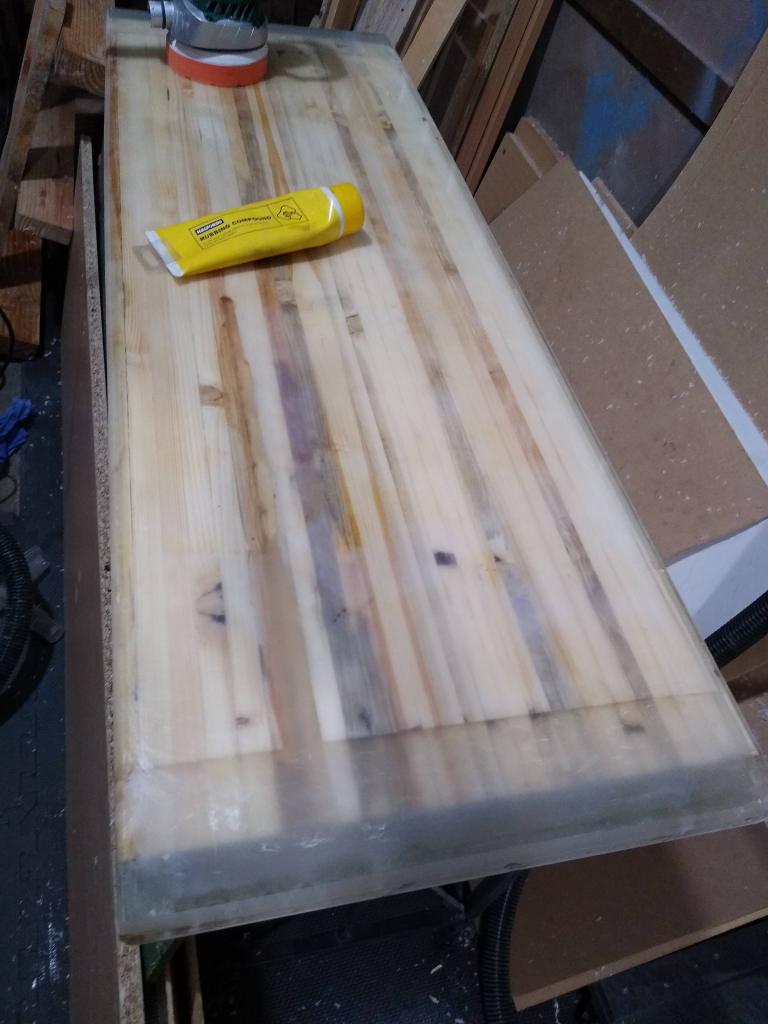
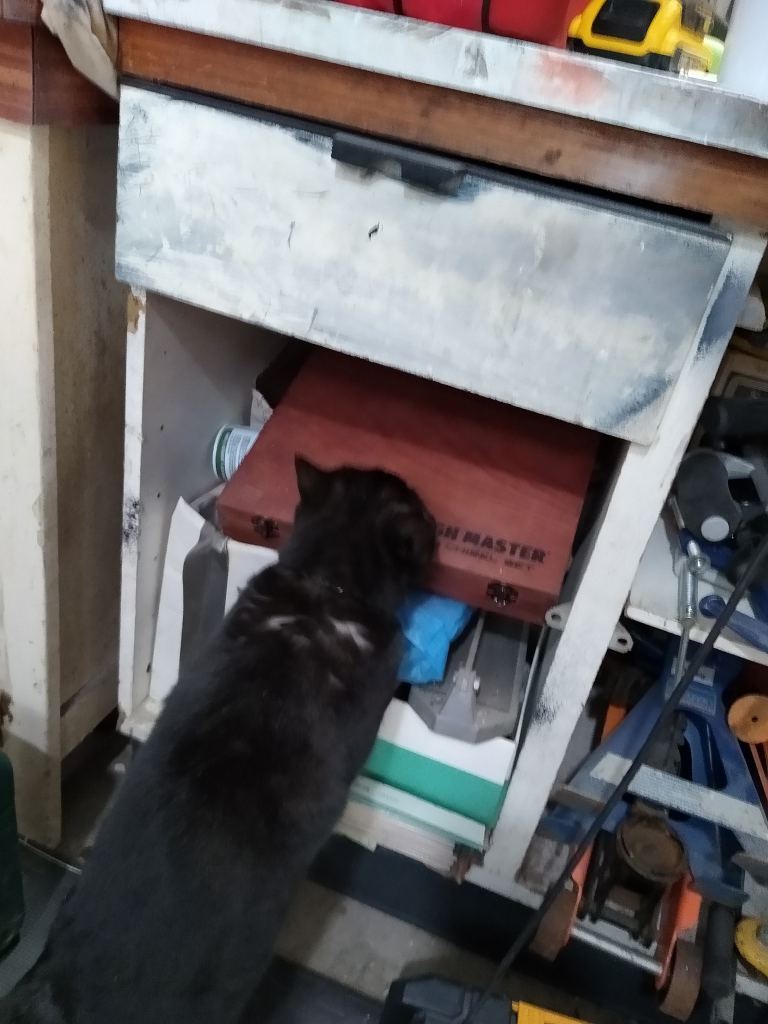
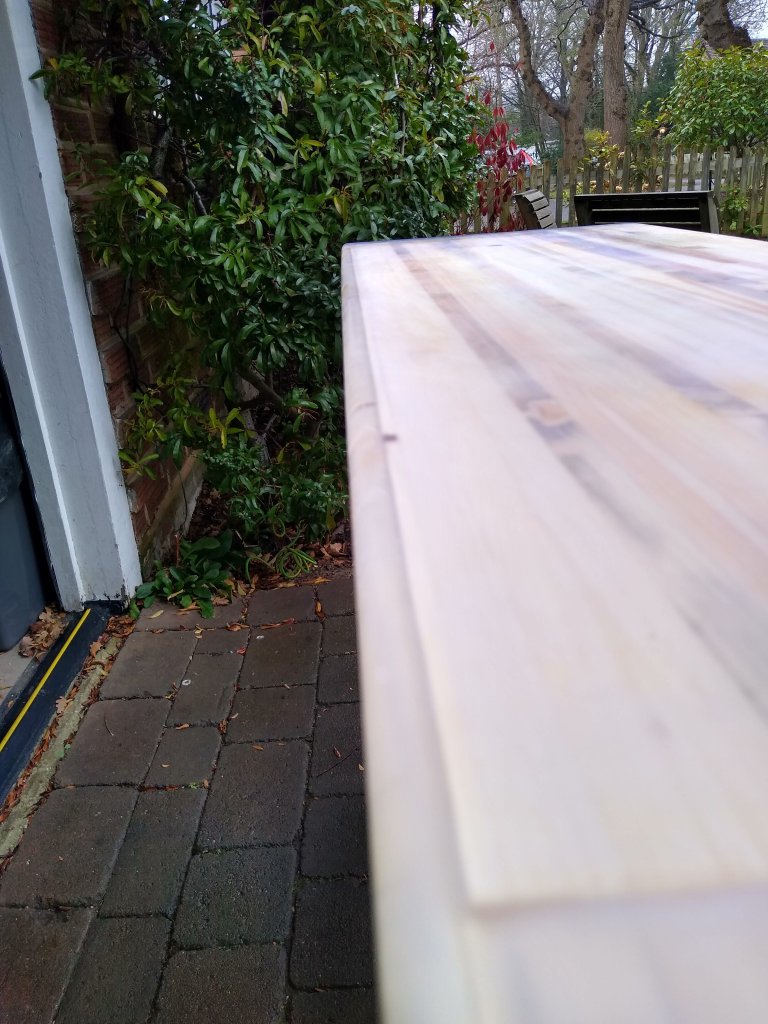
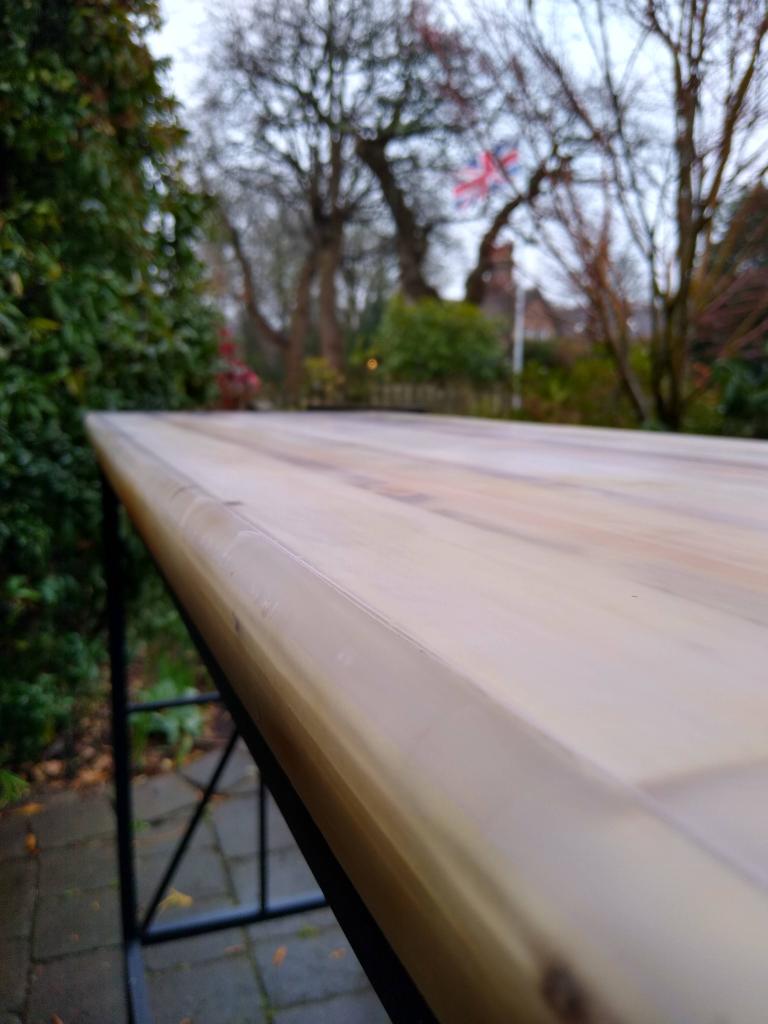
Step 18: After some sanding advice from a cat, I landed on a frosty finish on the epoxy to mask the bubbles, milky haze, embedded caulk & other unwelcomed bits. Originally this was going to be a glassy clear top but experimenting with sanding grits, polished and waxes proved to be enlightening.
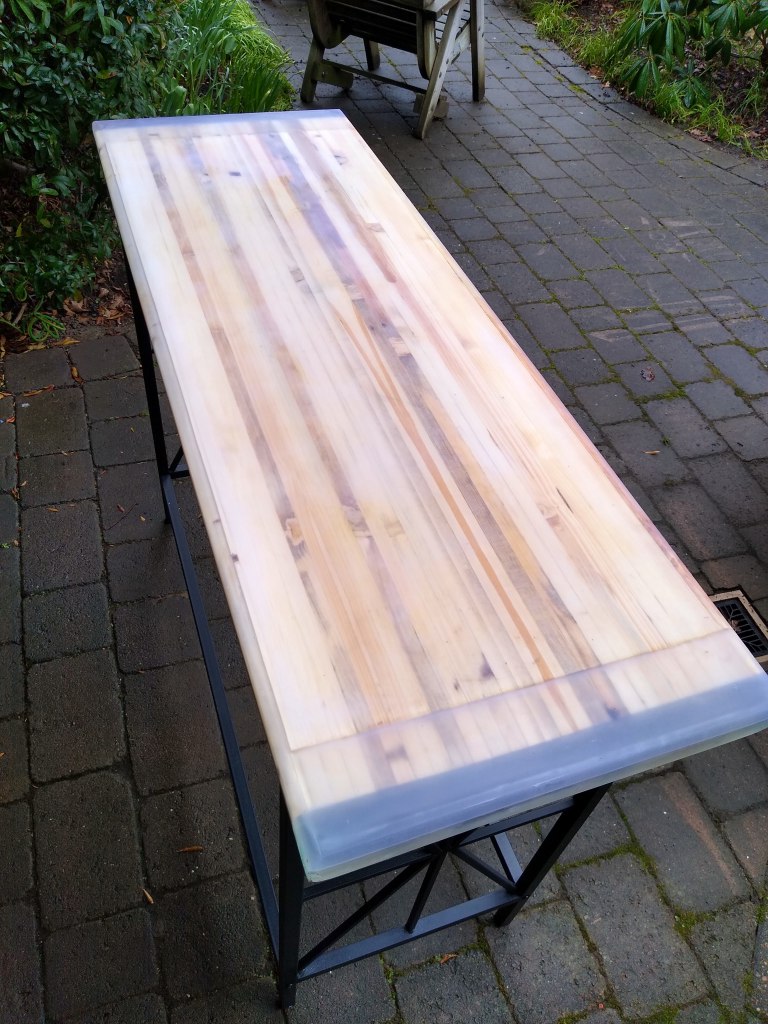
I used the sander and went through grits 80, 120, 180 and 320 , this left a uniform and frosted look. Then I attempted to buff it with an automotive cutting compound that I found in the back of a cupboard. This actually seemed to work and gave a smooth and slightly clearer finish. After little to no research I decided to use a B&Q basic mat furniture wax to finish the table. It looks like Rubio mono-coat is often used but that stuff is too expensive for this experiment.
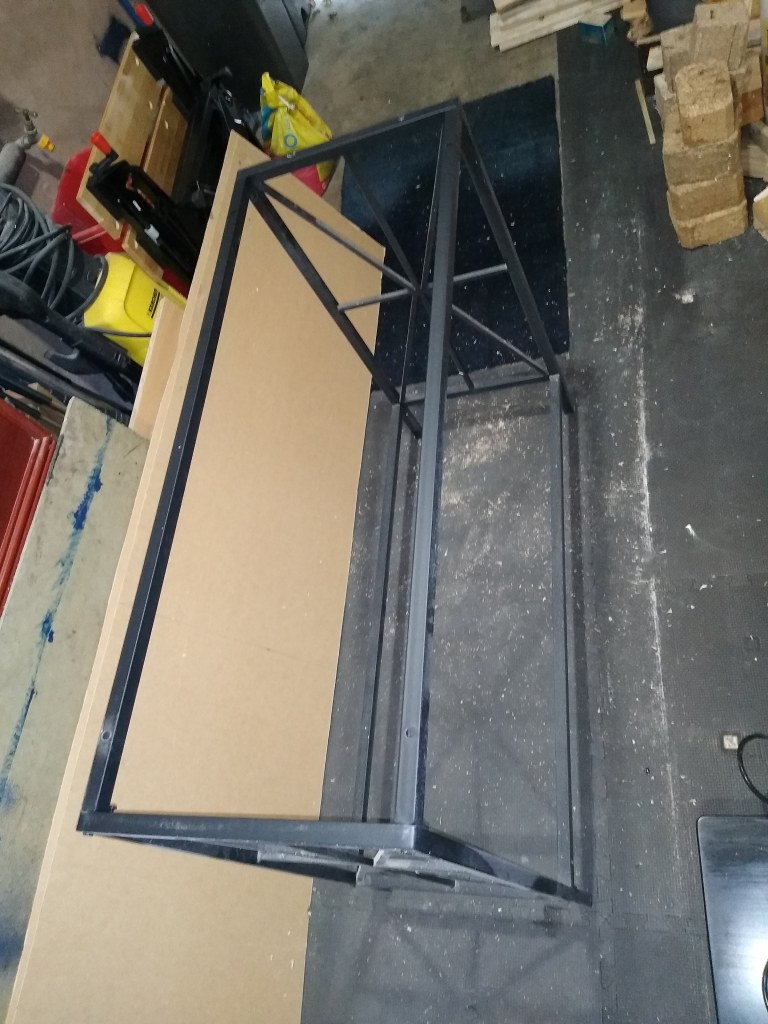
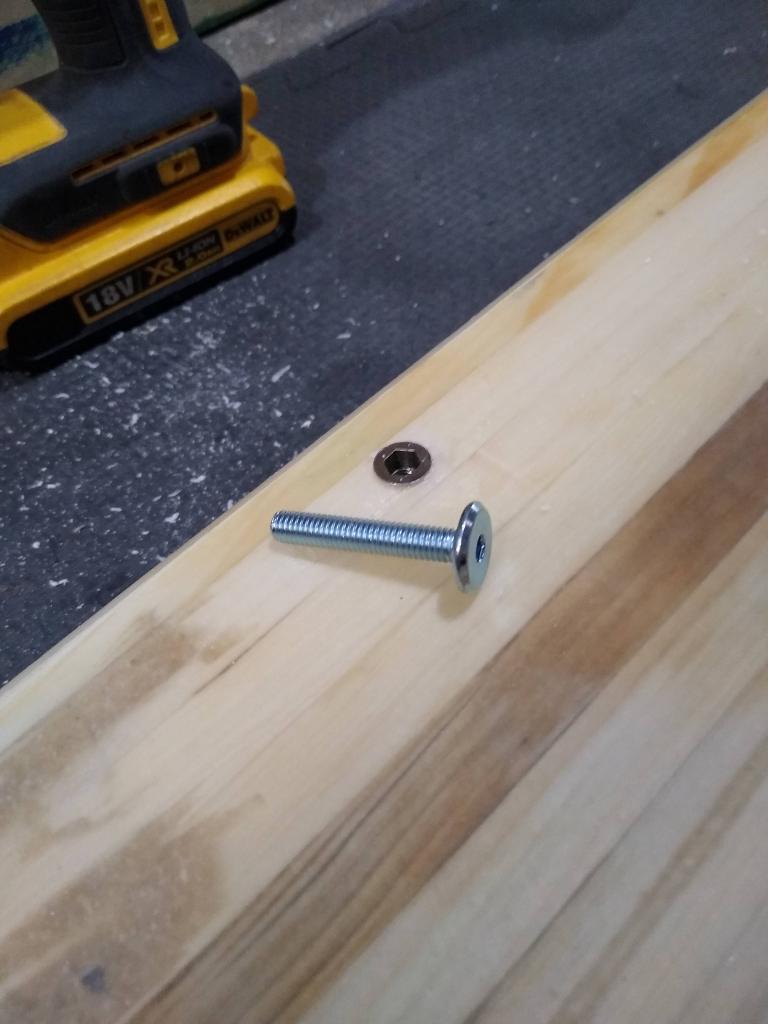
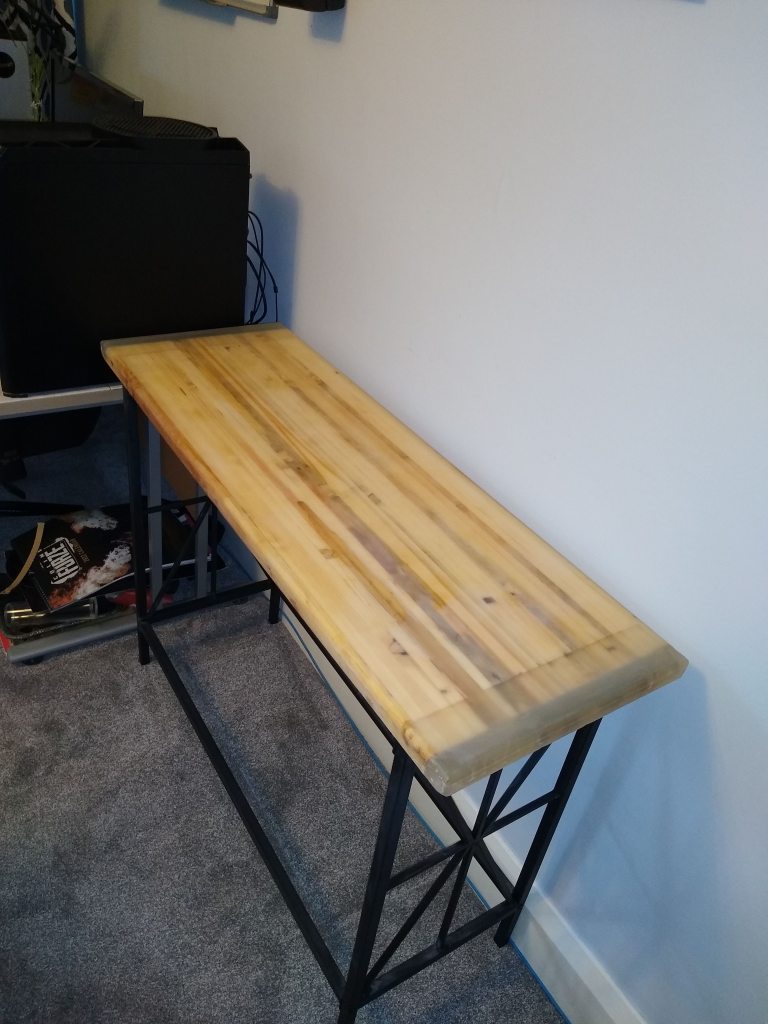
I decided some simple threaded inserts would be the best way of attaching the legs to the table. They were good value, easy to install and looked pretty neat!

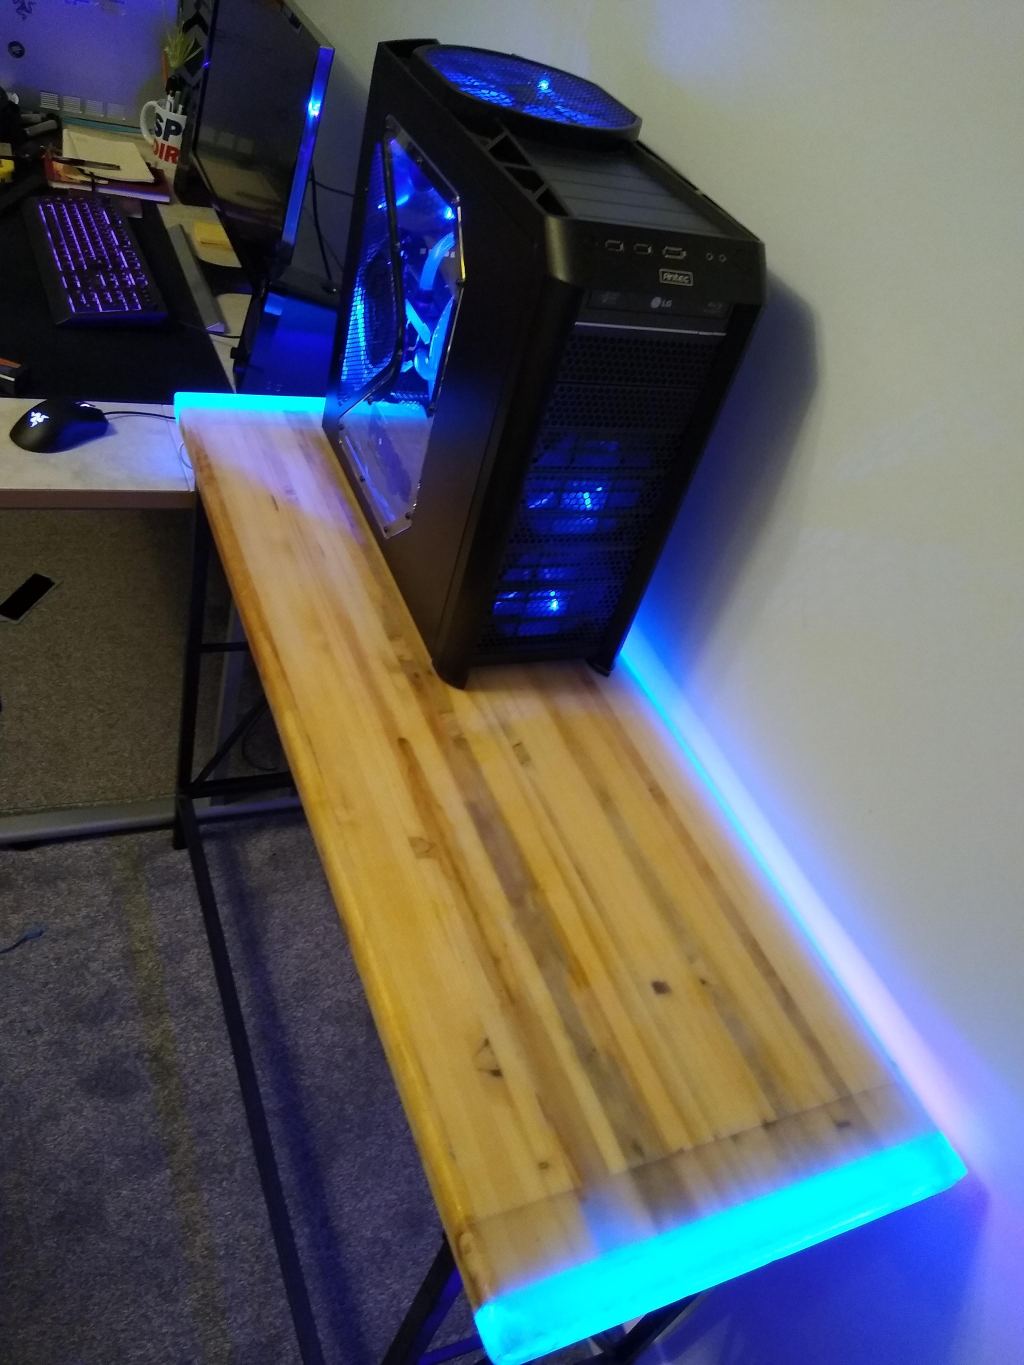
Step 19: The final part of this weird table project was to find a way to make it glow with that UV goodness. Turns out that UV strip lighting is readily available and pretty cheap. I wanted the UV light source to be out of sight and shine up though the ends of the table. To get the best light coverage, the LEDs needed to be angled upwards so I printed some 45-degree angled brackets. These could be installed under the table and the black filament matched the table frame so it’s barely noticeable unless you’re looking for it. The UV light strip is powered by USB, so plugging it into my PC means it powers up and down with the PC.
UV Light strip: https://amzn.to/3XJURwT
Here’s another poorly edited clip for your viewing pleasure!
This whole process has been a bit of a roller-coaster of balls ups, aka a fluid learning experience. I started out with a simple goal of gluing up some wood and sticking some legs on it, but when epoxy got involved it seemed like a great opportunity to let out some pent up creativity. Even if the result was a bit tacky or tasteless, it ultimately was incredible fun to make from start to finish and have learnt way more that I anticipated.


Leave a comment