

There is a pallet challenge that I found via Mark Dainer’s (aka dainermade) Instagram account, the challenge is to make a thing out of pallets (I do good explaining). I figure now that I’ve finished the “Mistake-table” I’m basically an expert and should enter competitions.
My next logical project has to be a workbench of some kind. Having made do with an old kitchen unit and latterly a workmate (which I wish I bought ages ago!) It had become obvious that I need a work bench.
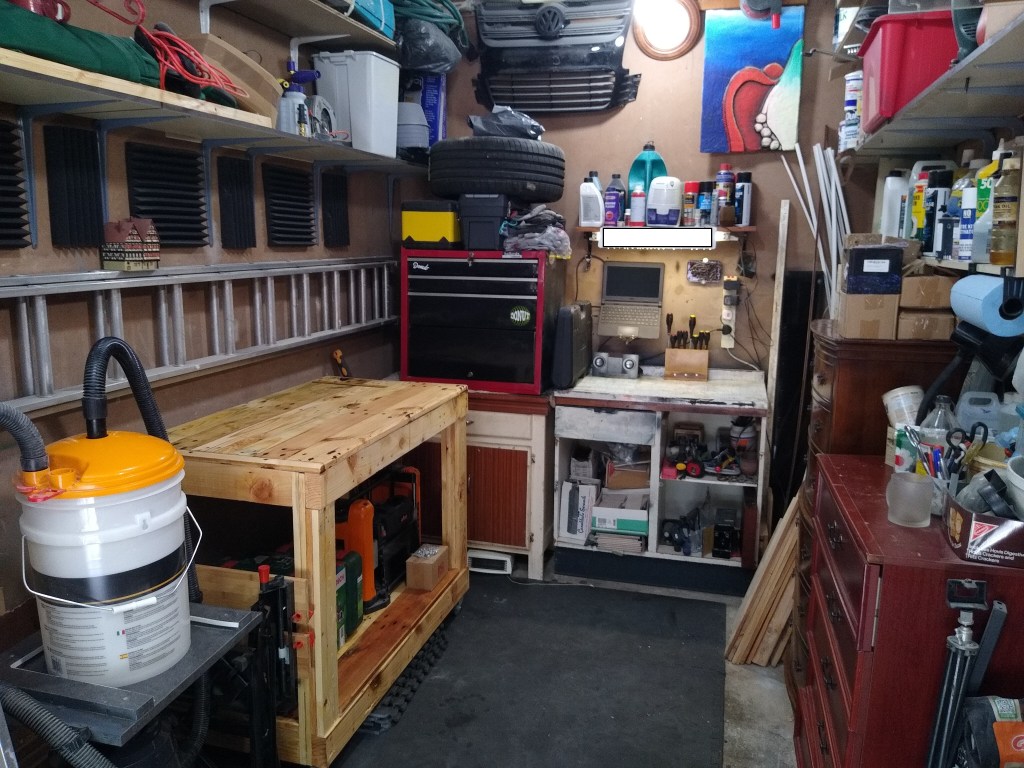
Ideally one with some storage underneath and some maneuverability to suit a fairly small “workshop”. I figured I would take some existing plans and adapt them to suit my dimensions and needs.
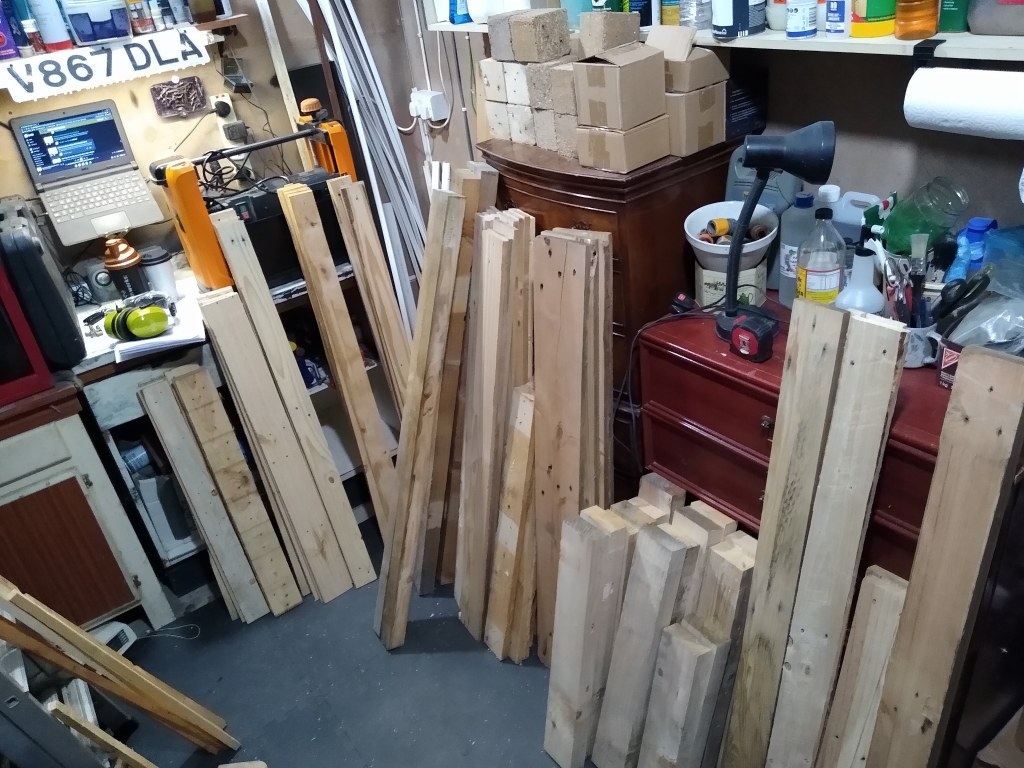
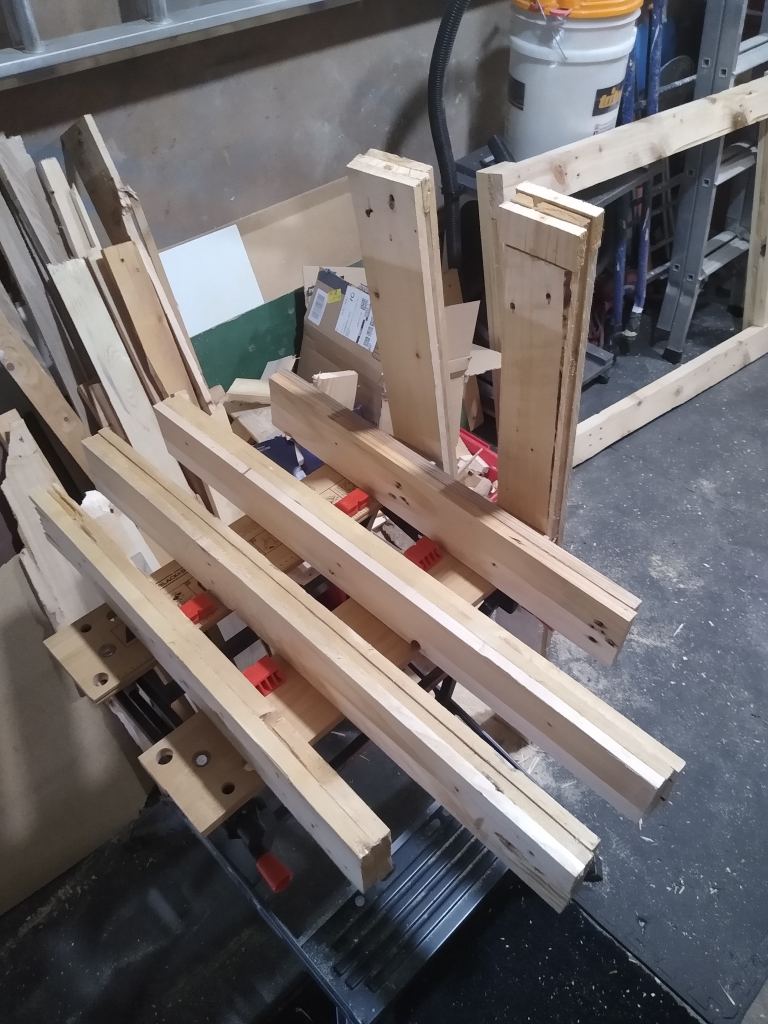
I’ve probably collected, dismantled and planed around 6 or 7 pallets at this point so I started off by selecting the wood from my current “stock”. Most of the wood had been in a dry garage for a few months with a little dehumidifier running close by. I have invested in a moisture meter as I wanted to check that the wood was within moisture parameters before sticking it together. (This is something it did not do on the mistake table!).
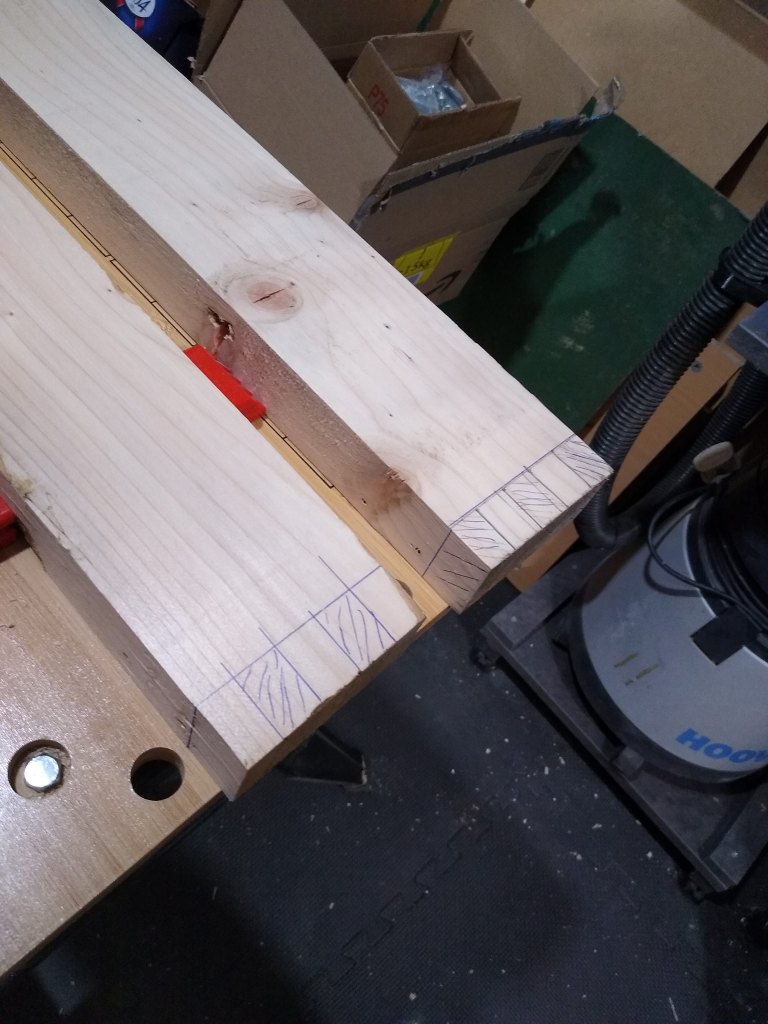
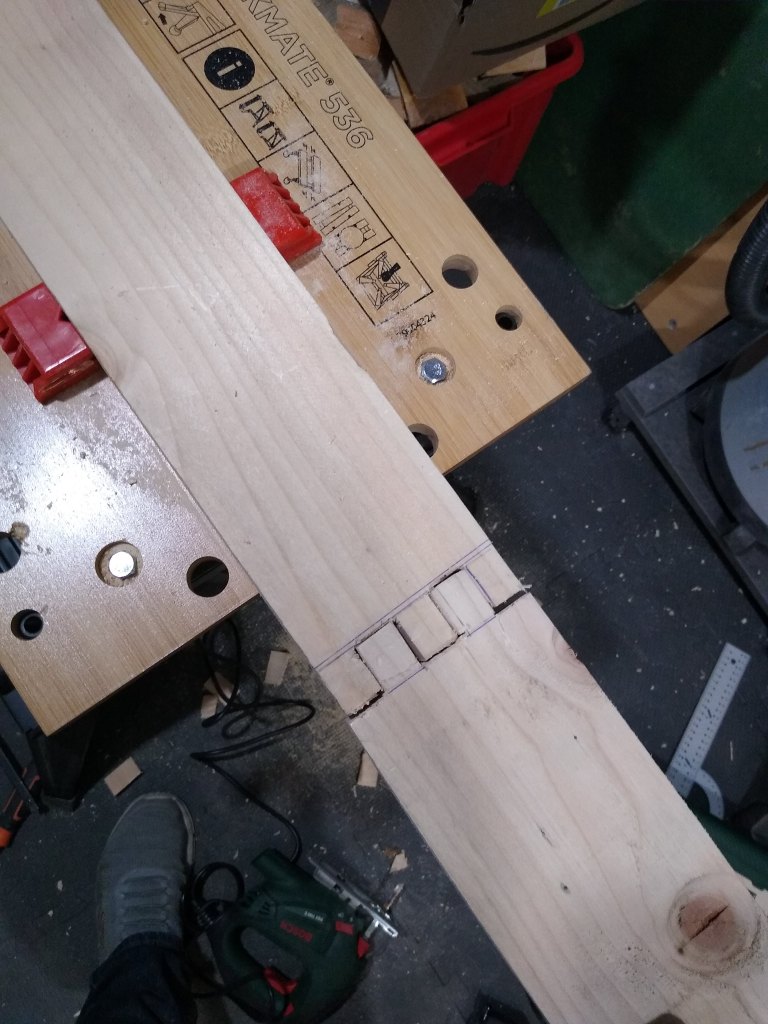
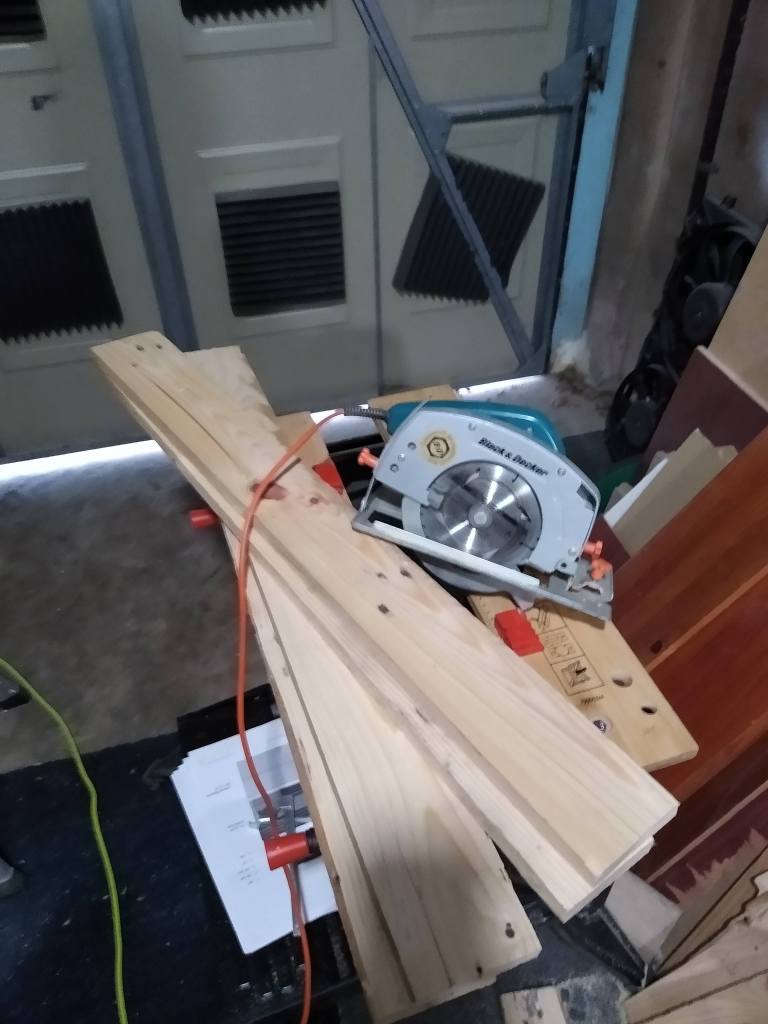
I spent a little time looking at joints and having a go at connecting some wood lengthwise but with little success. I was using a jigsaw free hand for this and could not get the joins to sit flush with each other. Without a workbench or vice it was tricky to attempt proper joinery, so I decided basic lap joints would be the easiest and quickest for this project and then I can practice joinery to my hearts content afterward. It was chicken and egg situation, I needed a workbench to work on whilst I made a workbench.

After watching a few work bench videos I landed on a bench from
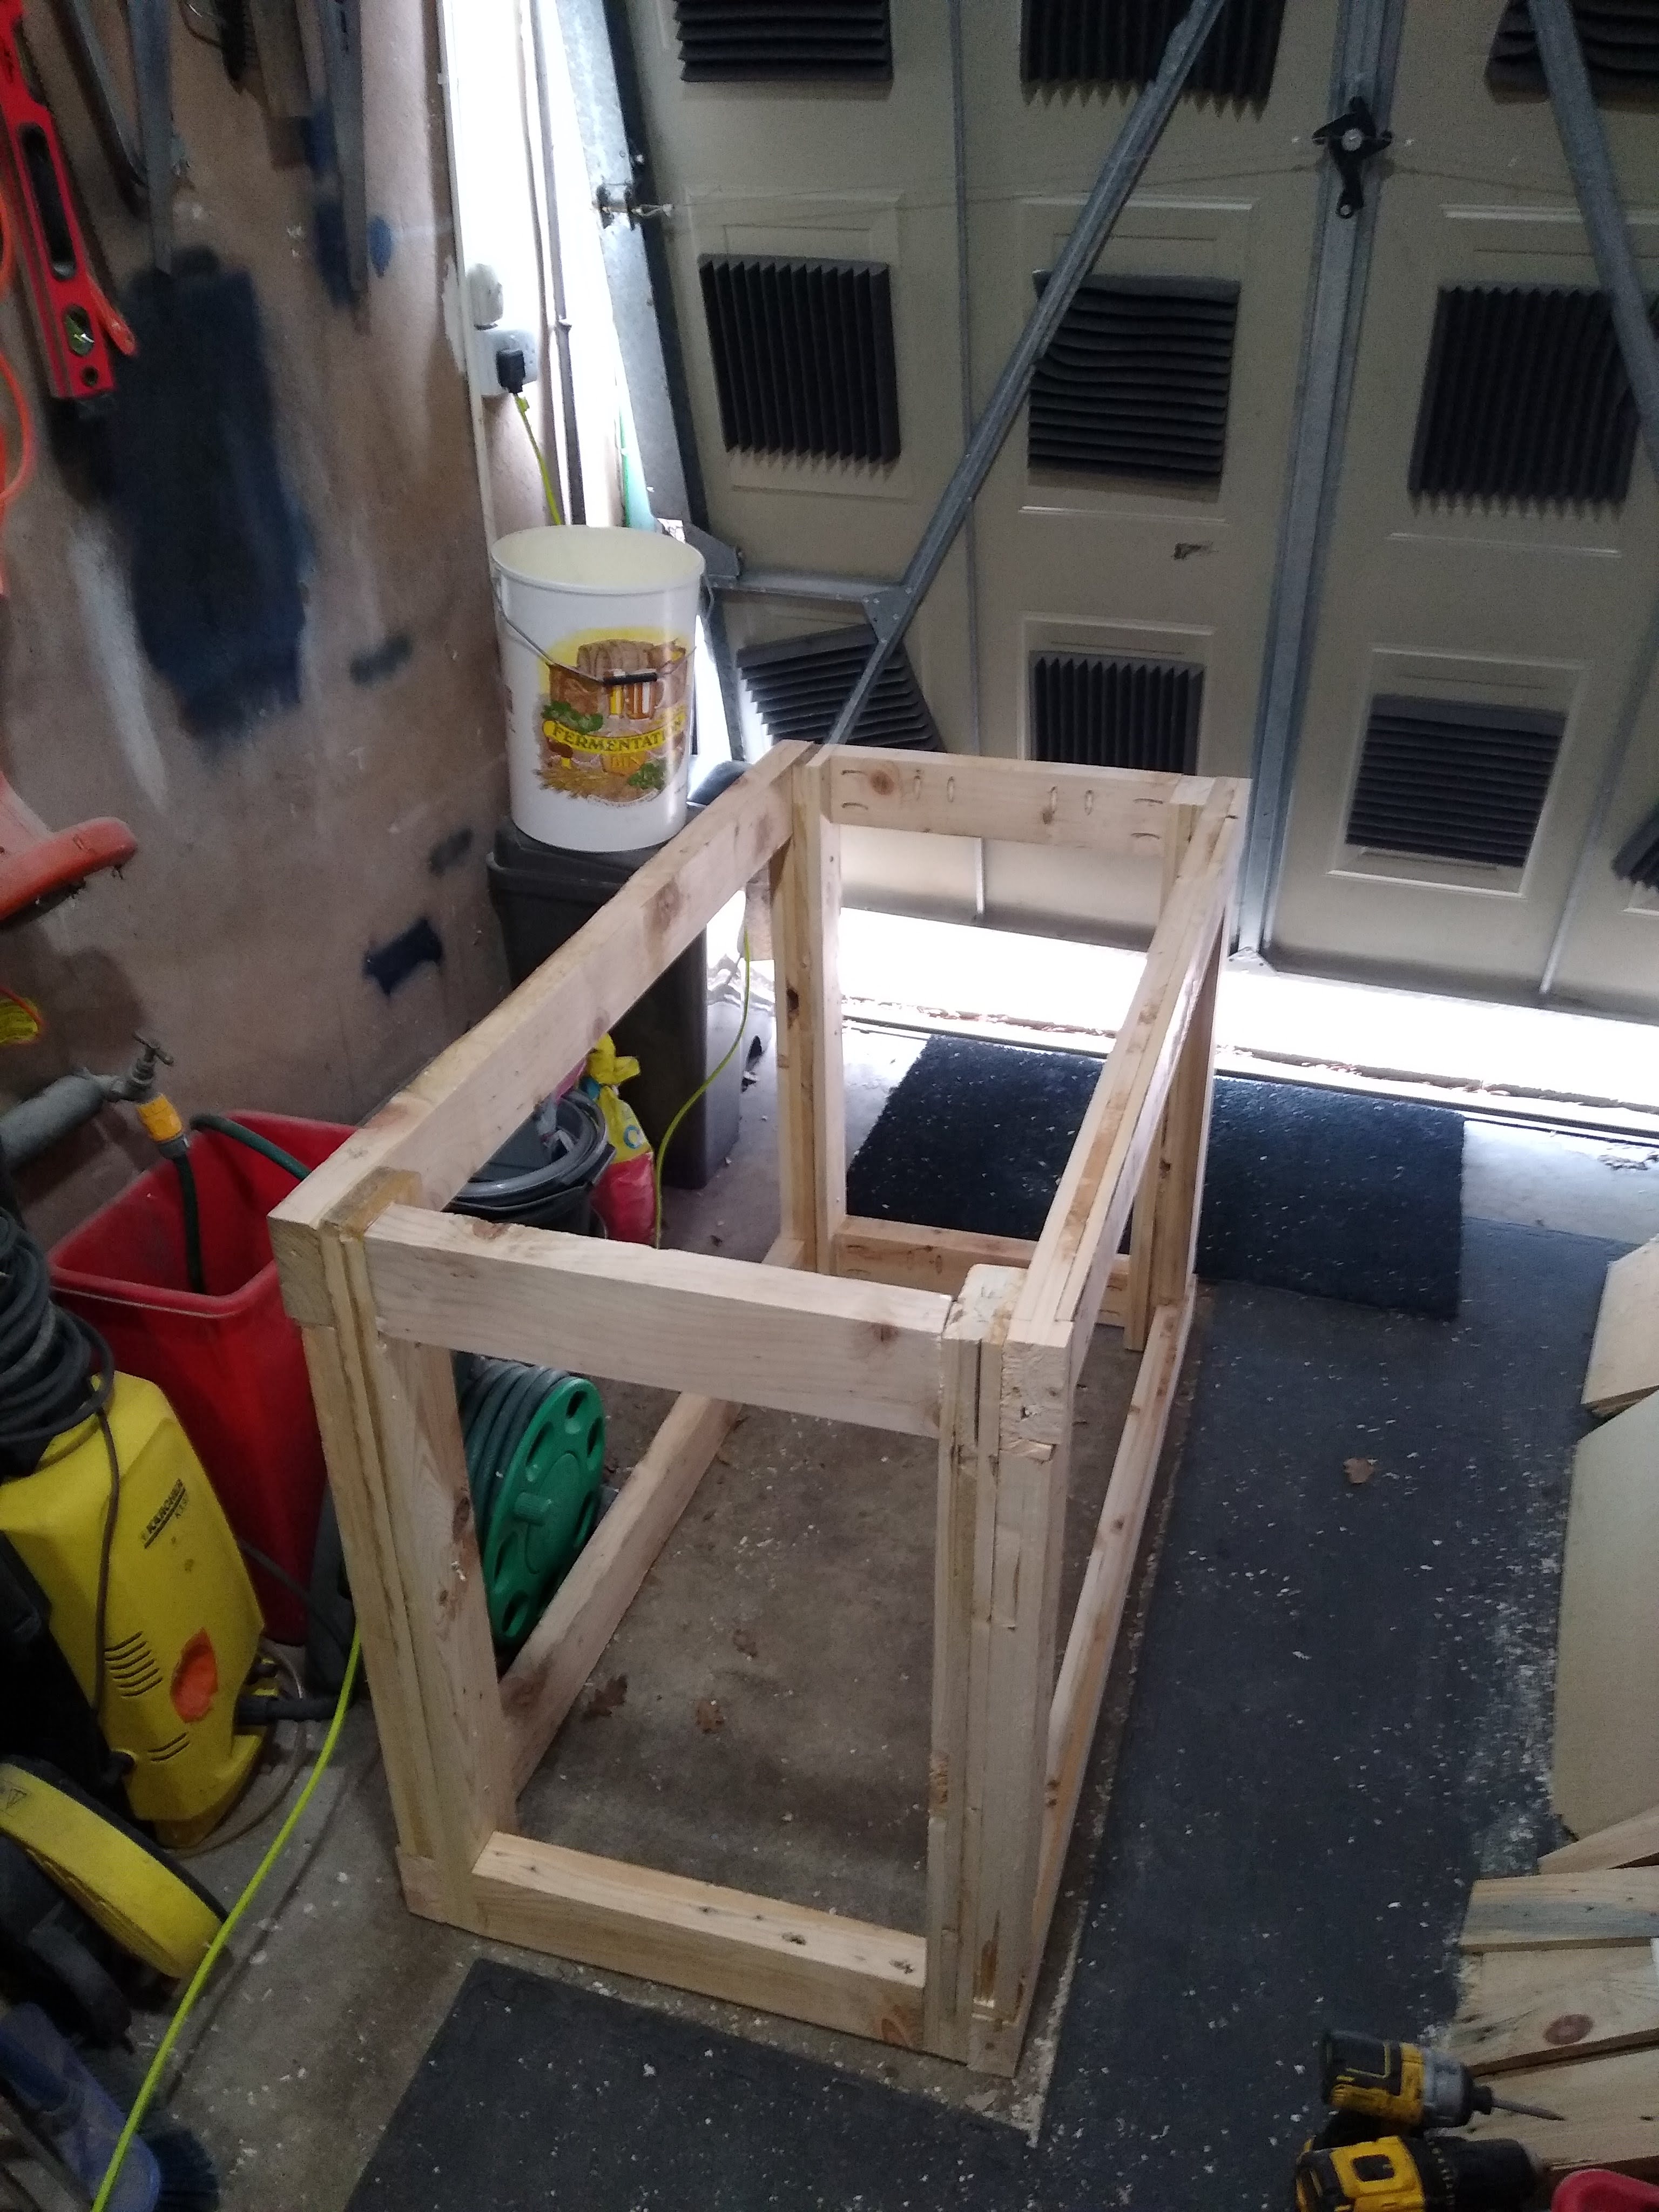
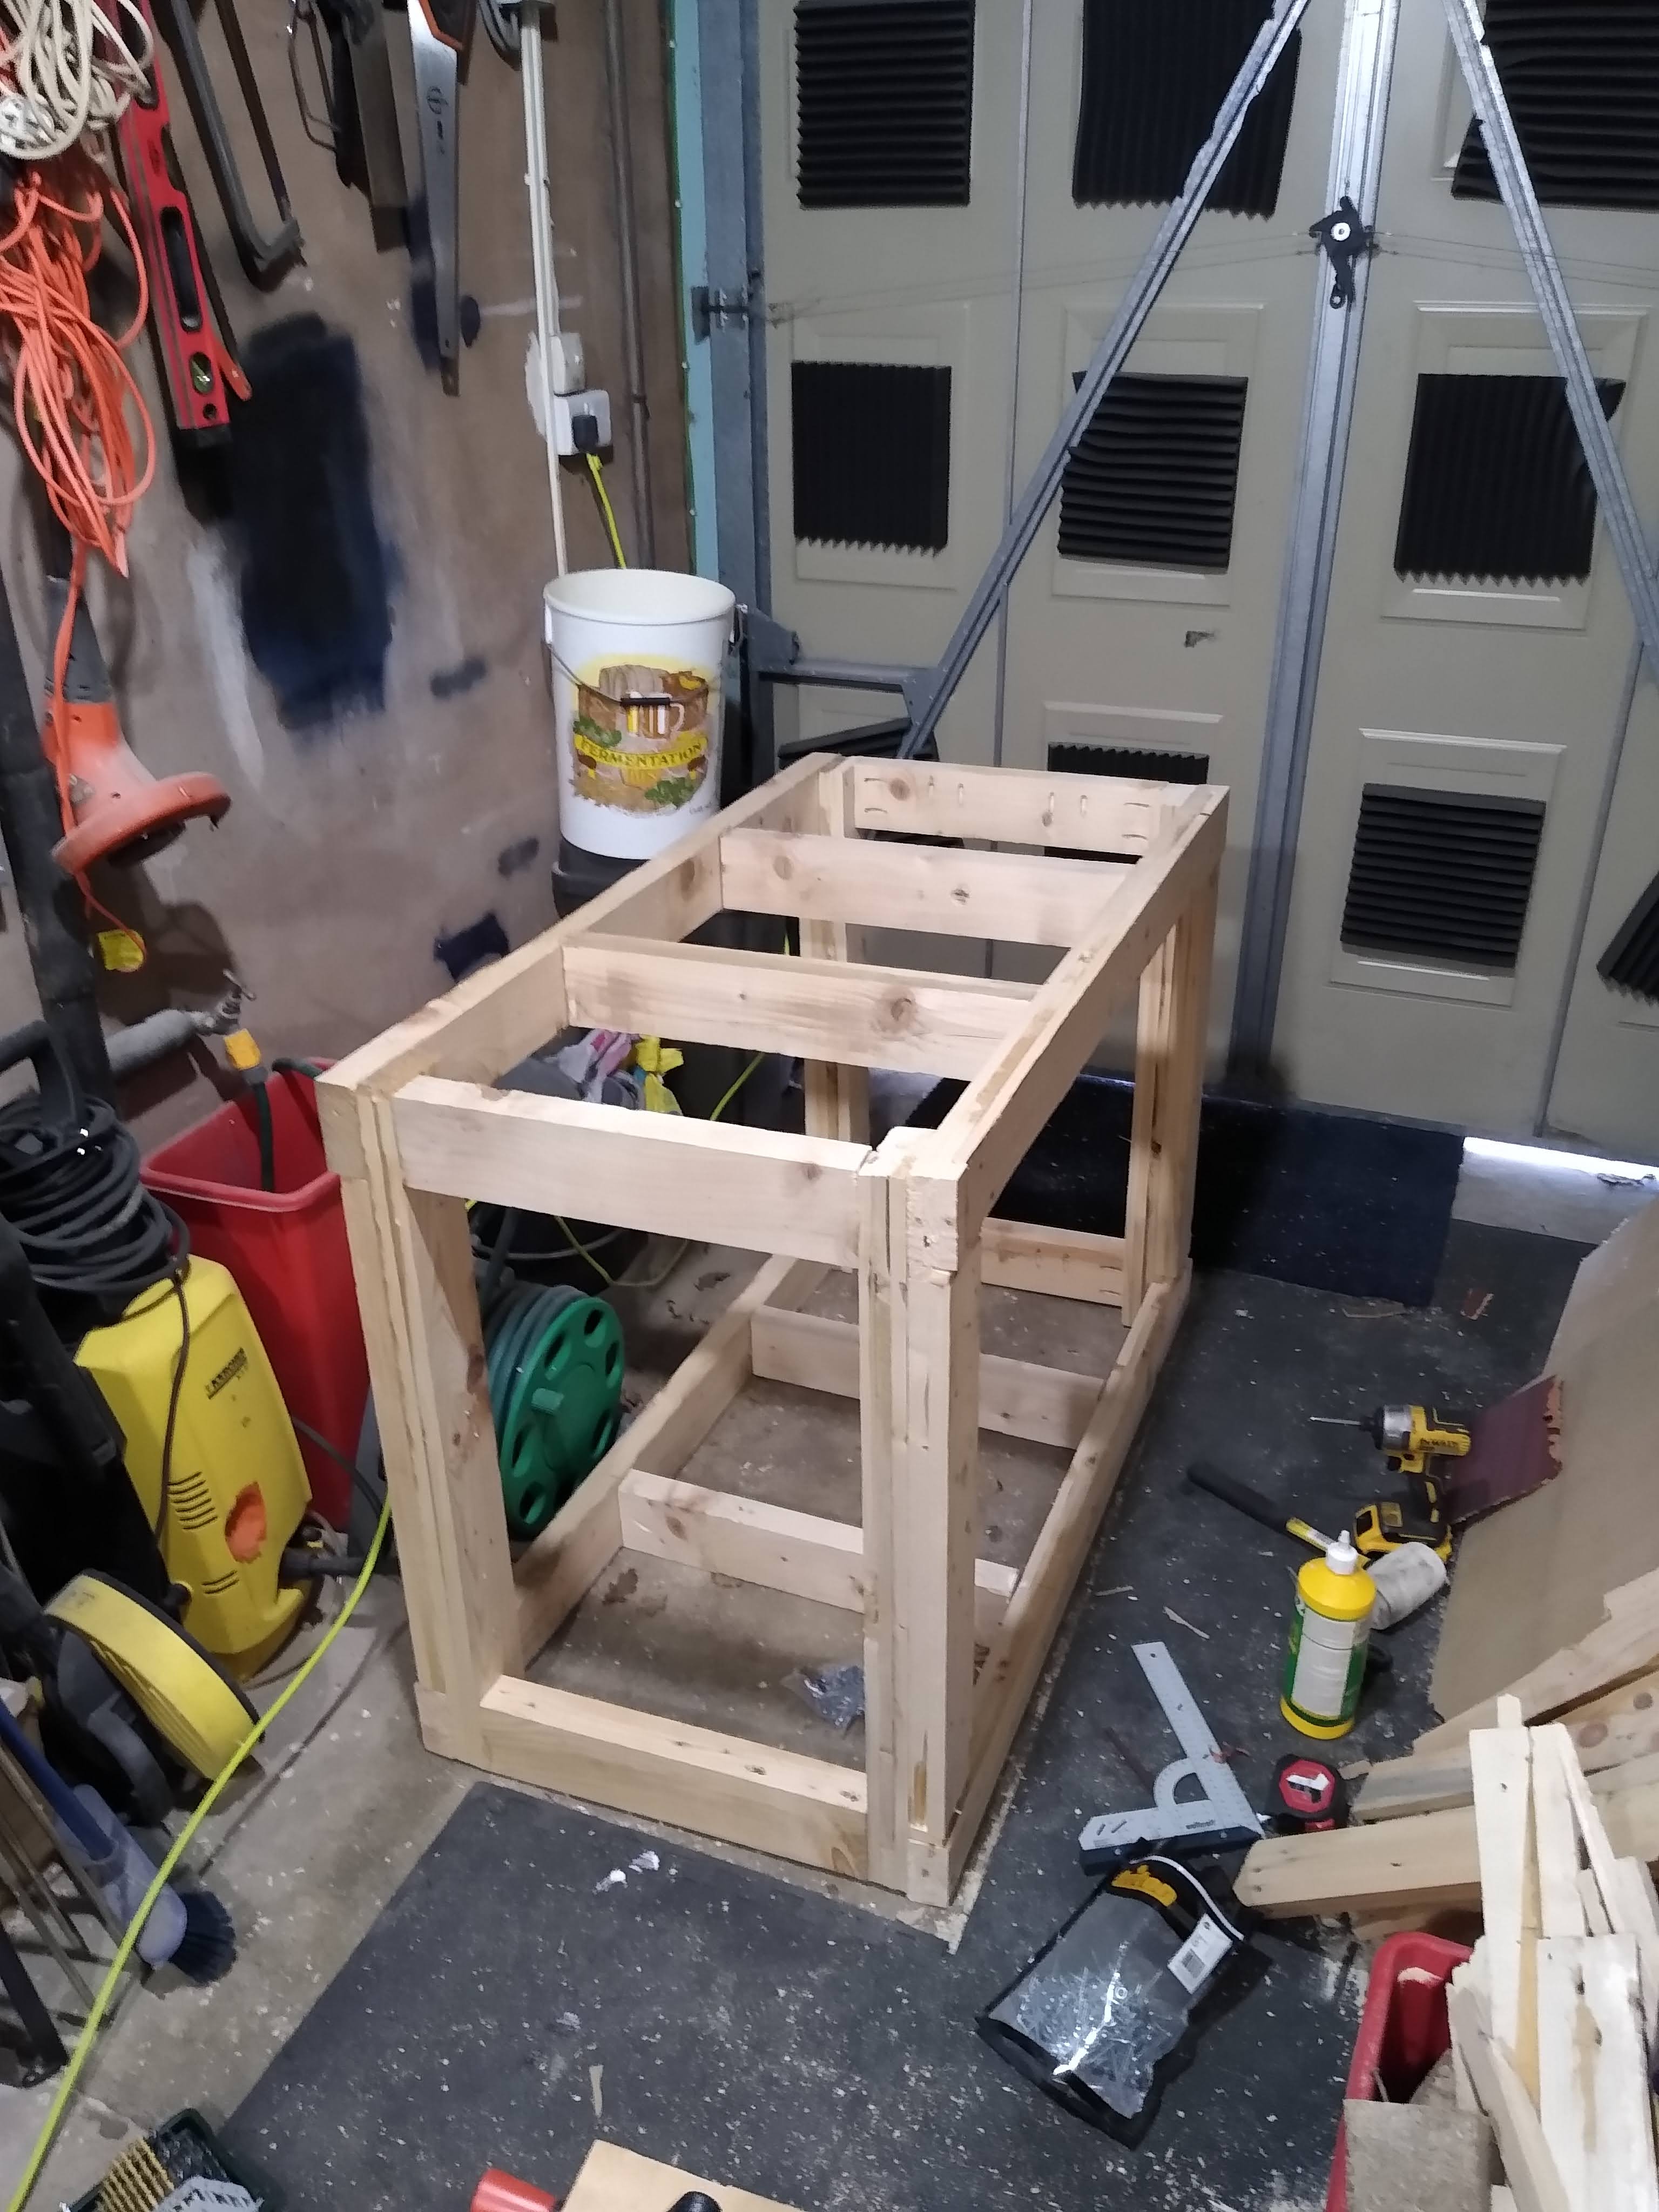
Bear Mountain Builds youtube channel. It was based 2*4’s so I attempted to make them out of my pallet wood. Some of the chunkier pallets had some wood that was pretty close to 2*4, but not enough for the whole project. I figured if I glued a few slats together then cut it down to the required lengths that should be fine? I cracked on making the the first side and it ended up looking fairly neat and pretty square (if you squinted a little bit).
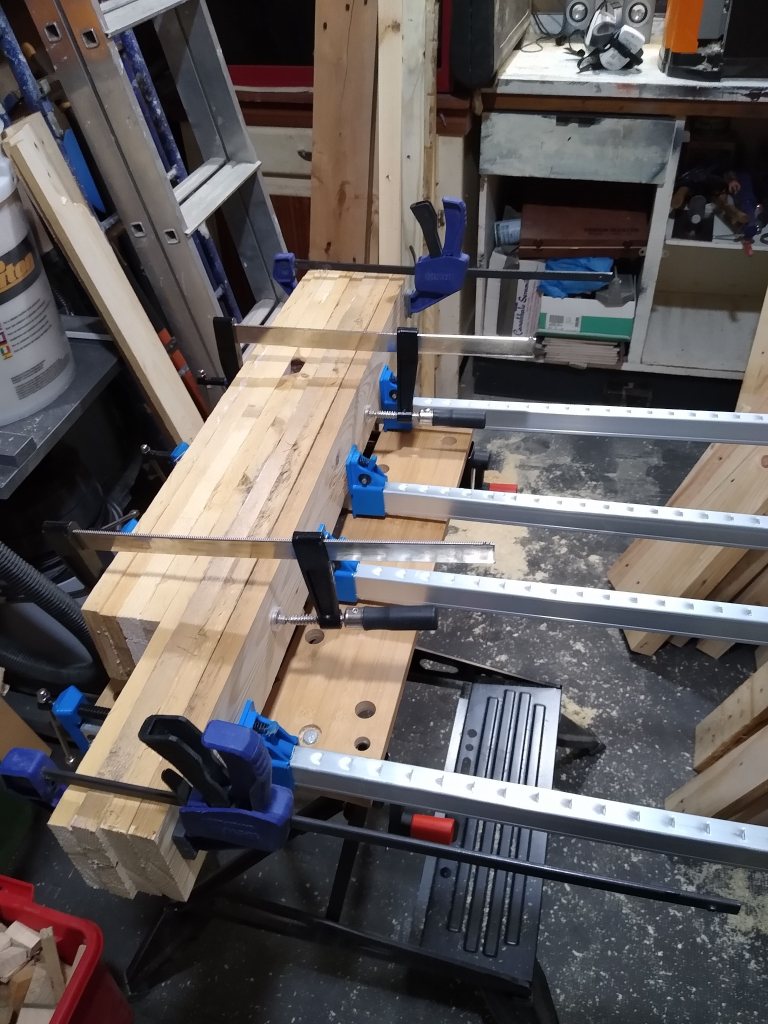
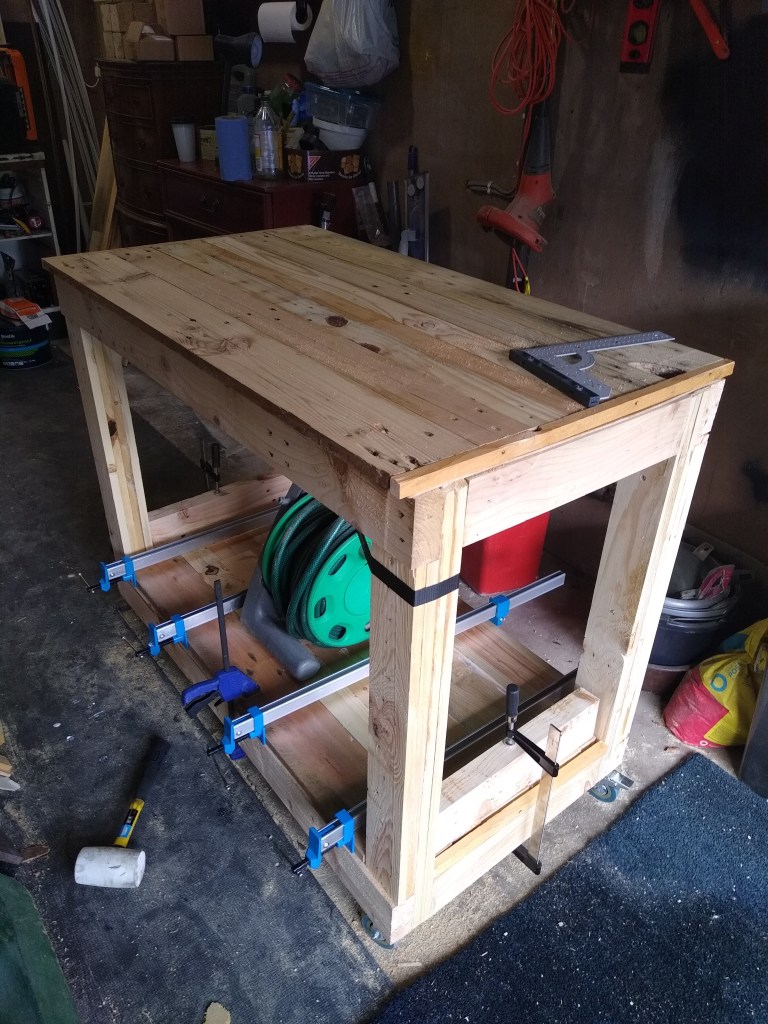
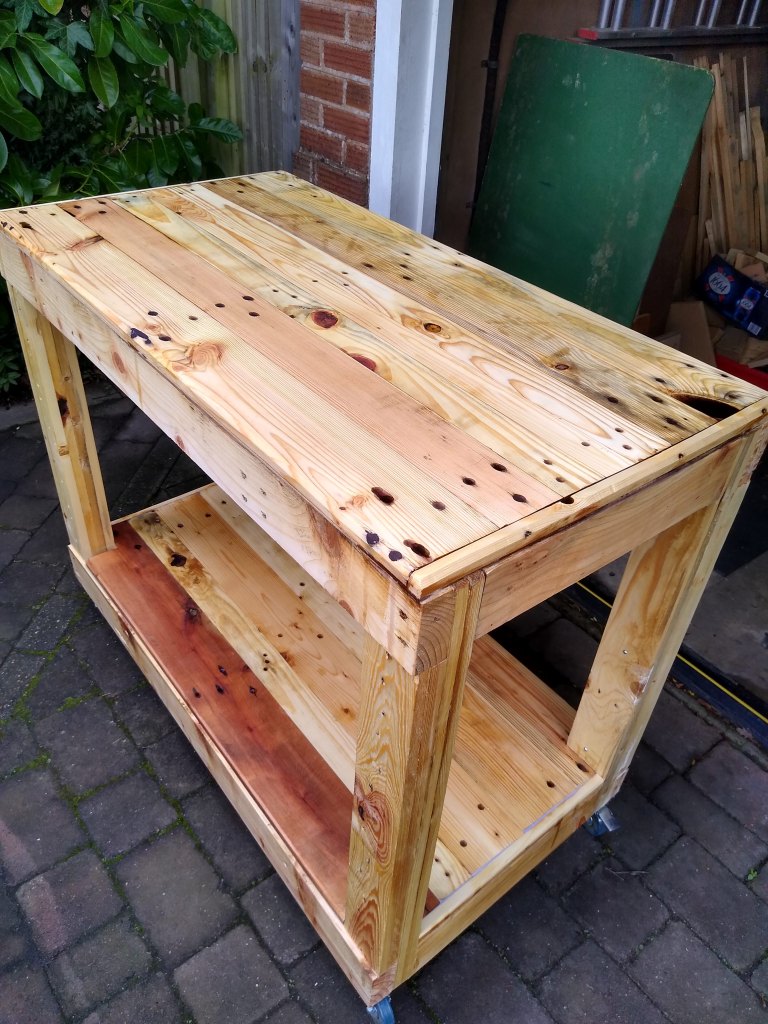
The next stage was to attach the two side together to form the frame. Using pocket holes were suggested so I got myself a Trend pocket hole jig, it was a wicked little tool that made the assembly a breeze. I probably went a little OTT on the pocket holes but I figured, the more the merrier. I also got some sturdy caster wheels to make the bench mobile (The ones I had were too big).


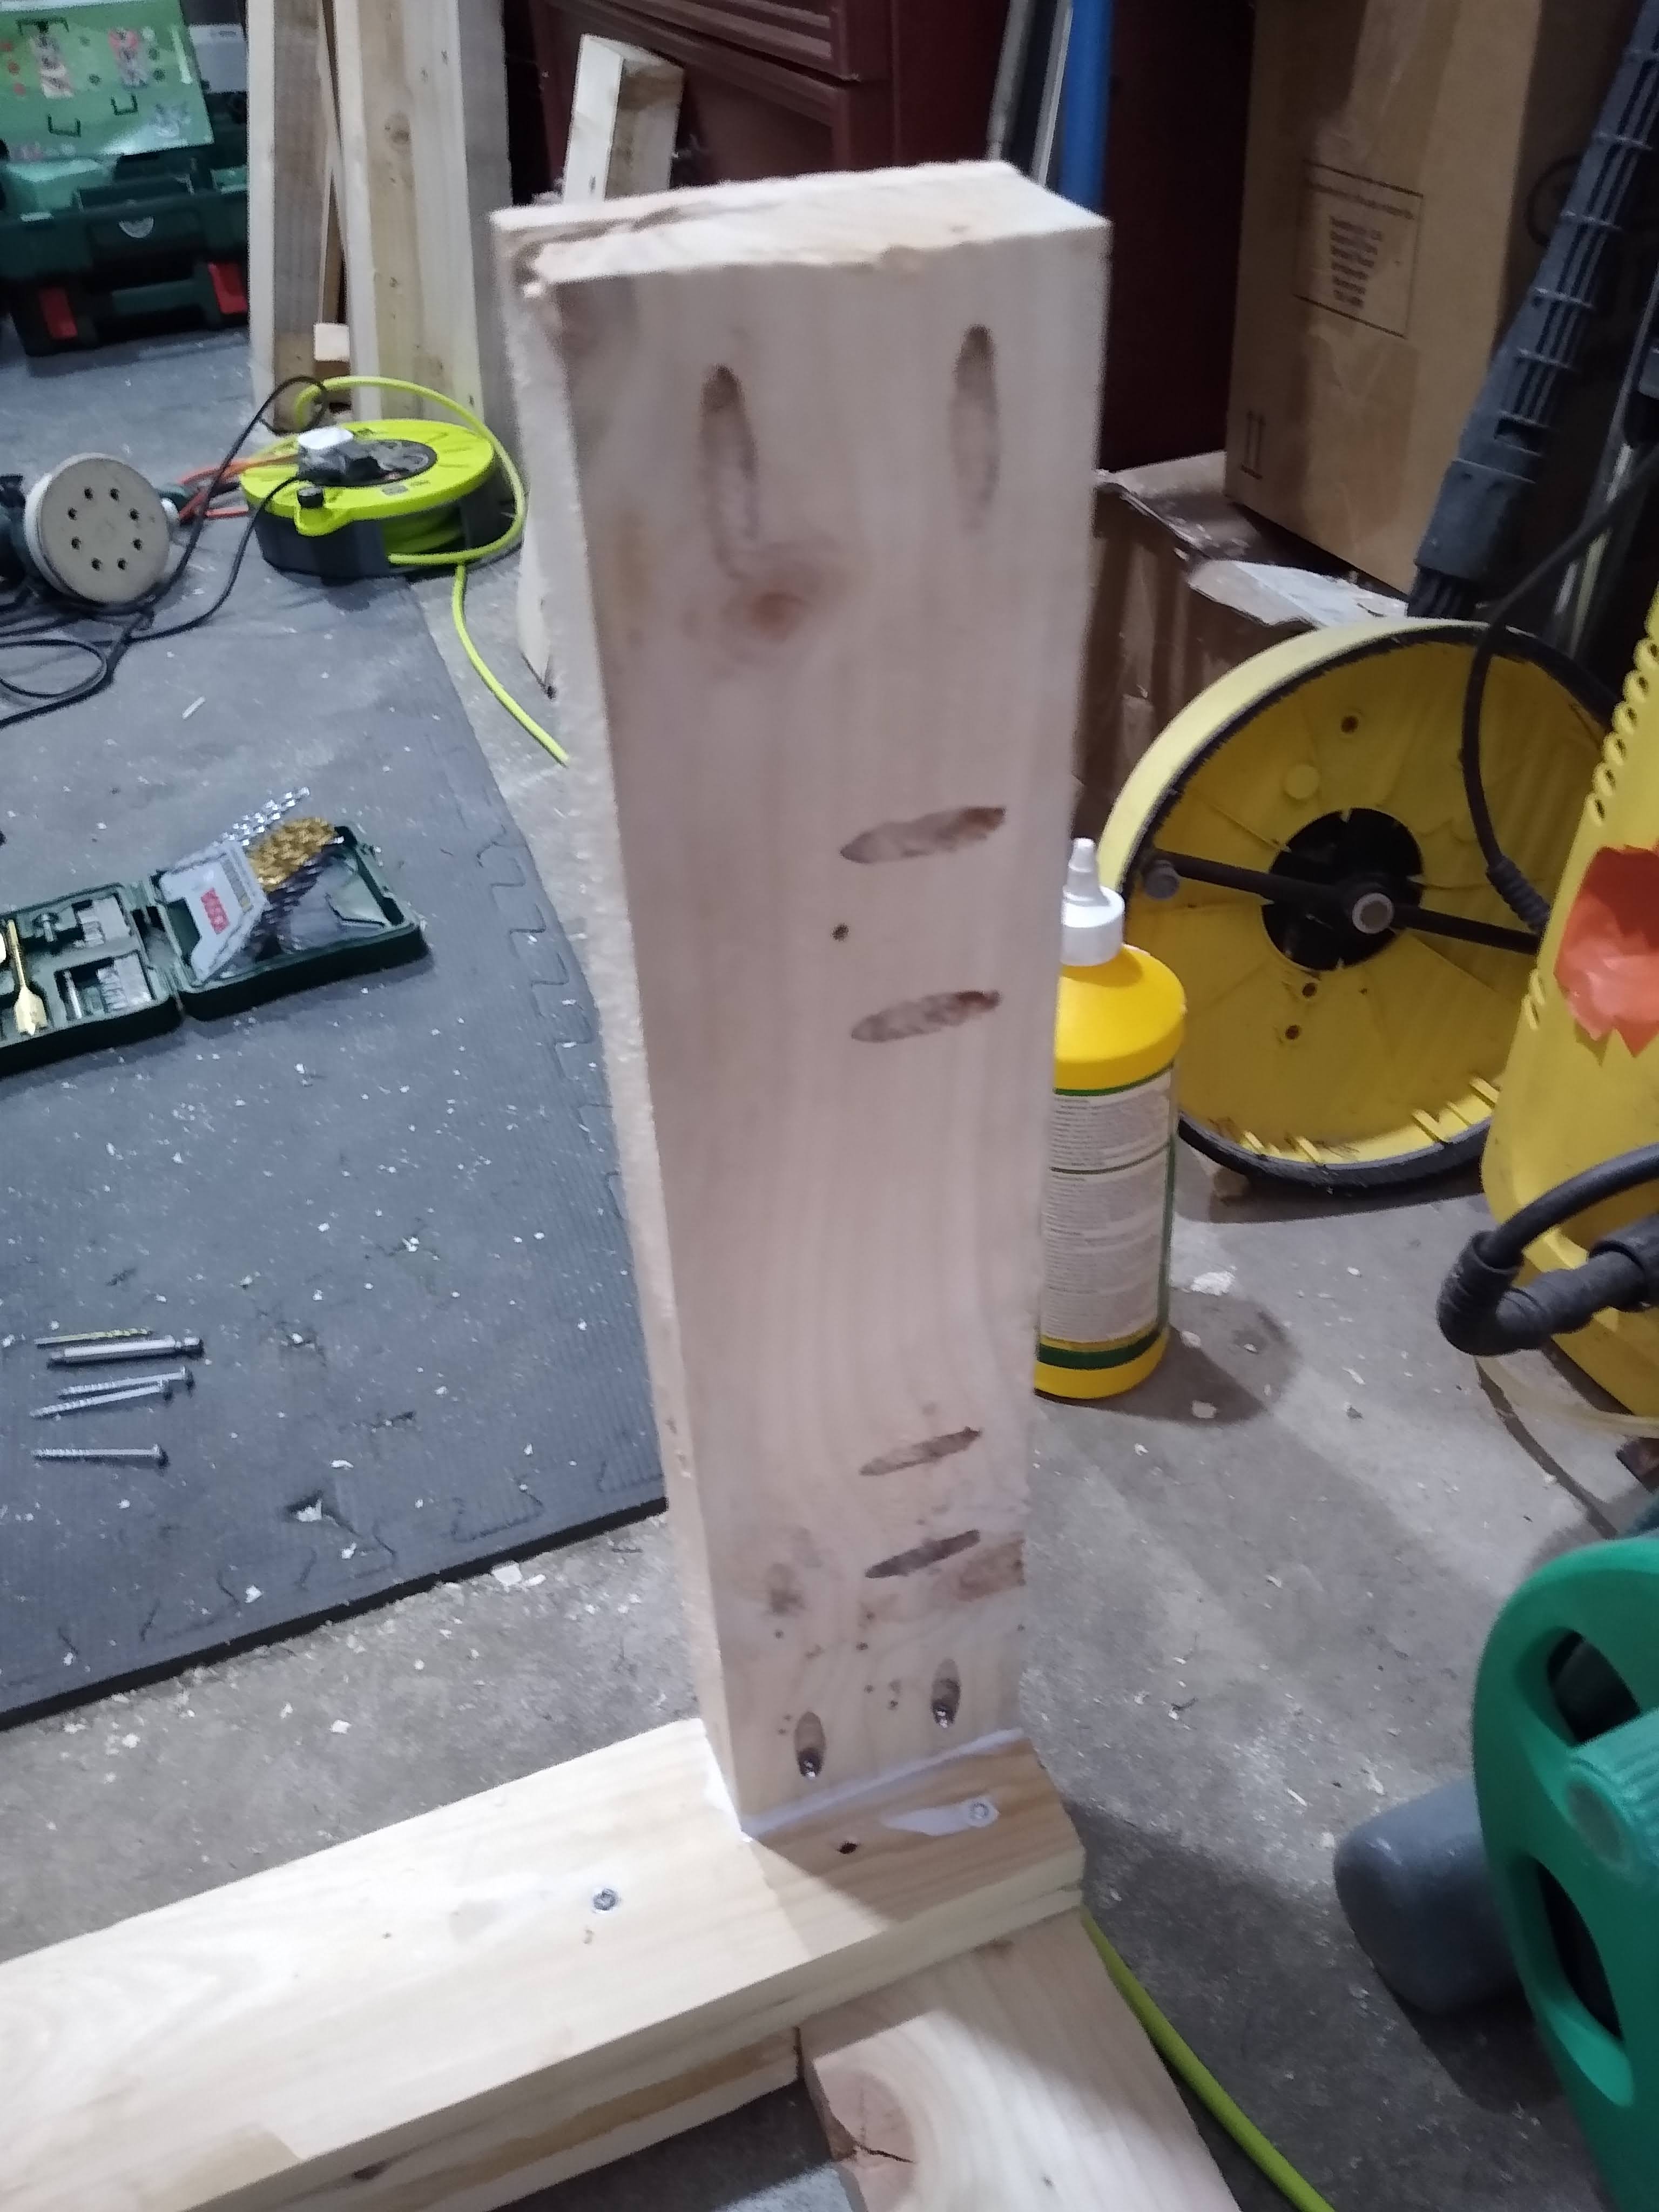

Link to jig: https://amzn.to/3YSyztt
Link to casters: https://amzn.to/3yOAy7i
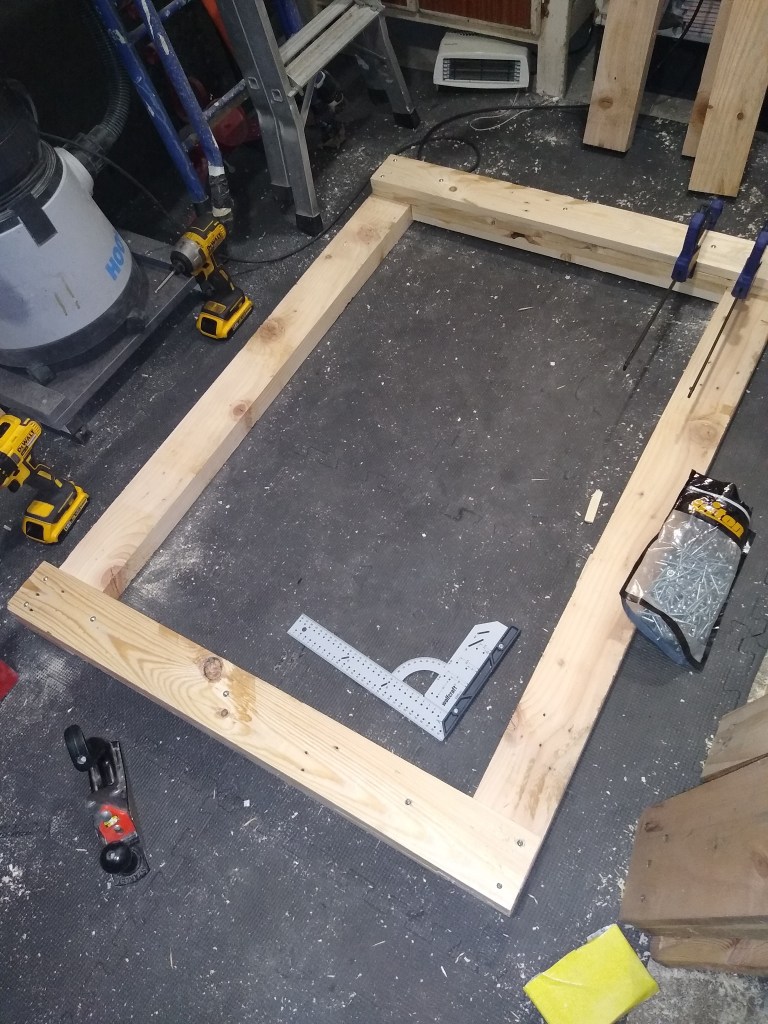
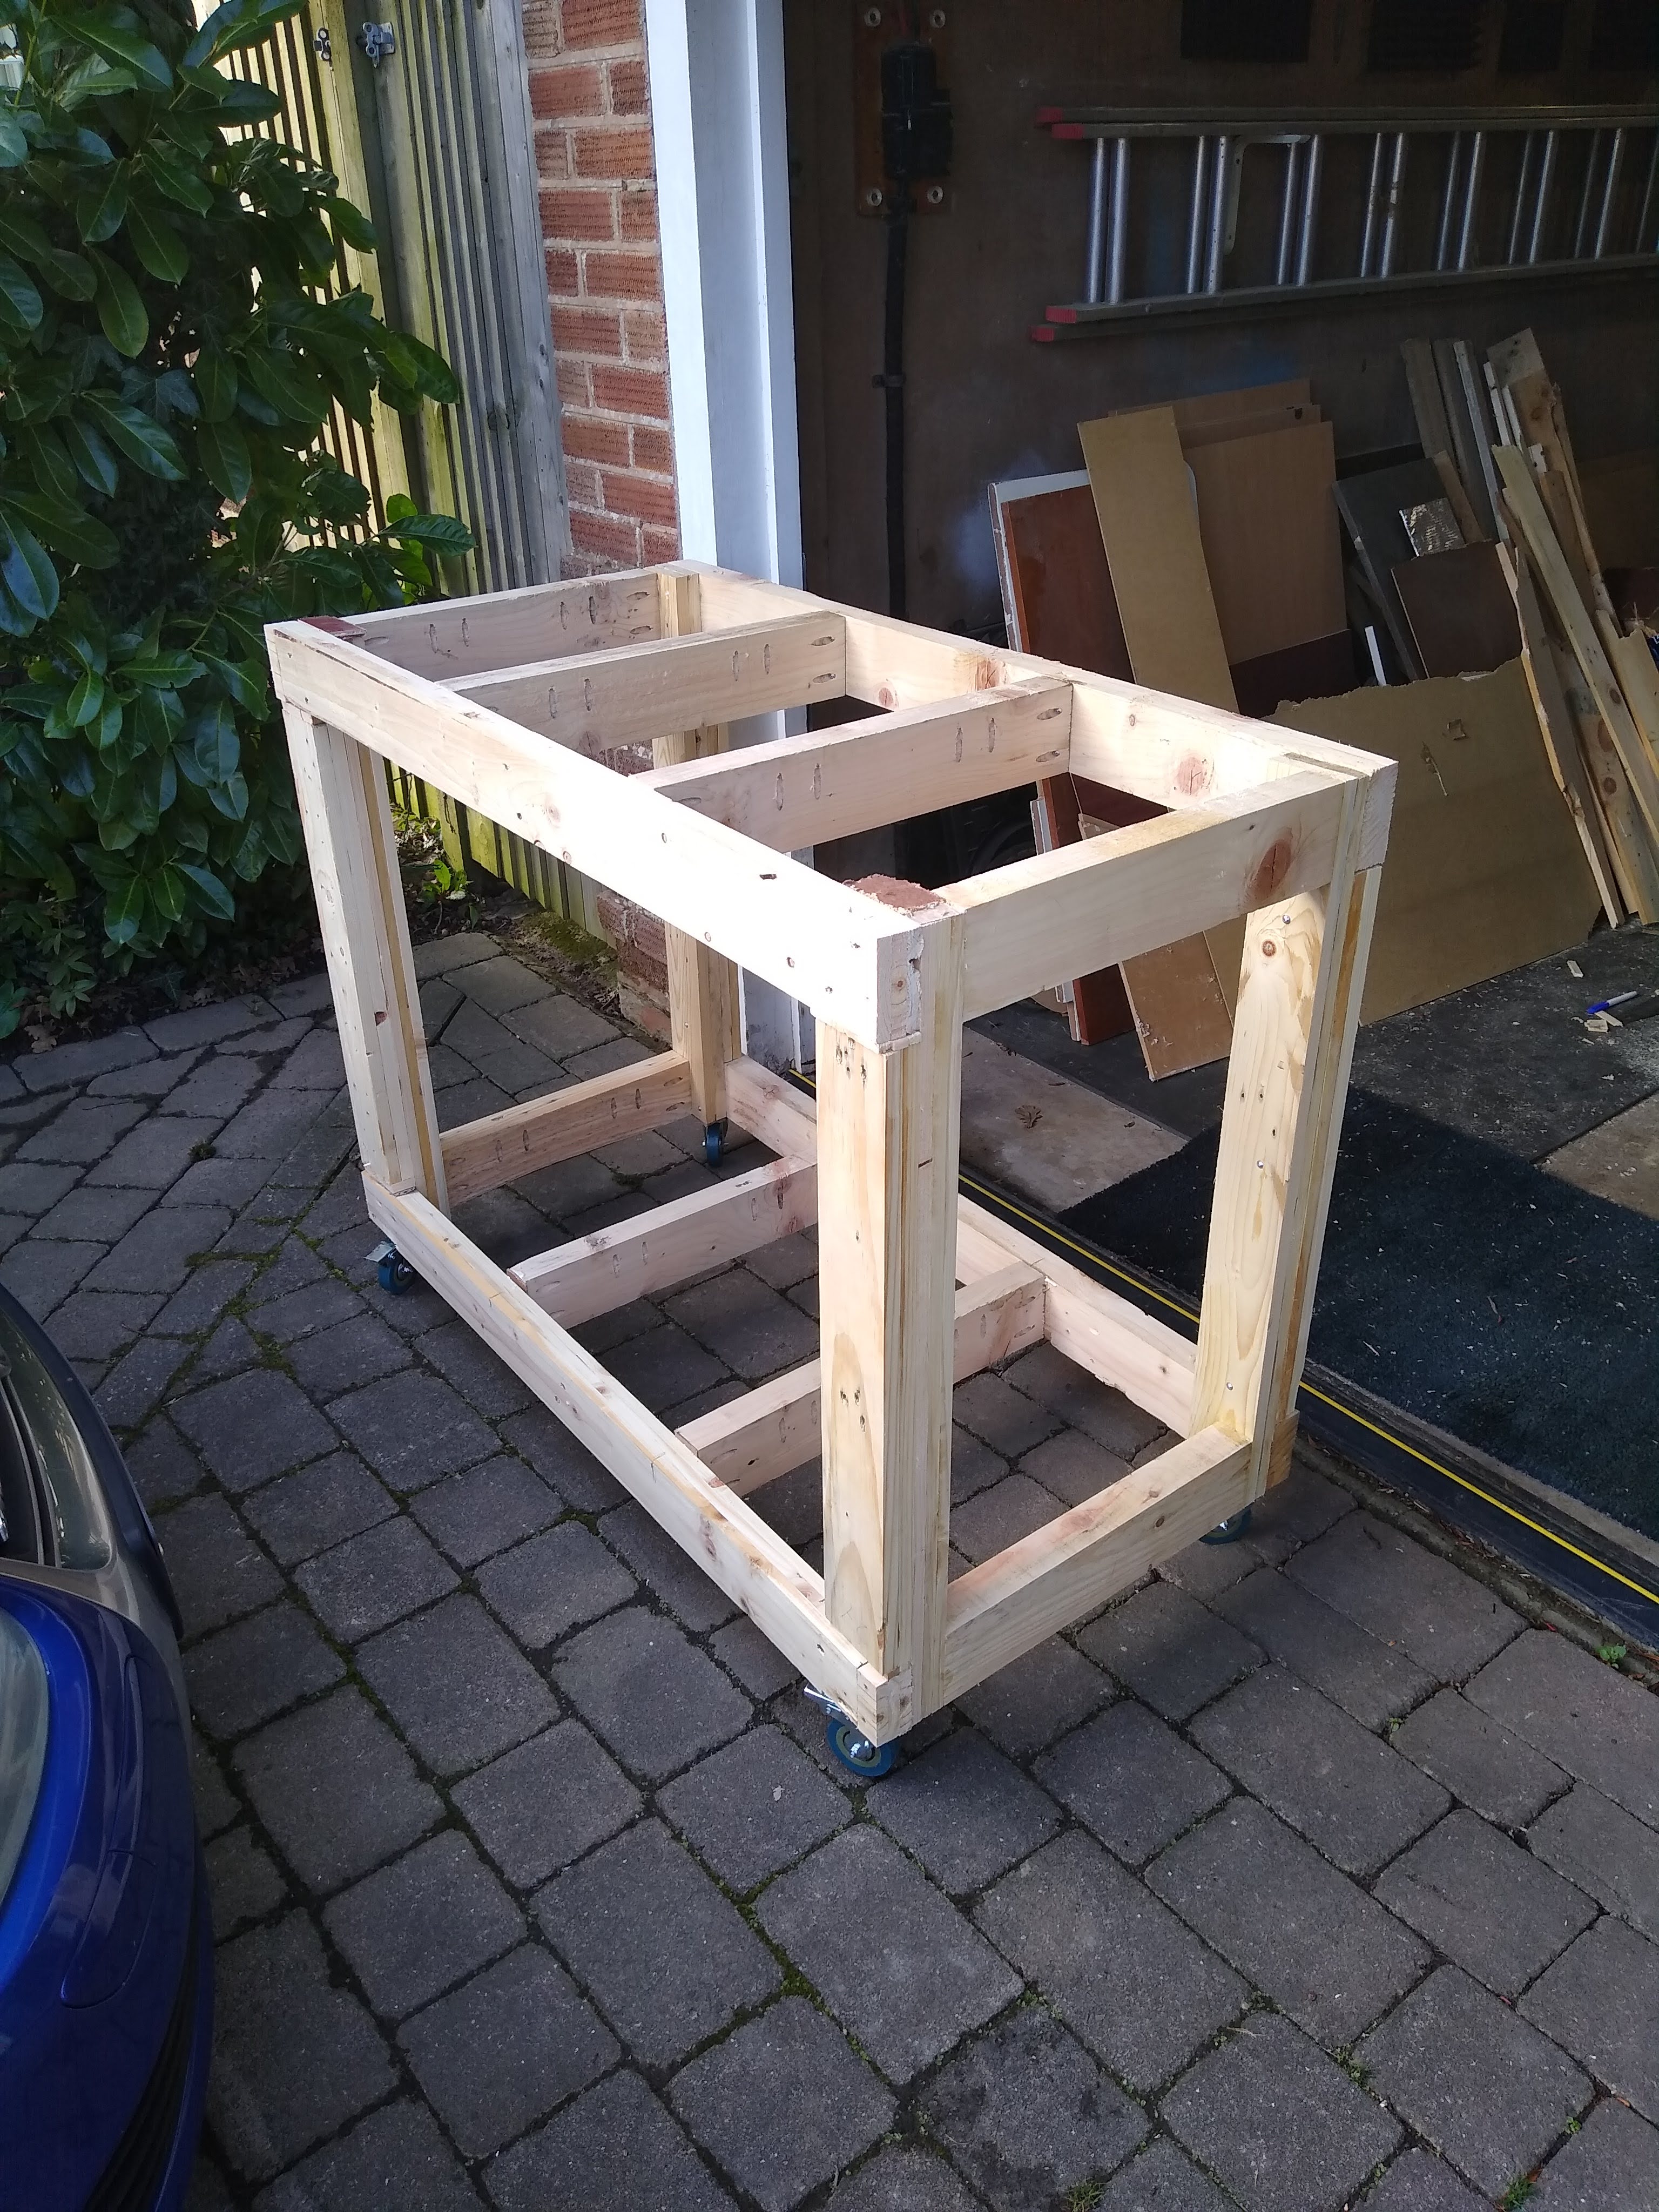
As every piece of wood was cut free hand whilst being clamped to a work-mate it wasn’t the squarest frame in the world. I took a rachet strap and pulled the corners in which helped to bring the frame into square. However, I had missed that some of the braces that joined the two sides together were not flush on the top so I had to level it out with some scrap hardboard.
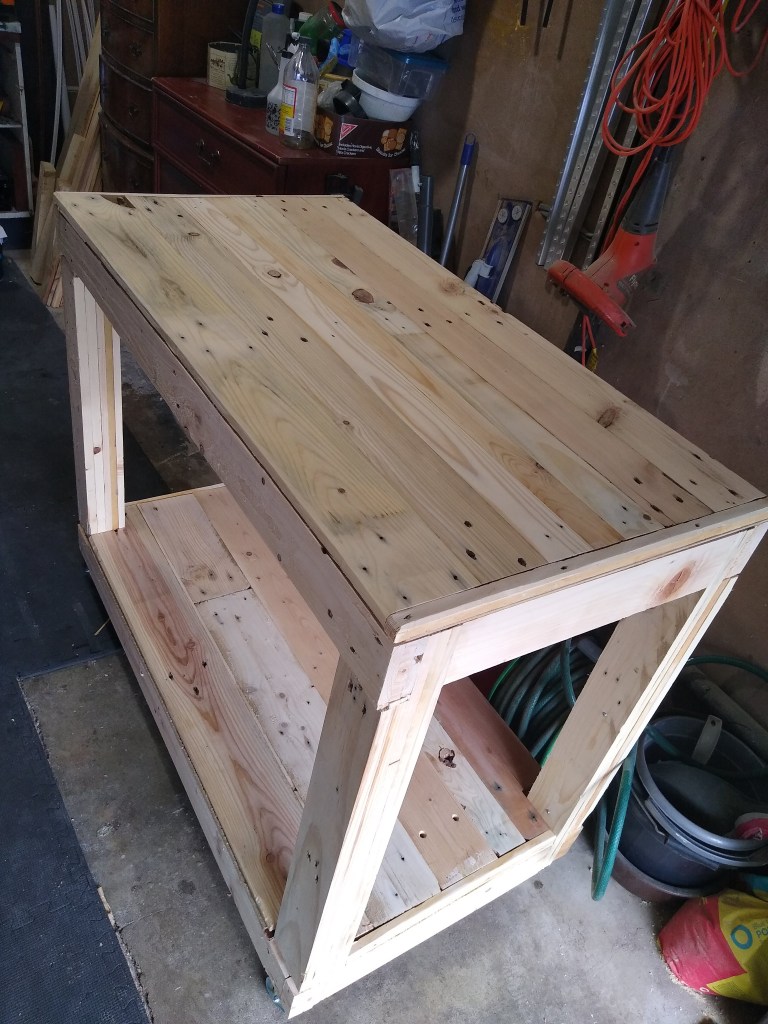
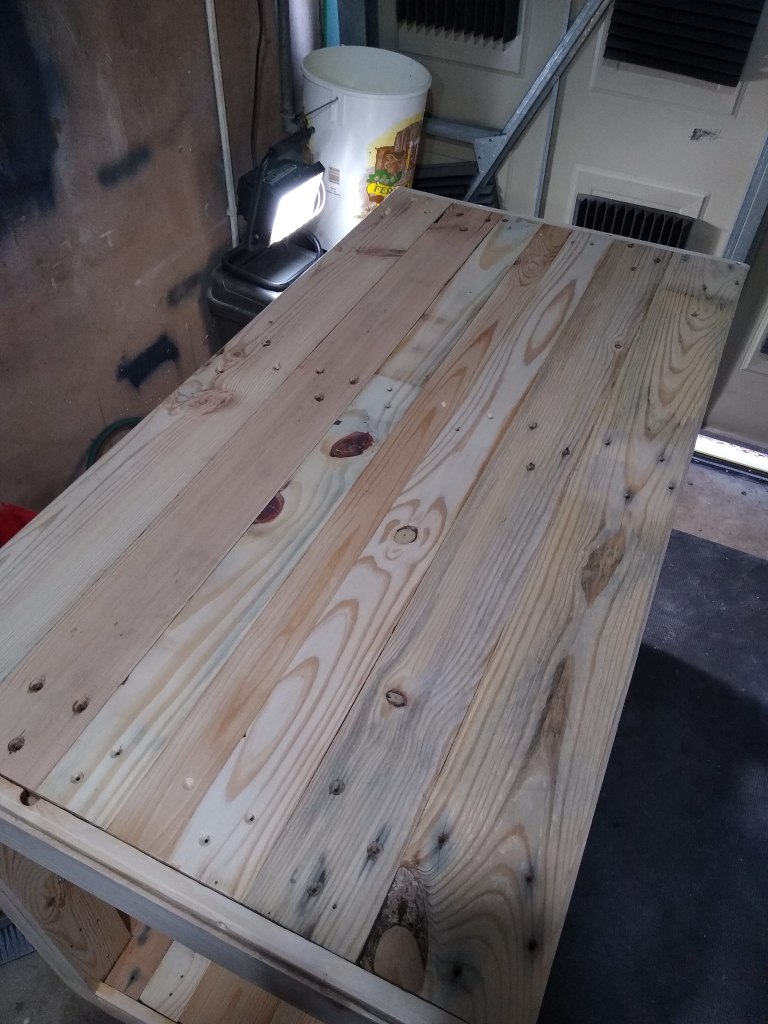
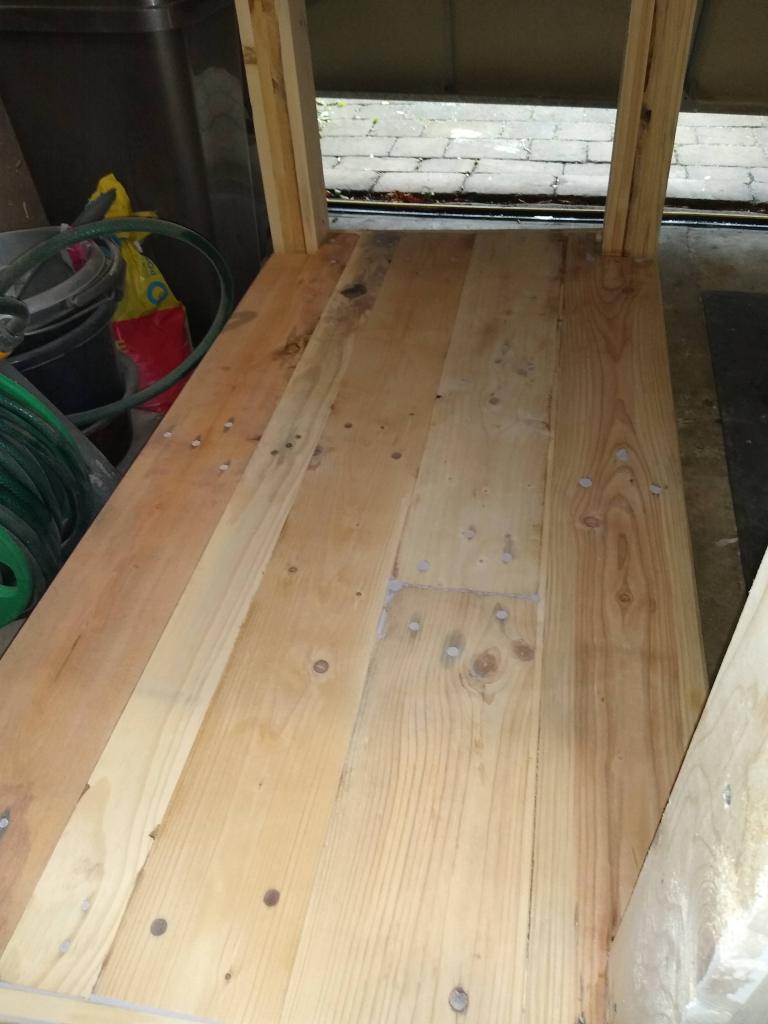
I had some chunkier boards (3/4 inch) from the chunkier pallets so decided I would use them as the work bench top. I glued them down on the hardboard and together. After clamping it all I piled some weight on top to make it as flat as possible.

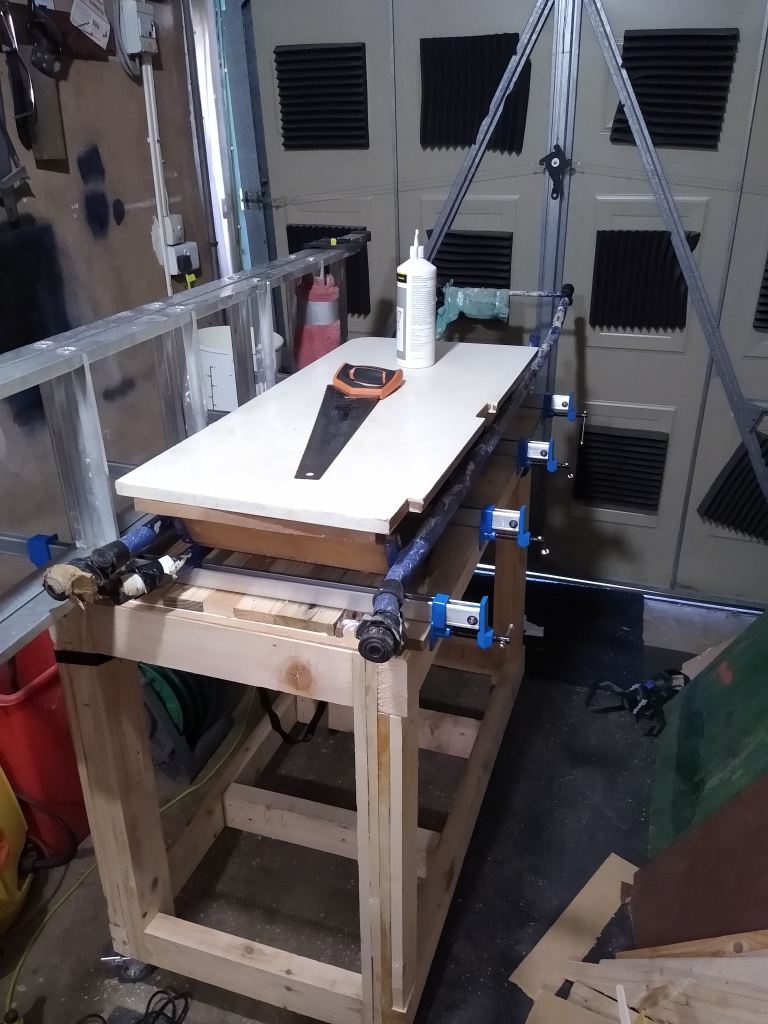
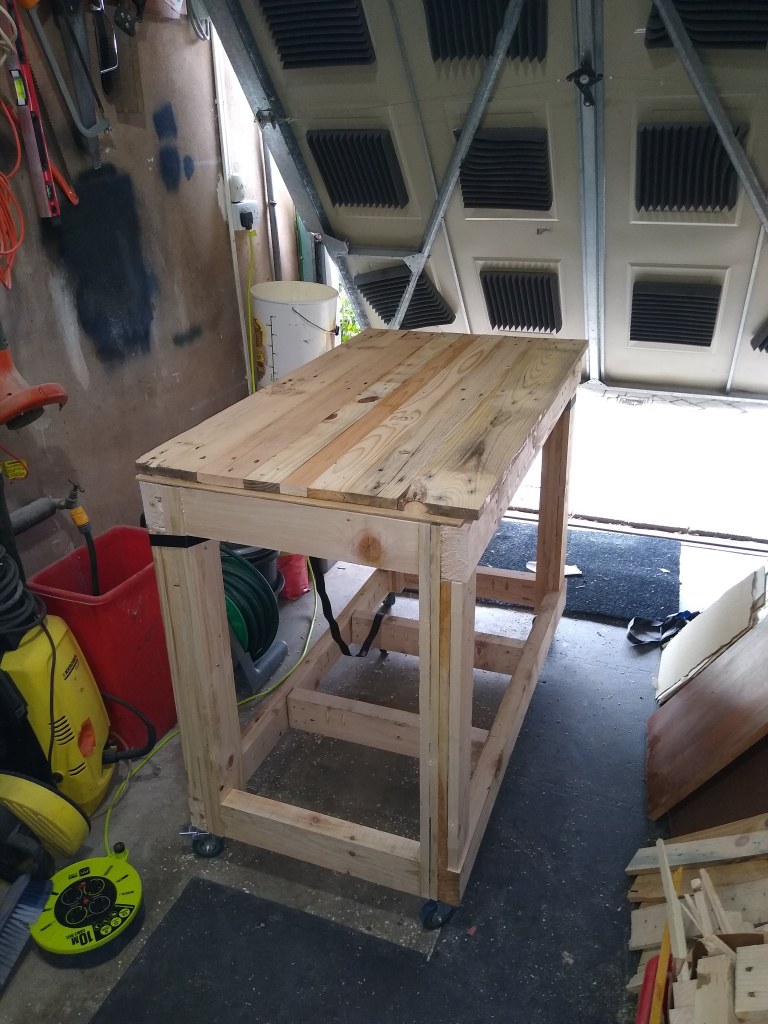

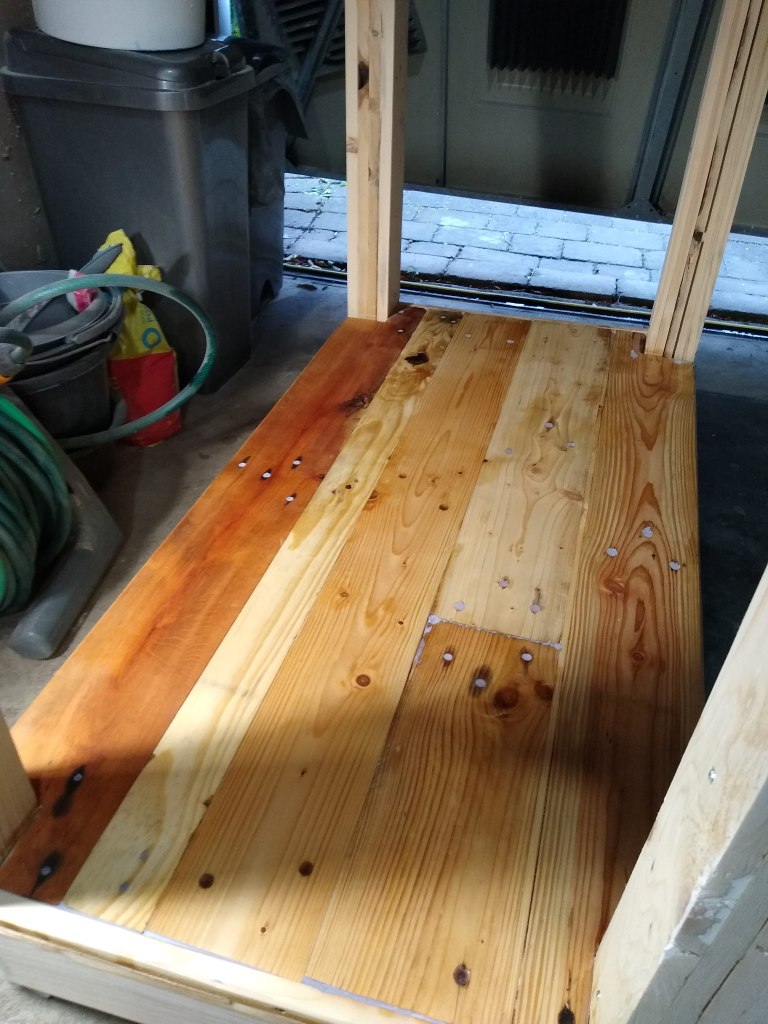
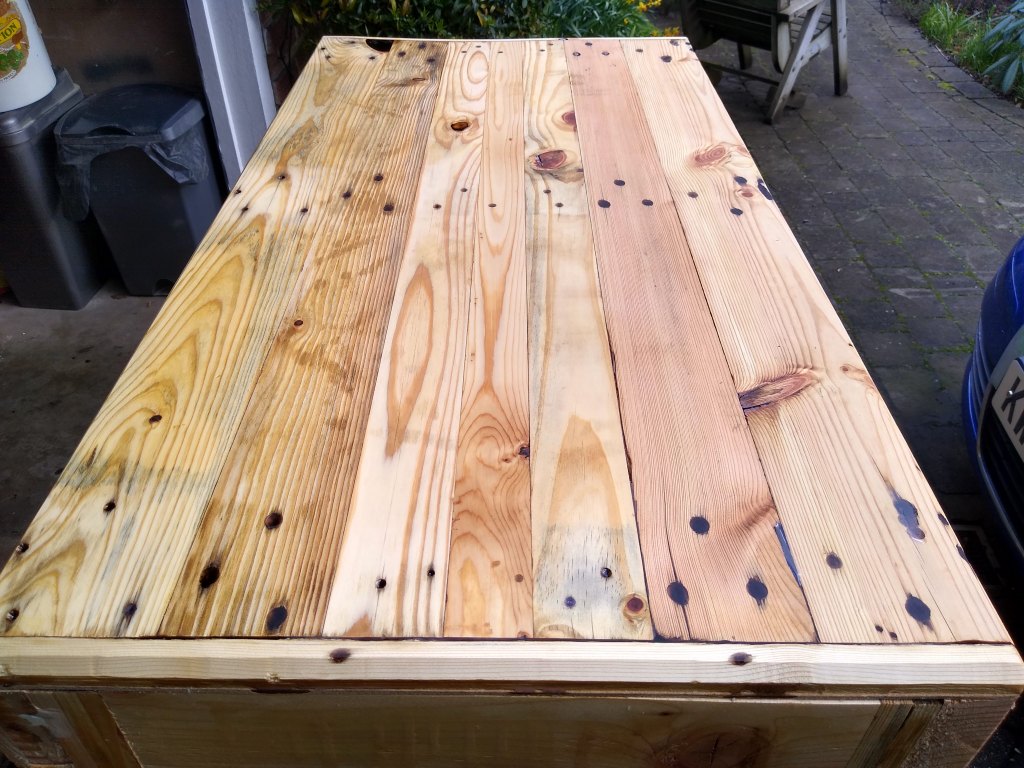
There was a overhang on the top on each side of the bench that I trimmed down with a jigsaw and then chamfered with a router. Now the bench was assembled and looking half decent I needed to sand all the surfaces, fill all the gaps and varnish it all. I used my sander with an 80 grit then 120 grit, this smoothed most of the lines that were left from the planer. I then took a counter sink drill bit to clean up the nail holes left from separating the pallets. This left a cleaner hole for the filler (epoxy in this case) to bind to.
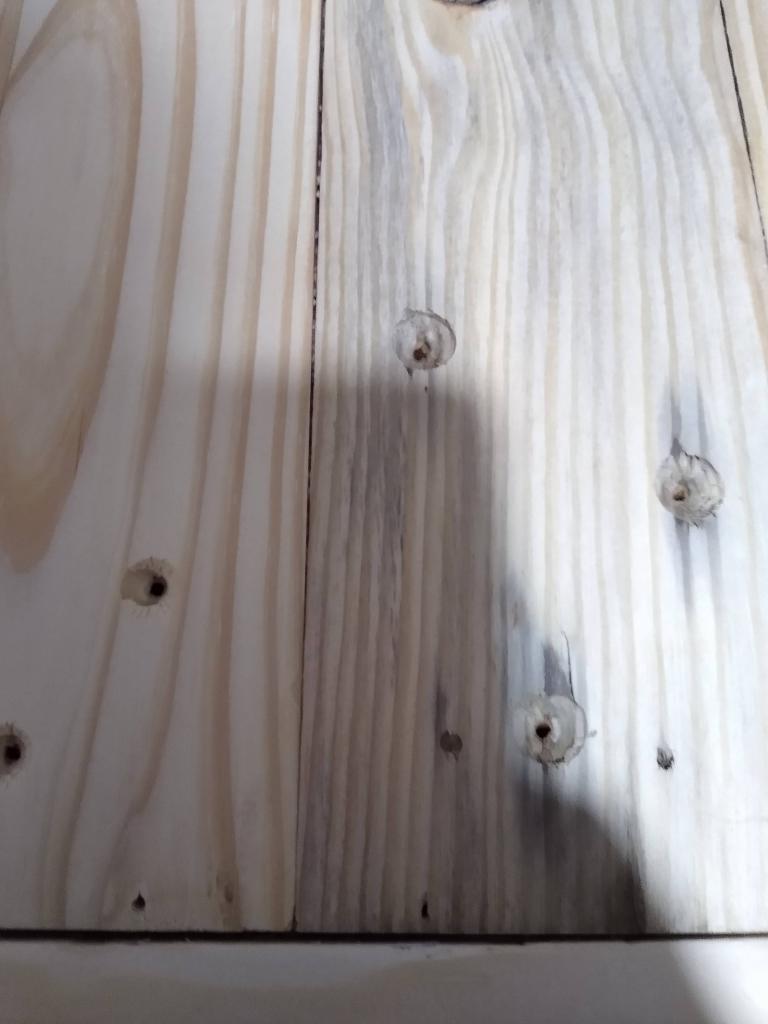
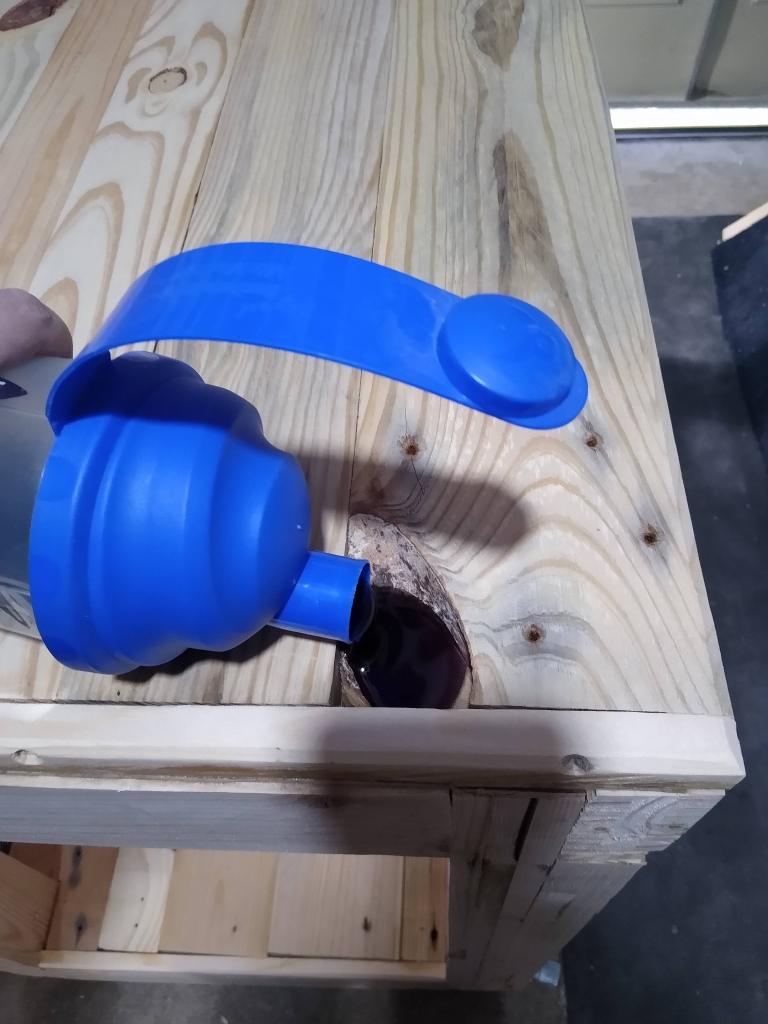
It be came apparent that using epoxy to fill old nail holes was not ideal as it just got absorbed into the wood and fill every nook and cranny before reaching the top of the nail hole. After 3 rounds of topping up the nail holes 90% of them were looking good, including the main knot hole.
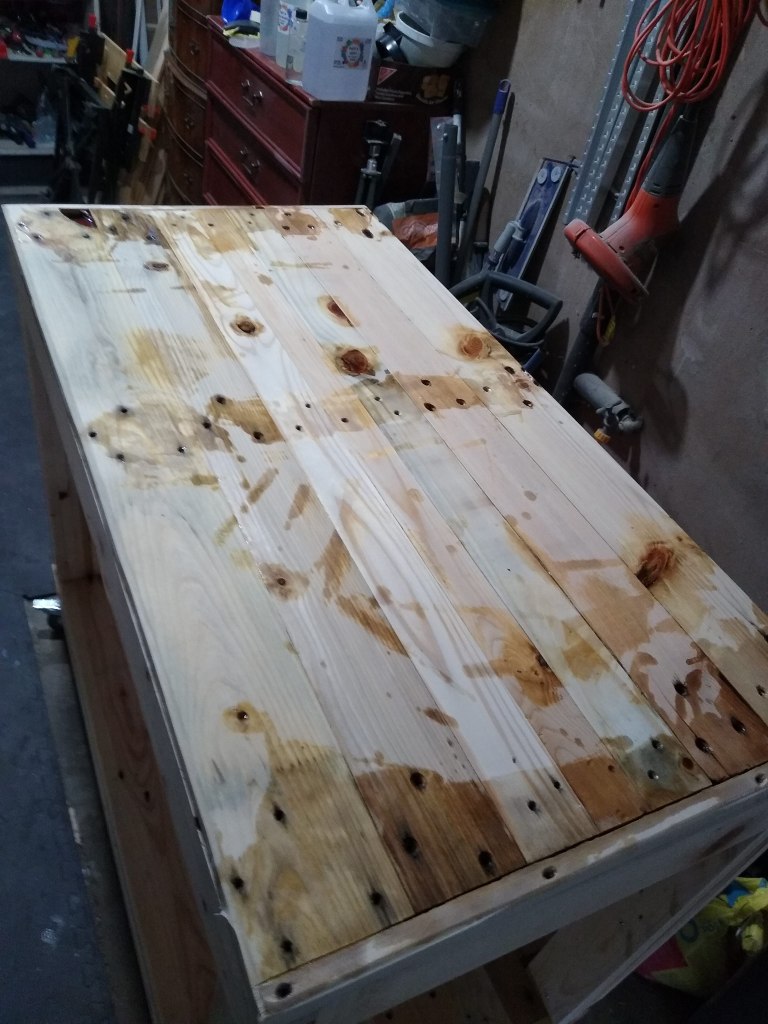
Once again I sanded everything back to remove the over-spill of epoxy, thinking about it, I didn’t need to sand it before, but who doesn’t love a bit of unnecessary sanding.
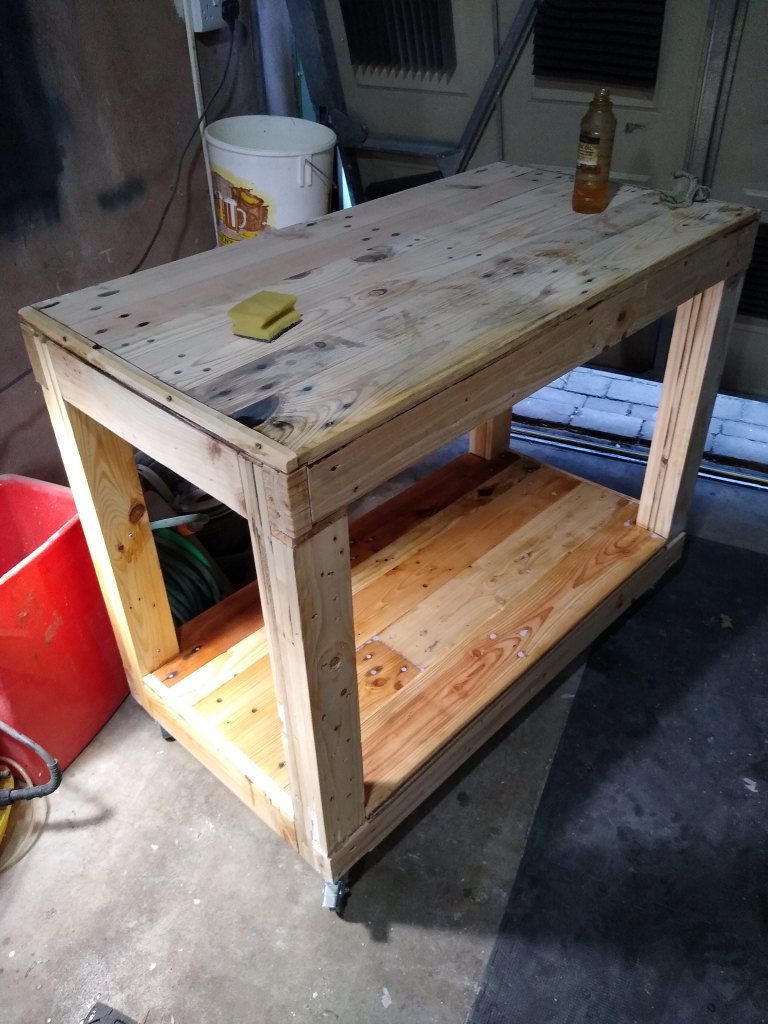
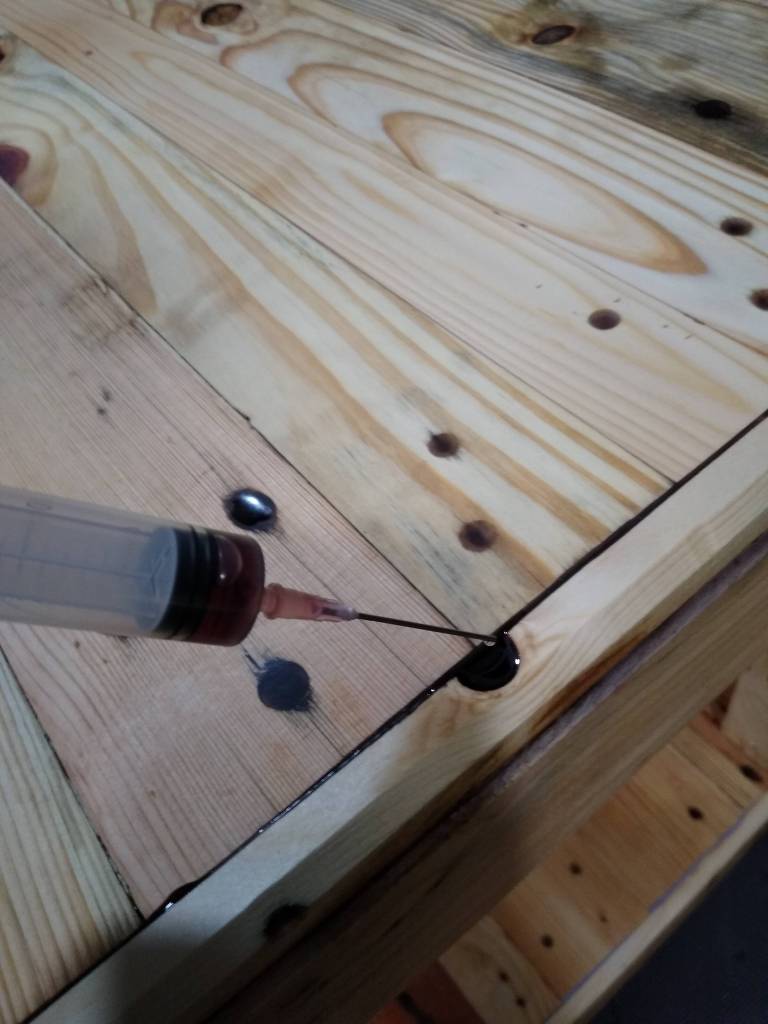
On the bottom shelf I originally used normal wood filler with a drop of dye, however it looked inconsistent. I ended up drilling them all out and persevering with epoxy on the bottom shelf’s nail holes. This time I used a syringe to fill the holes which meant no over spill and a very precise epoxy application.
The last step was to finish the wood, I decided a simple teak oil would do the trick, mainly as it happened to be laying around for decades looking rather unloved. It’s called Hiltons teak oil, and I don’t think it exists anywhere anymore.
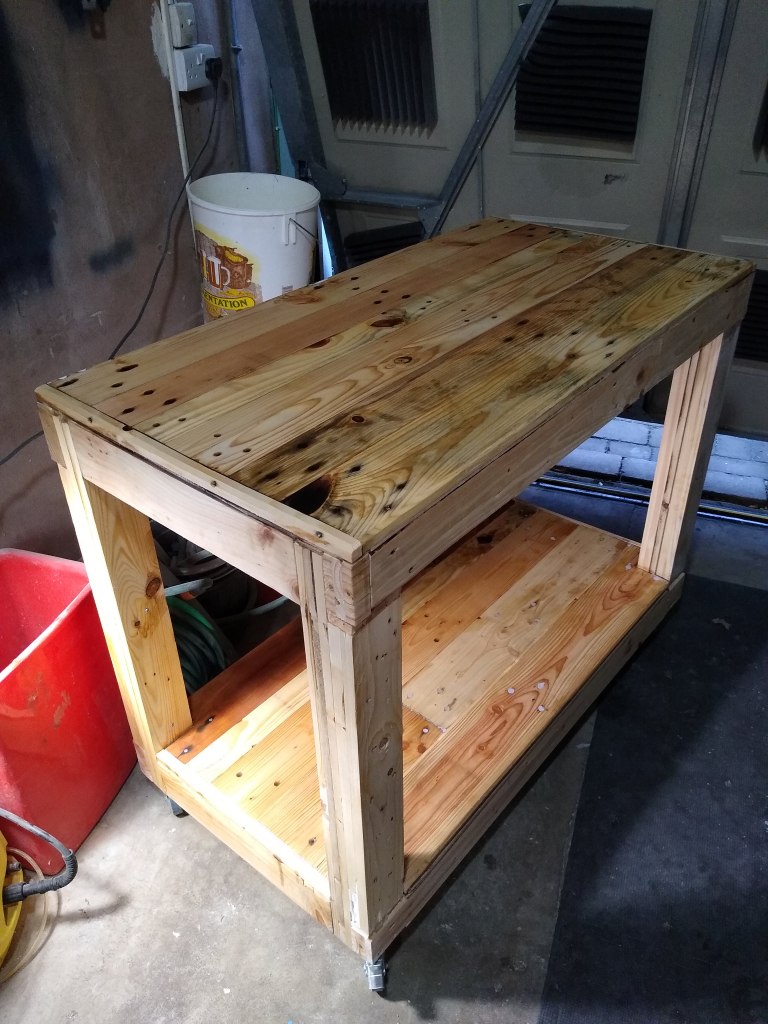

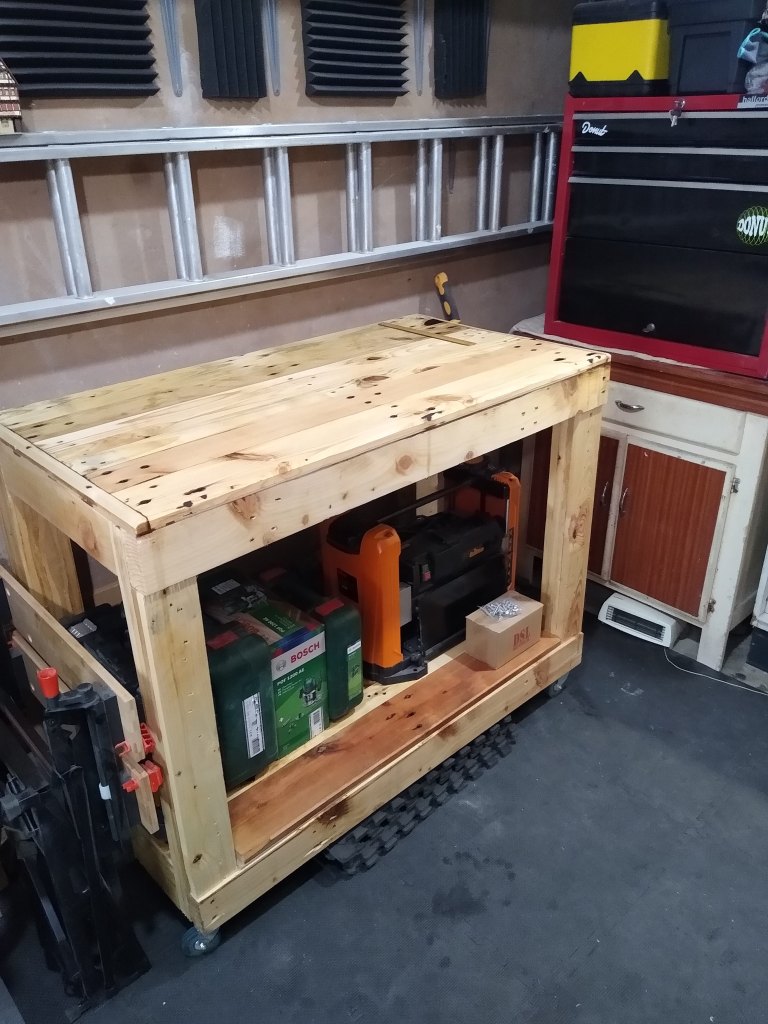
This was certainly a challenge and it has taught me a lot about working with pallet wood. It’s also very clear that there is a lot to learn and I’ve barely scratched the surface of what you can do with abandoned pallets.
What to make next?

Leave a comment