
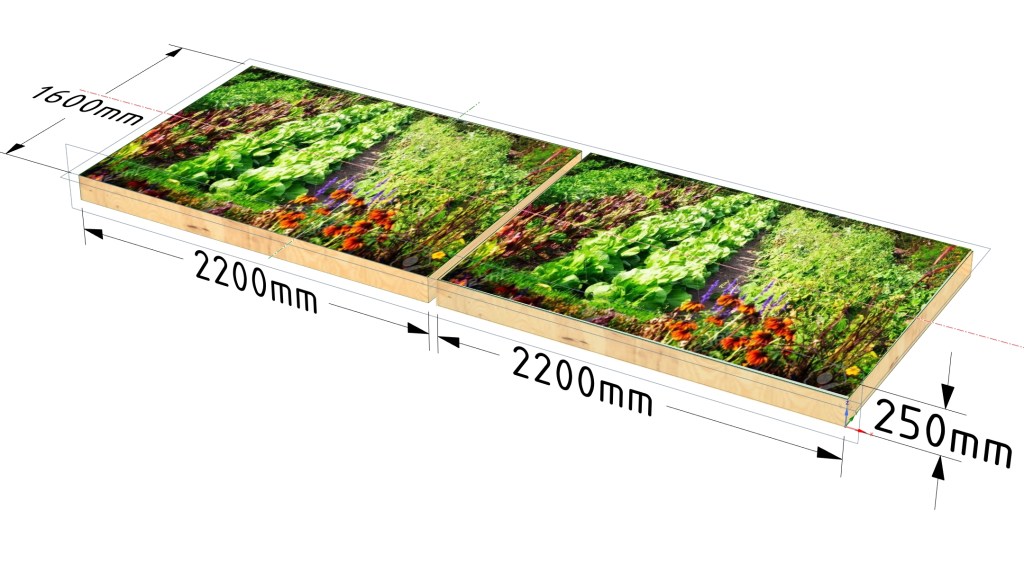
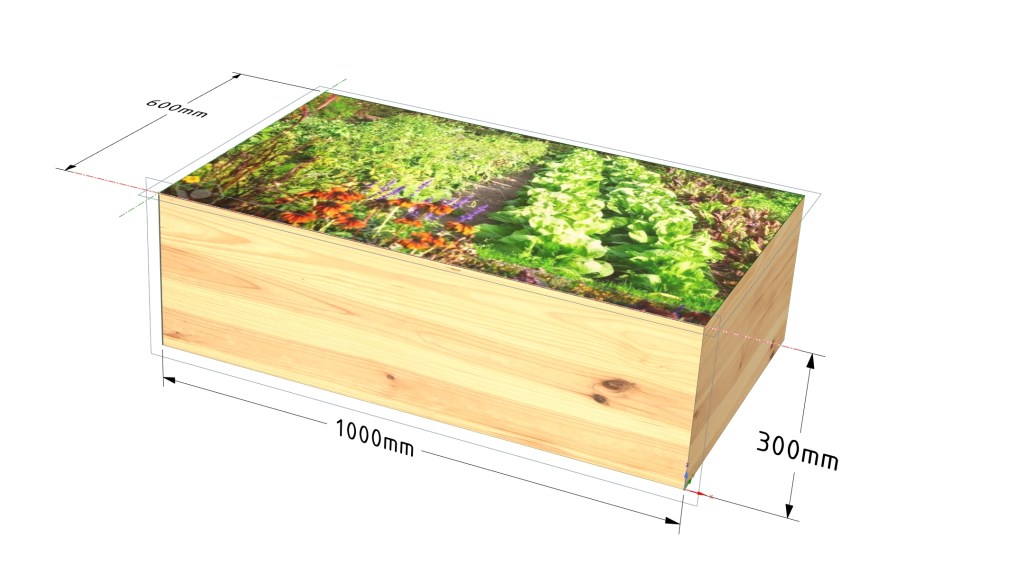
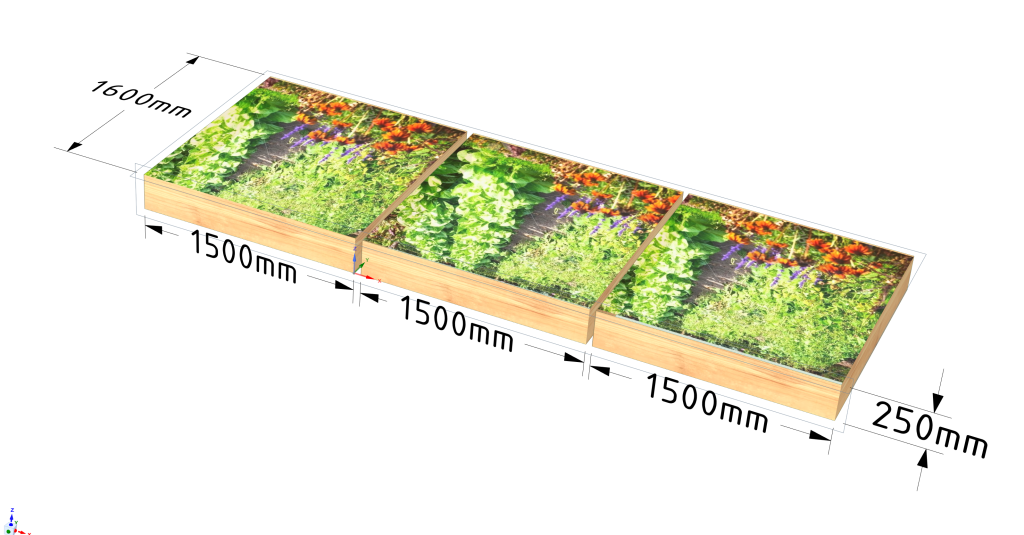
Raised beds! I’ve had a few requests to make some raised beds so I have put a couple together over the last few weeks. These have been made all out of pallet wood as it lends it’s self to this quite well. I was making a smaller bed 1000mm/600mm and a bigger bed about double the size. Here is a rough guide on how I went about making the beds.
Step zero. Measure the area!
Work out what size you want the bed to be and sketch it out if it helps to visualize it. With a simple project like this it may not be necessary but I find it helps If I can see what the end product should look like. I’ve been using Design Spark recently so I made a sketch in that. I used to use Fusion360 when it was free but now even the cheap subscription is too much. I’ve found design-spark (explorer) has a very good free version.
Designspark’s page: https://www.rs-online.com/designspark/subscriptions-pricing-page
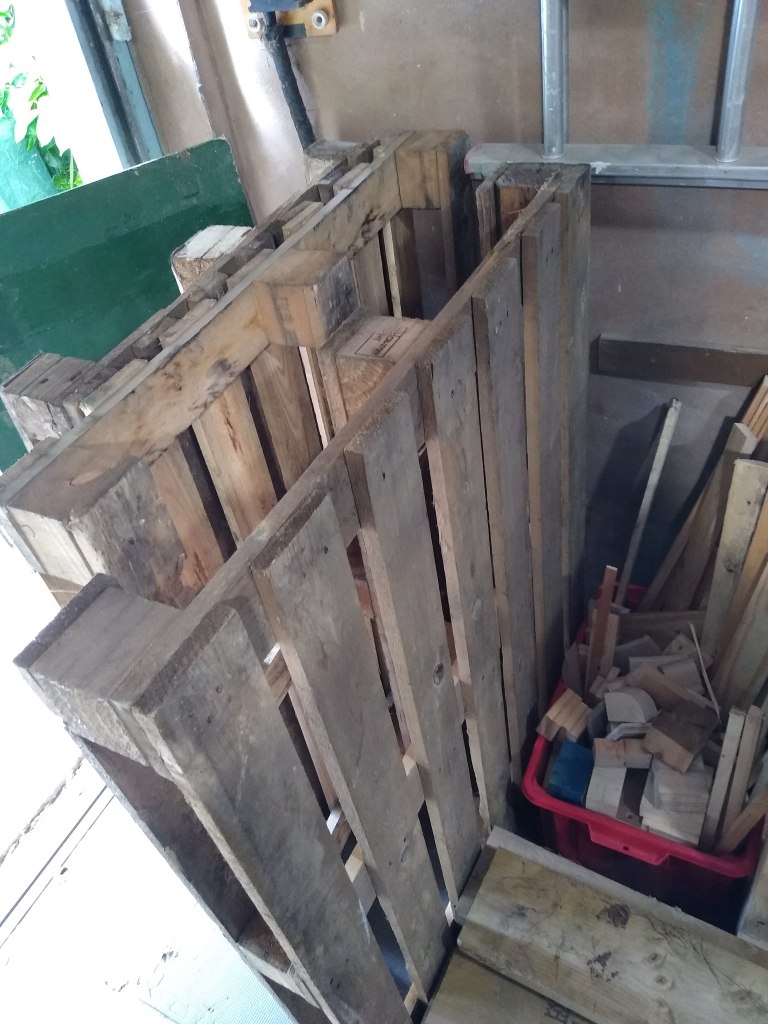
First step! Get some pallets.
Yup.
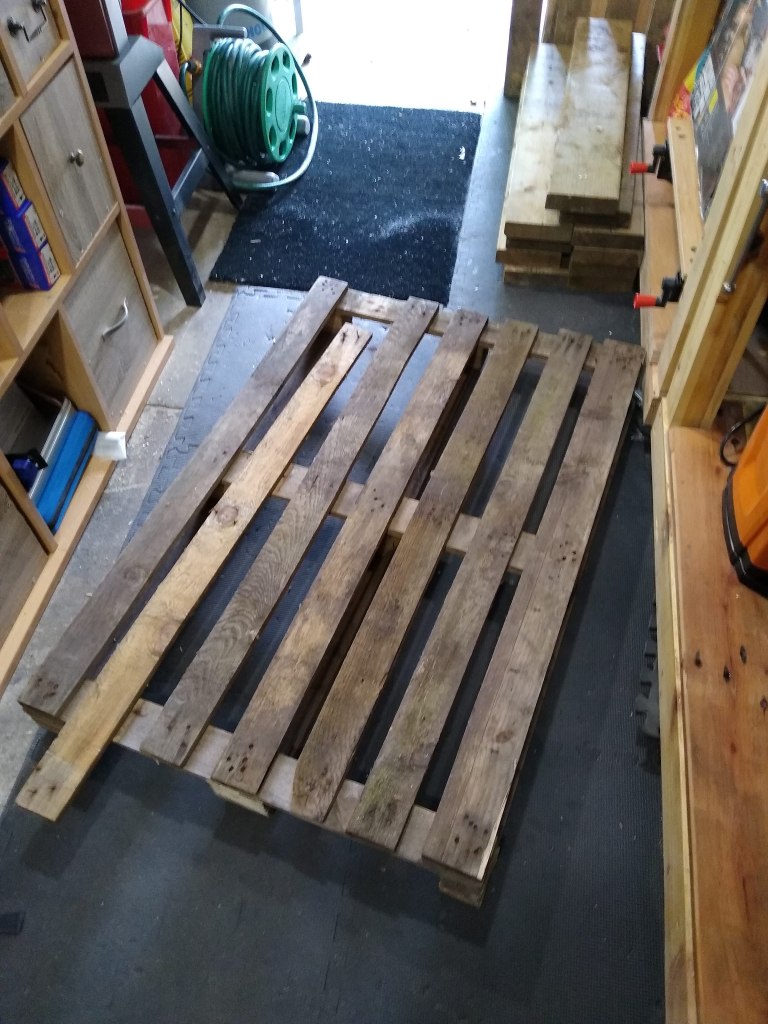
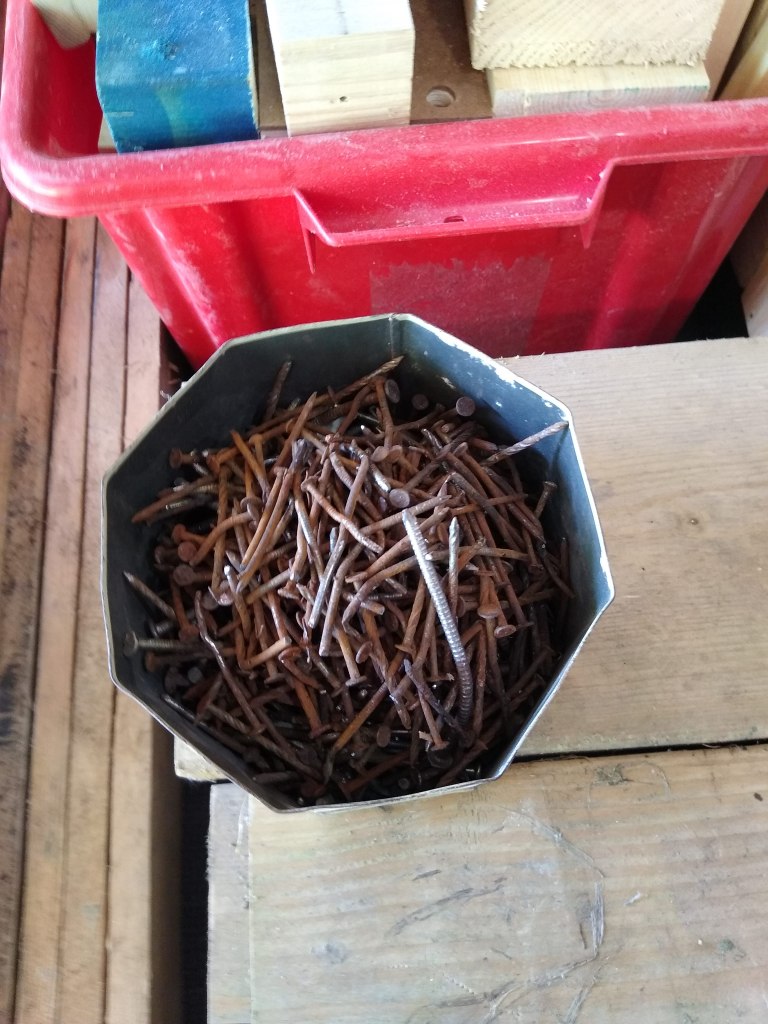
Second step. De-palletify the pallets.
As normal this is combination of using the pallet buster and jigsawing out any stubborn boards. Followed by hammering out the nails. One day I’ll get a compressor and a denailer tool. (https://woodenduck.co.uk/2022/10/18/pallet-buster/).

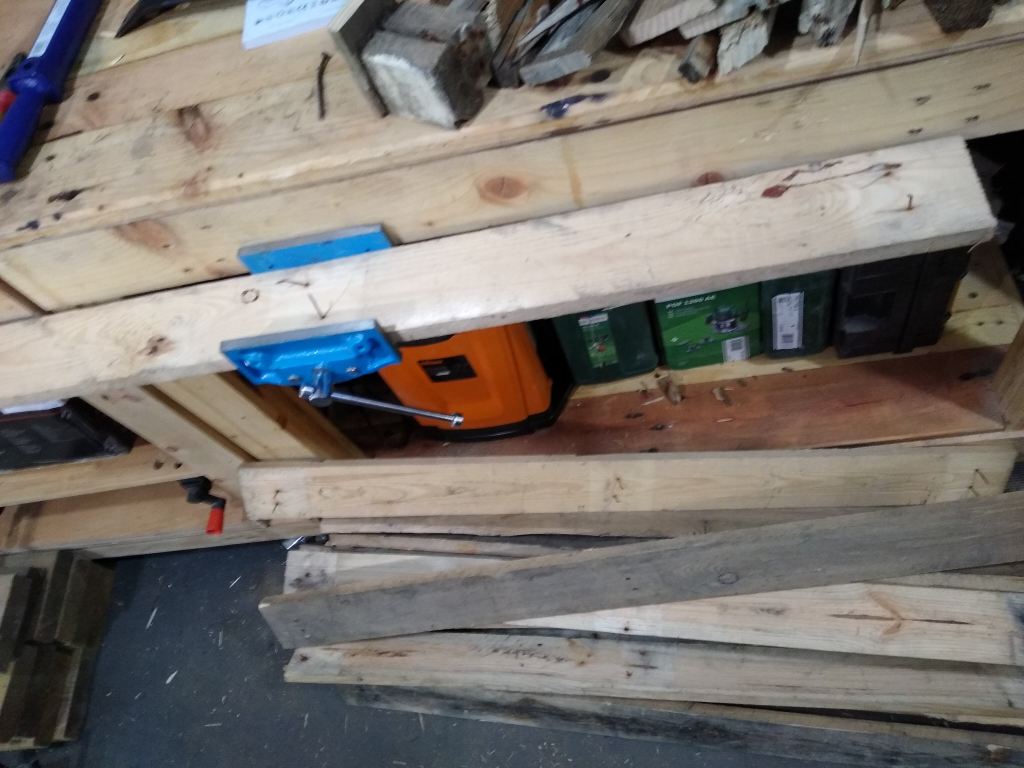
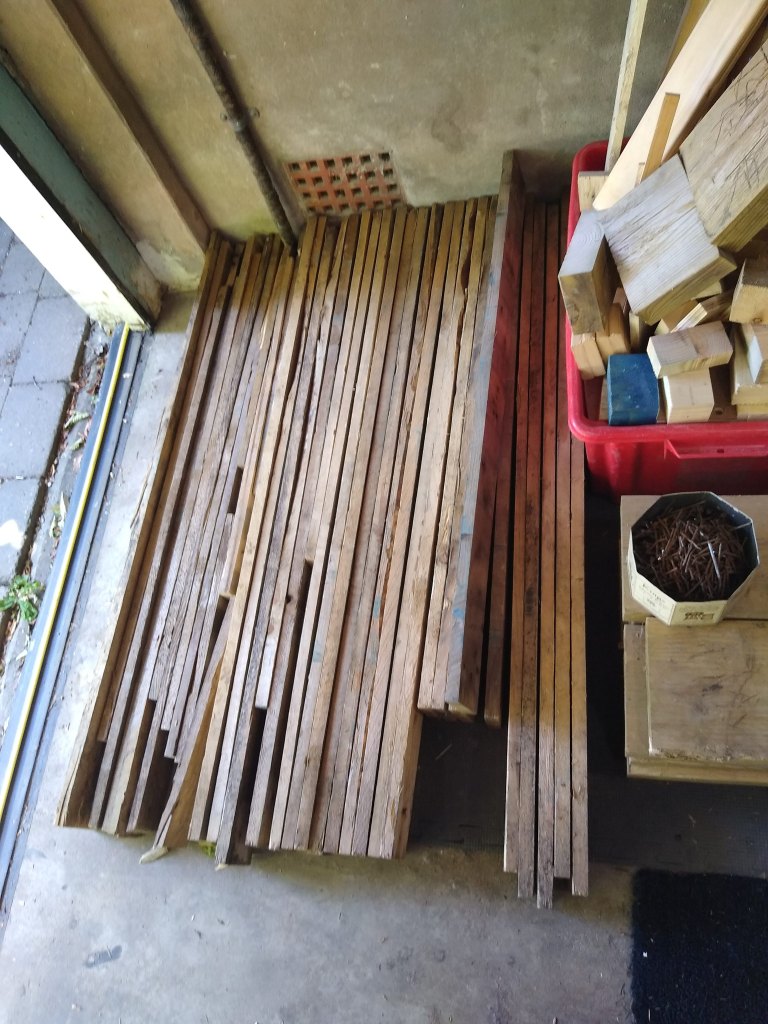
Third step. Prep the wood.
Firstly I had to repair a couple of split boards, I’ve found that gluing clean splits back together renders a perfectly serviceable board. Then it was a case of planing each face and the sides to leave a nice clean board to work with. The first pass I took was way too deep and I could hear the motor on the planer bog down (on the below clip), light passes are deffo good for the motors long term health!
Fourth step. Cut everything to length.
With your shiny new mitre saw cut everything to length and cut off any scrappy ends. Buying one these was a game changer for getting consistent square cuts. It’s on an arm with 300 mm of reach, 0 degrees to 45 degrees bevel and has 50 degrees to 50 degrees mitre settings. It’s probably the most used tool I’ve got so far.
Link to the saw: https://amzn.to/3NsAsJL
Fifth step. Start assembling it.
On the smaller bed this just involved making the 4 sides by screwing a vertical section to 3 horizontal boards. The two longer sides had a corner piece added that would then be used to attach to the smaller sides.
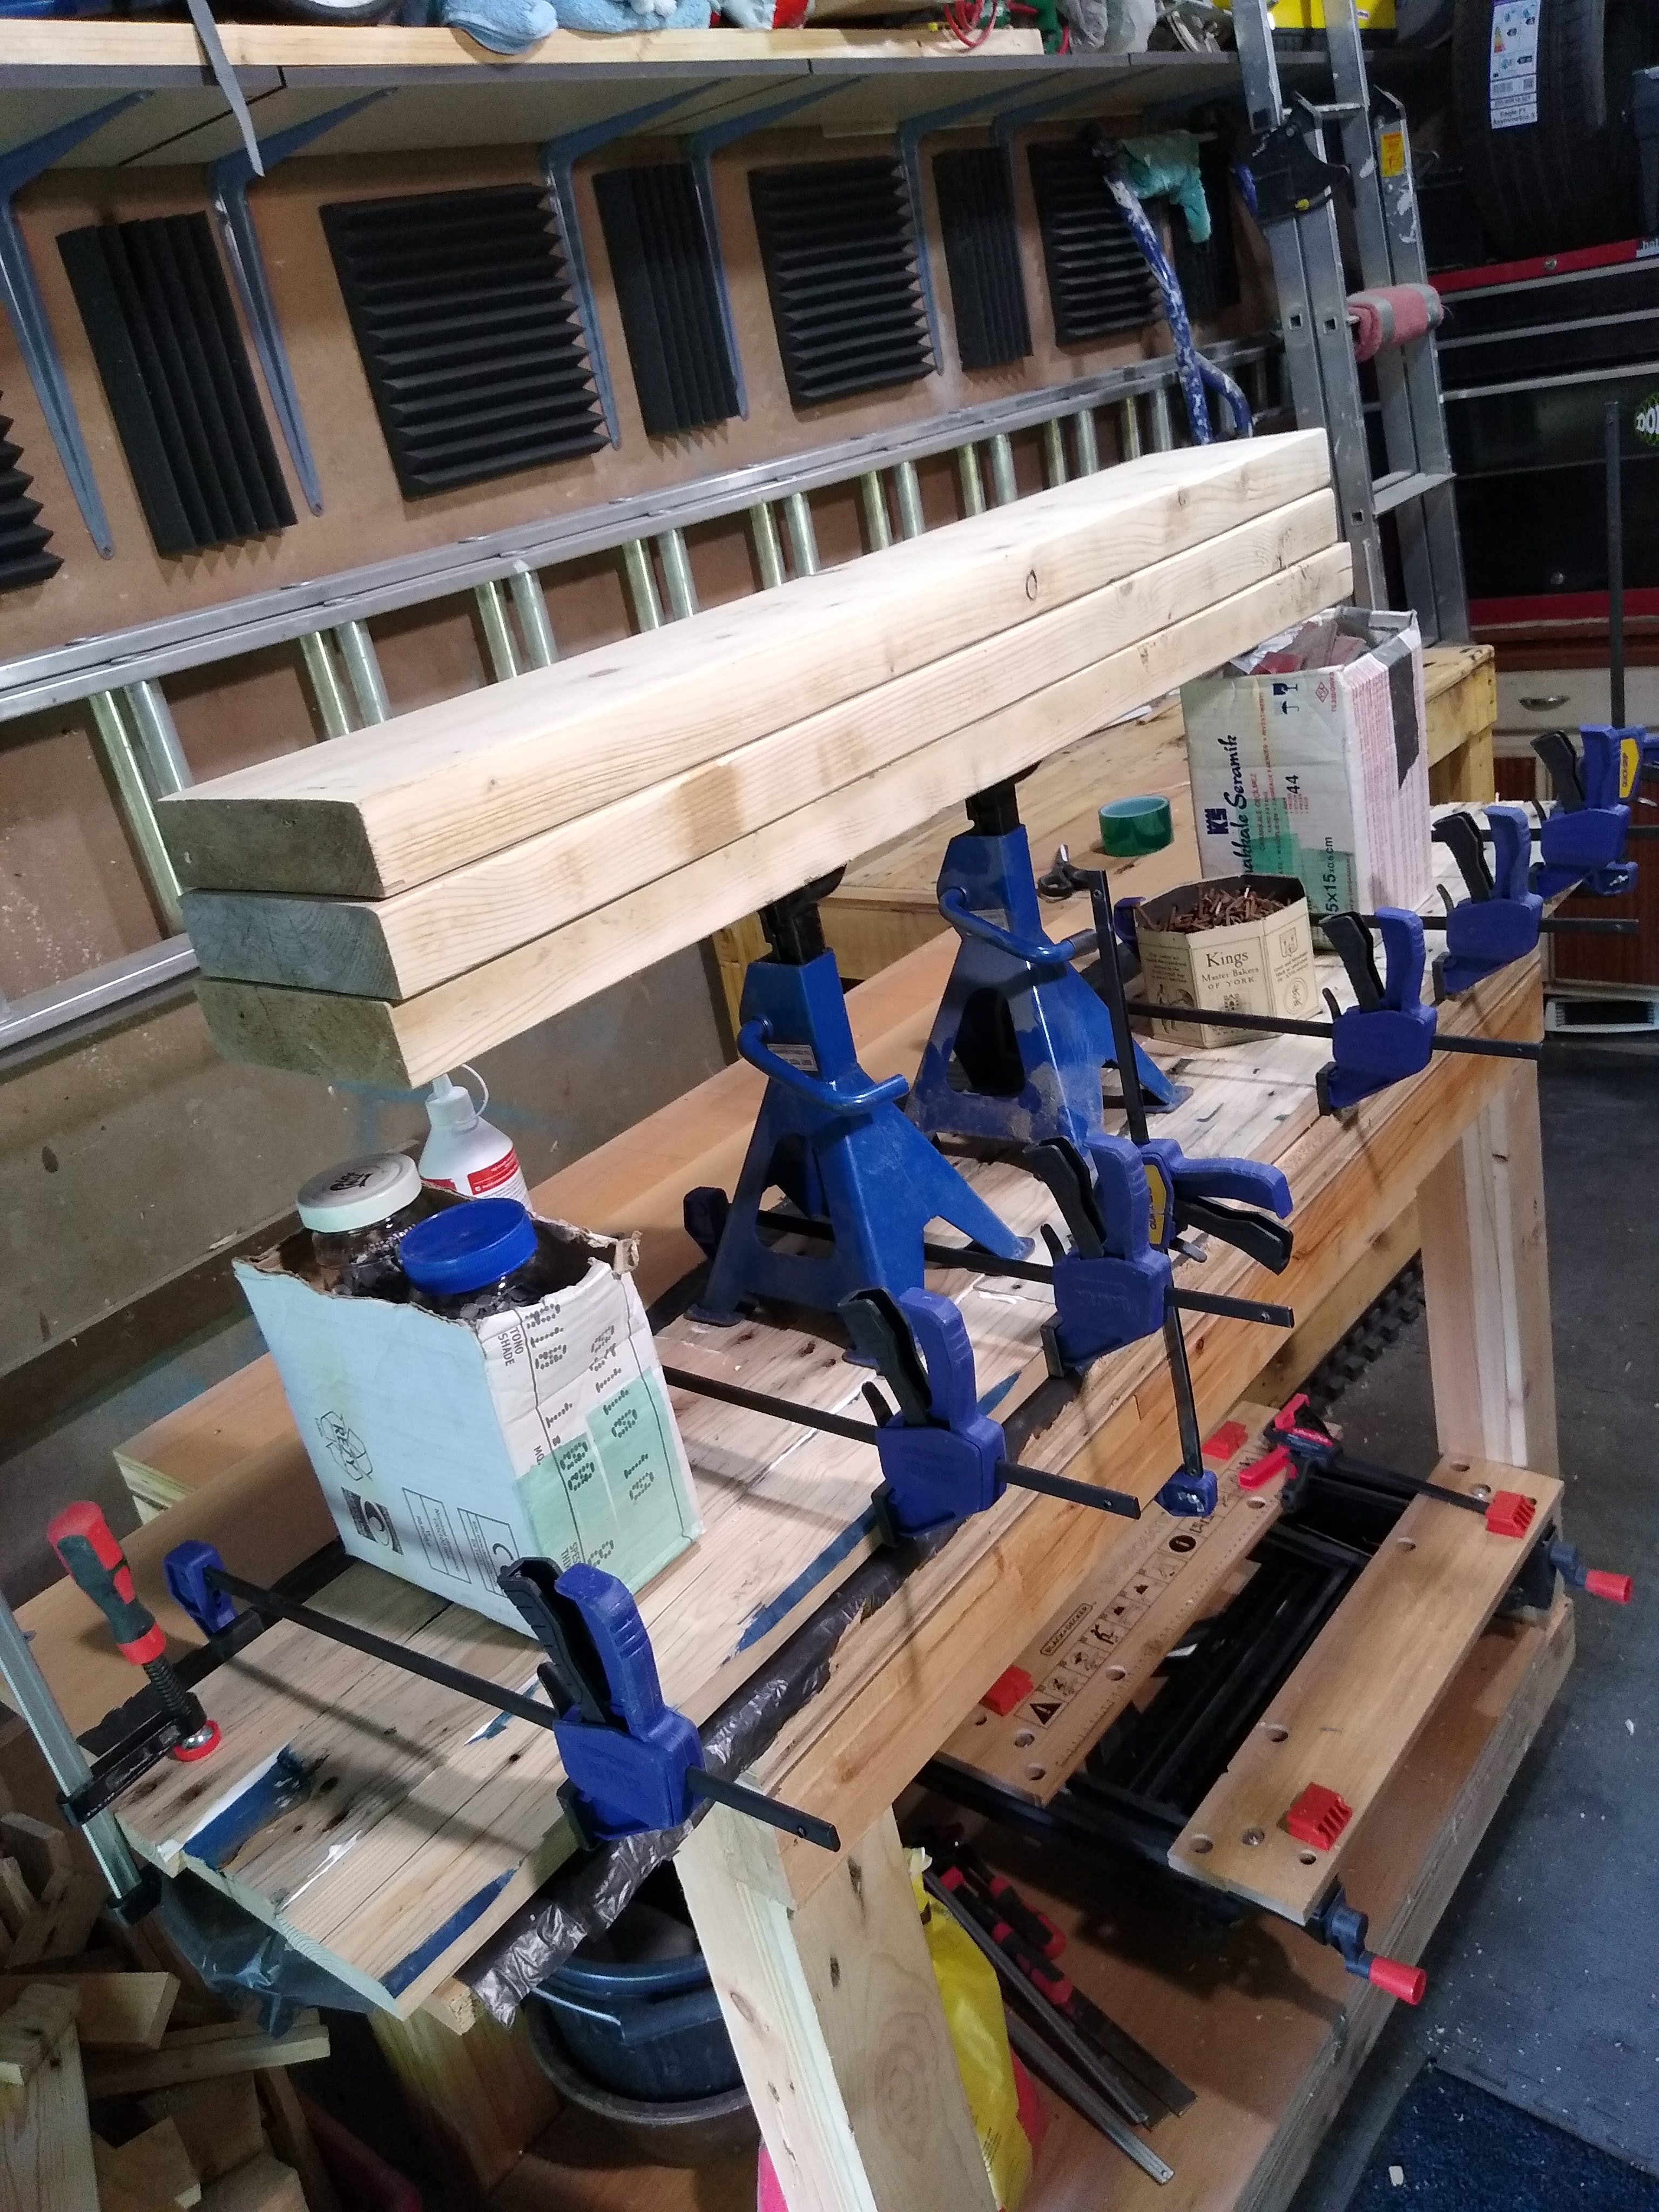
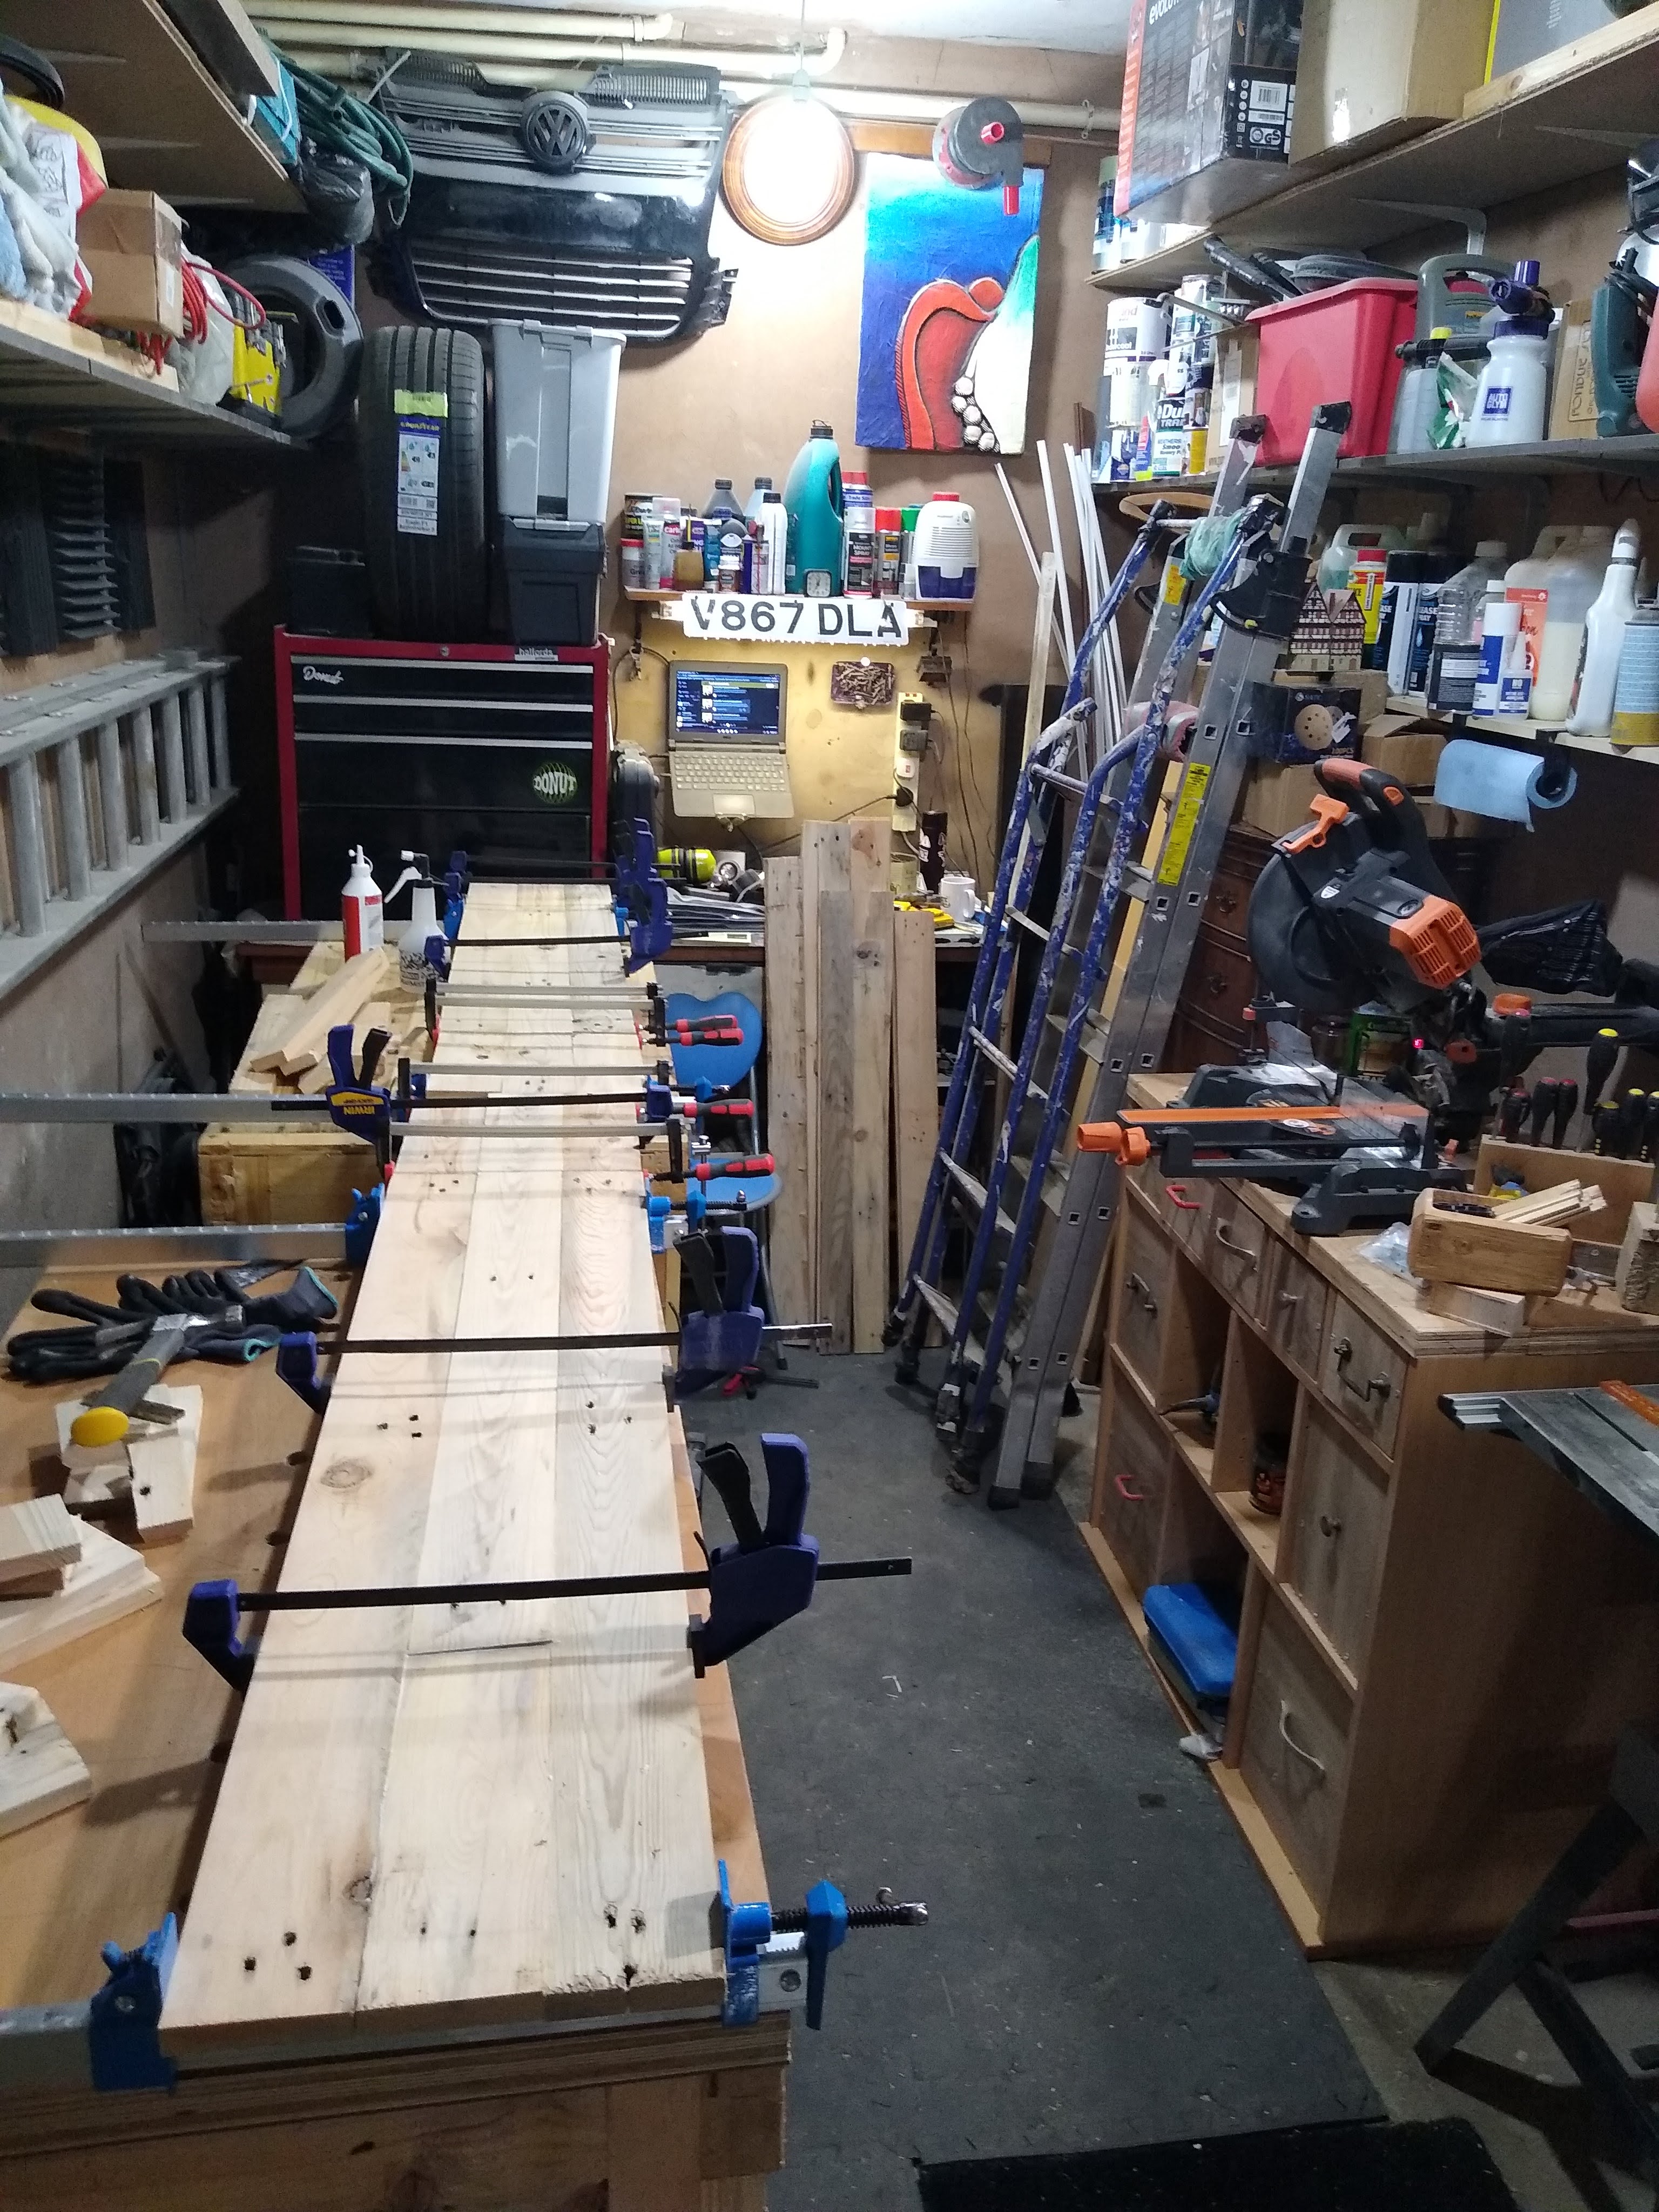
For the bigger bed I glued up the sides and added the corner braces but the final assemble would be done on site as my golf was too small to fit an assembled bed of that size! A couple of the boards where a little bowed so I piled a bunch of weighty things on top and clamped it to the bench whilst the glue was curing. Ended up looking like an odd Buckeroo/Jenga game


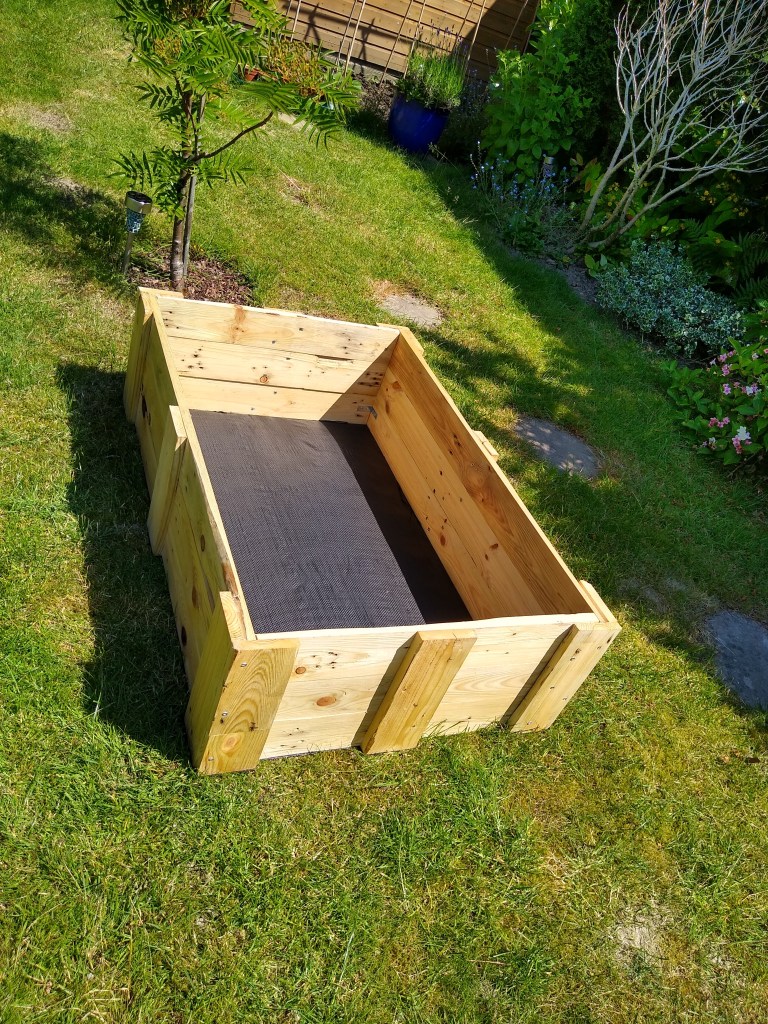
Sixth step. Protect the wood. I bought a natural teak oil that should help the wood last a long time and doesn’t add that orangey colour to the wood like some outdoor furniture finish does. Half was through the bigger bed I decided to fill a few gaps where knots where coming loose.
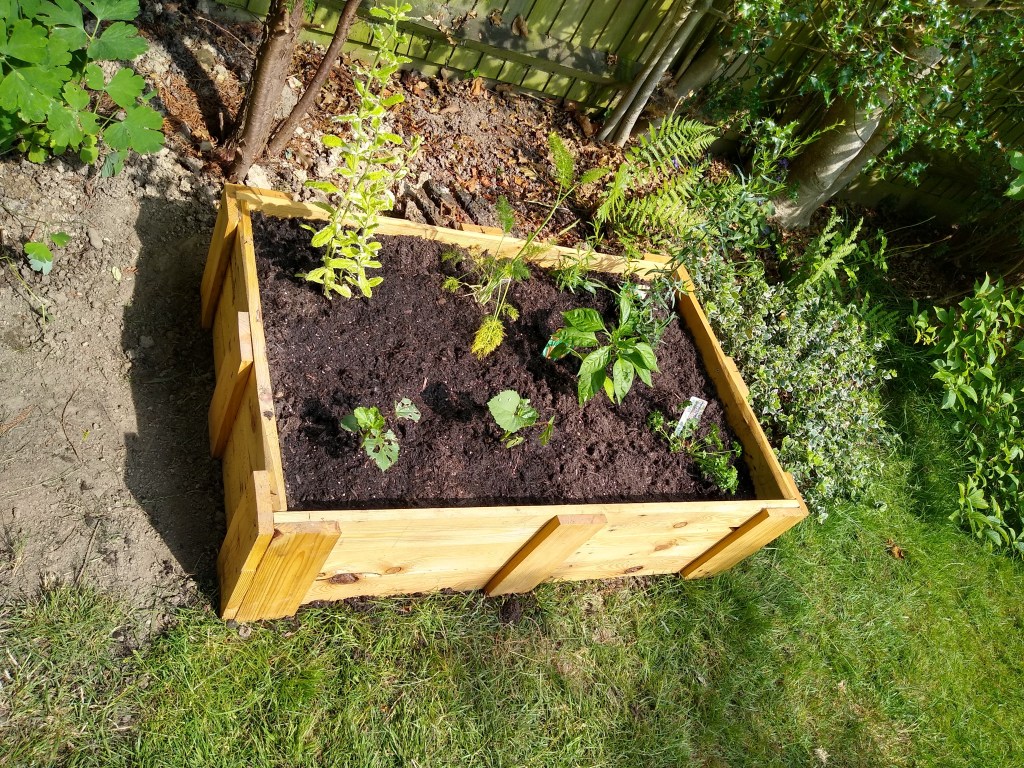
Seventh step. Stick some plants in it!
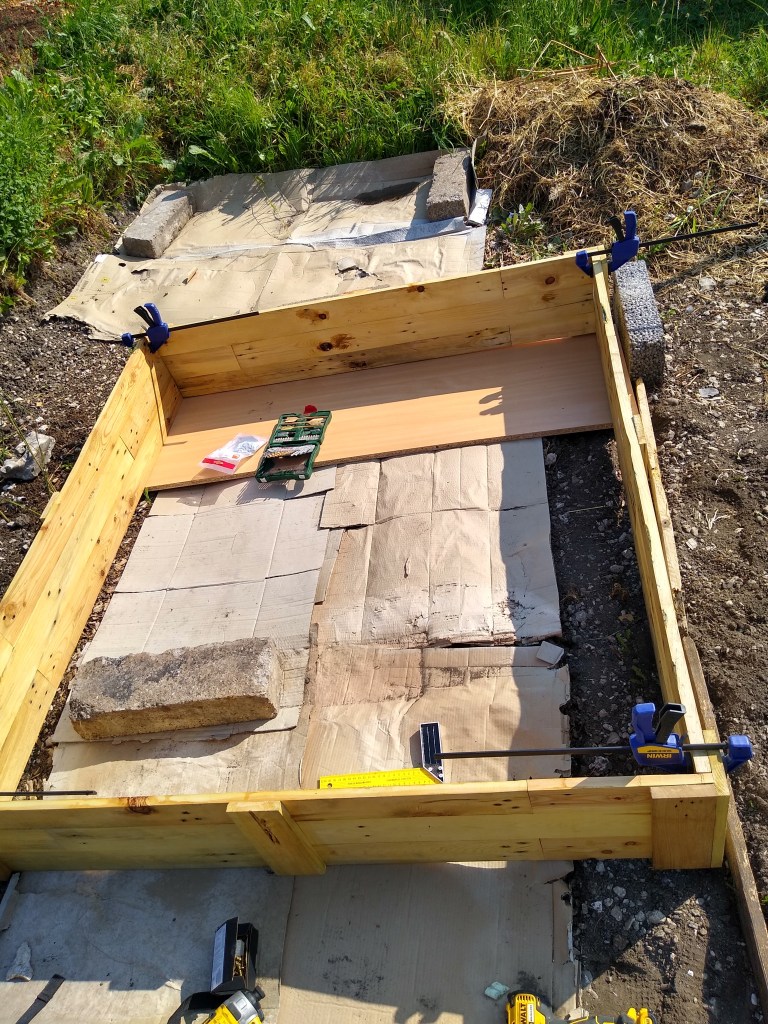
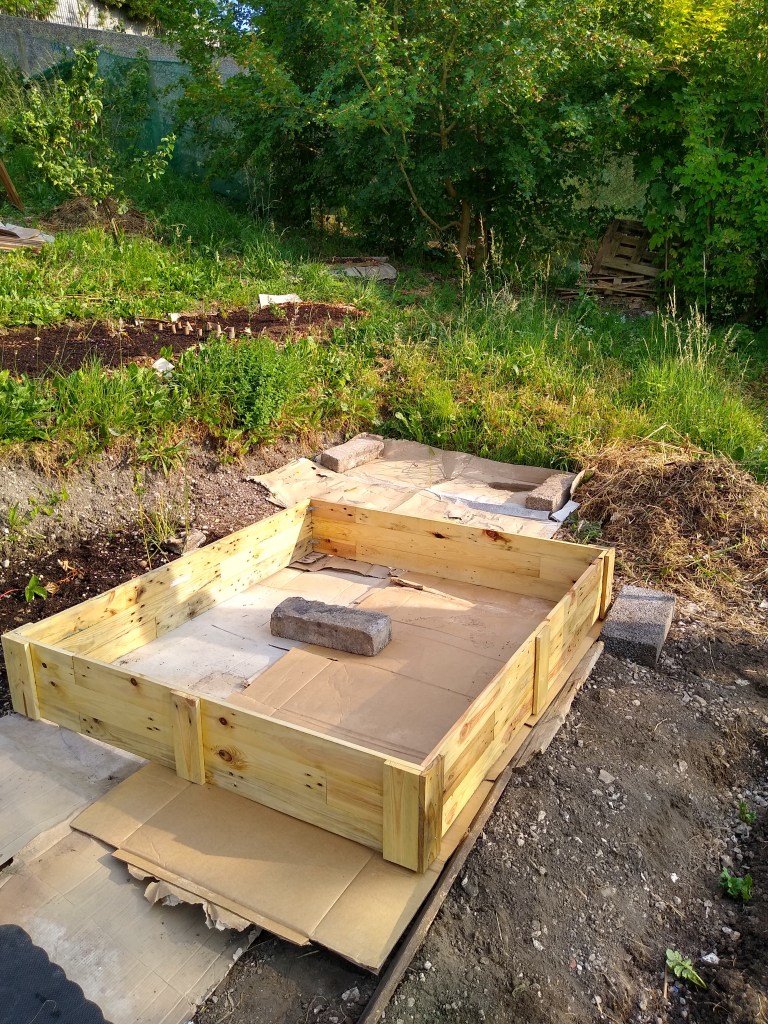
After lining the small bed with some eco friendly and breathable material it was put to use with some decent soil and various herby-planty things. The bigger bed was lined with cardboard, this seems to be the liner of choice as its biodegradable and still keeps weeds and critters out.


Leave a comment