

This was a challenge. A challenge for a wood working noob like myself at least. Almost as much of a challenge as trying to recall how on earth I pulled this off 2 months after I finished it. Note to self, take notes during the build not months afterwards! FYI this is a bit of a long post.
Step 0
Figure out why on earth I took on a commission before I knew what I was doing. Nothing like some pressure to expedite learning some new skills I guess?
The basic requirements were a corner desk of some sort to fit in a specific corner with a specific size in mind.
Step 1
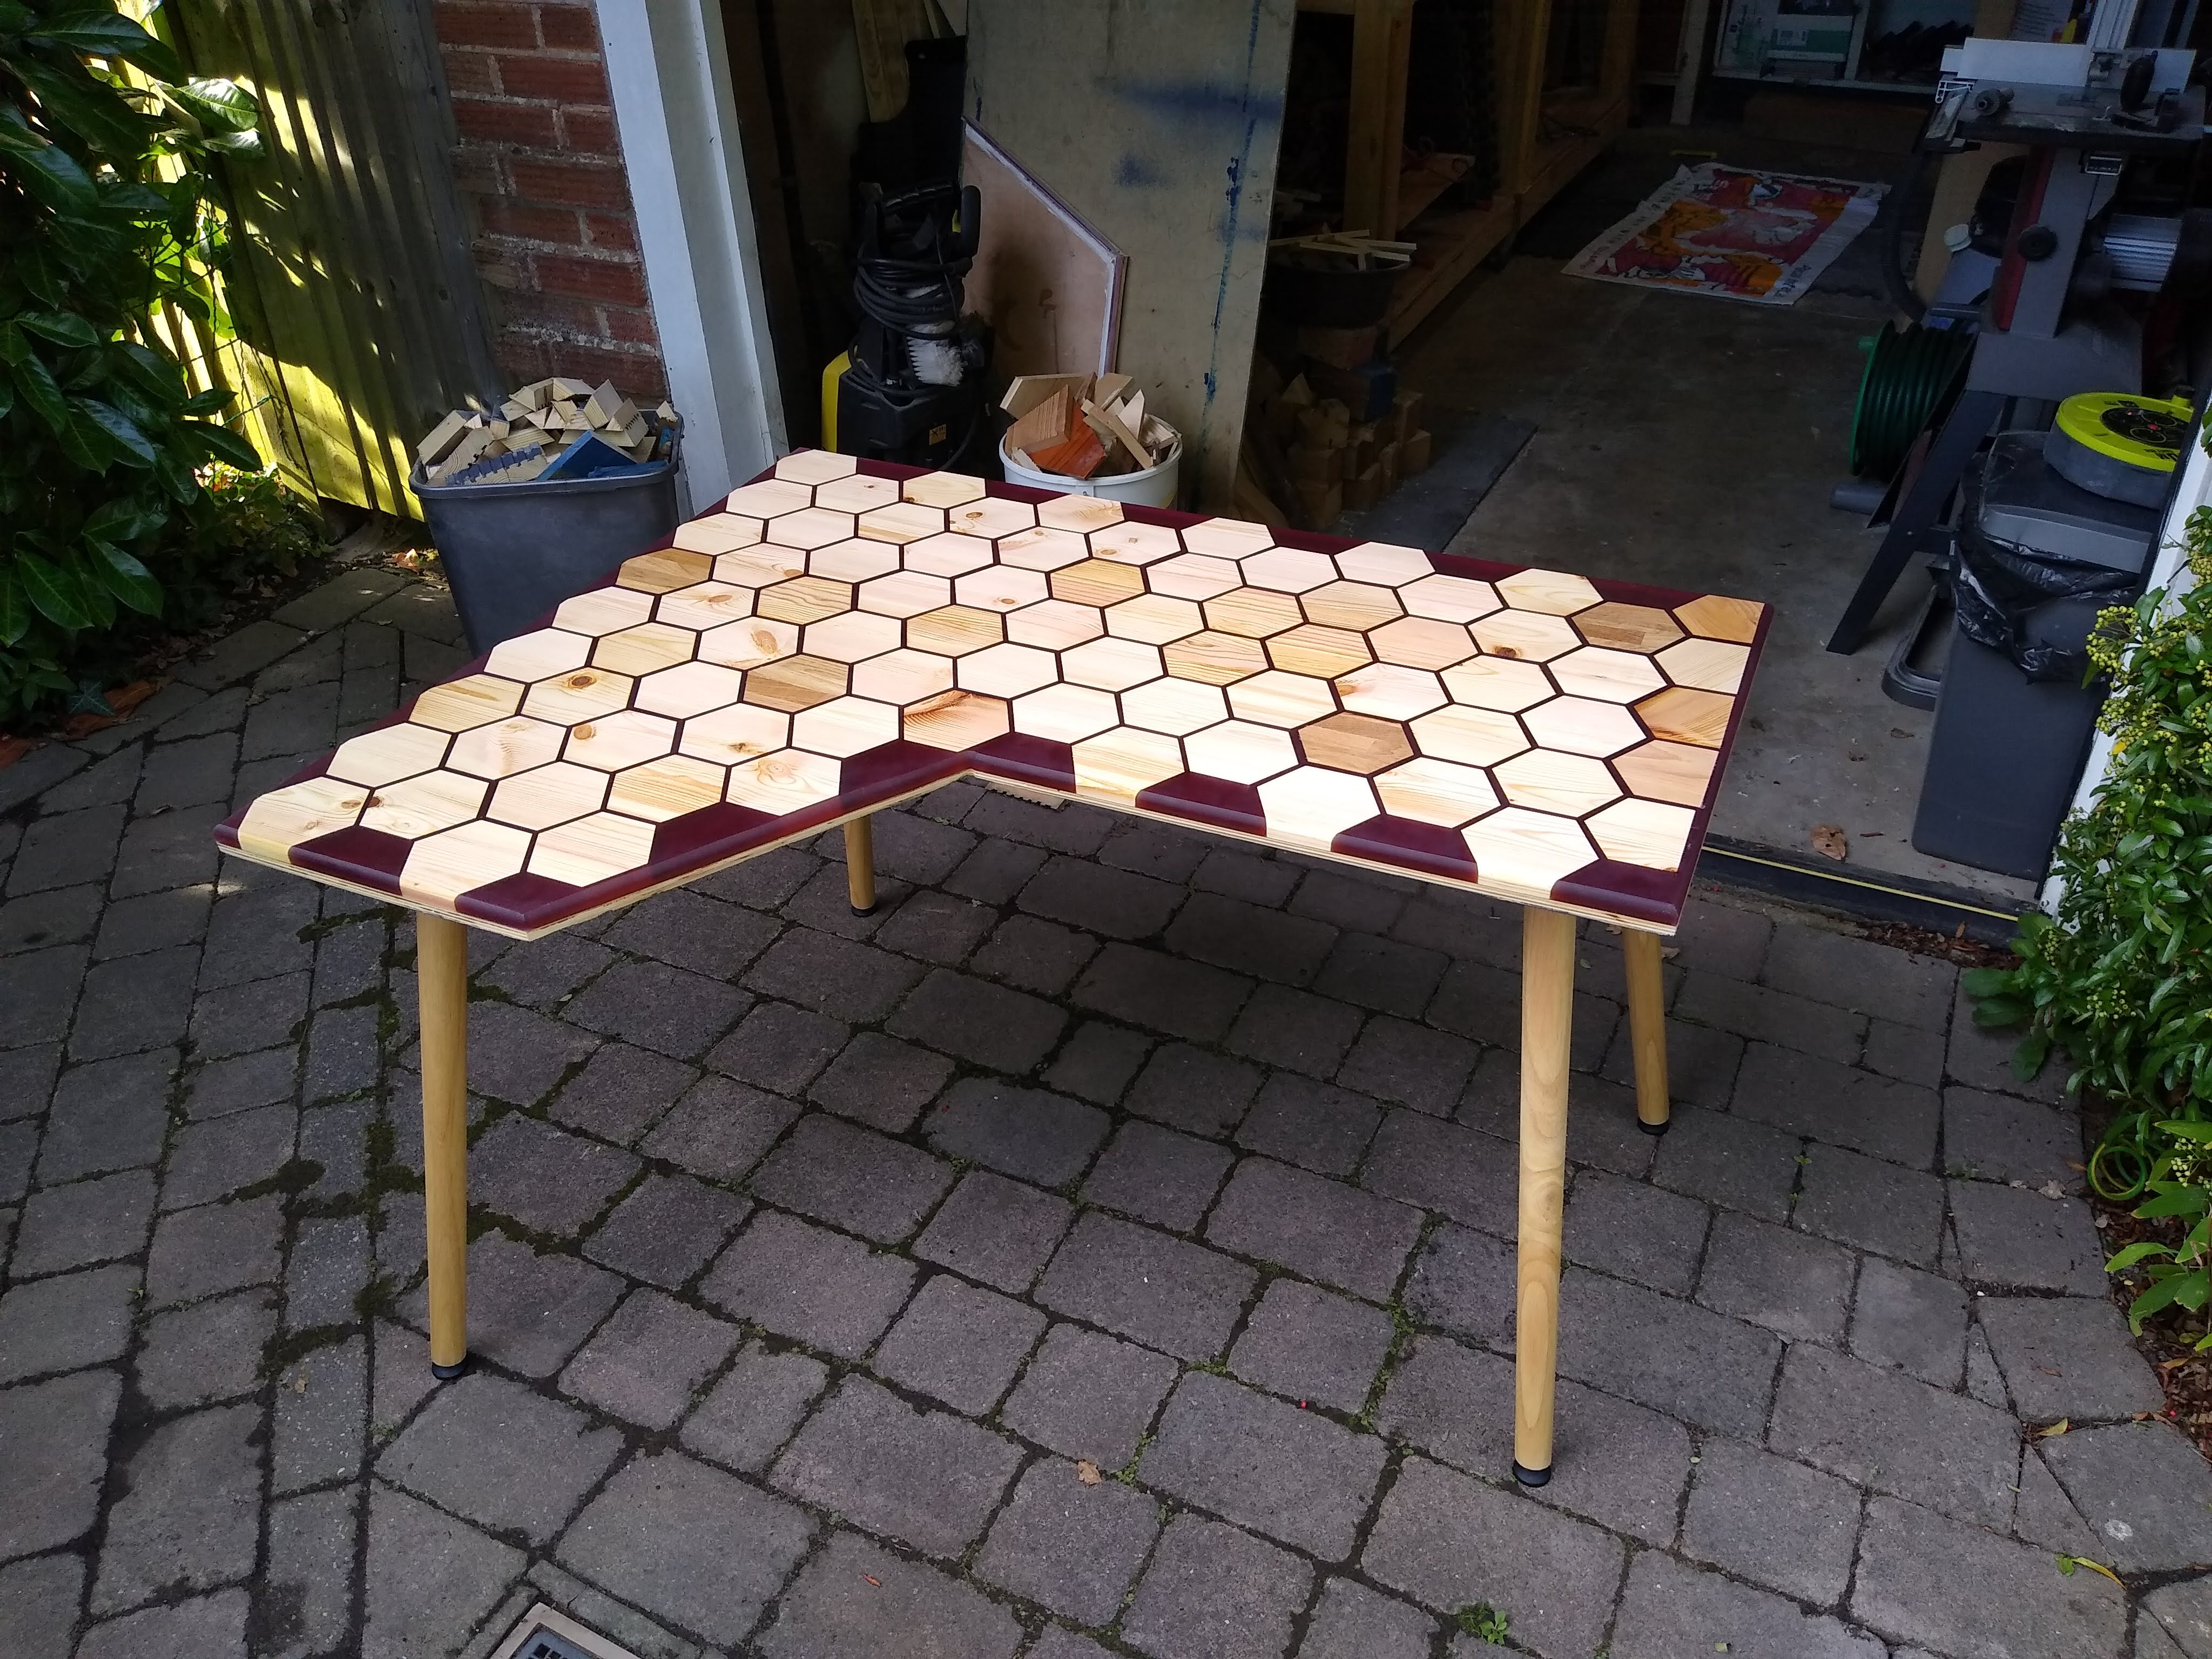
Design something! I’ve been using DesignSpark for a while as a fusion 360 replacement so I mocked up some drafts in that. We landed on a tessellated hexagon design with a burgundy epoxy running between each hexagon. I also designed a little hexagon template to get the spacing consistent between the hexagons. This is what I came up with:
Step 2
Make a mini prototype to prove that the concept was sound-ish. A rough approach was as follows, make hexagons, make a form, put hexagons in form, pour epoxy in form then sand/plane off excess. Sounds simple enough but I wanted to try it out first. It was worth while spending the time on it as I learnt a few things:
1. I need to make a jig to evenly space the hexagons.
2. I need to do a seal coat first so the wood doesn’t absorb the colour of the resin (like it did here).
3. Remember to always plane with the grain! I had a chunk fly off due to planning against the grain so I had to trim the end off.
Step 3
Start hexagon production! My initial thought was to use purely pallet wood for this but I soon ran out of my dry stock and didn’t want to dismantle fresh (potentially wet) pallets. I ended up buying a couple of planks of redwood PSE from wicks. This is the first wood I’ve actually bought, I must admit not needing to remove nails, joint edges and sand each plank was a nice change!
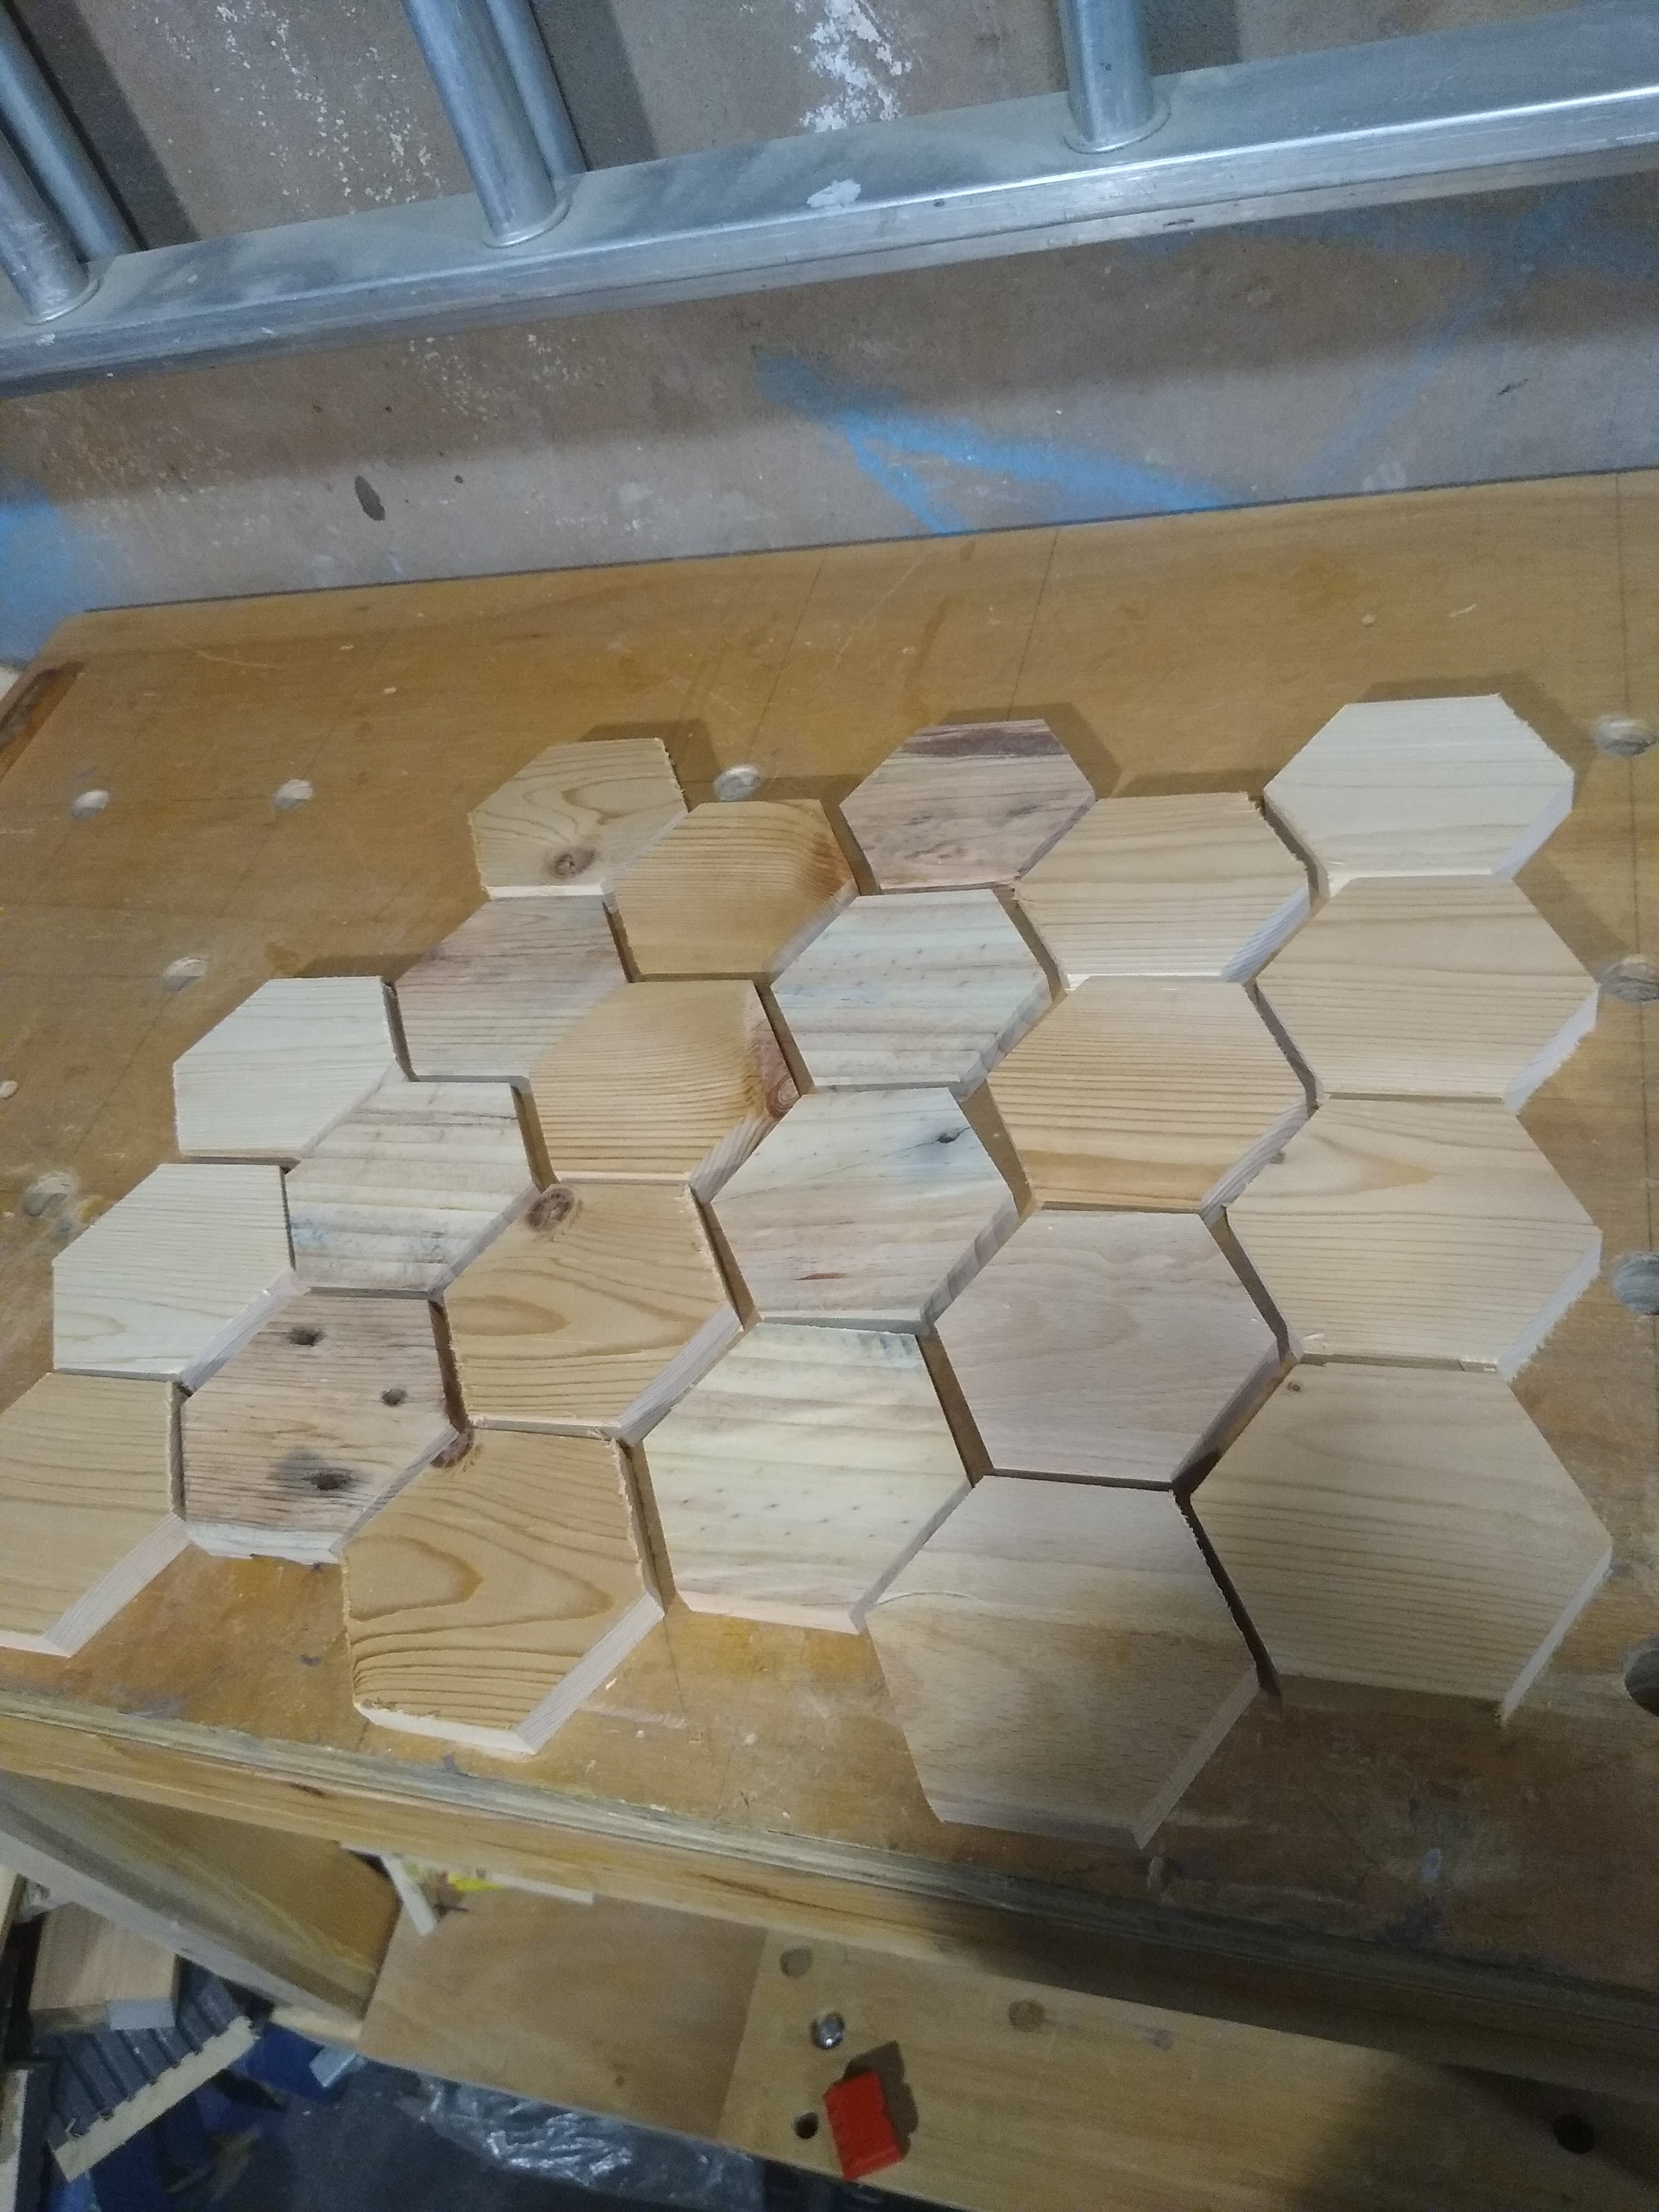
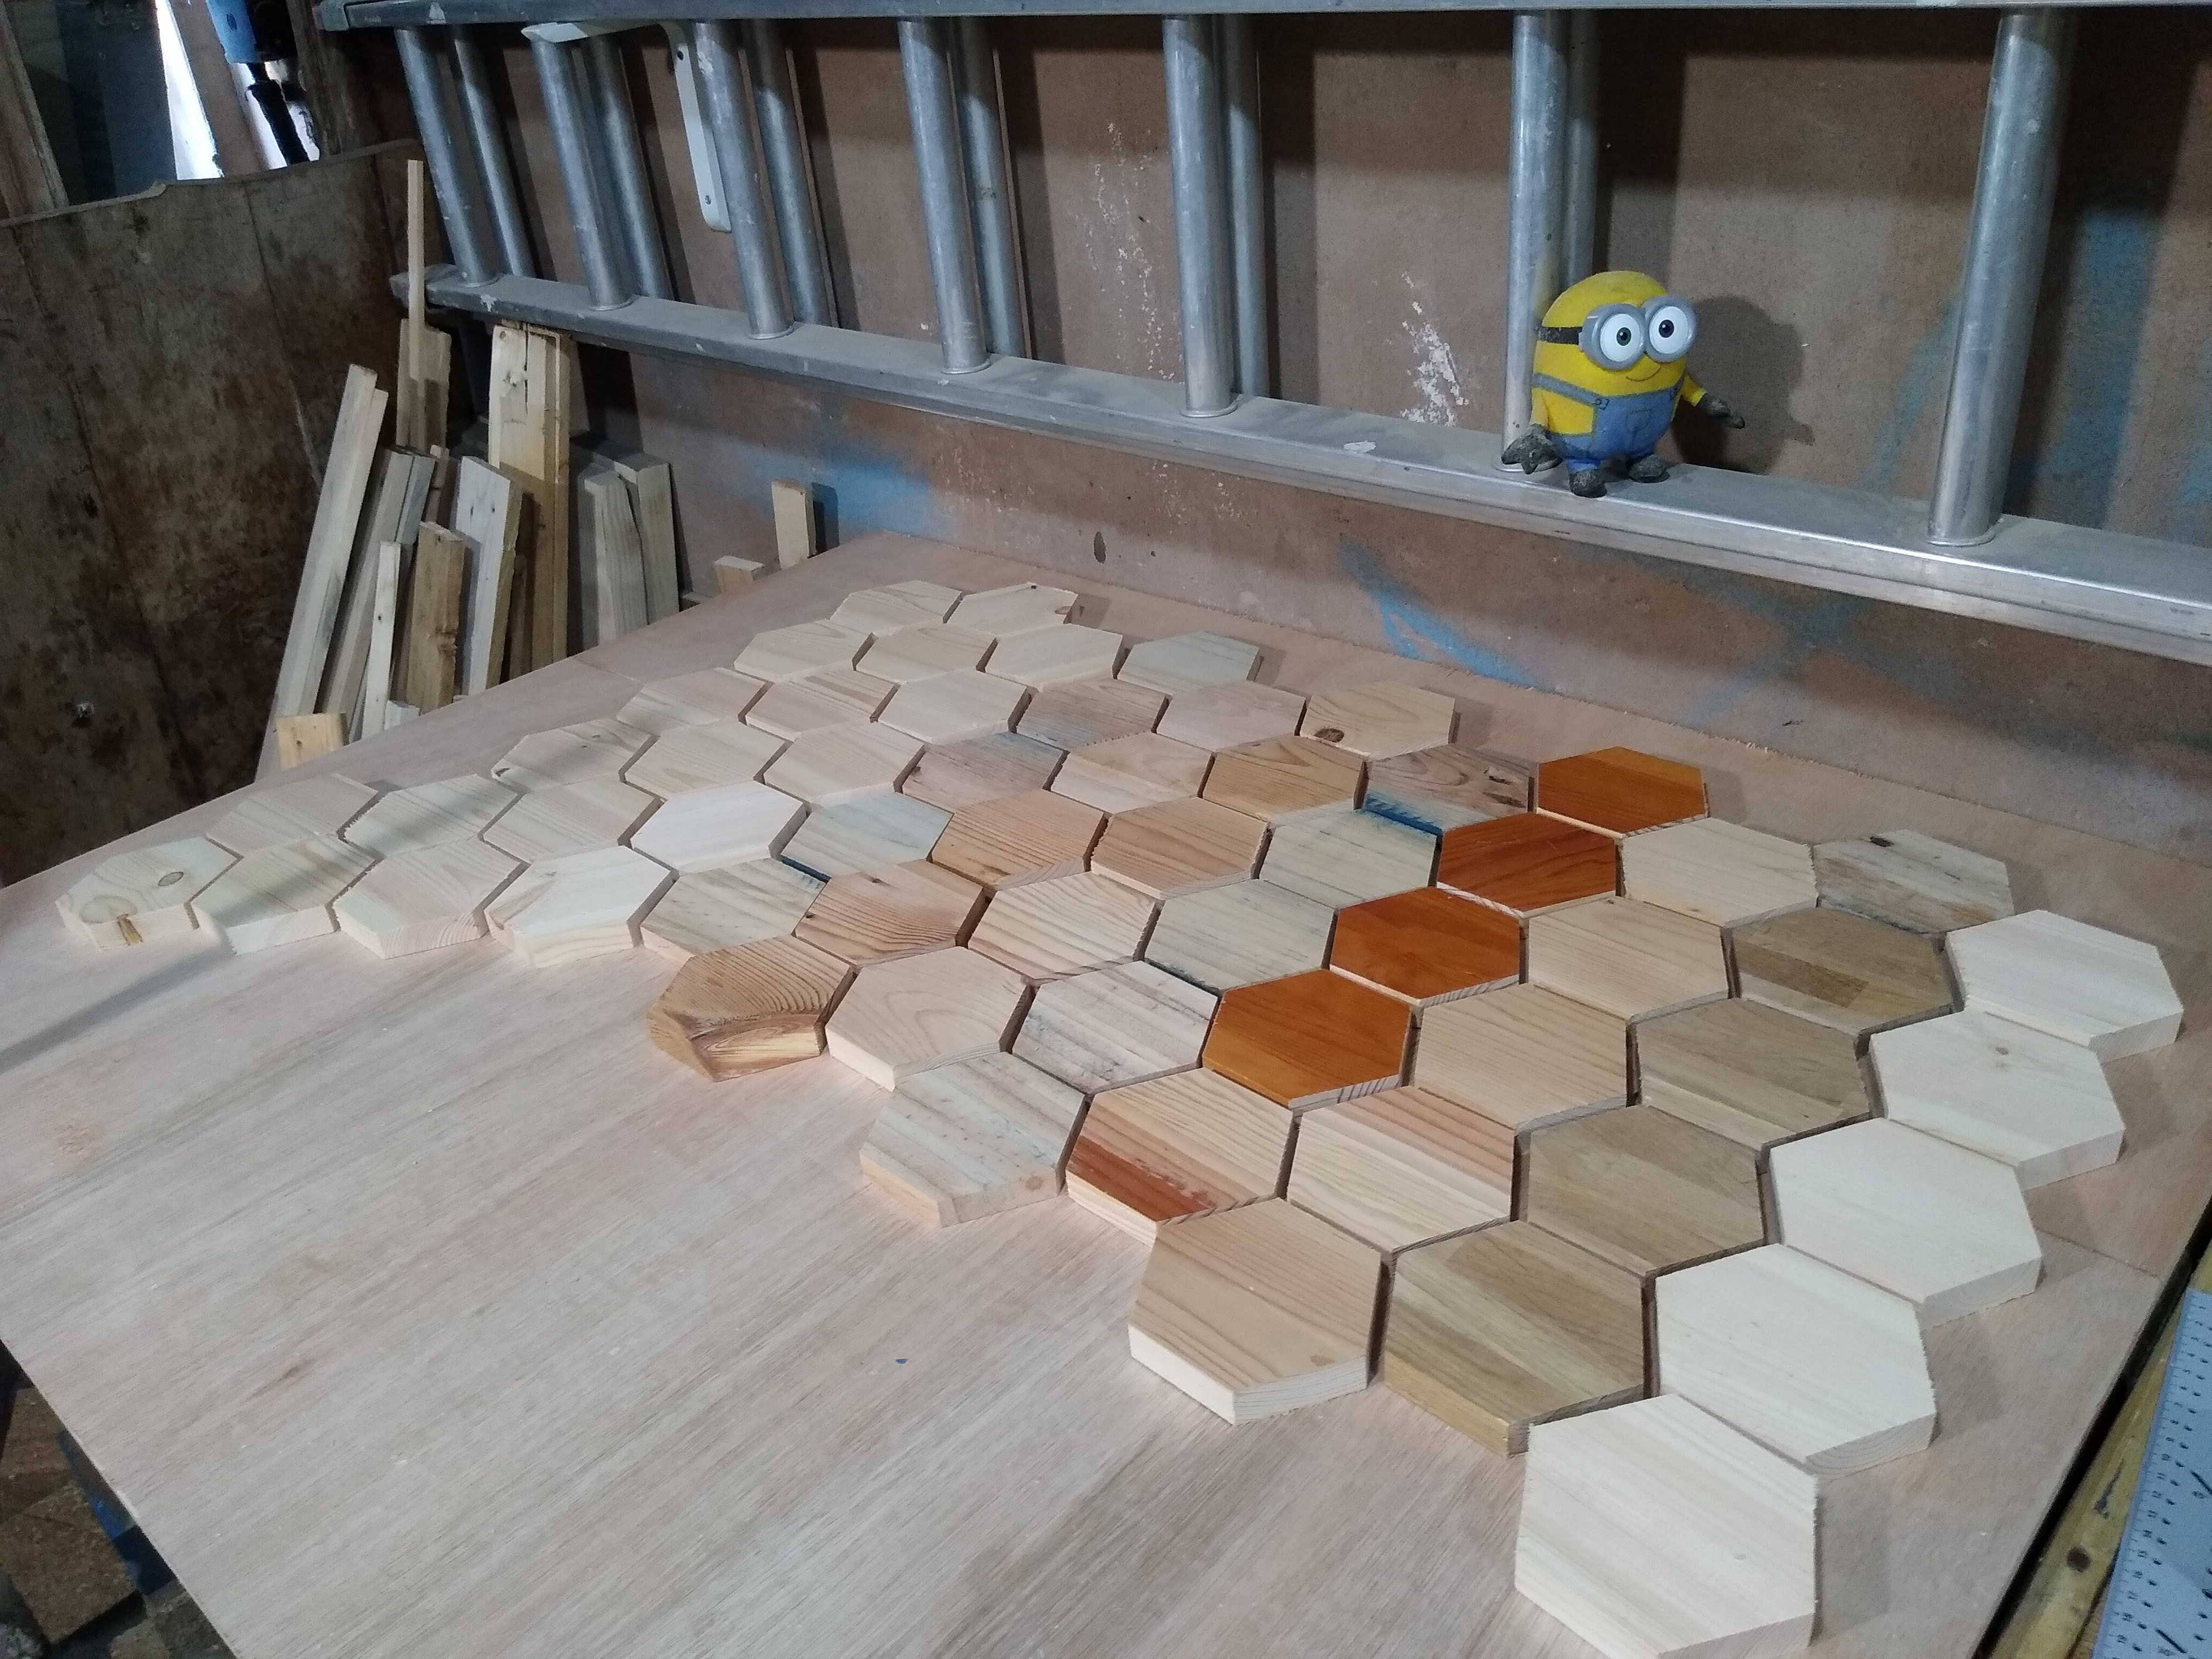
STEP 4
I played around with patterns for a while as I had many different types of wood, in the end I decide a more randomised pattern would be best as I didn’t have enough of each type to have a consistent pattern. Making sure the grain direction was the same on each hexagon but distributing the darker woods gave a nice effect.
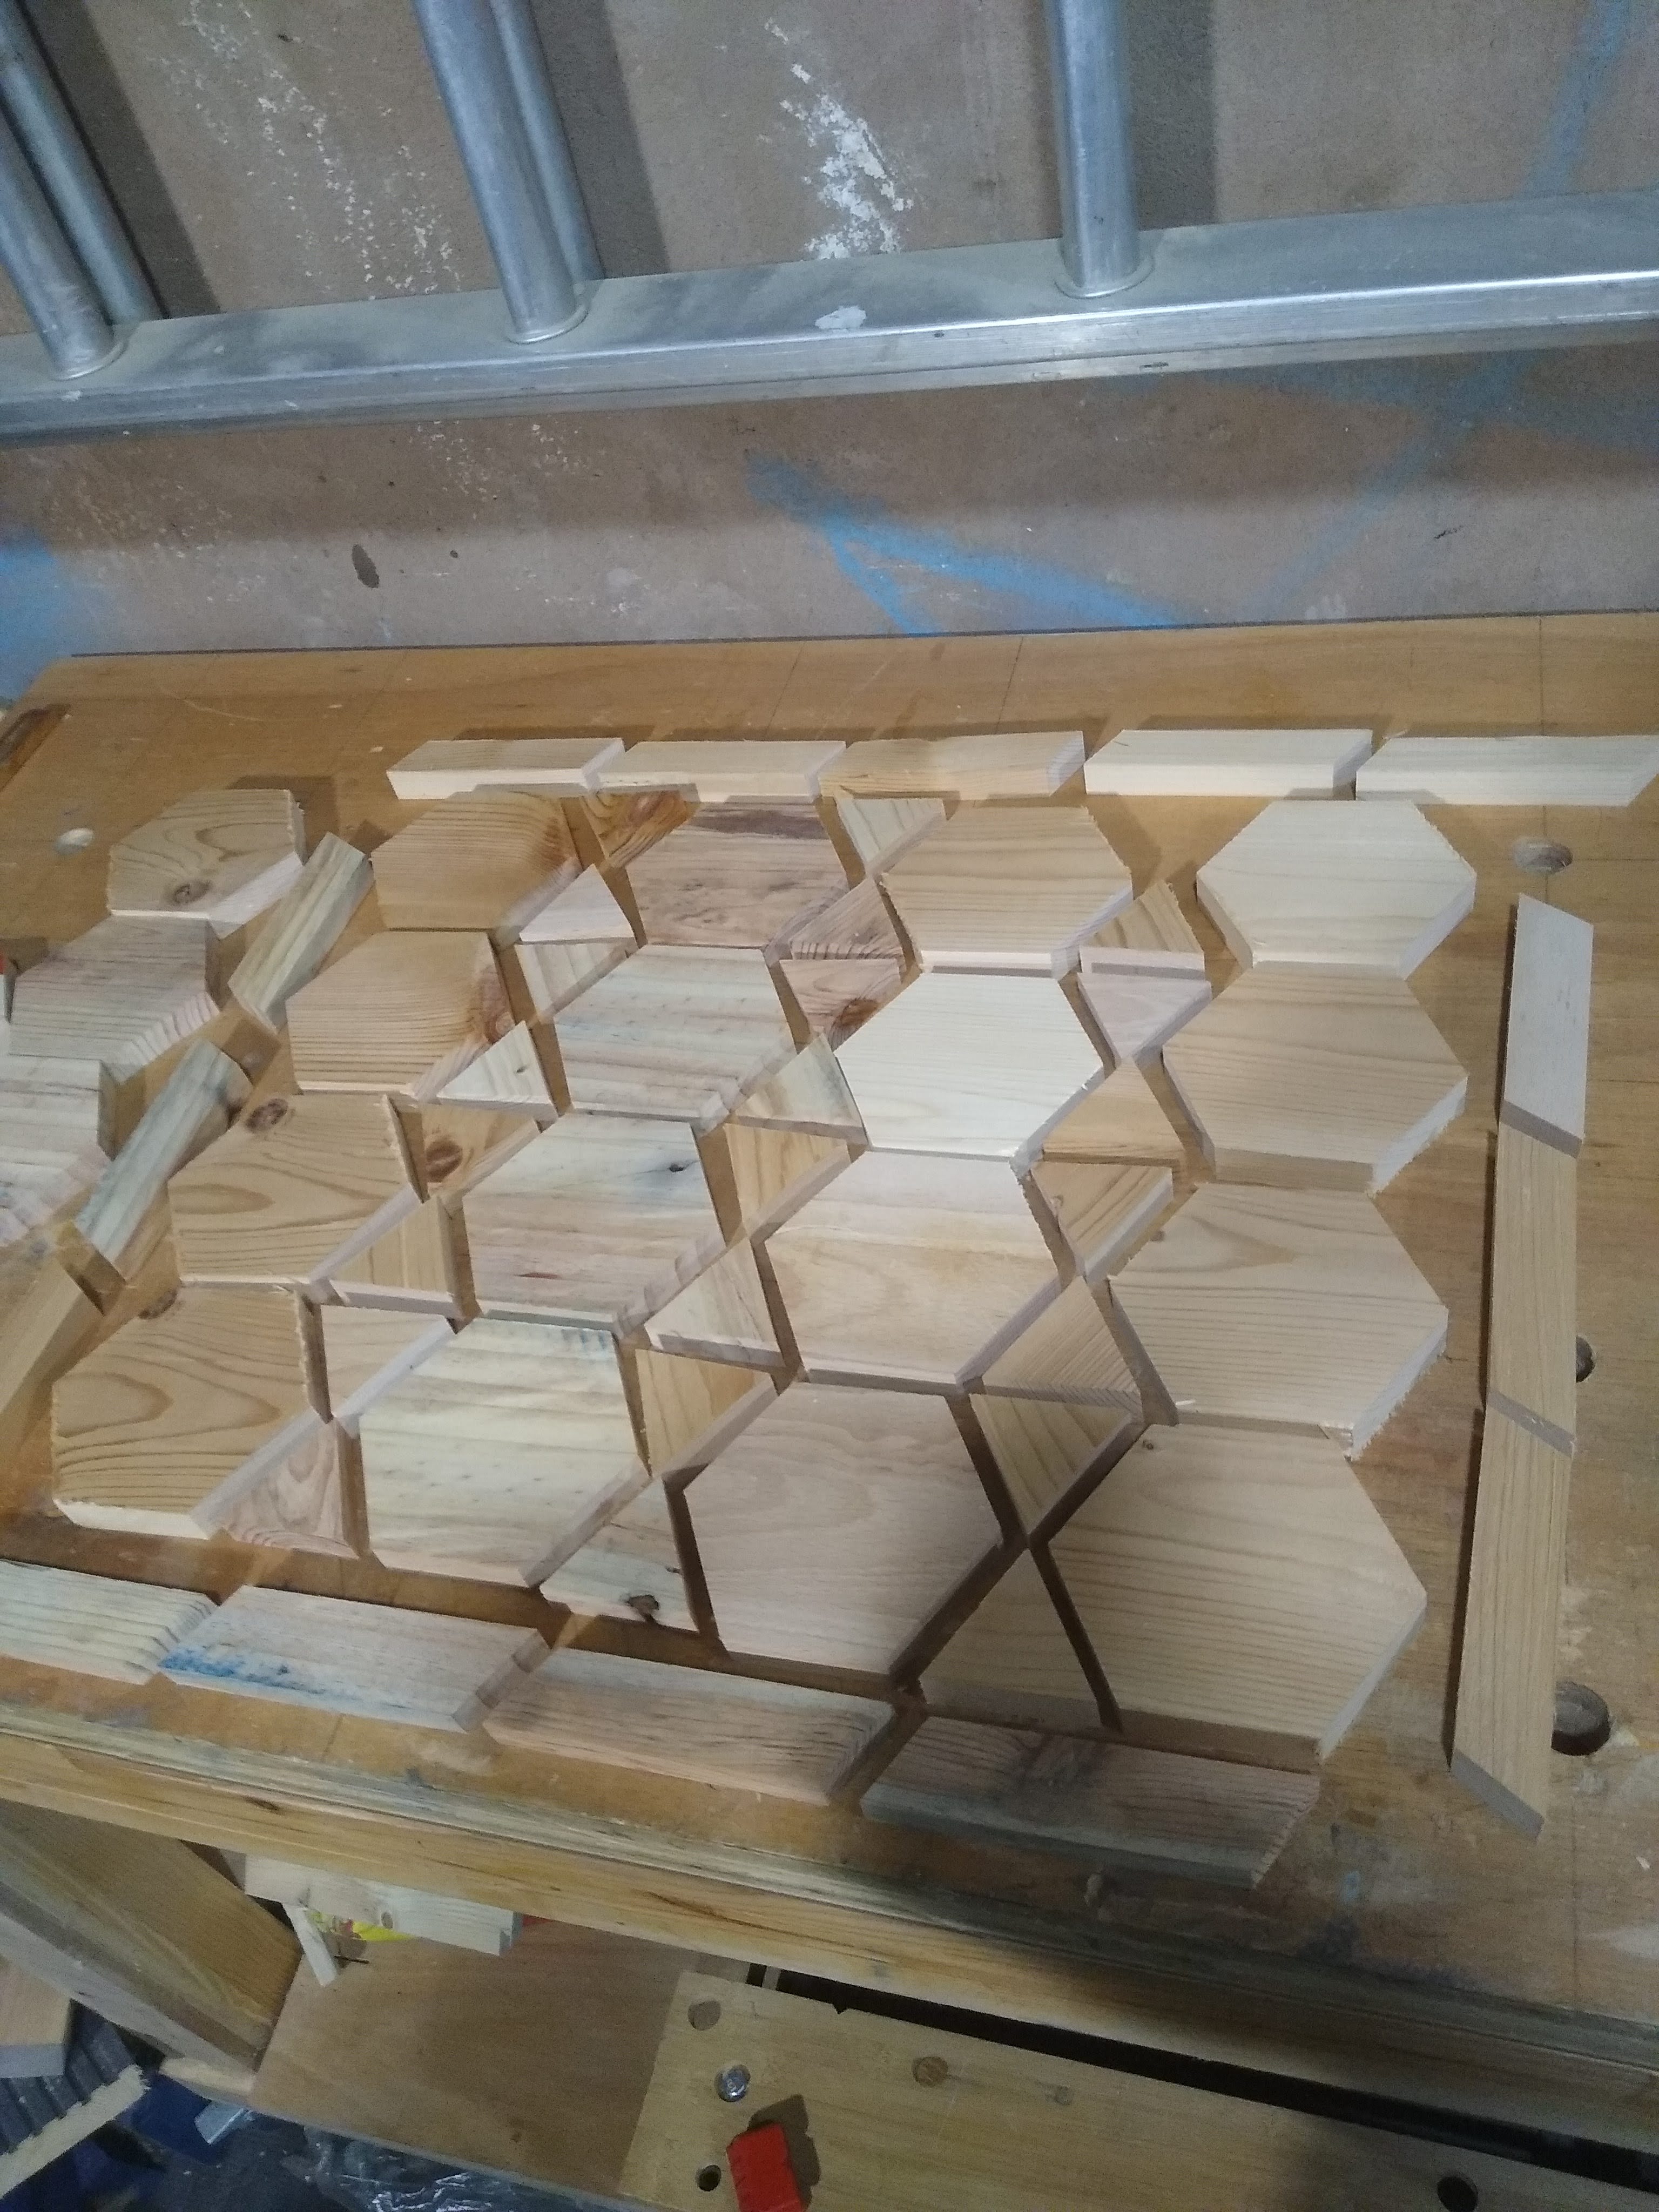
Step 5
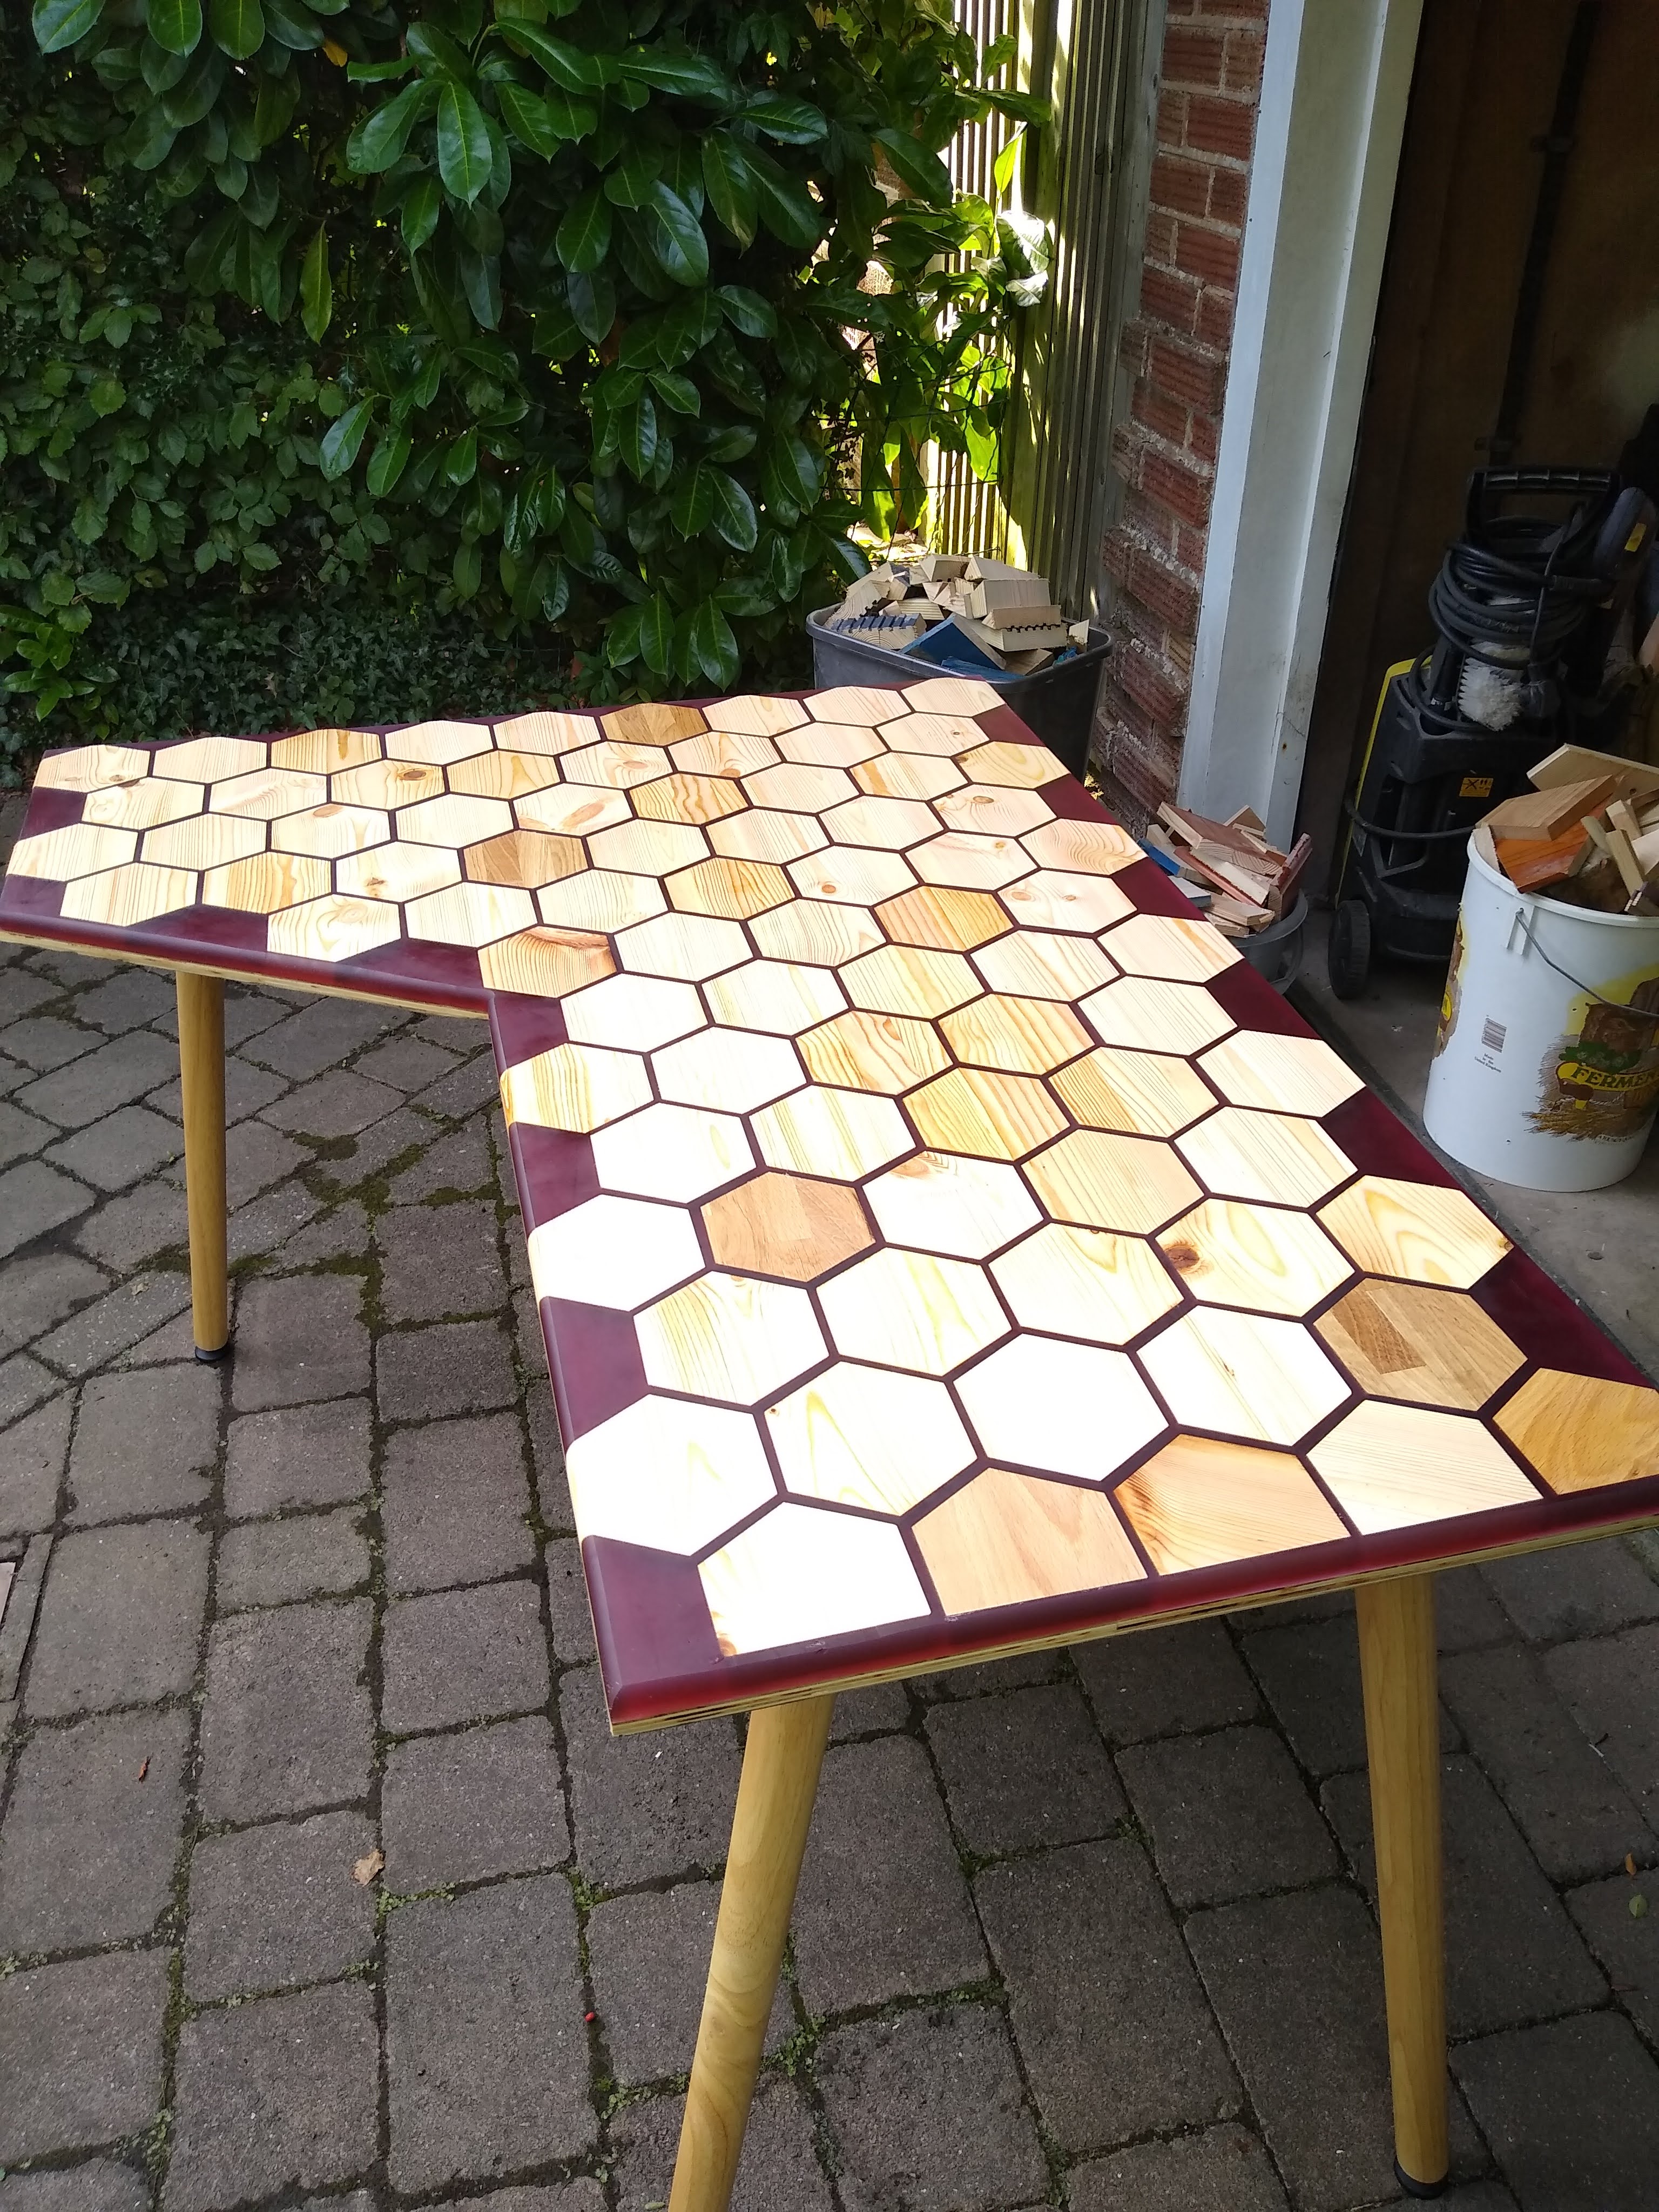
After finalizing the pattern I built a form on top of some 12mm hardwood plywood and started to glue down the hexagons with 2-part activated glue. The glue was great as it cured immediately so there was no need for 100’s of clamps on each hexagon. Once this step was complete you could really see what the table could end up looking like.
Step 6
This is the point of no return! Time to mix and pour the epoxy over the desk. I poured a clear sealing coat to begin with as I would be using coloured resin and didn’t want the colour to get absorbed into the wood. I then did the coloured resin in two pours as I was unsure on how much heat would be generated (an potentially warp things) whilst it cured.
Step 7
It warped anyway! So despite trying to mitigate warpage something caused the whole table to slightly warp. After knocking off the form I found that the desk was not flat on the bottom. In hindsight I probably didn’t need to worry too much as you wouldn’t see it and it didn’t effect the top of the desk. However just knowing it wasn’t flat was annoying so I put together a router sled kit and attempted to flatten the bottom. I got flattening router bit and got to it.
Next was to plane away the top layer of epoxy so all the wooden hexagons were exposed. This was required as not all the wood was the same thickness so some of the hexagons got submerged in epoxy. I tried to used the router sled for this but it didn’t work very well as the rail system kept getting bound up. In the end I found success by using an electric hand planer freehand and using a level to check for flatness.
Step 8
Round over the edges. This was a bit nerve racking as I’d had chip-out occur on epoxy before and the thought of damaging the desk at this stage was concerning. However, after getting a new router bit and testing it on my test piece I made earlier it instilled some confidence. Thankfully it went with out a hitch and gave me the finish I wanted!
Step 9
Now the satisfying and relatively pain free part, finishing. I filled any gaps on the back then sanded back both sides (320 top & 120 bottom) then gave it a good clean down. For the bottom I painted it grey, as the nice hardwood veneer was ruined during the flattening process. On the top I used linseed oil as this worked on the epoxy part and the various different woods. I did two coats of linseed with a few days between coats. Finally I used a furniture paste wax after a week had past which should protect it from UV and discolouring.
Step 10
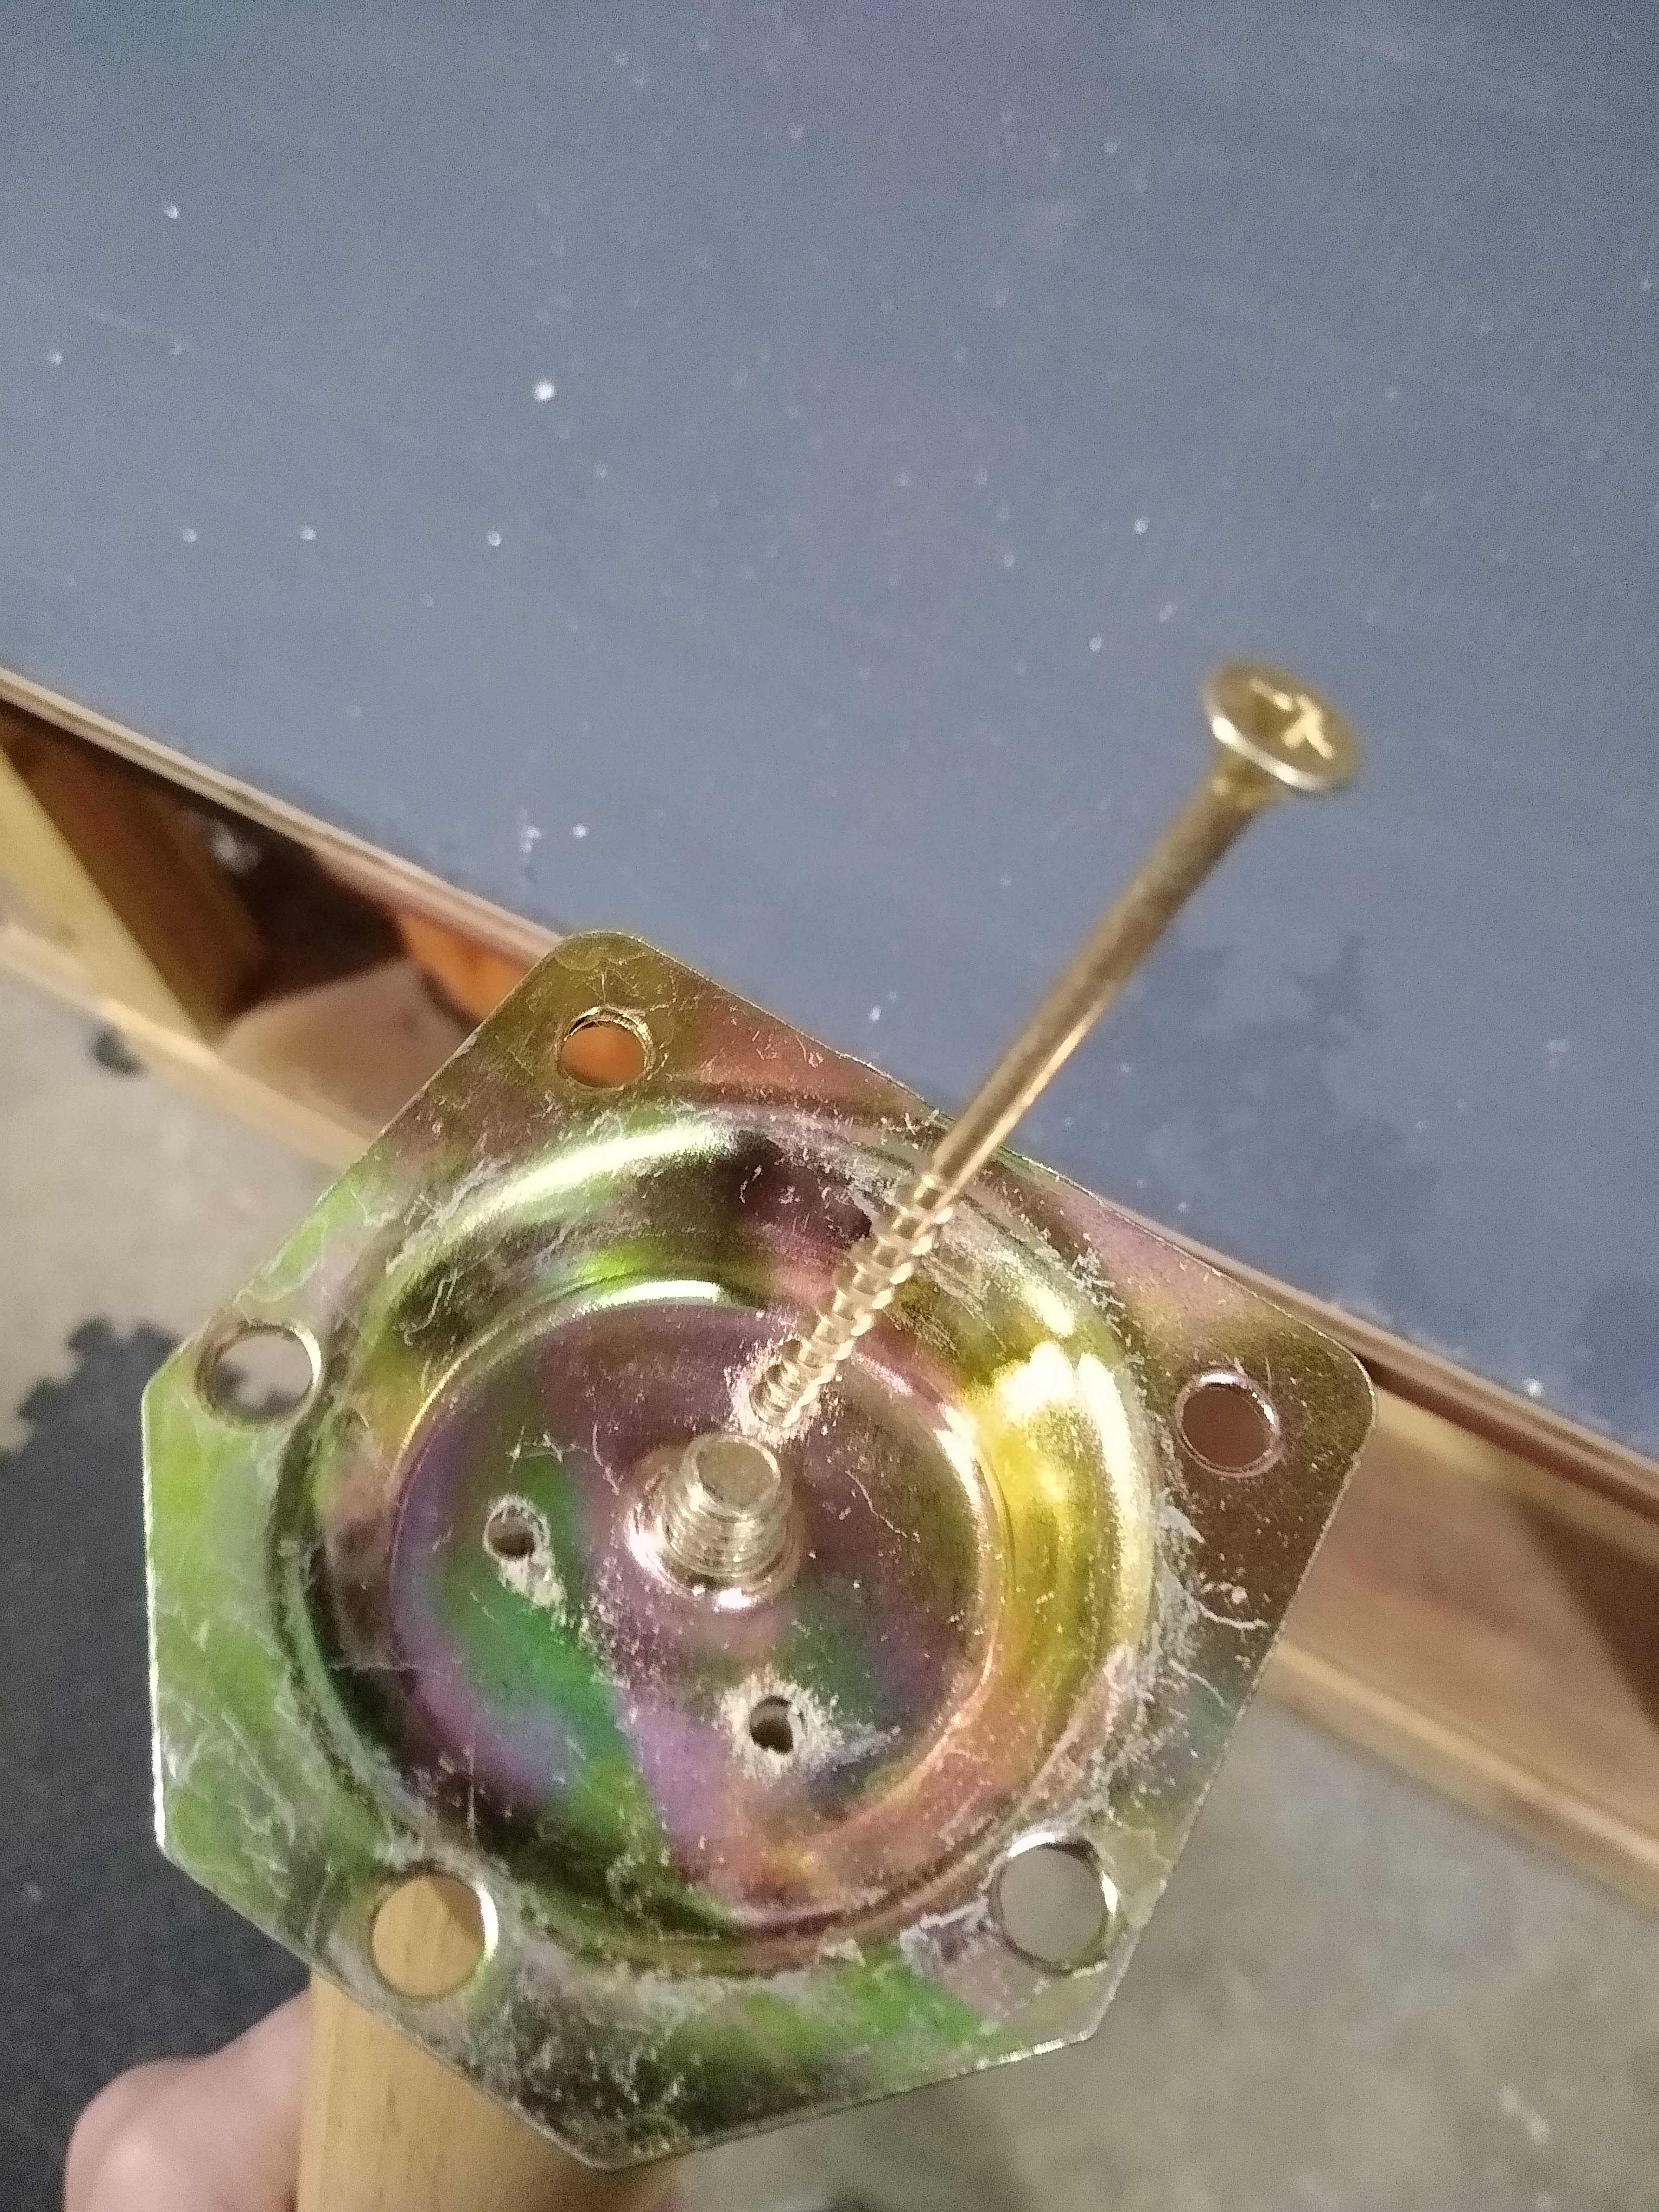
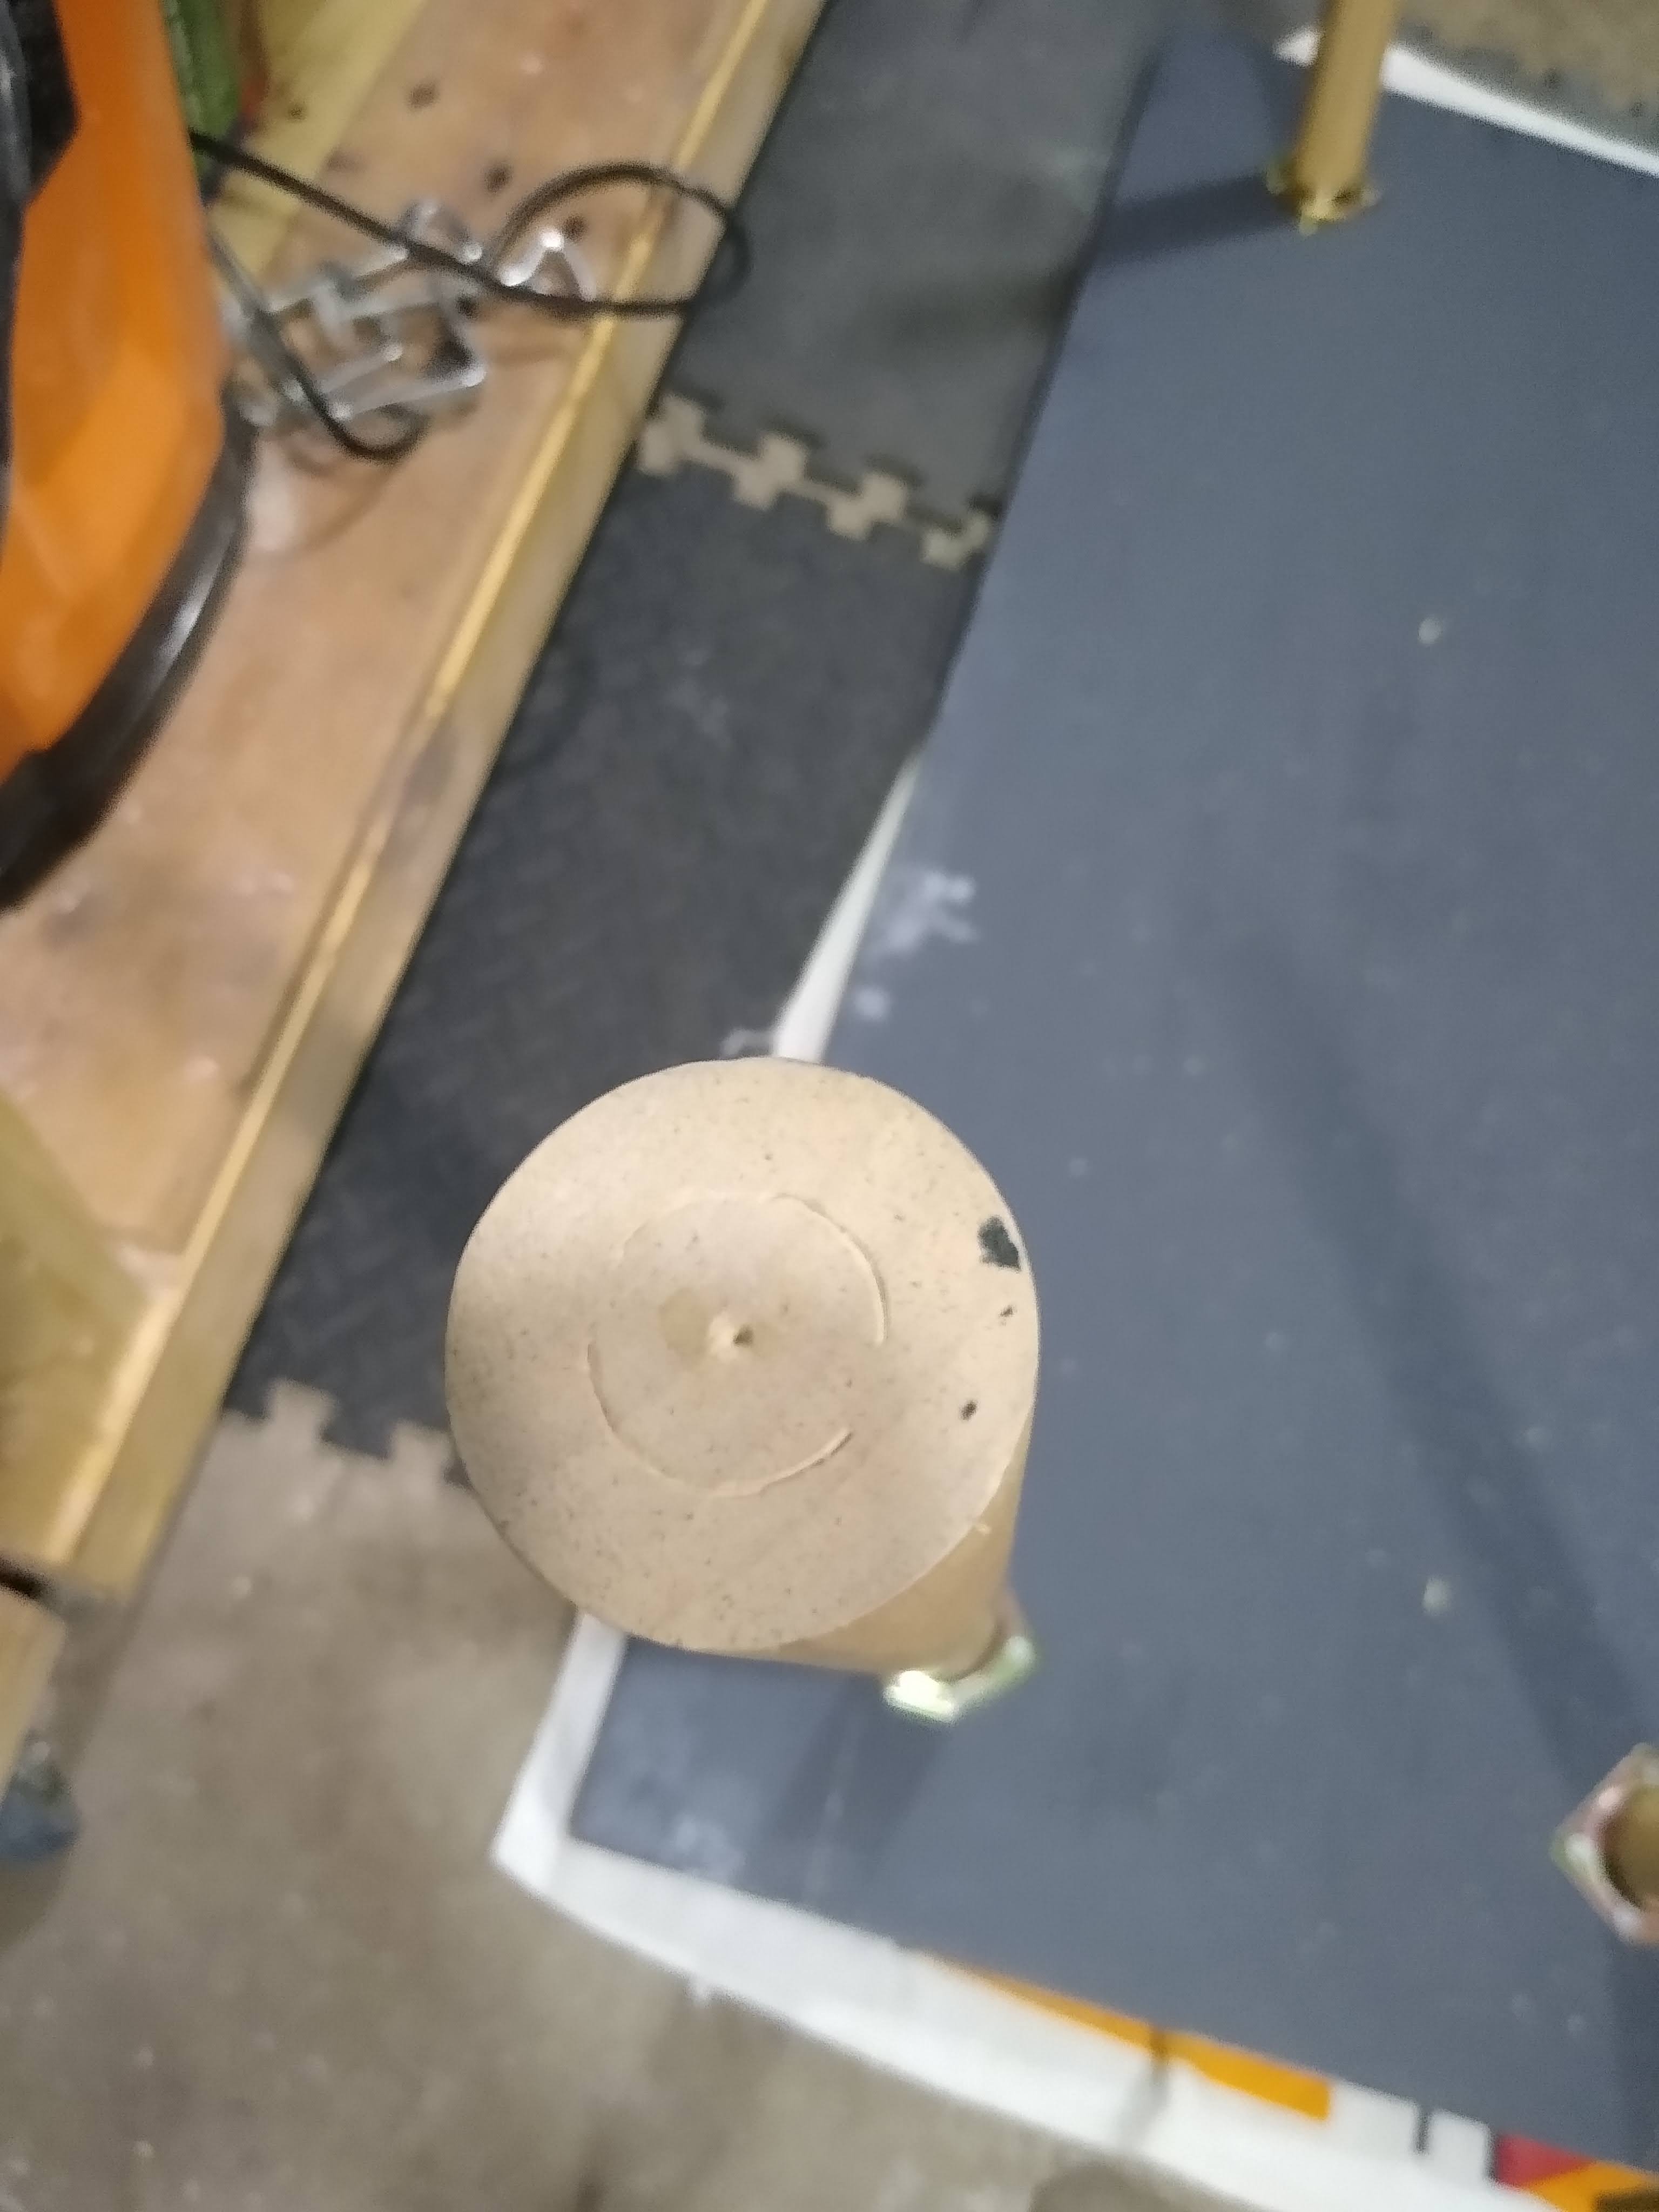
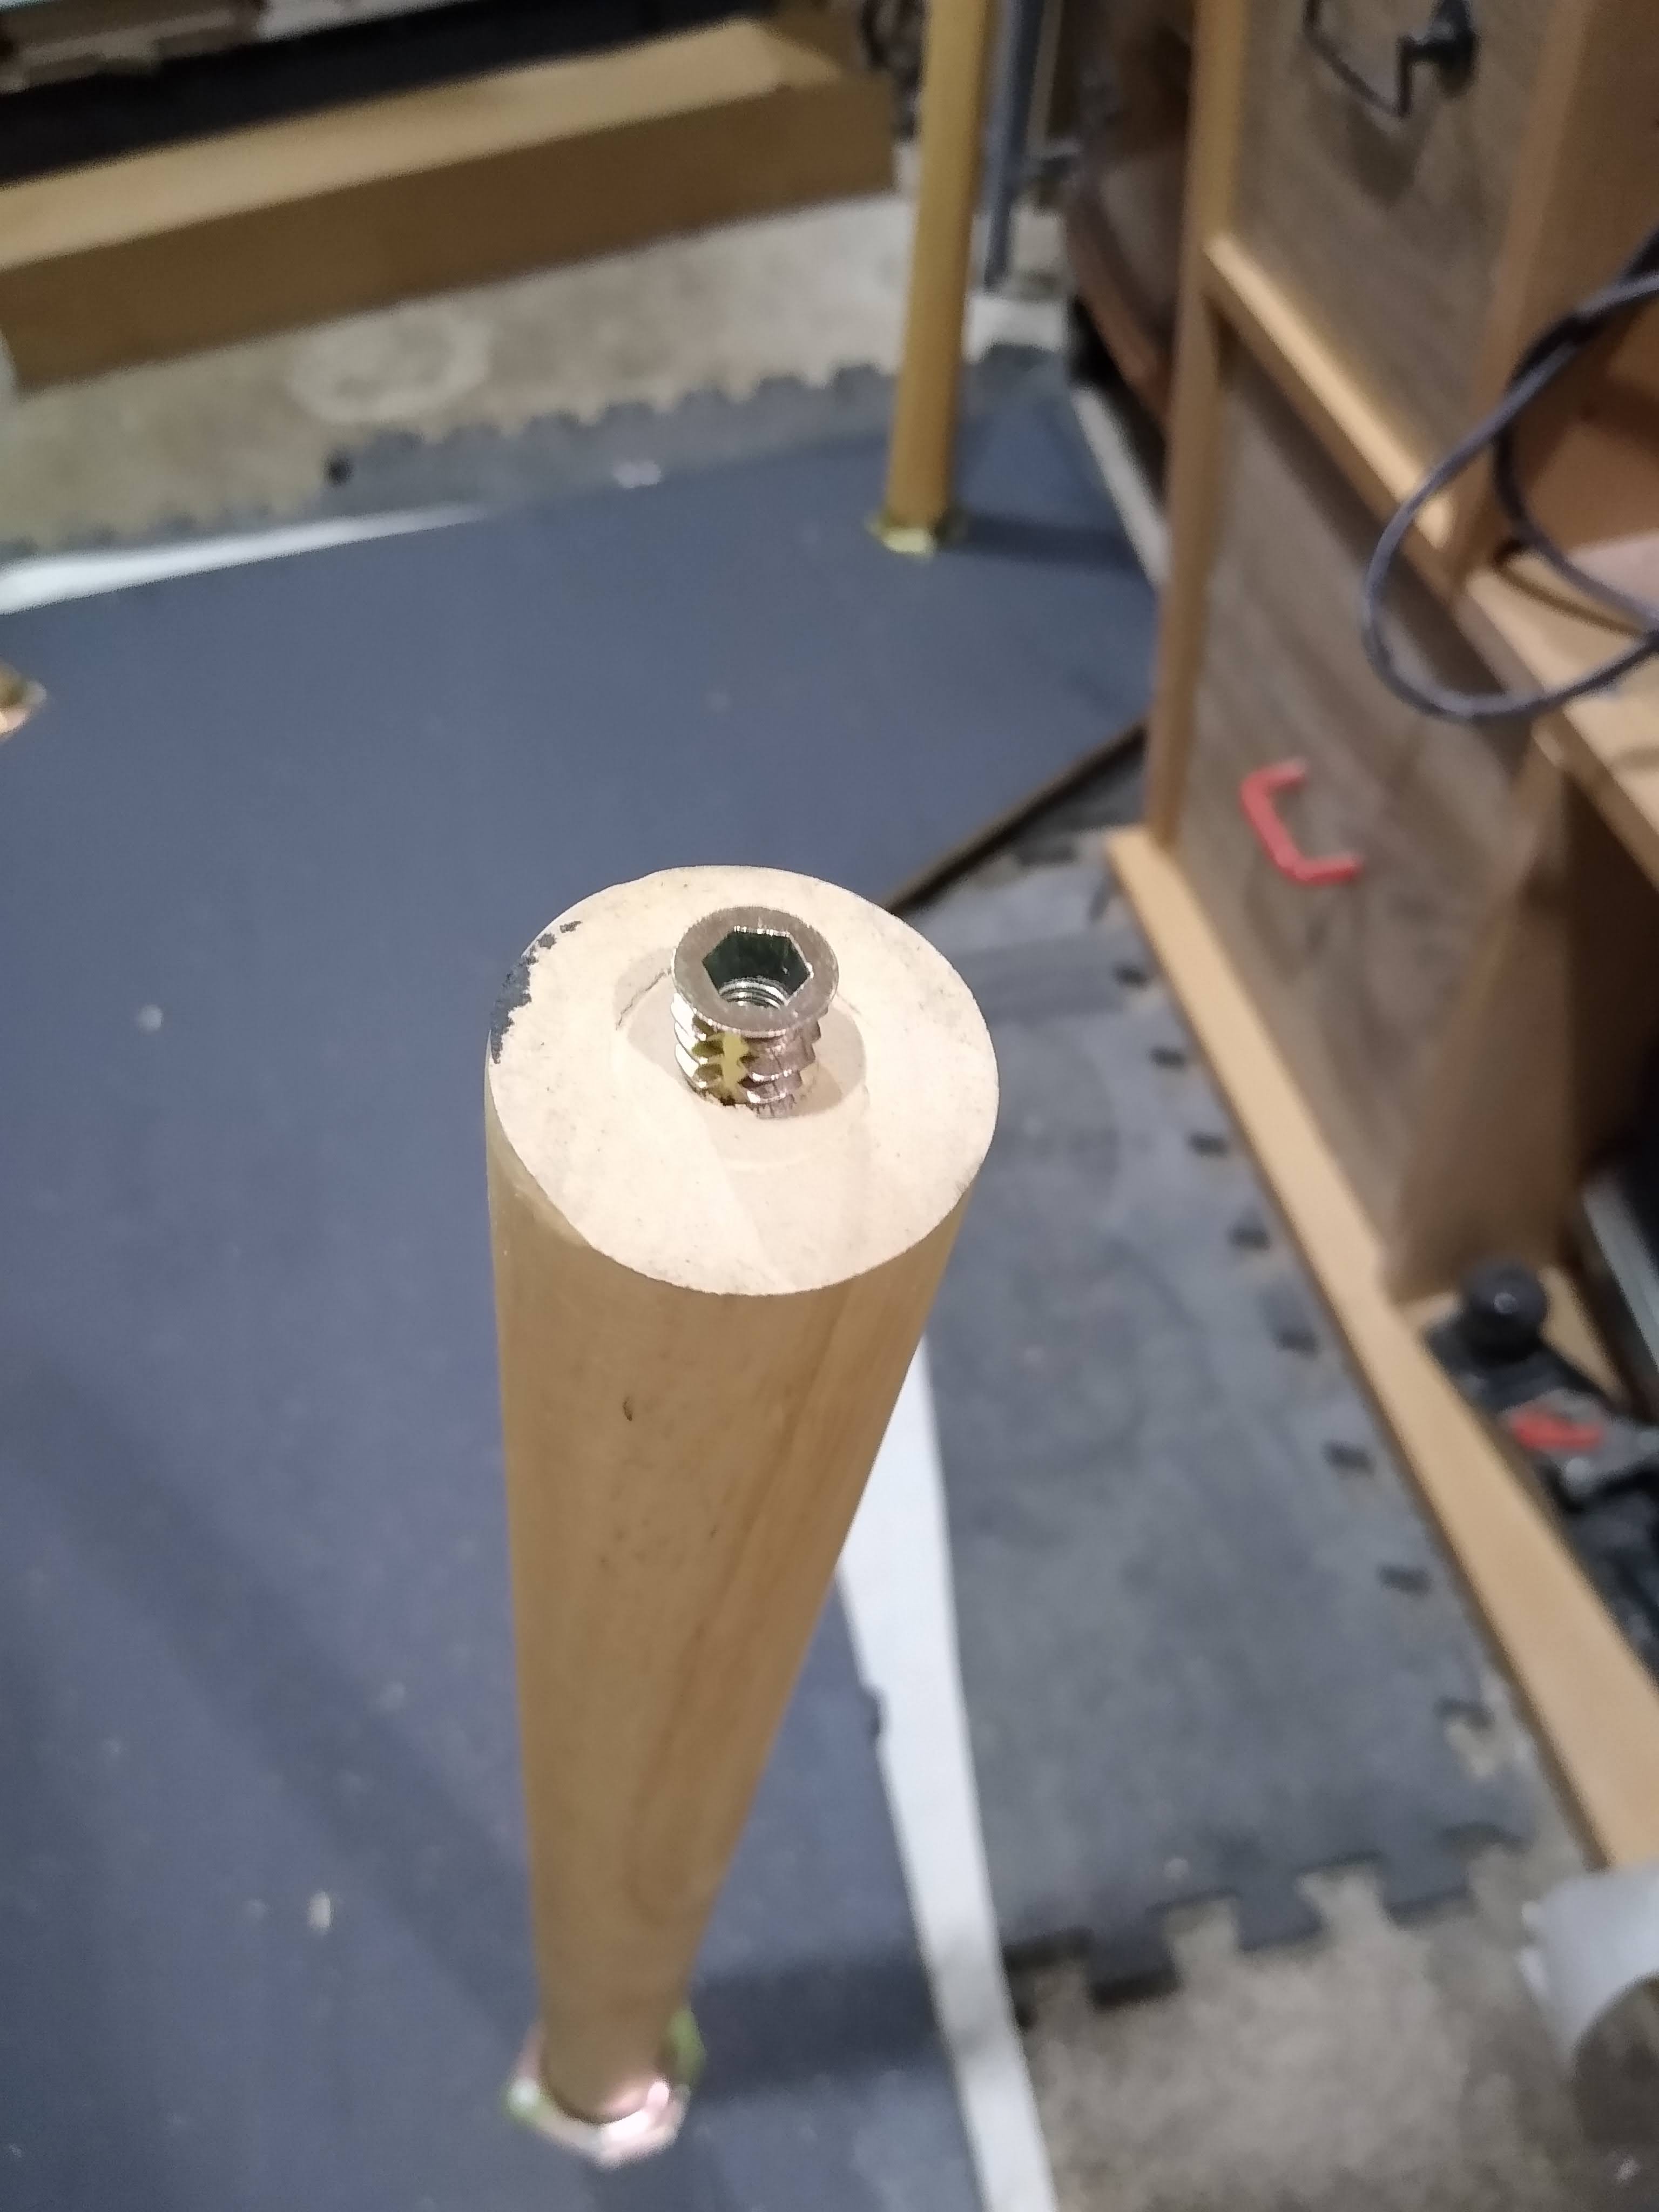
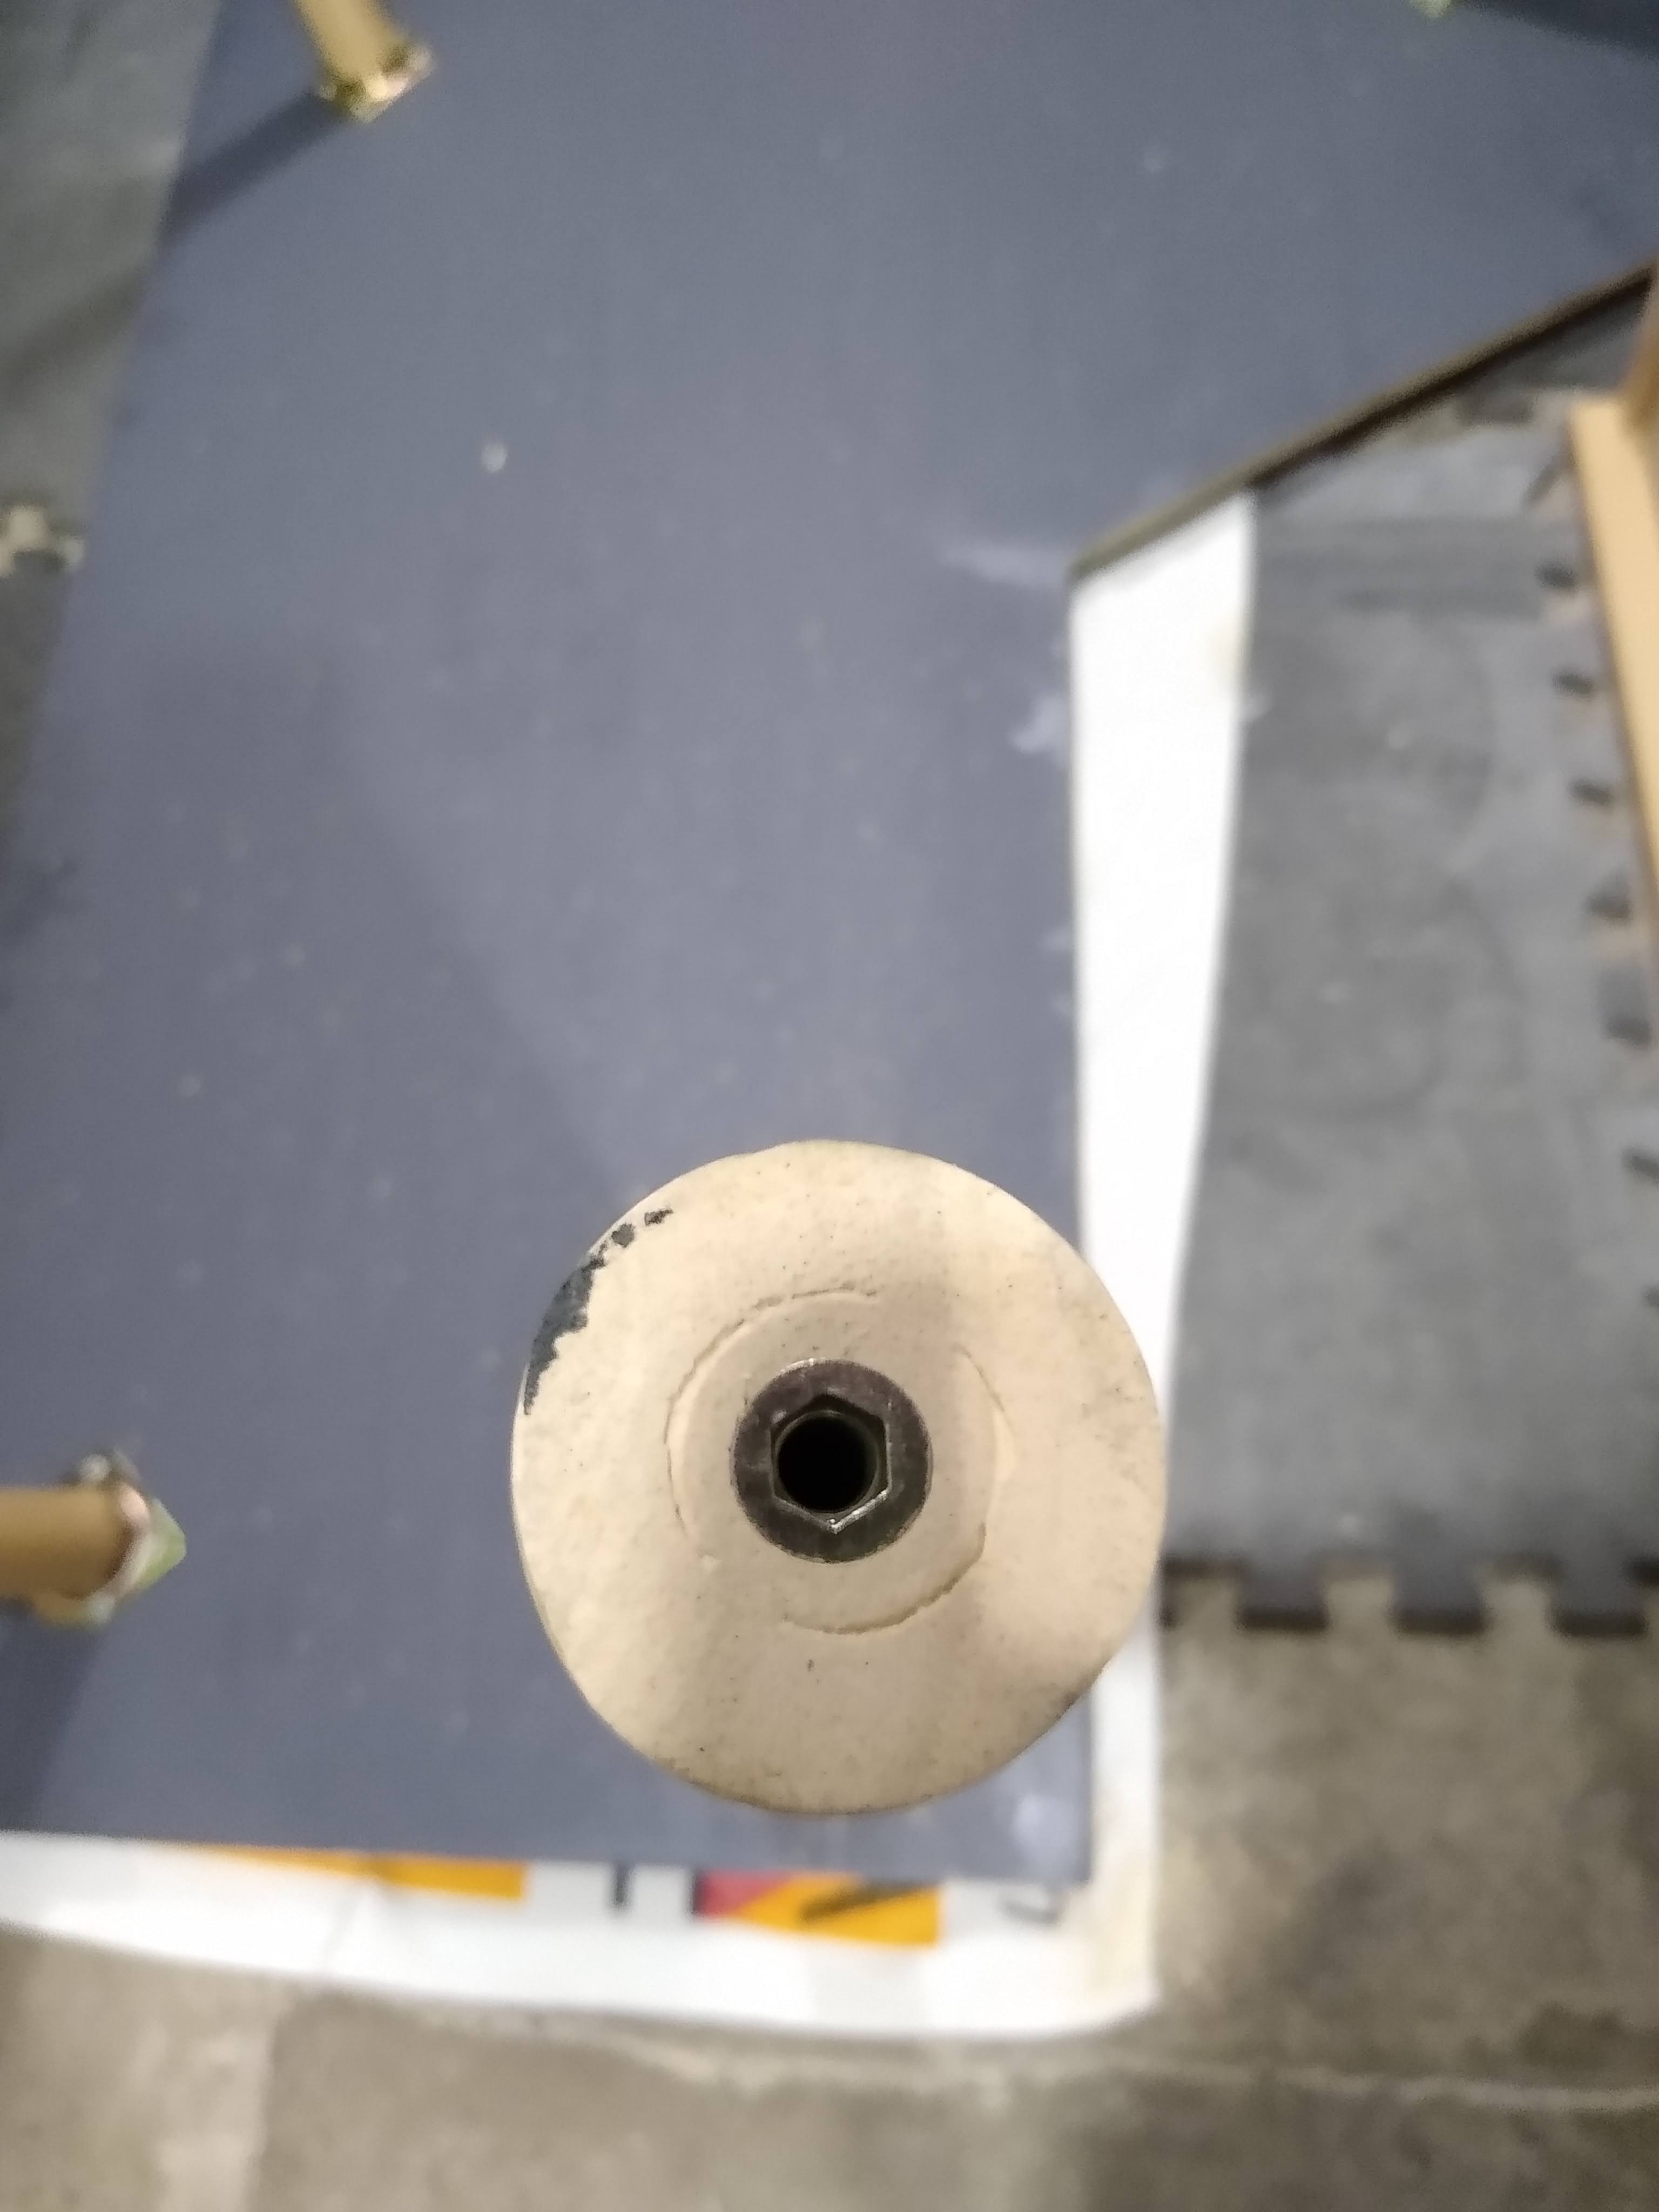
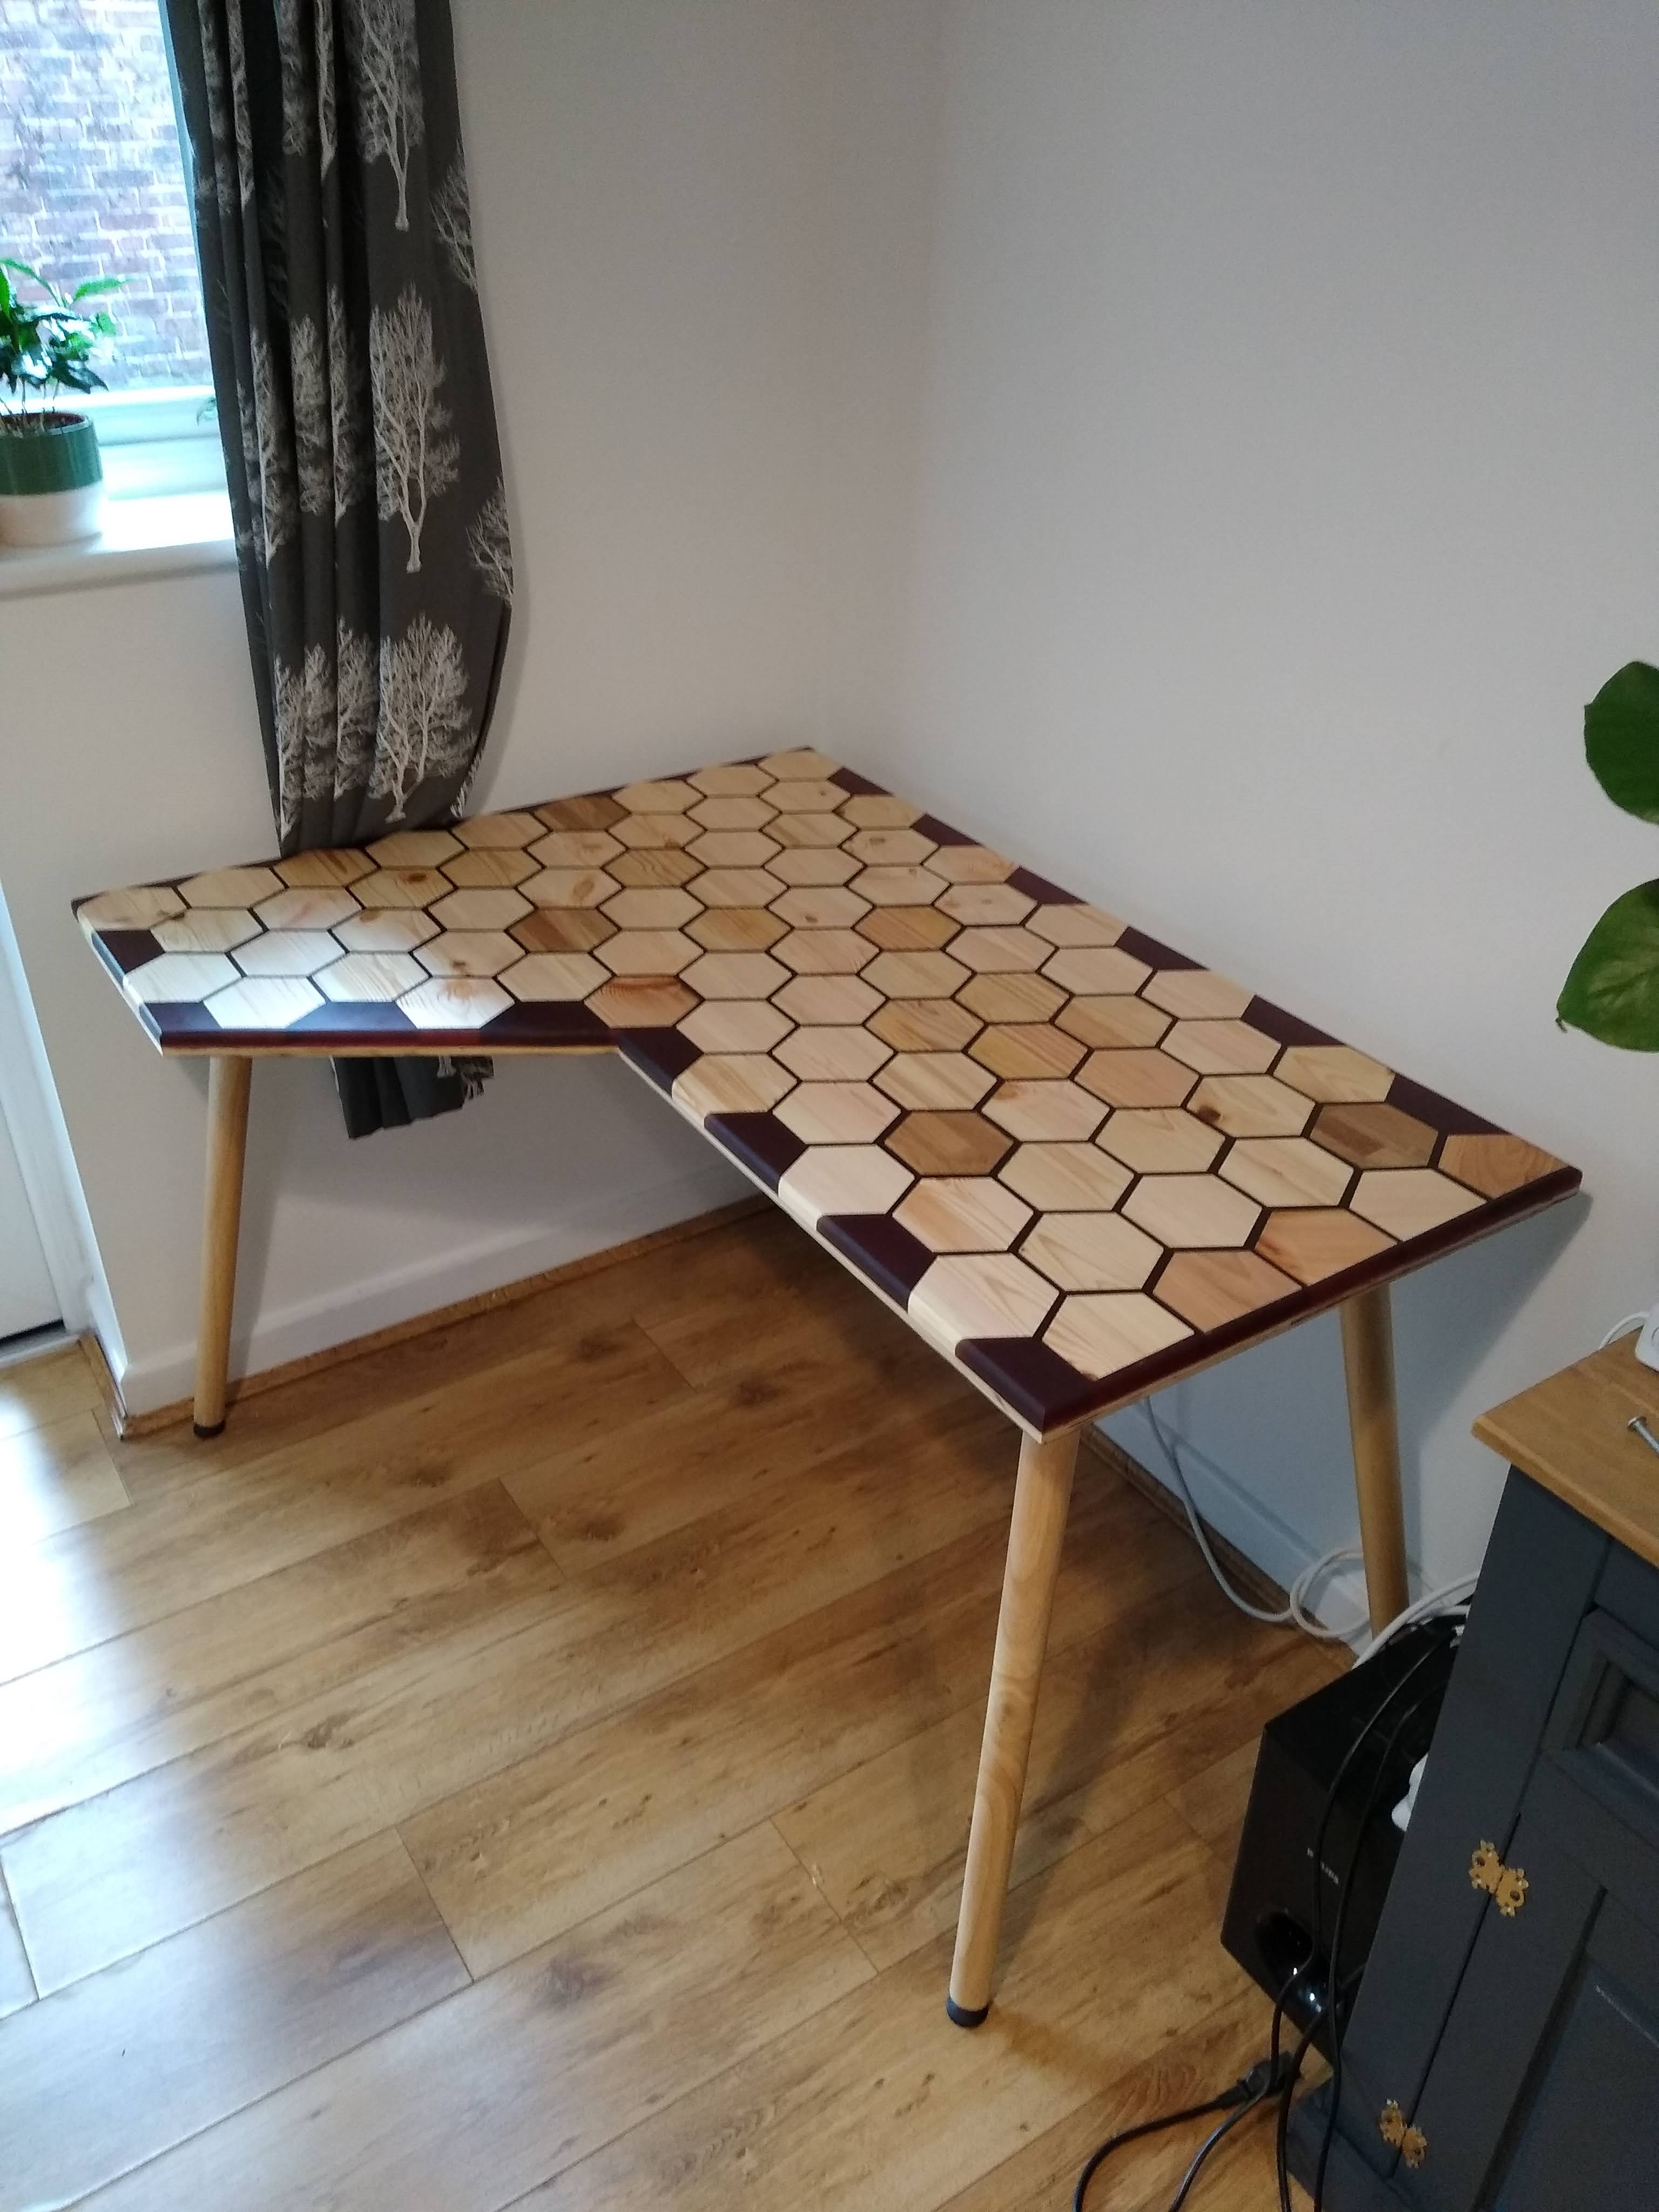
Spend far too long deciding what legs to use. I almost went for some shaped black steel legs but in the end I thought it wouldn’t suit the design so I opted for wooden pins at a slight angle on each corner. The legs are a light oak which looks great but the sadly the mounting system is not very stable so I had to re-enforce them with some 4 inch wood screws going straight though the bracket. I added some adjustable feet that attached via a threaded insert that I installed.
Step 11
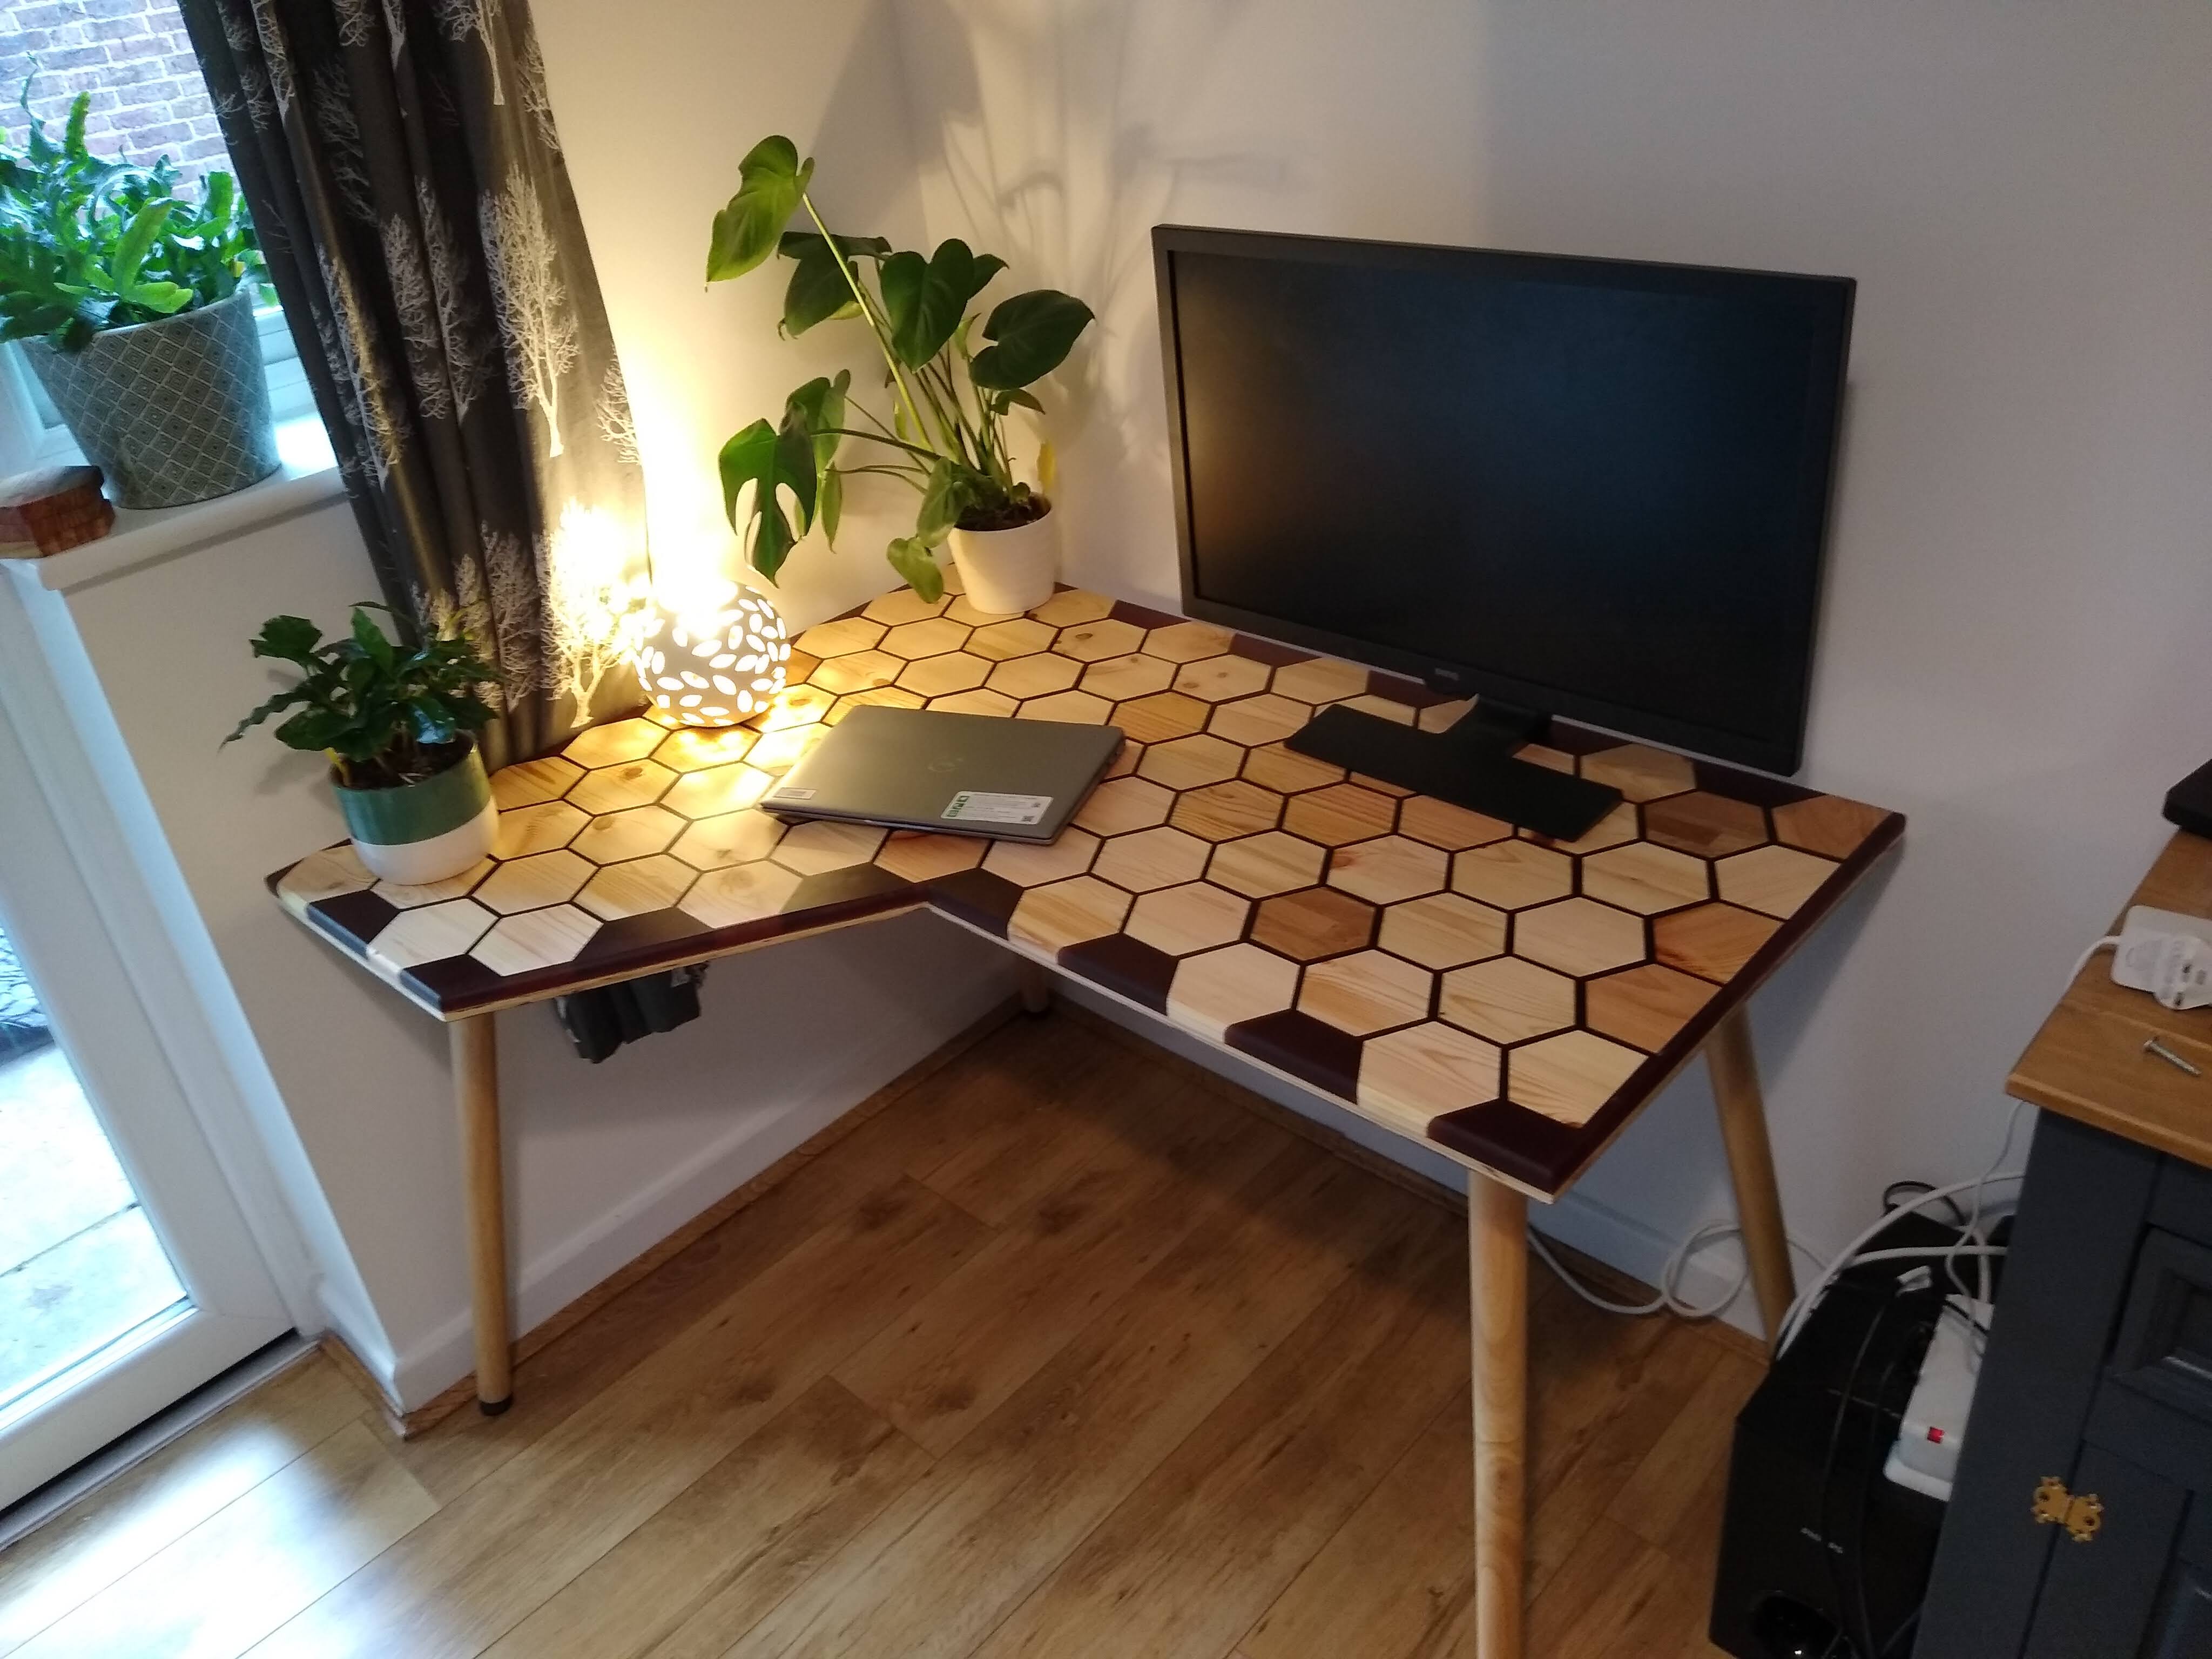
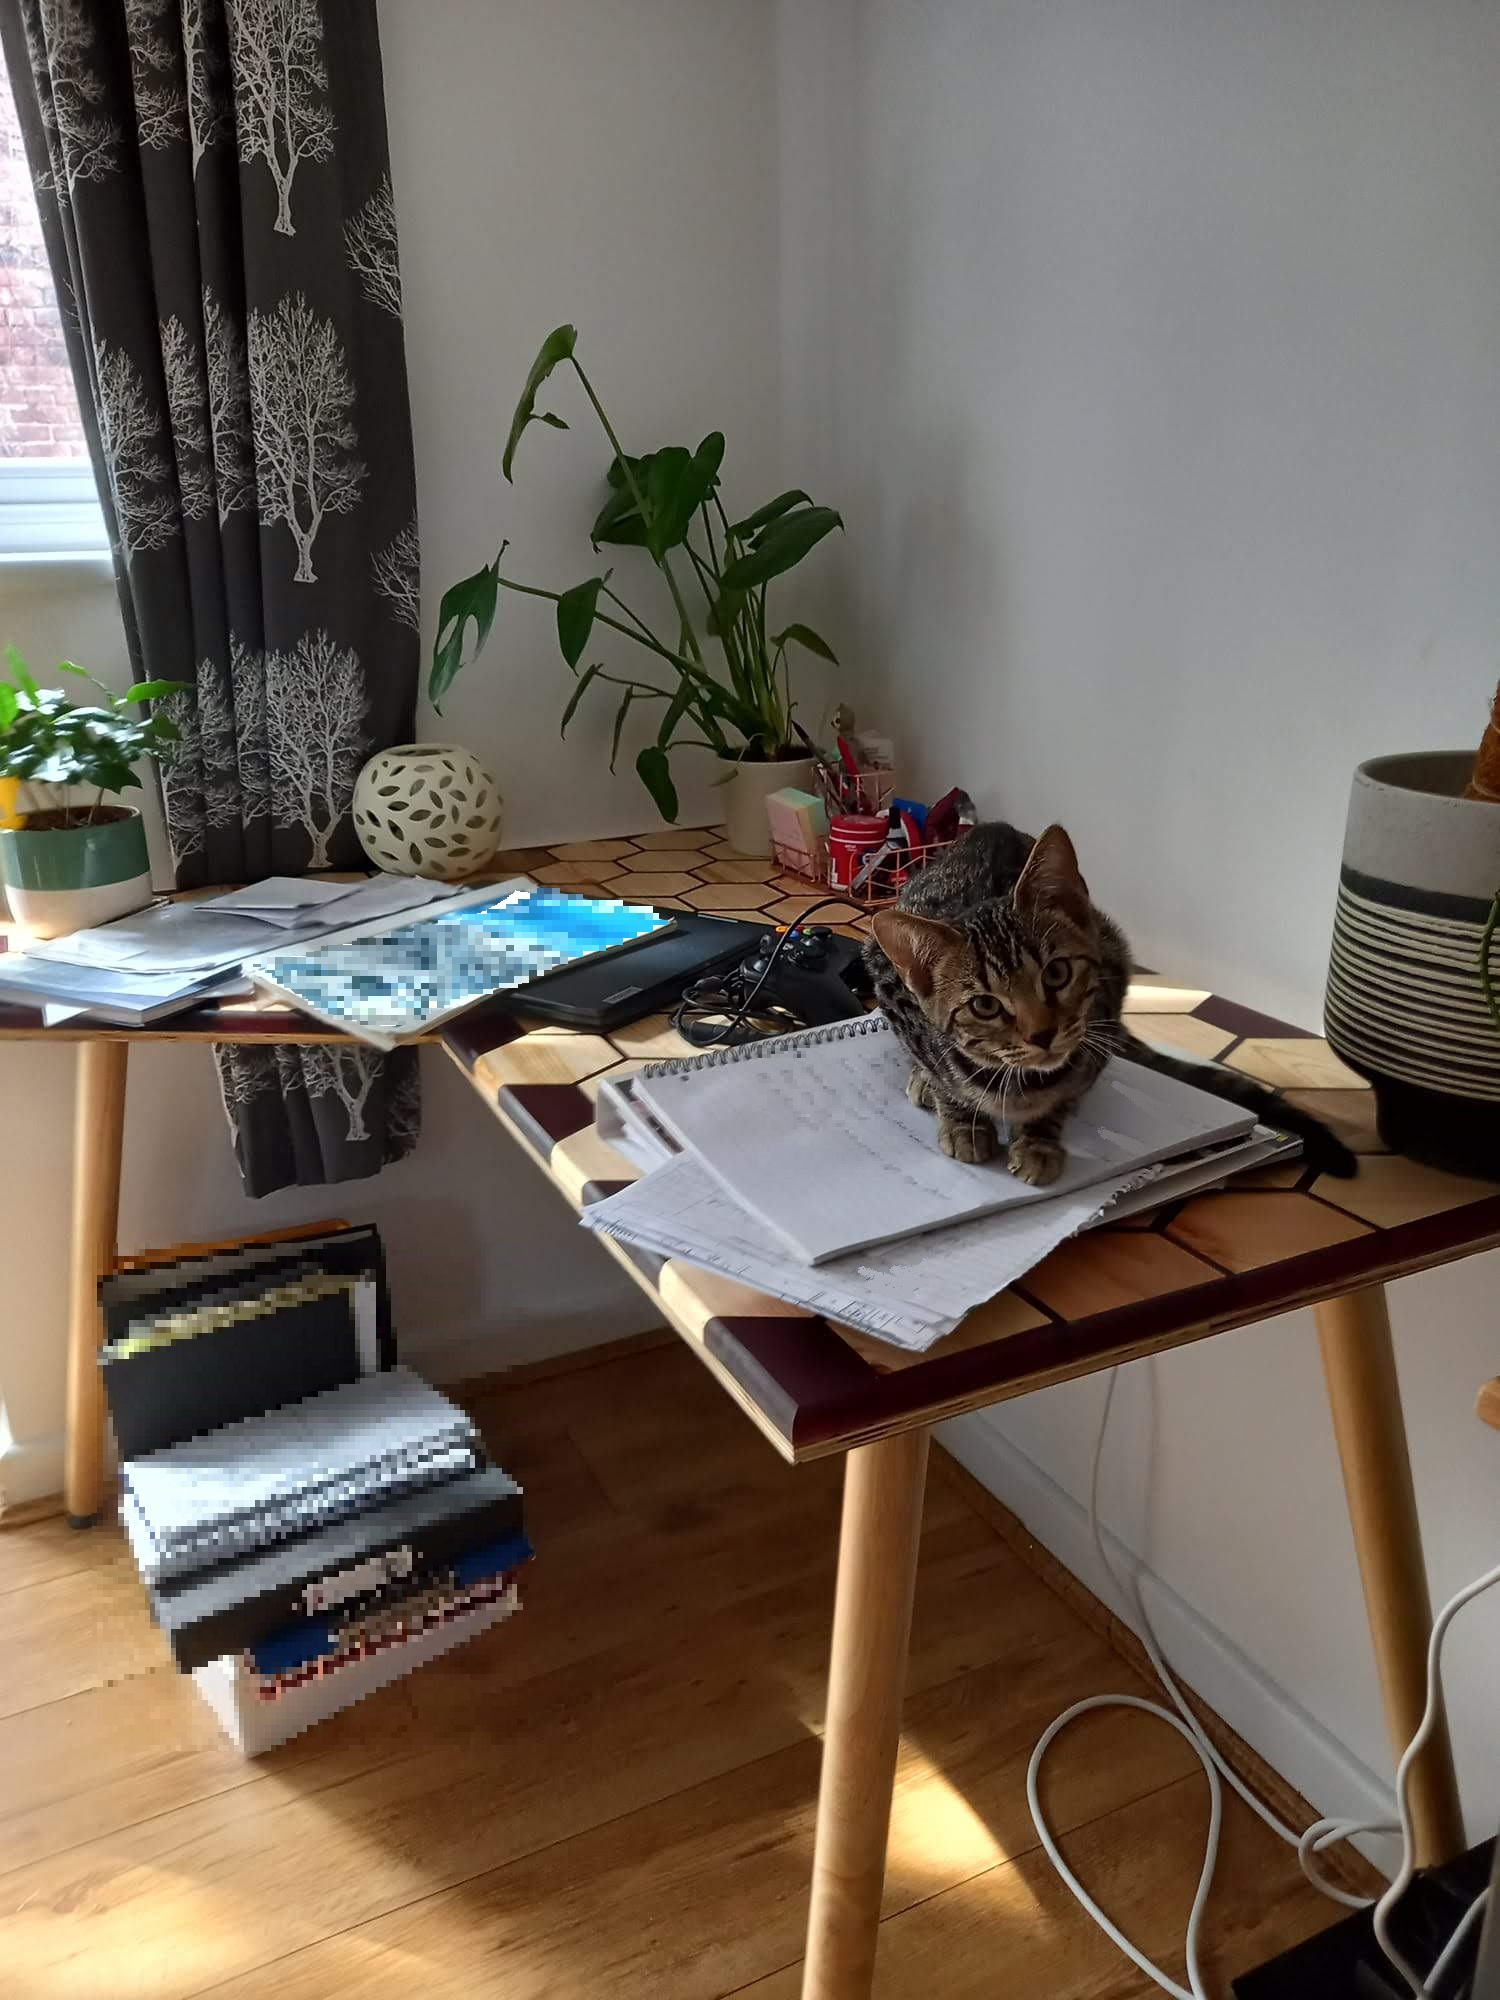
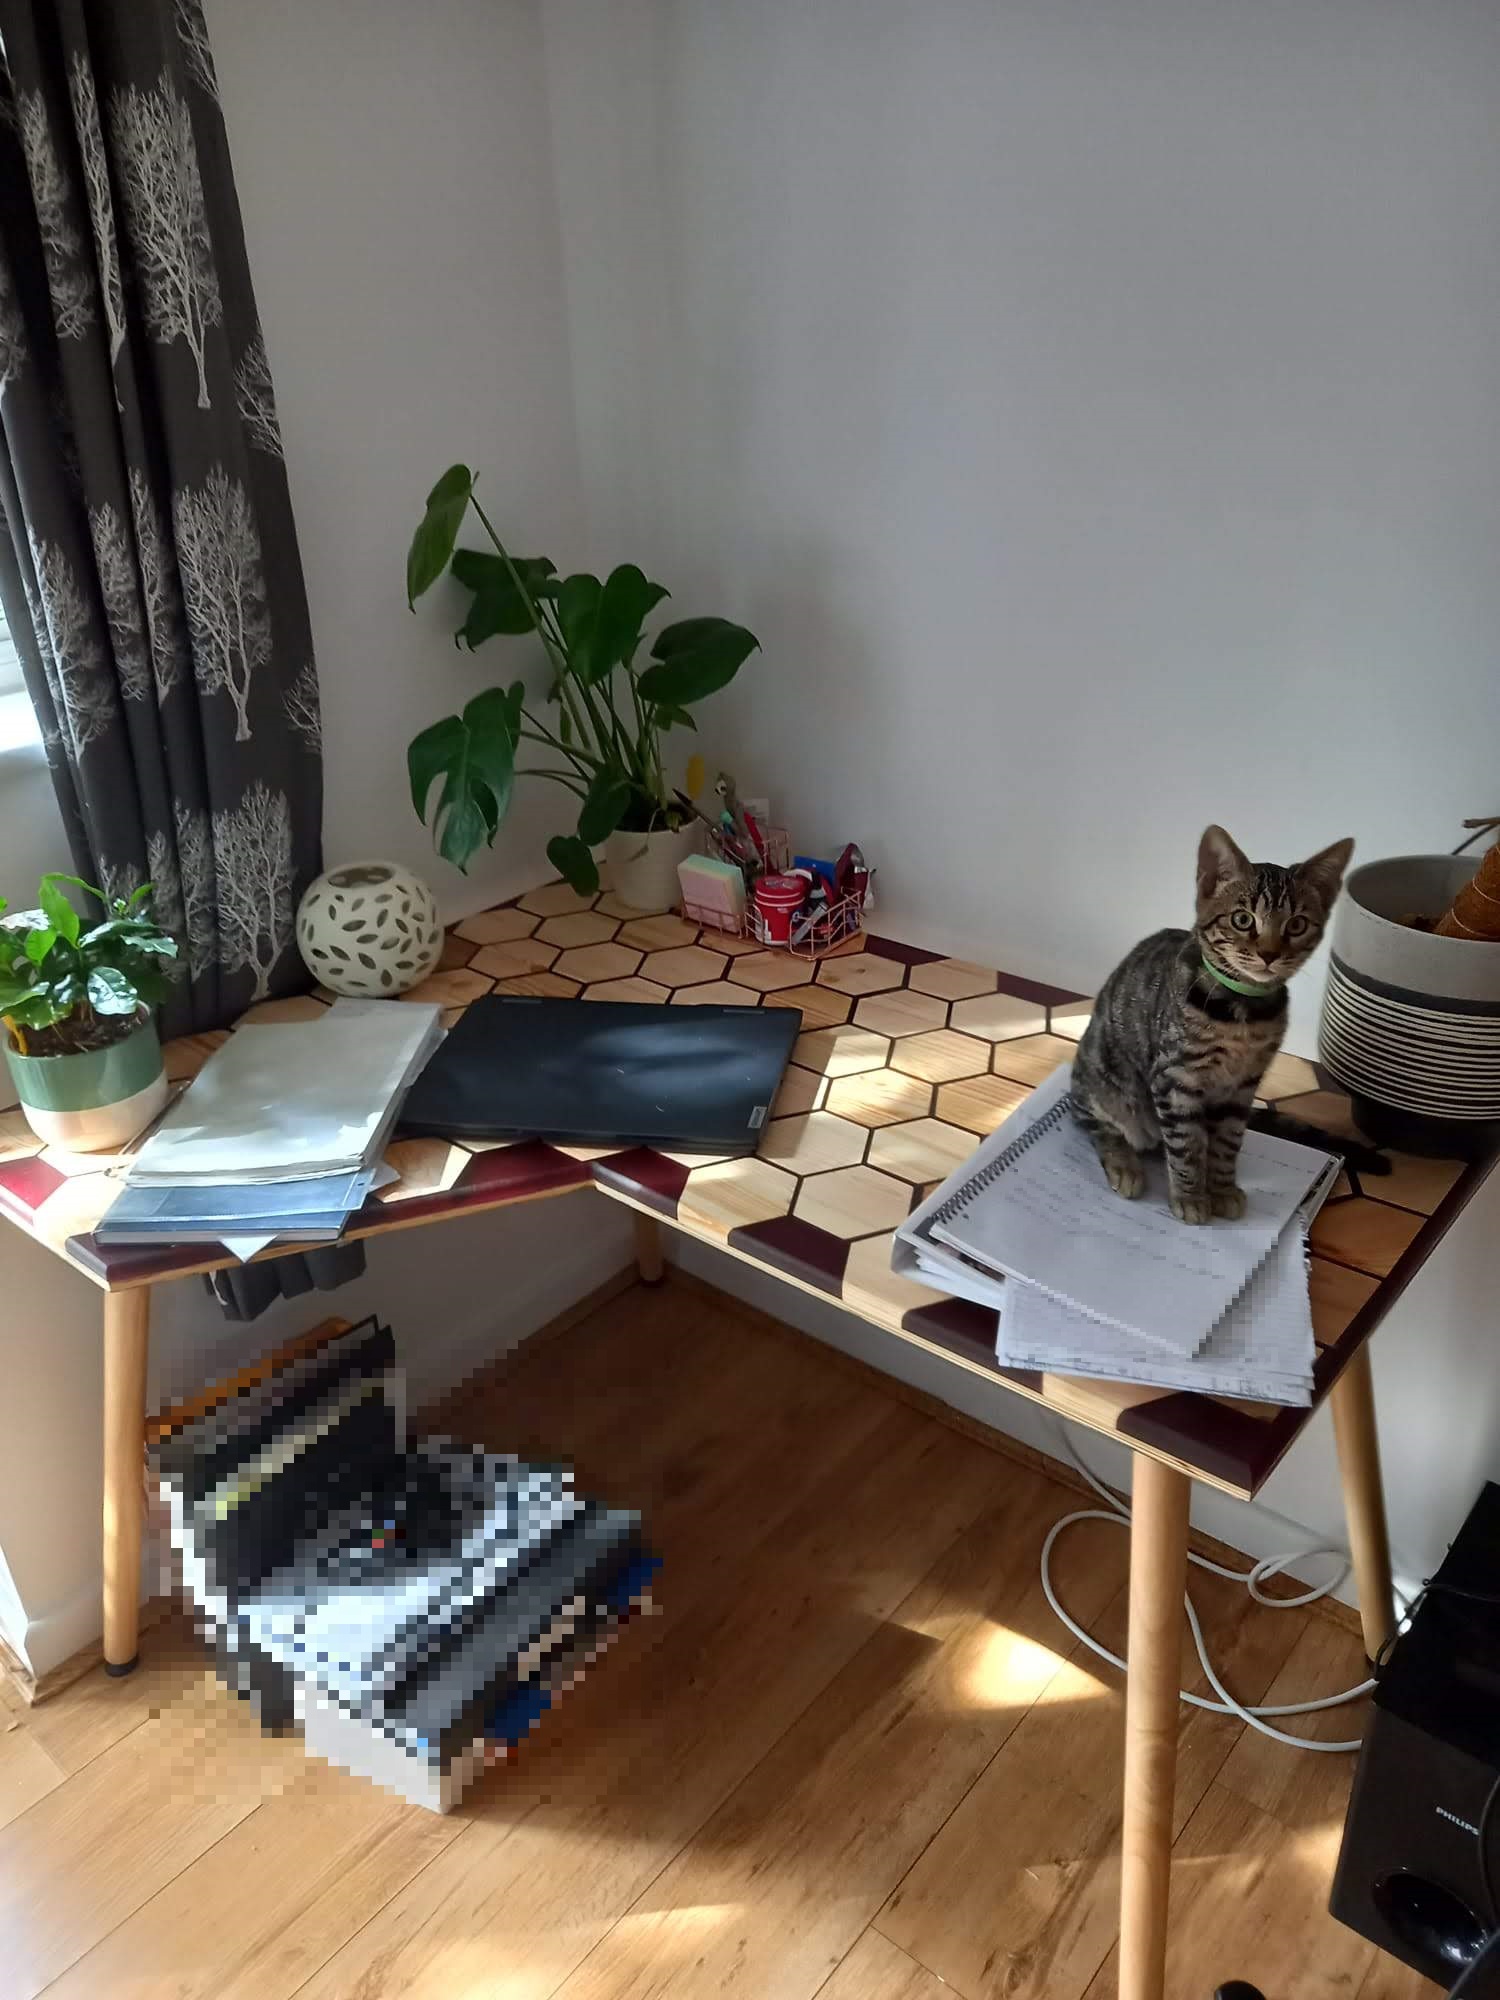
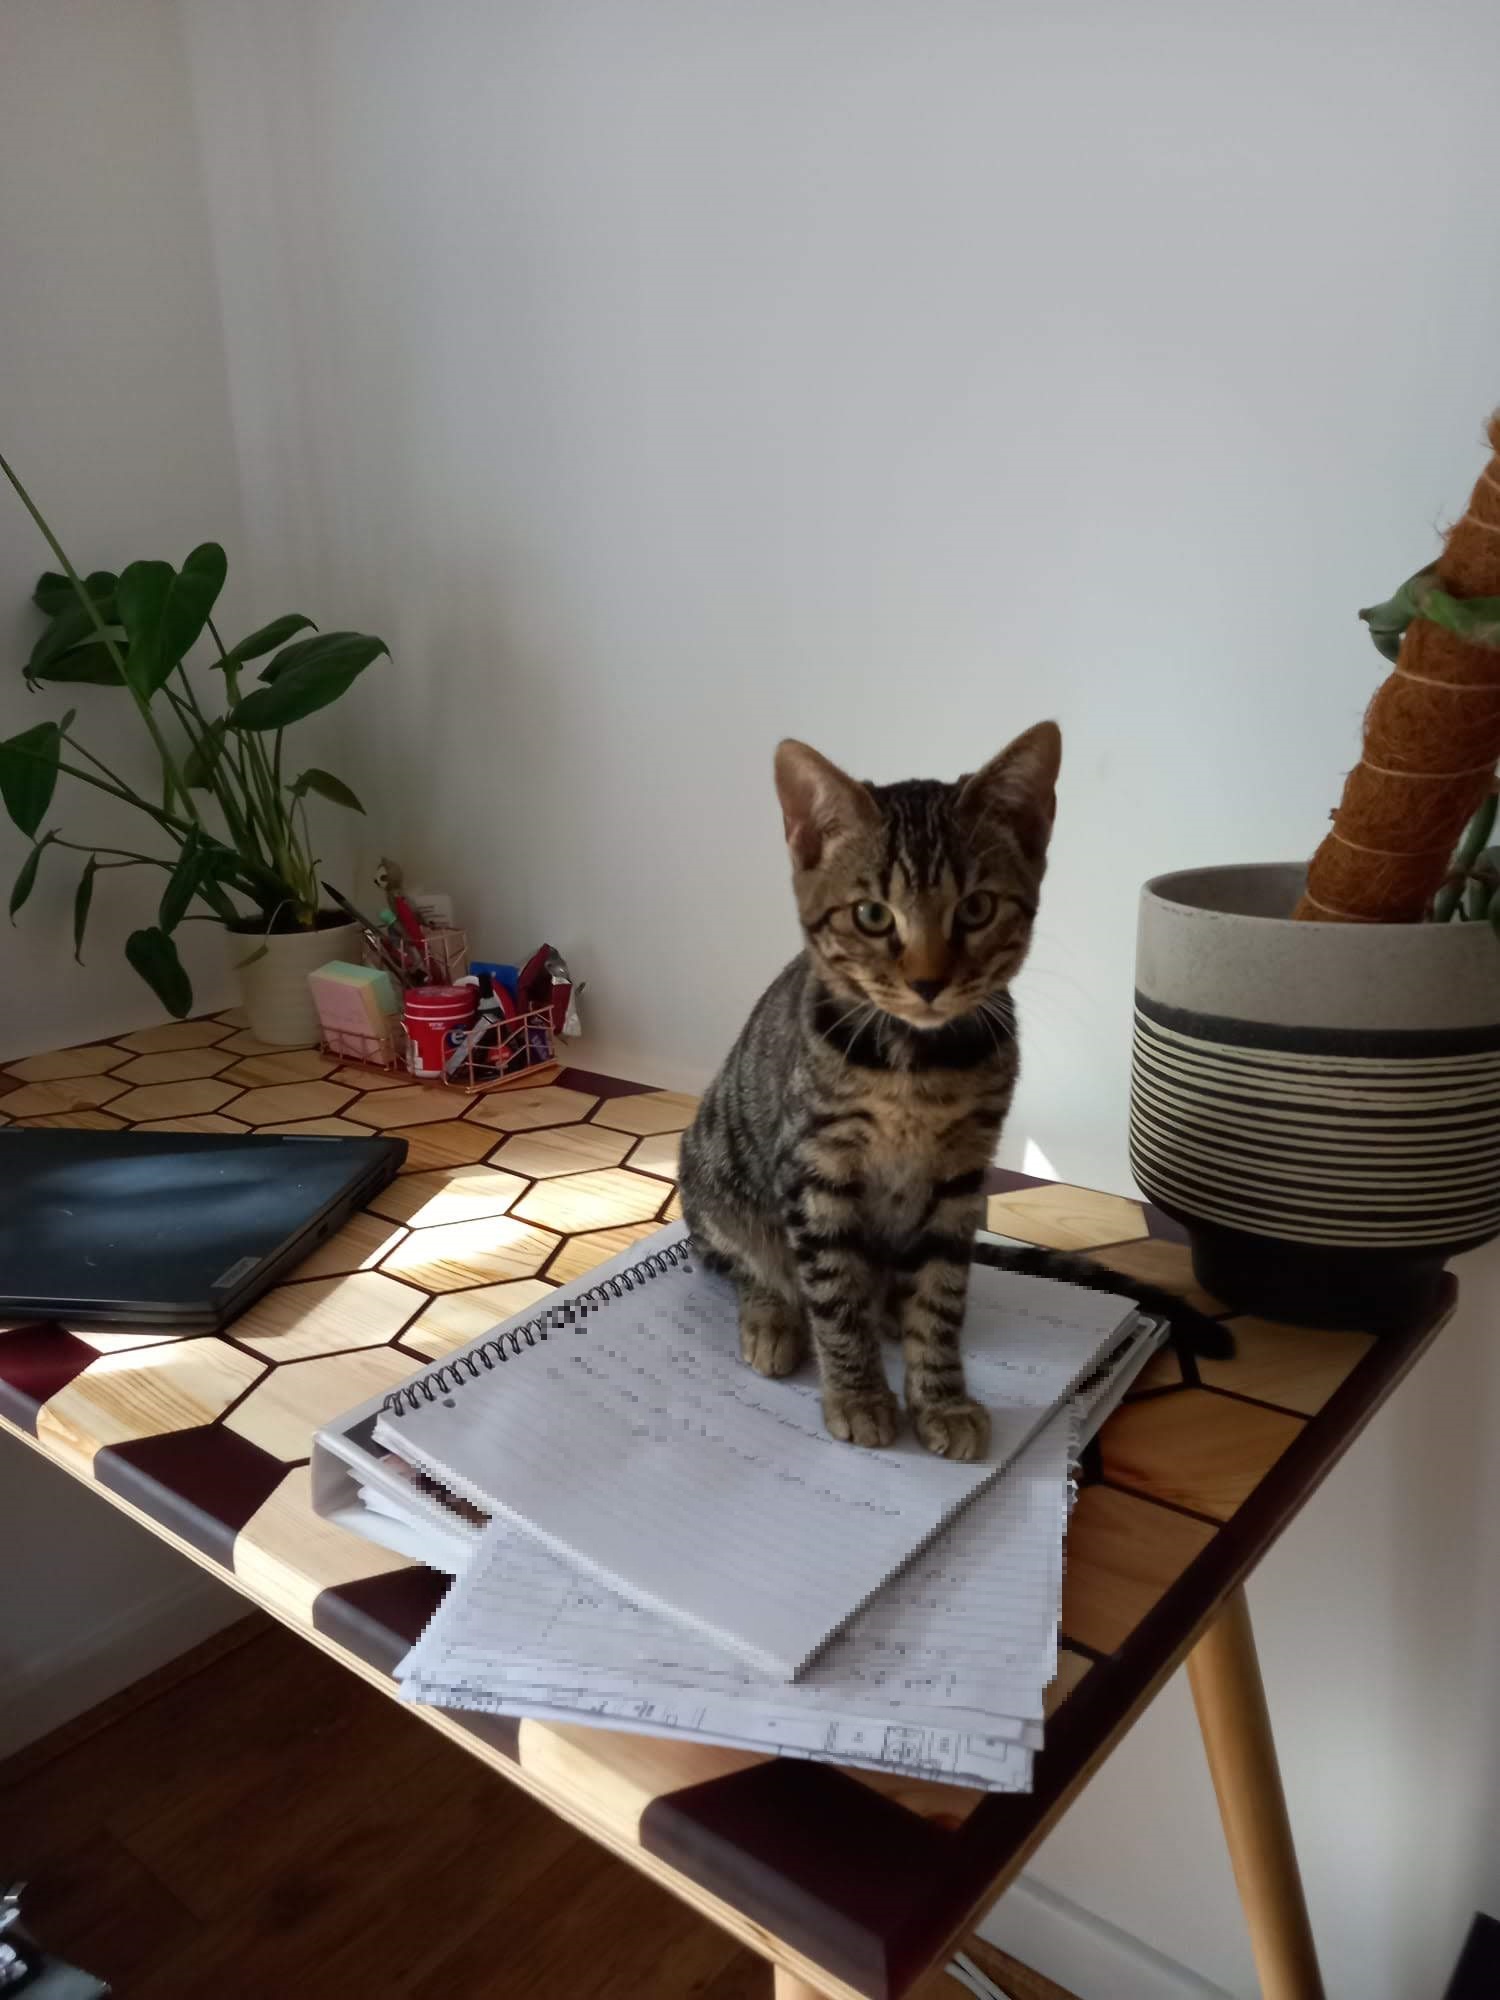
Delivery time! The customers are friends and not too far away so I decided to deliver it myself as I didn’t trust any of our couriers with this. After sticking the legs back on we put in it’s intended corner and it fitted like a glove! Thumbs up all round, including the Mori the cat!

Leave a comment