
As I’ve made more things over the last year or so I’ve chipped away at improving the efficiency and flow of my little workshop space. Tool storage was on the top of the list now. I wanted some kind of racking to enable quickly grabbing a commonly used tool. I have buckets of offcuts so put alot of them to good use in this project.
First thing was to decide where this racking would actually fit in the single garage. I took a picture and some measurements and whipped up a quick sketch in designspark to help visualize it.


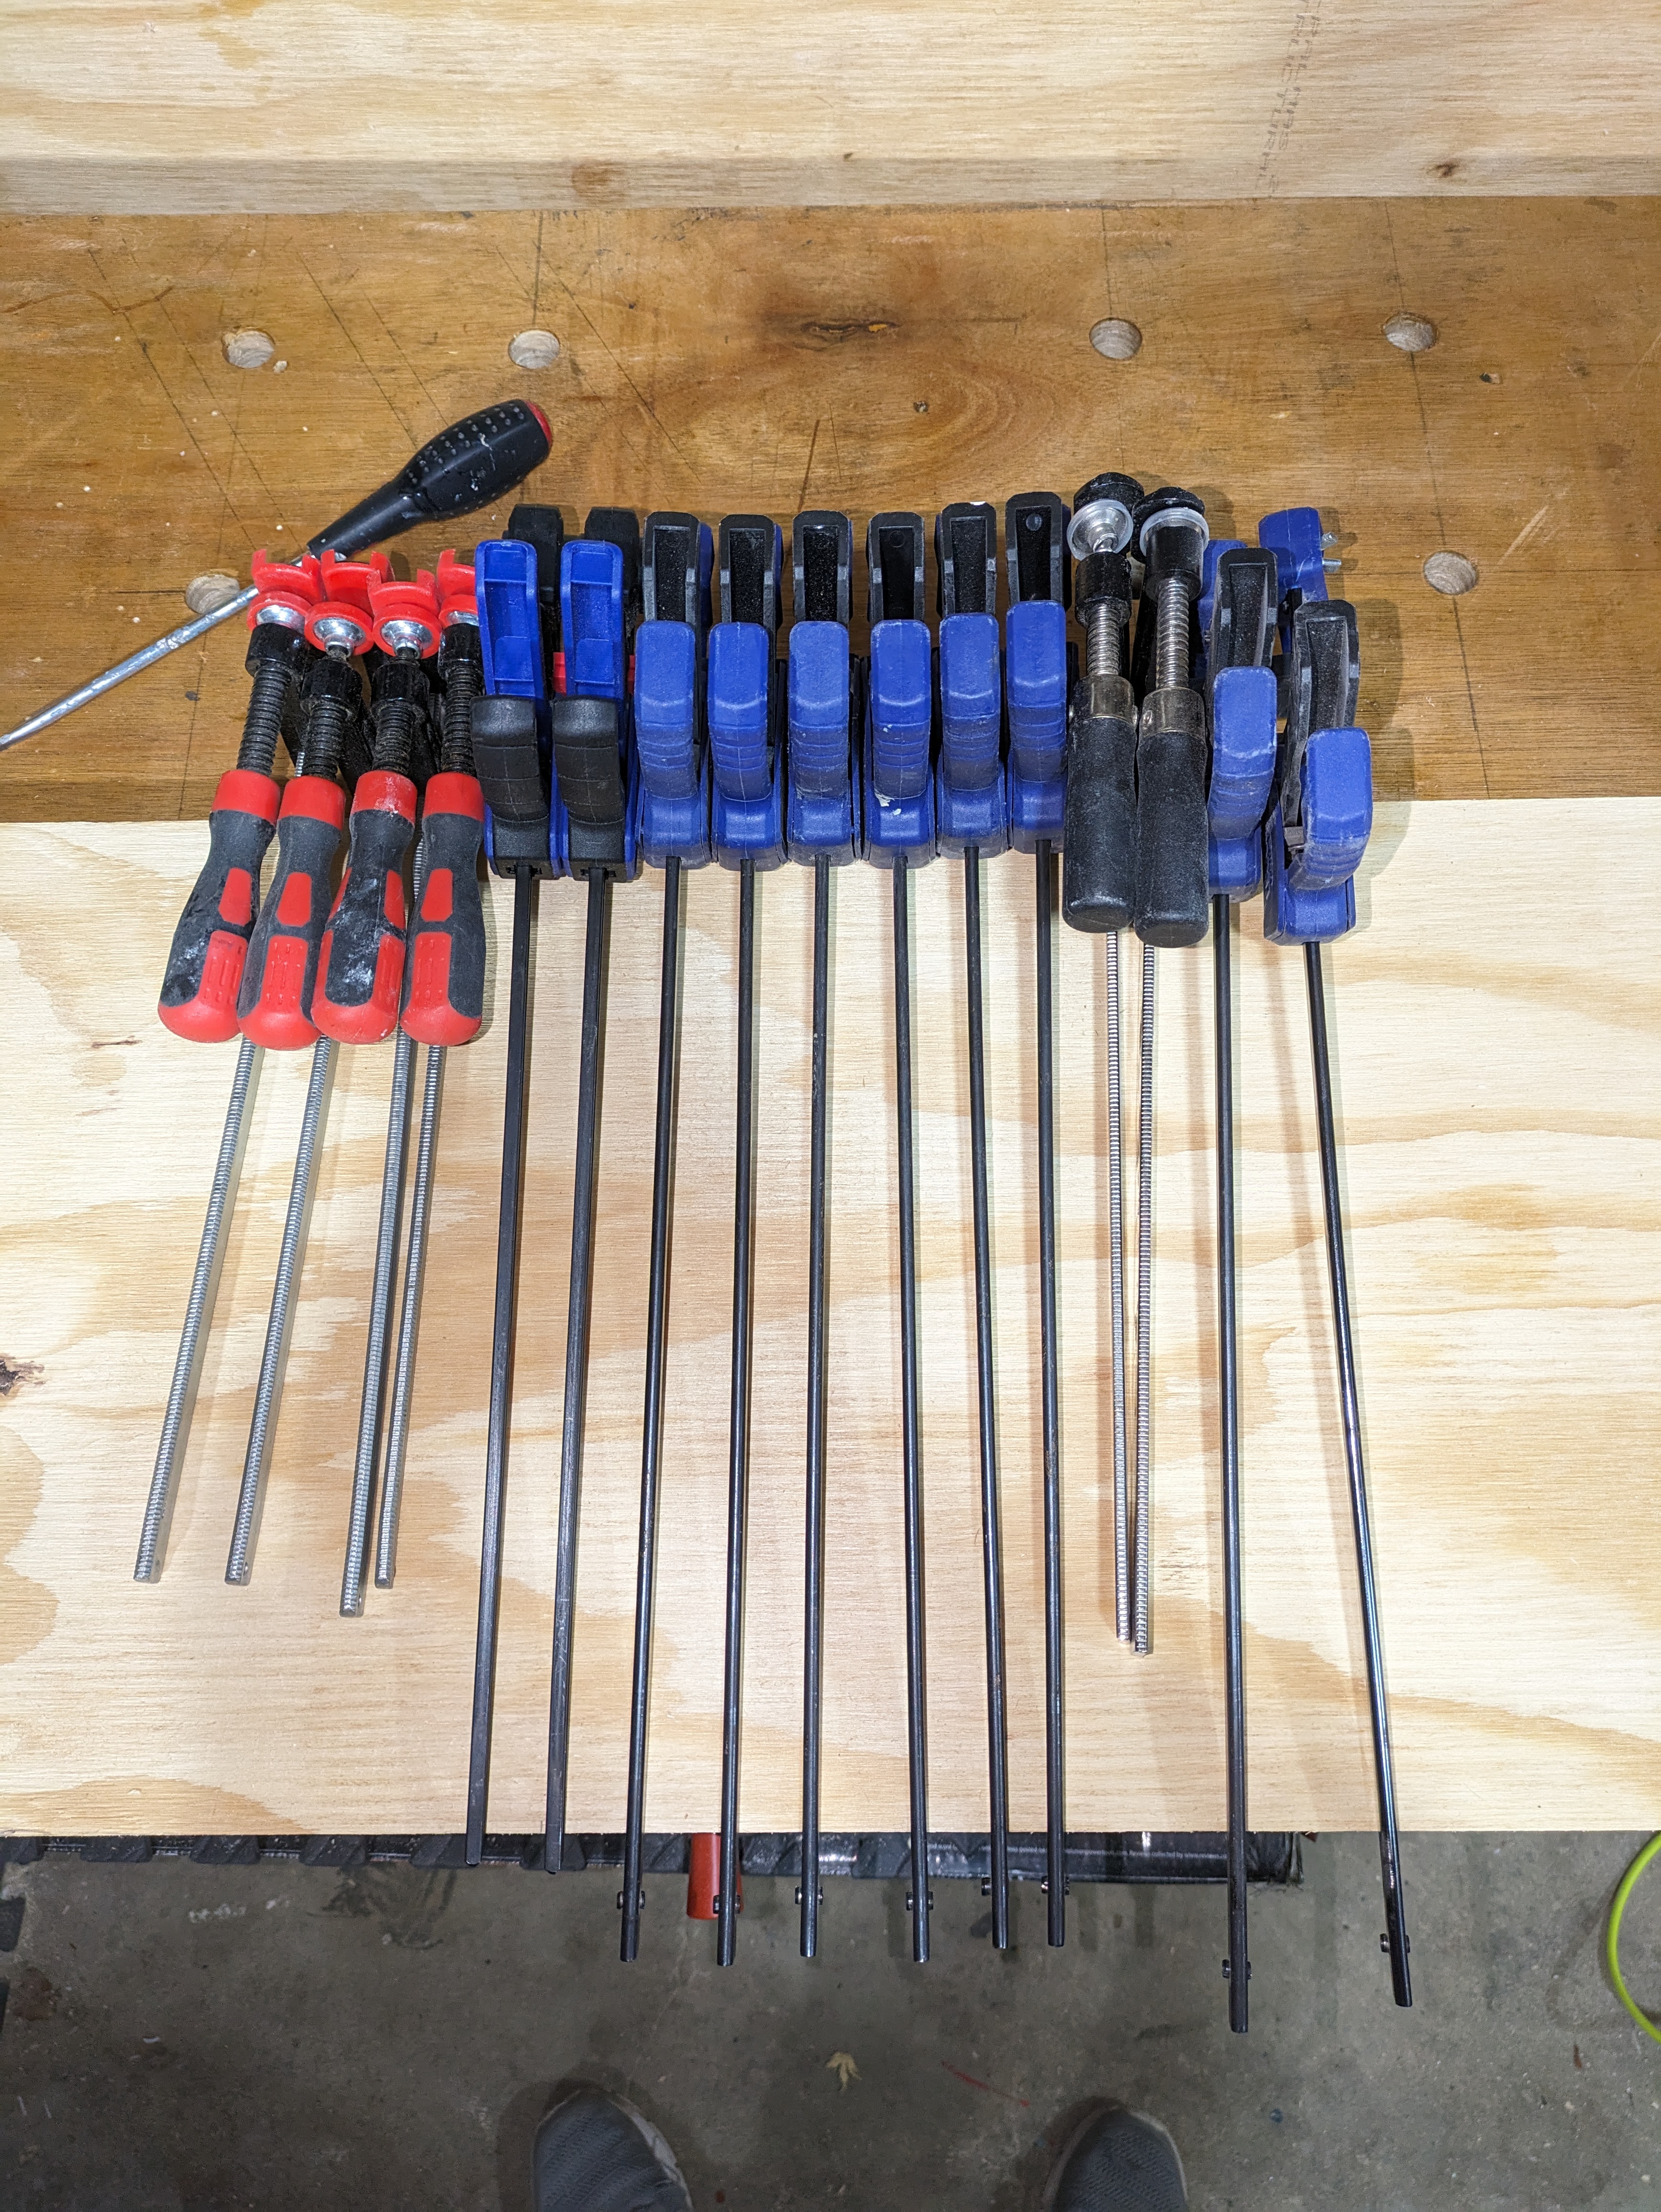
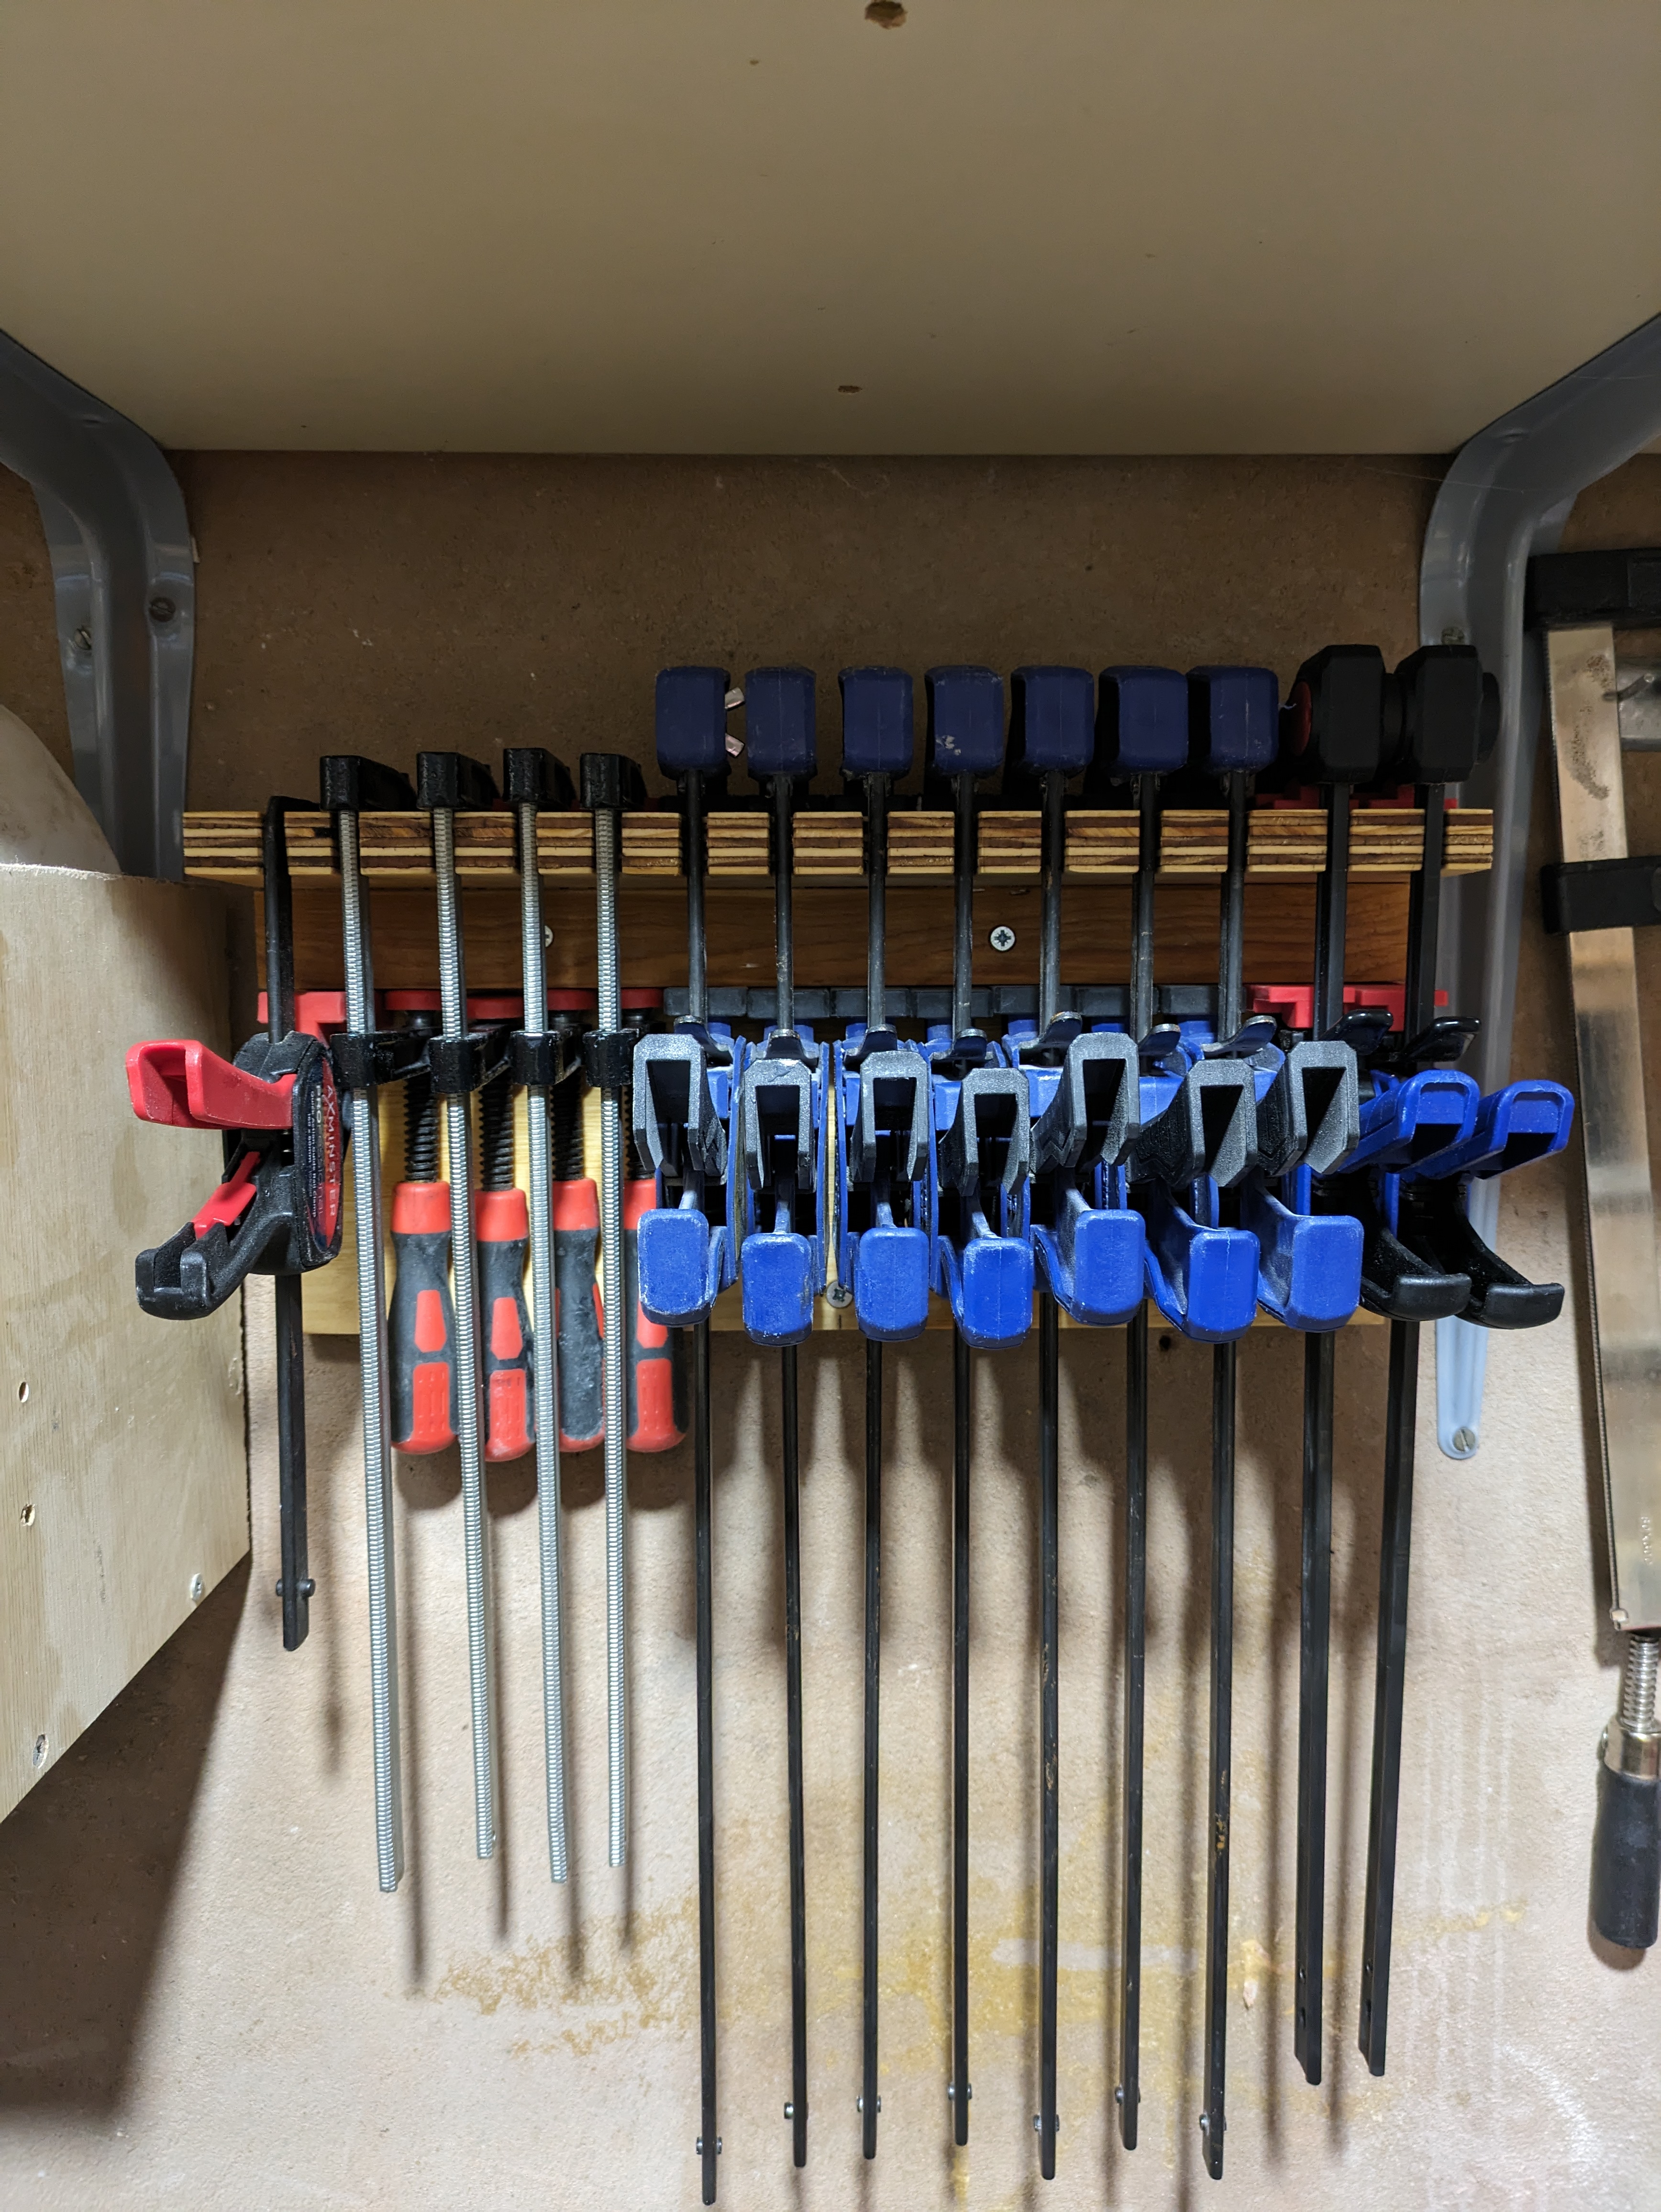
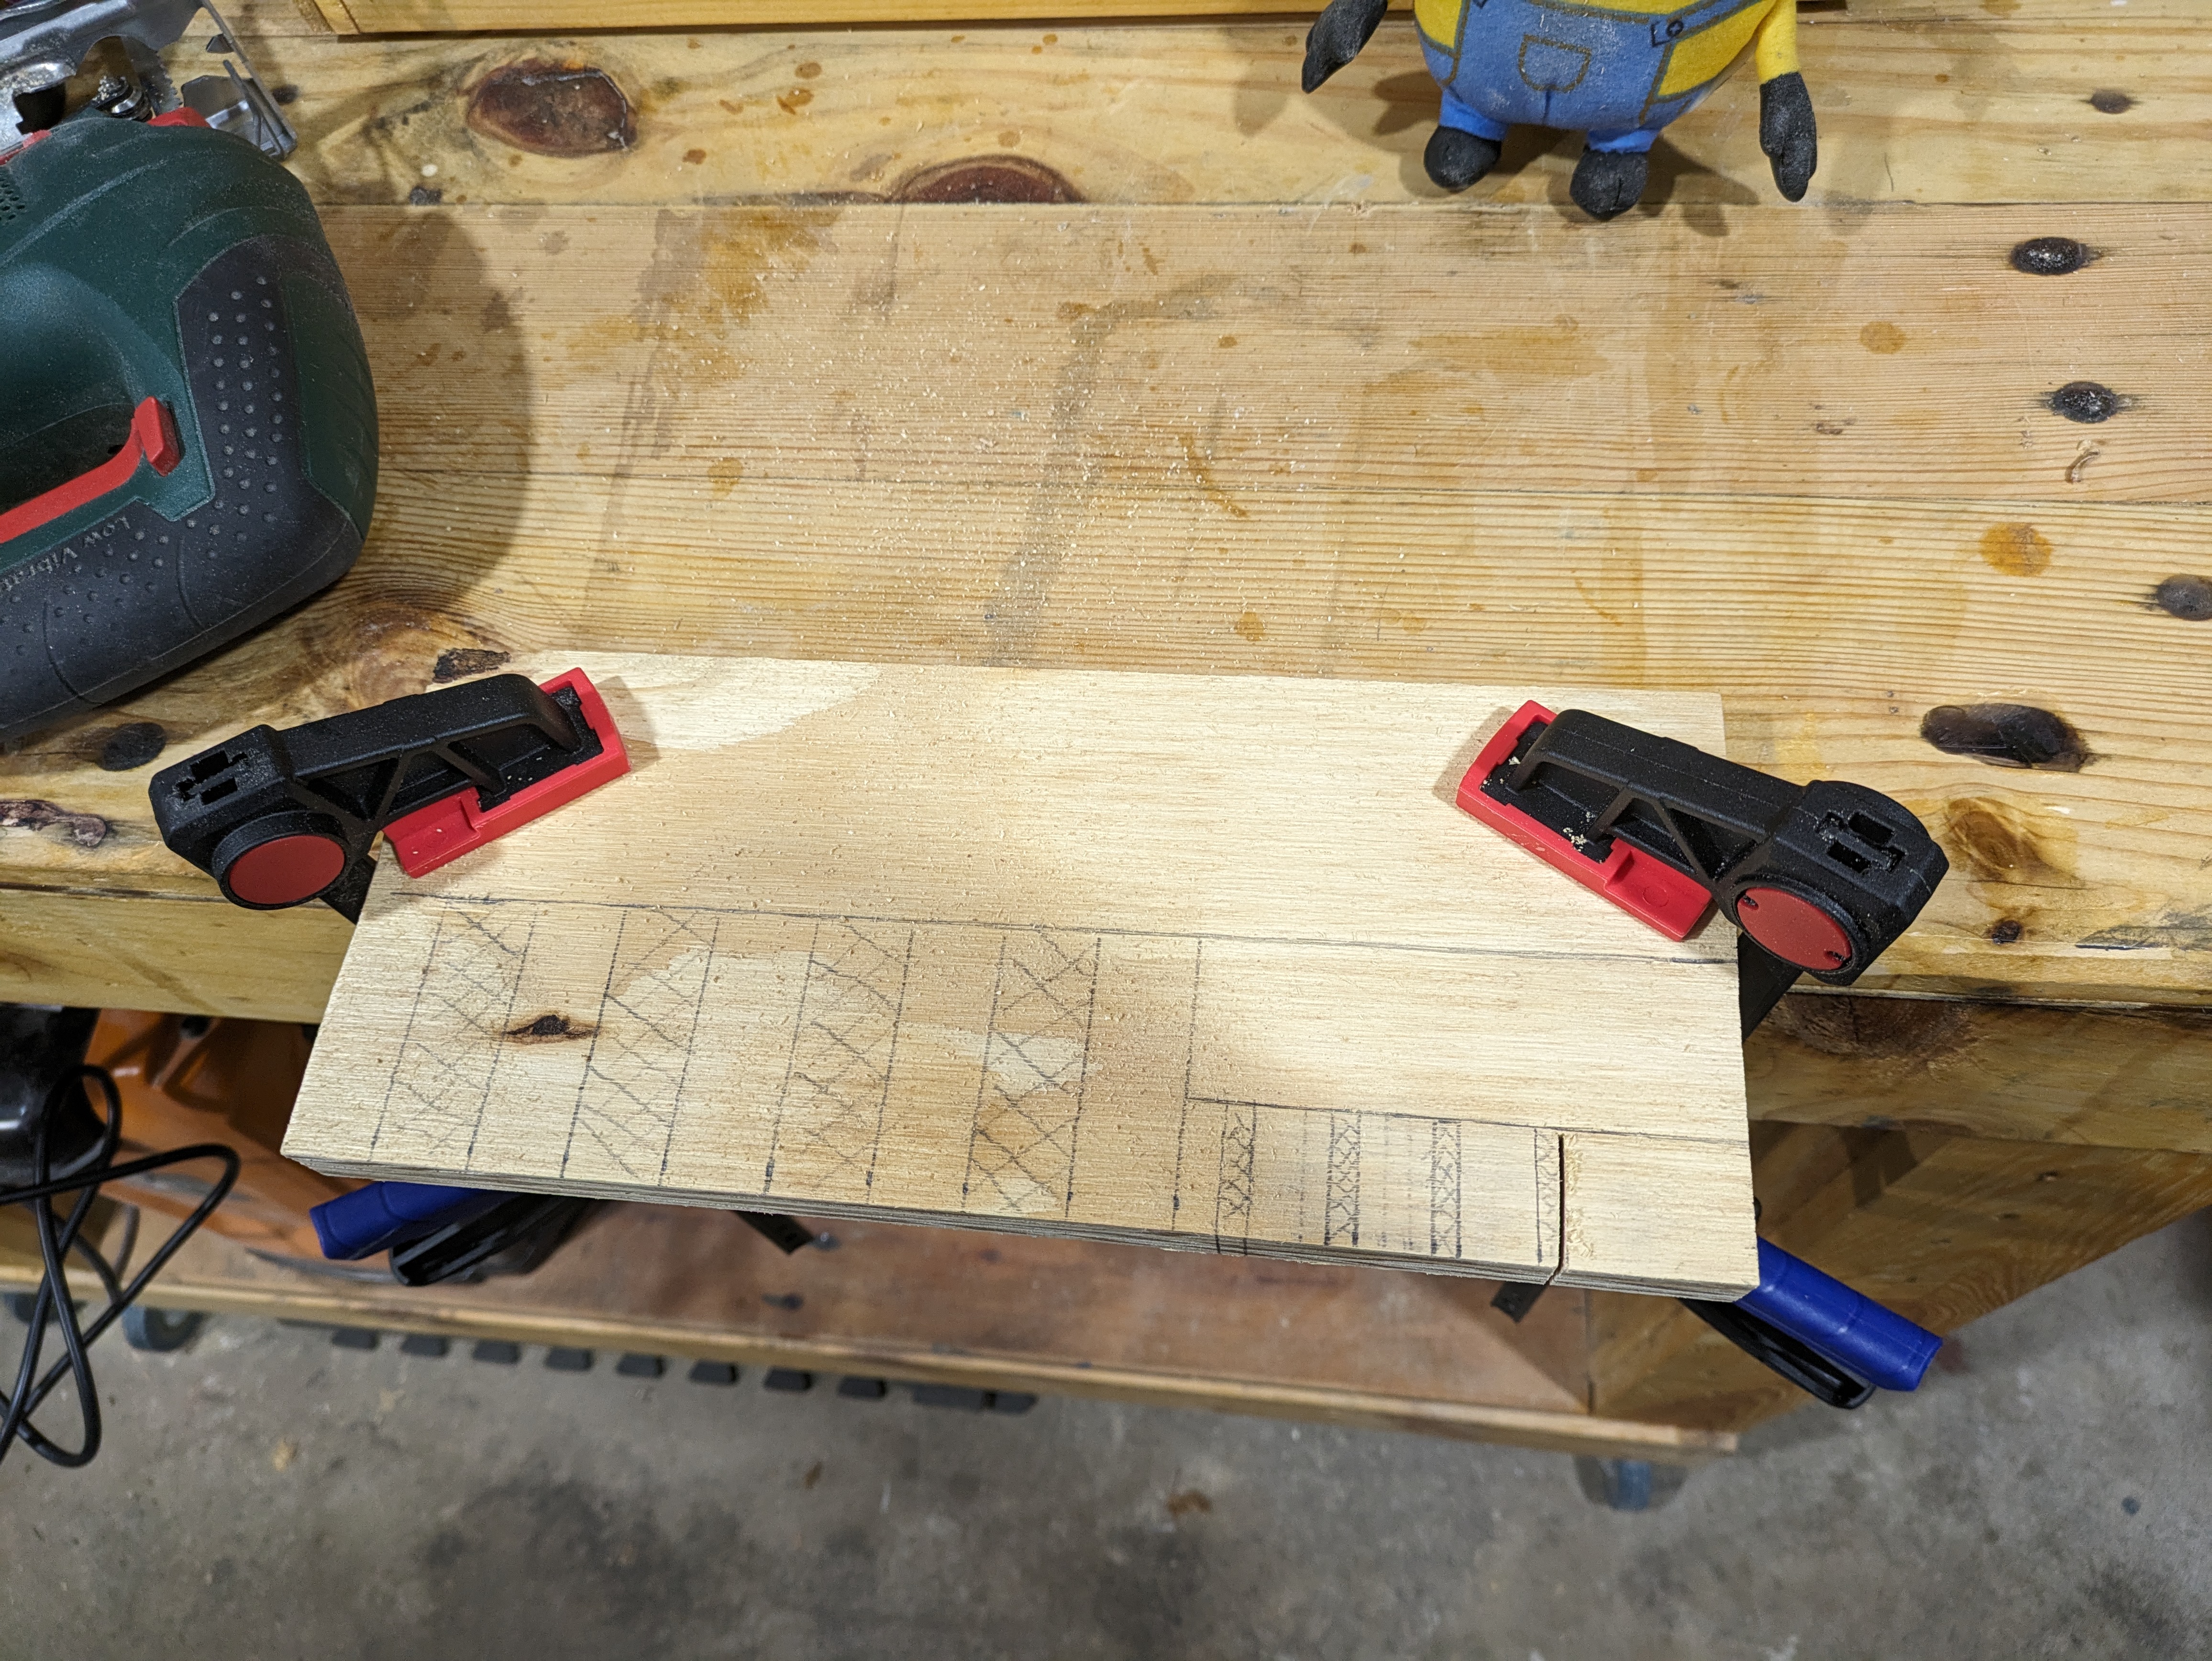
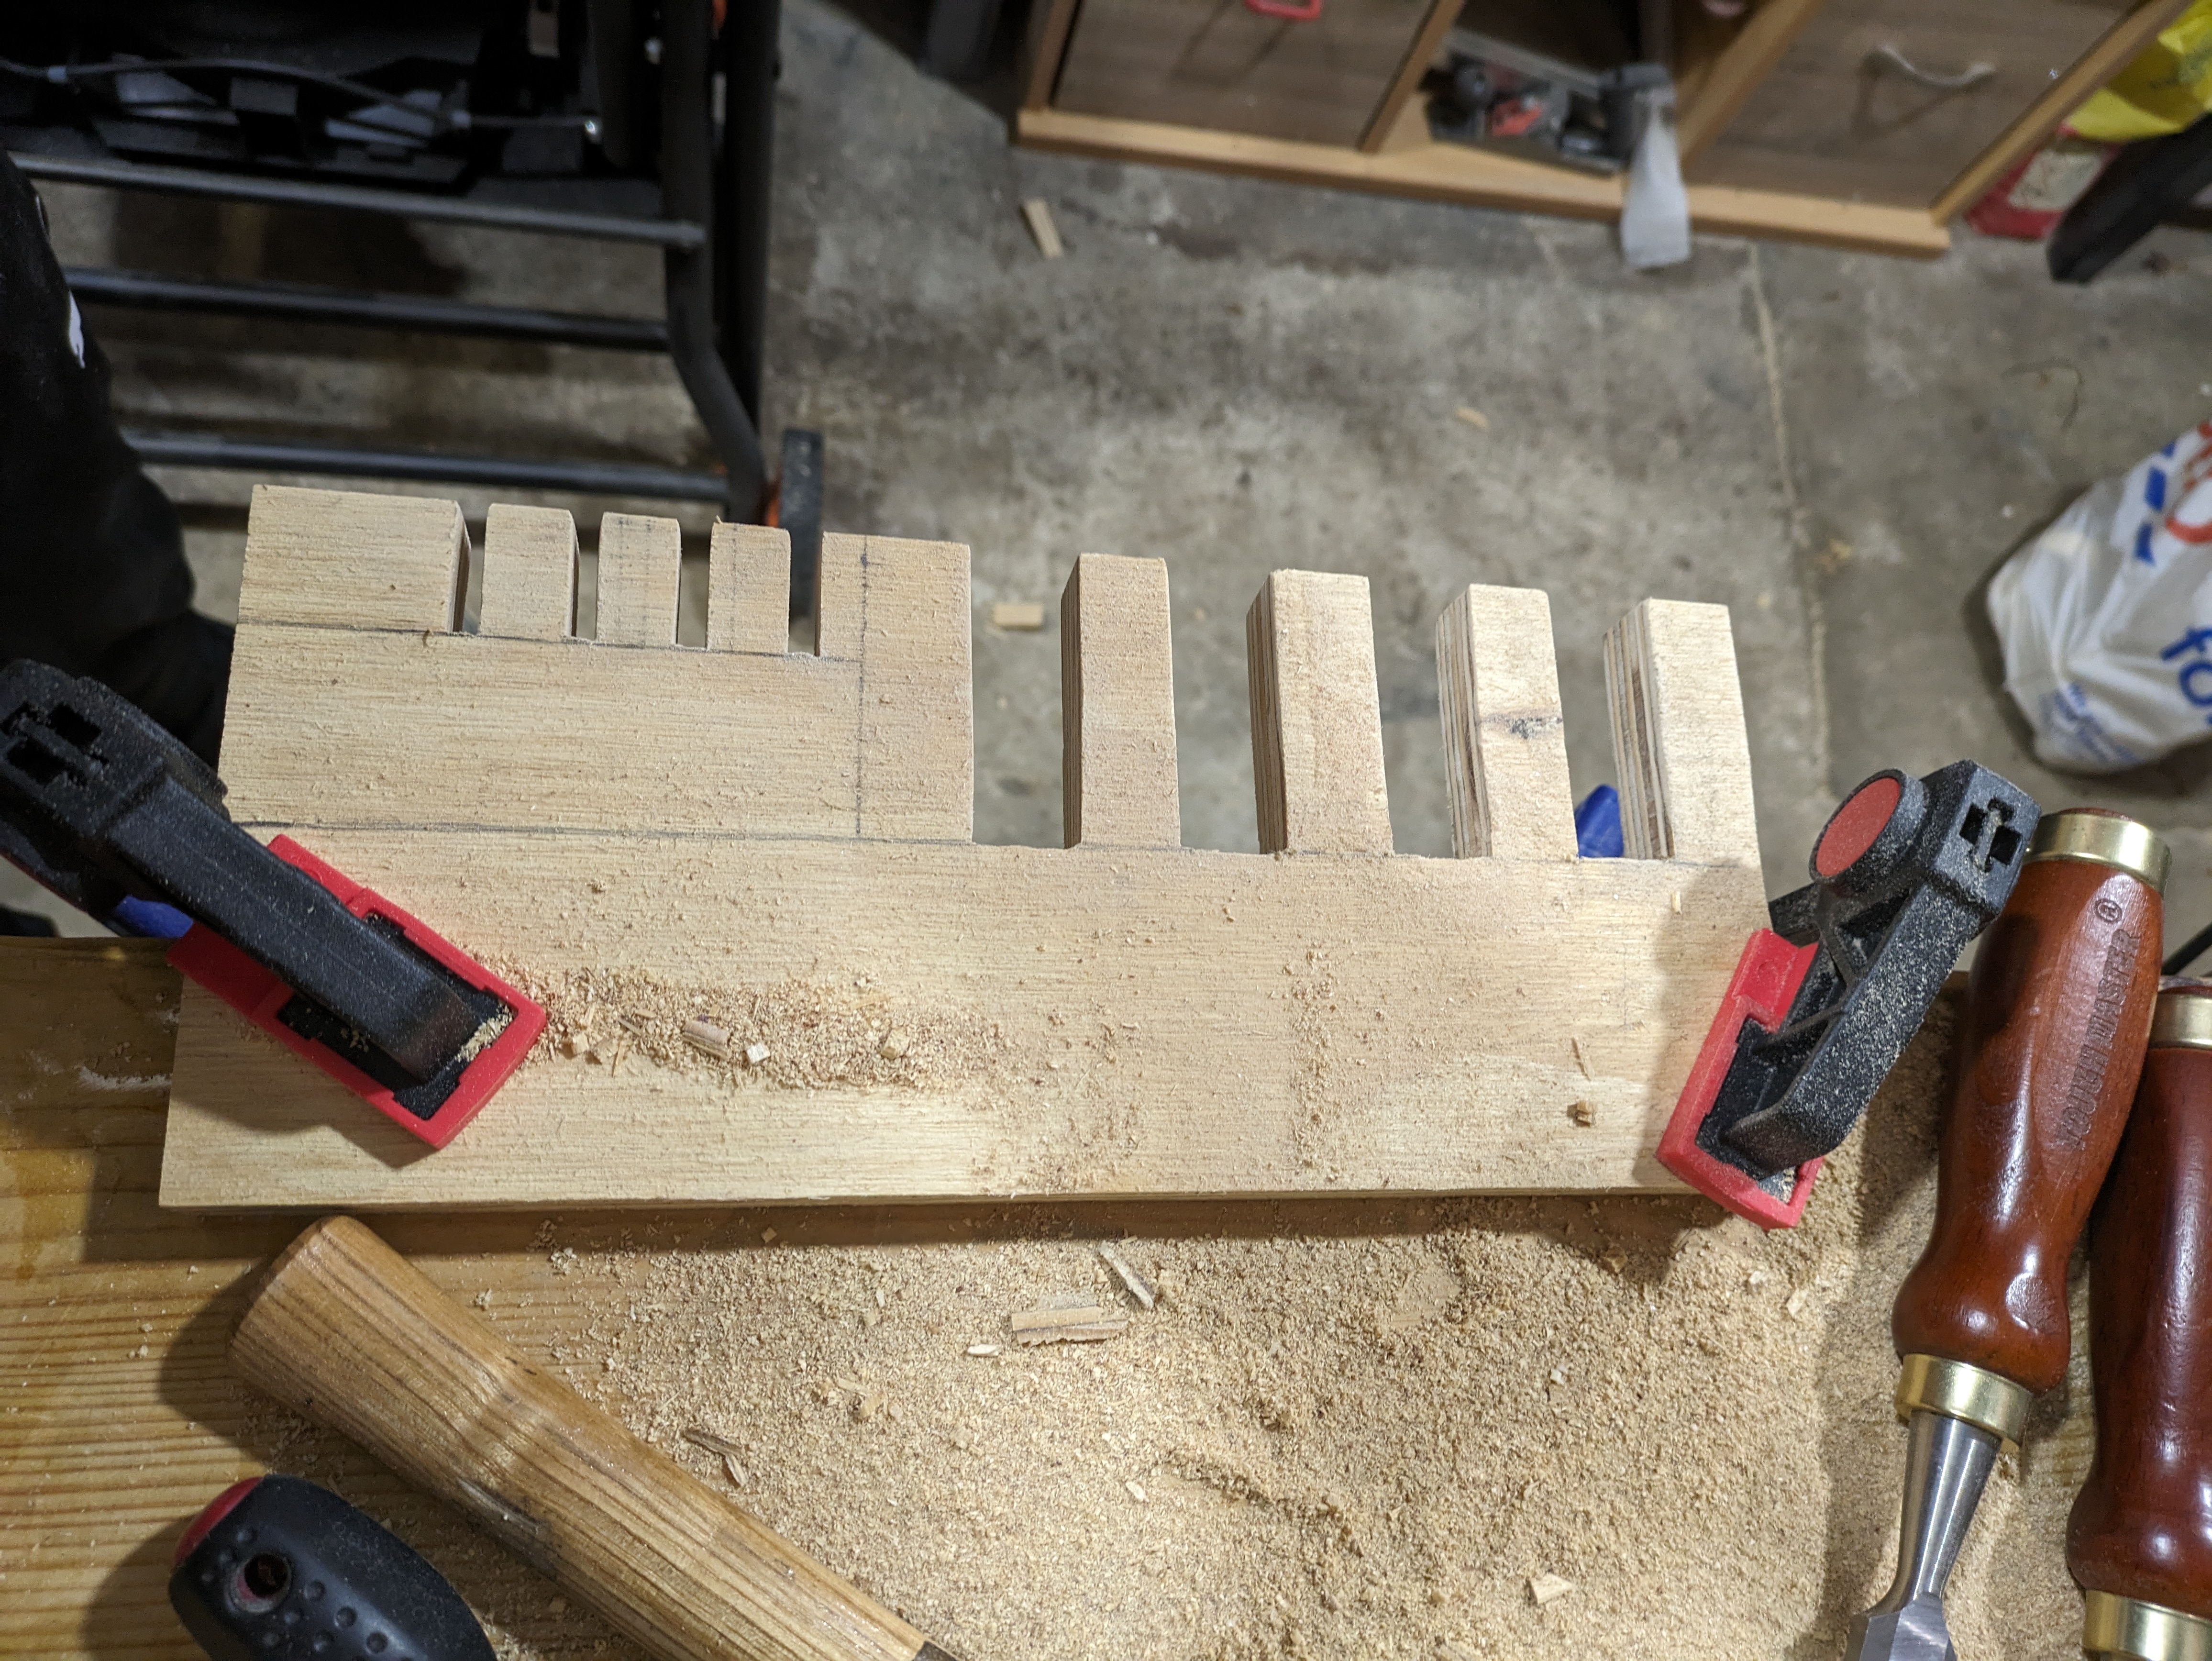
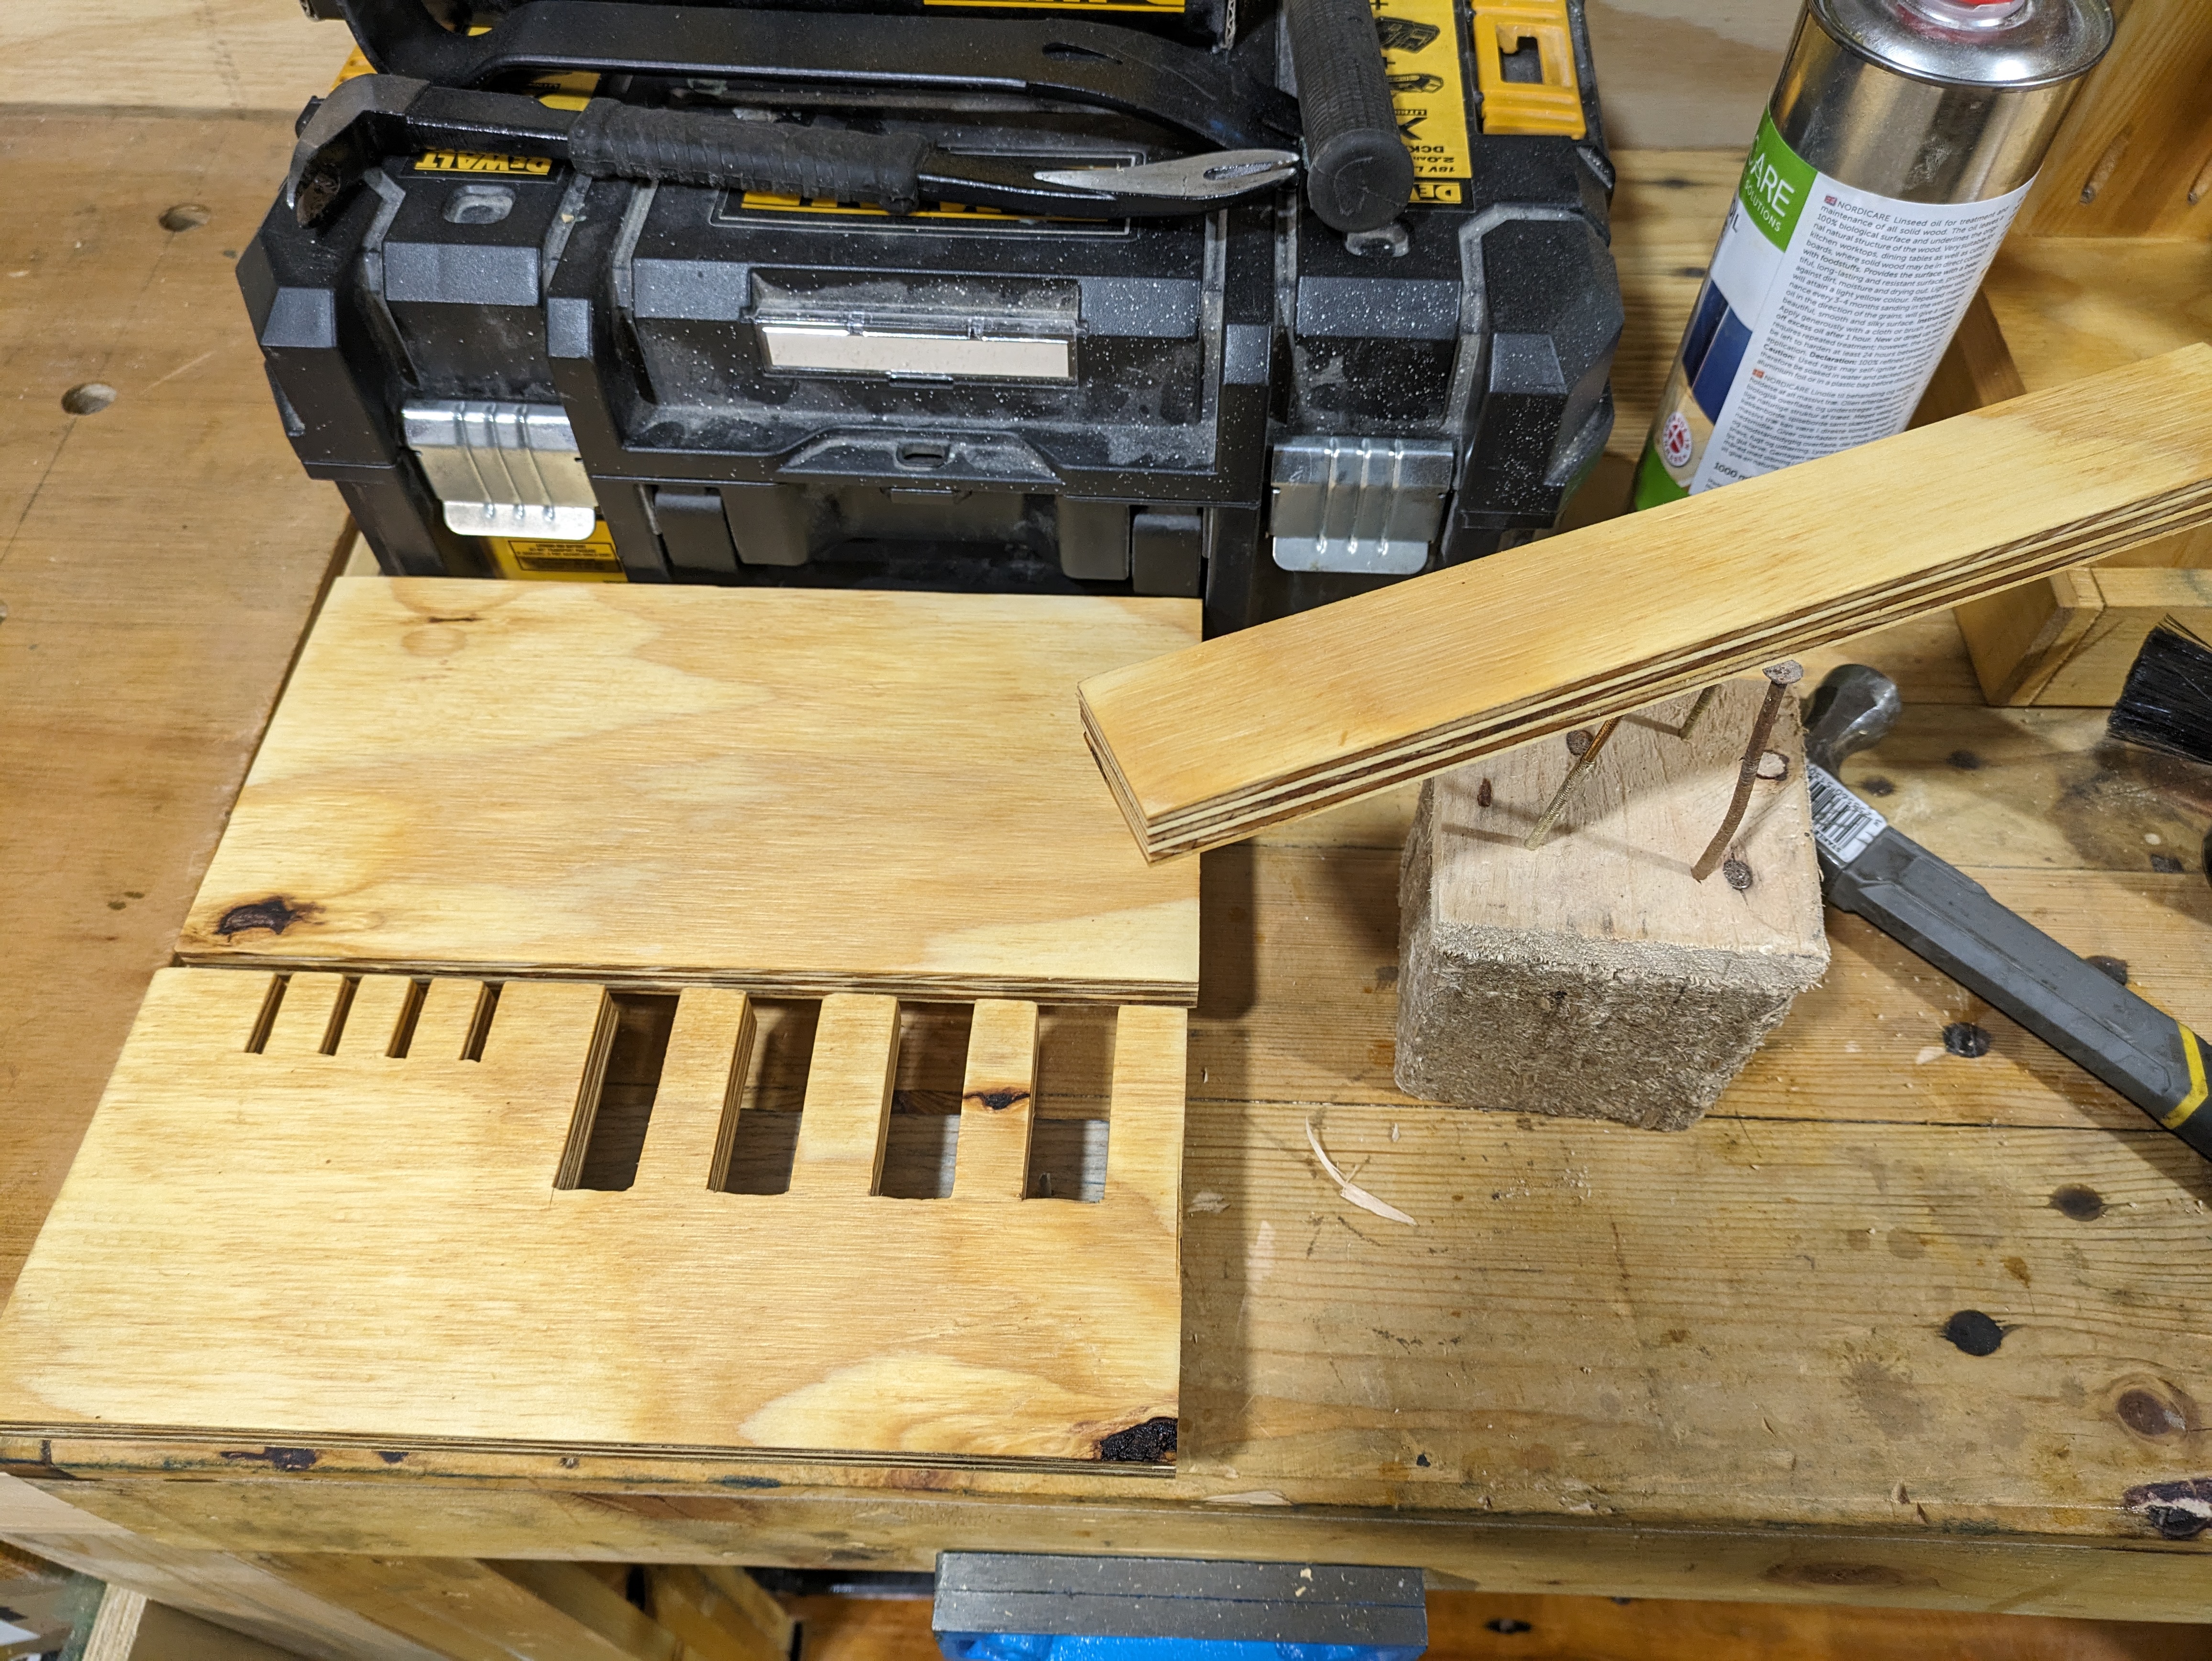
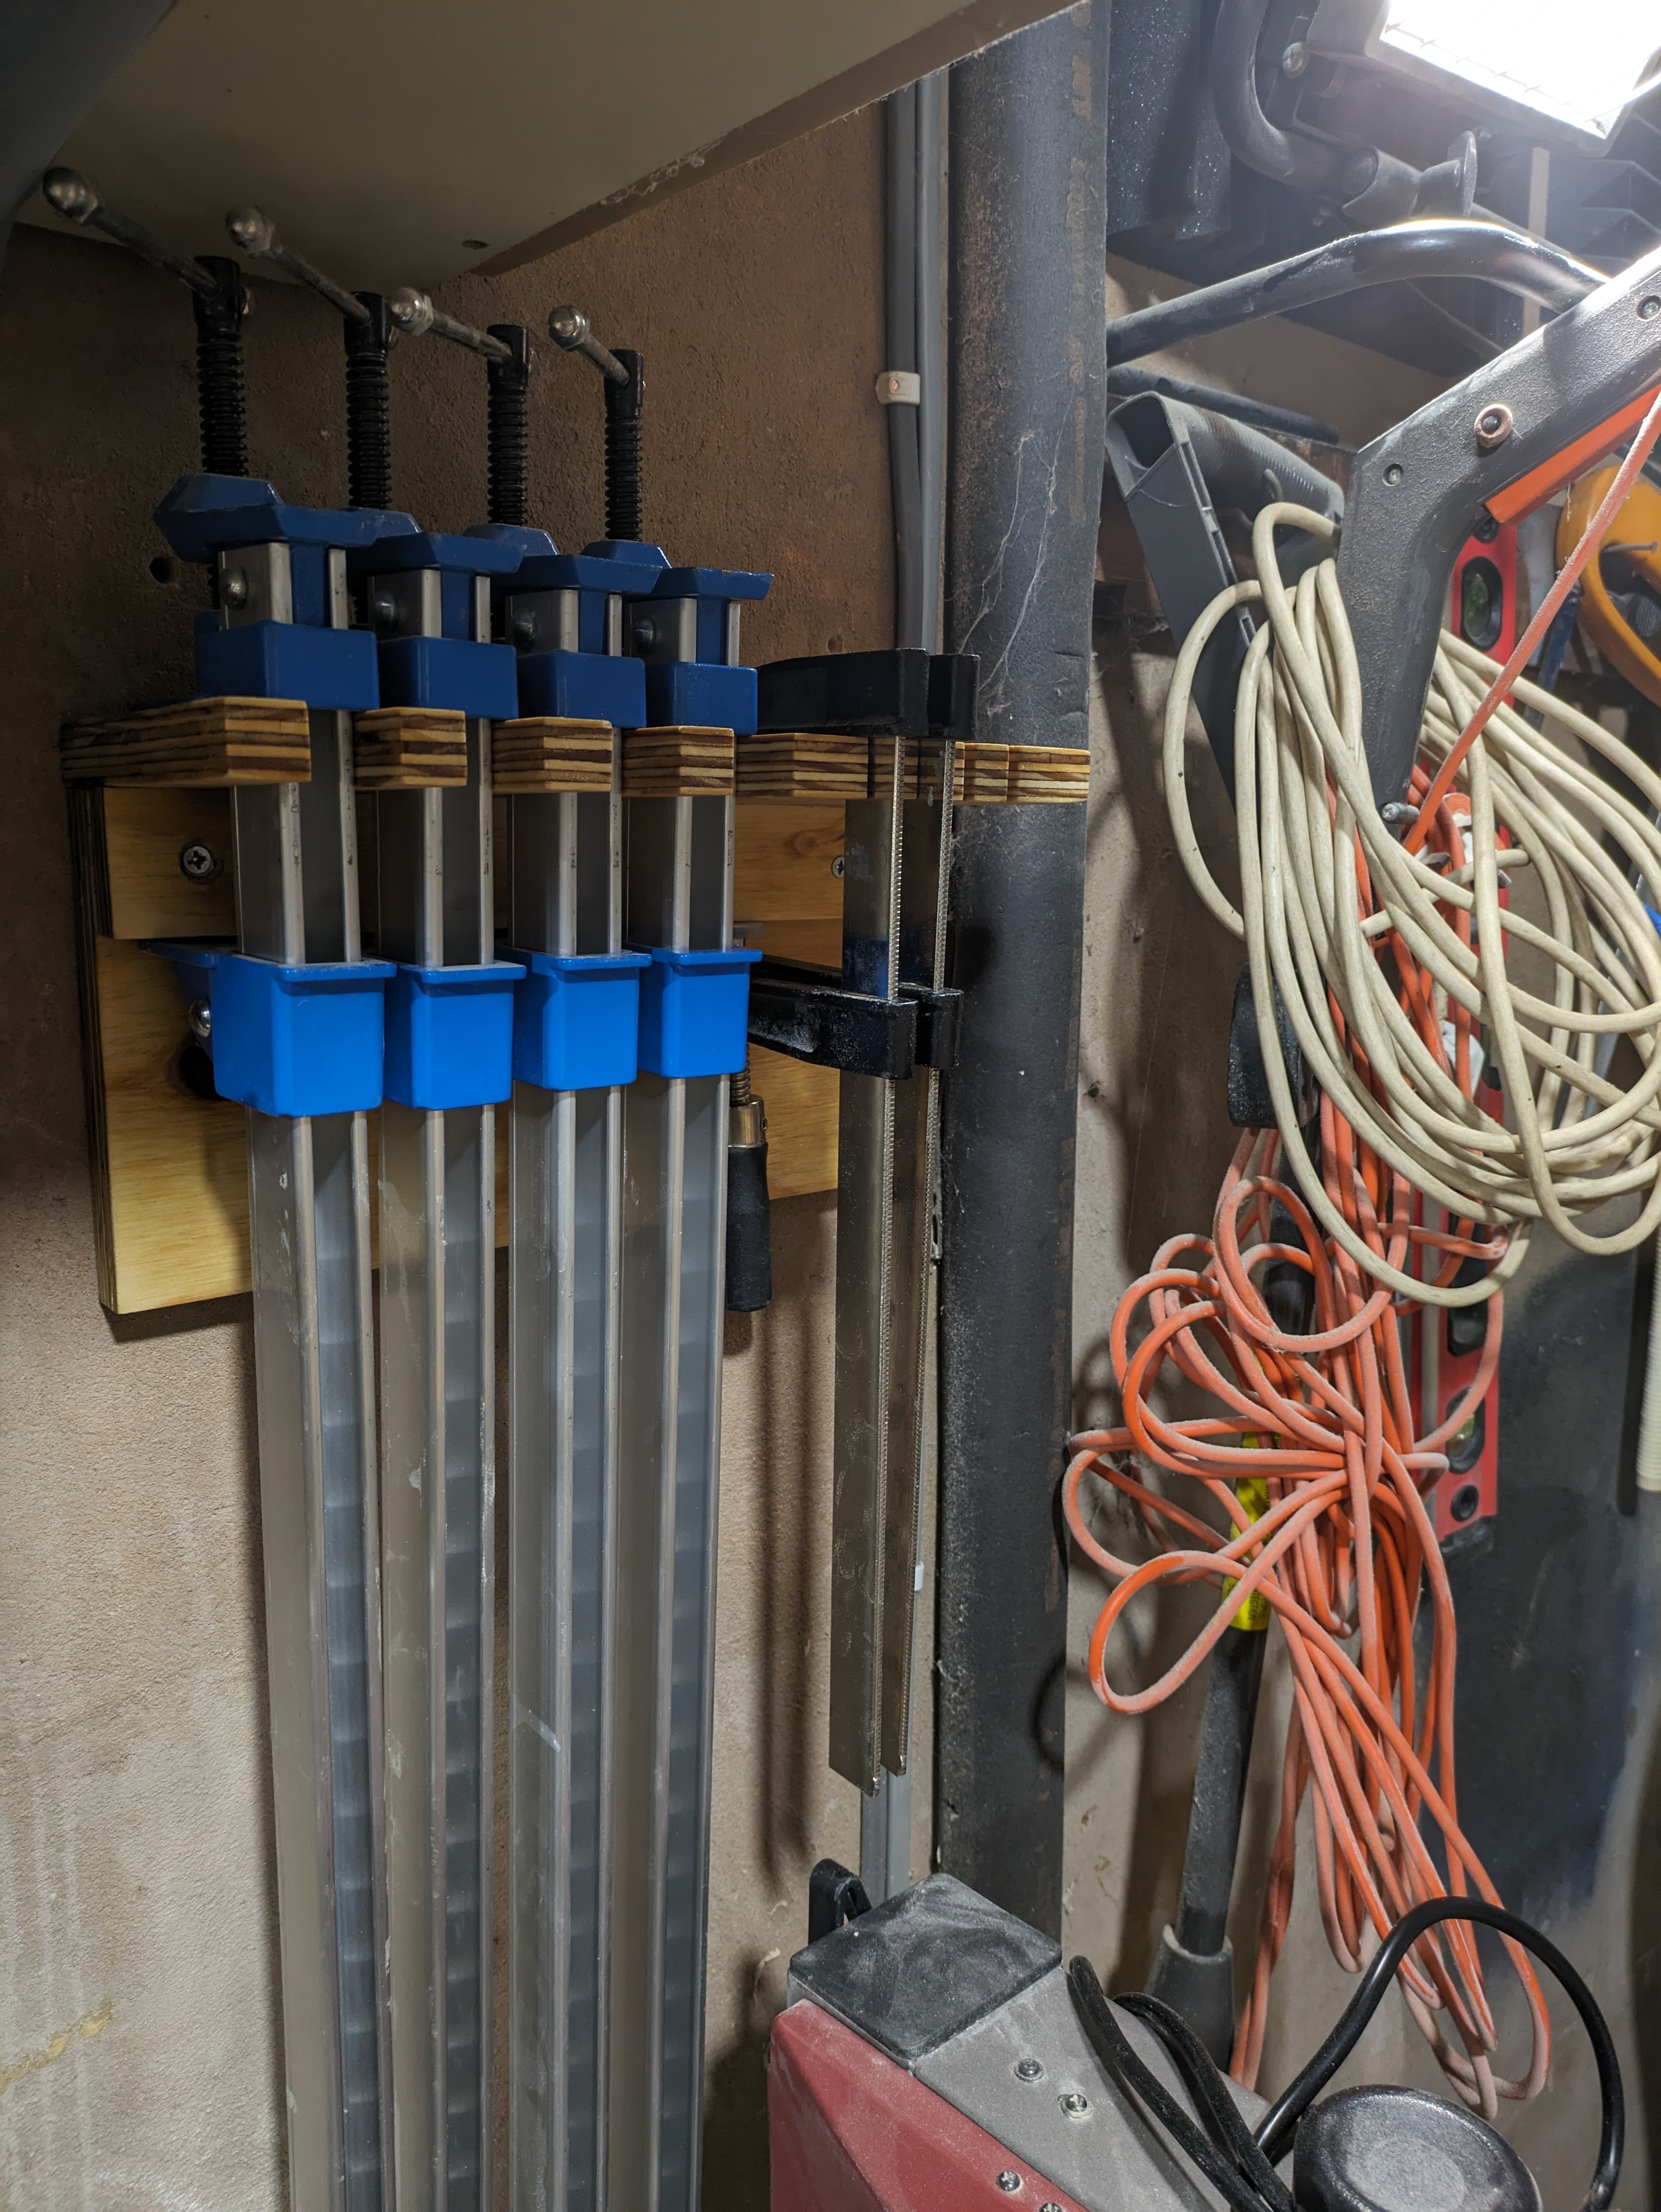
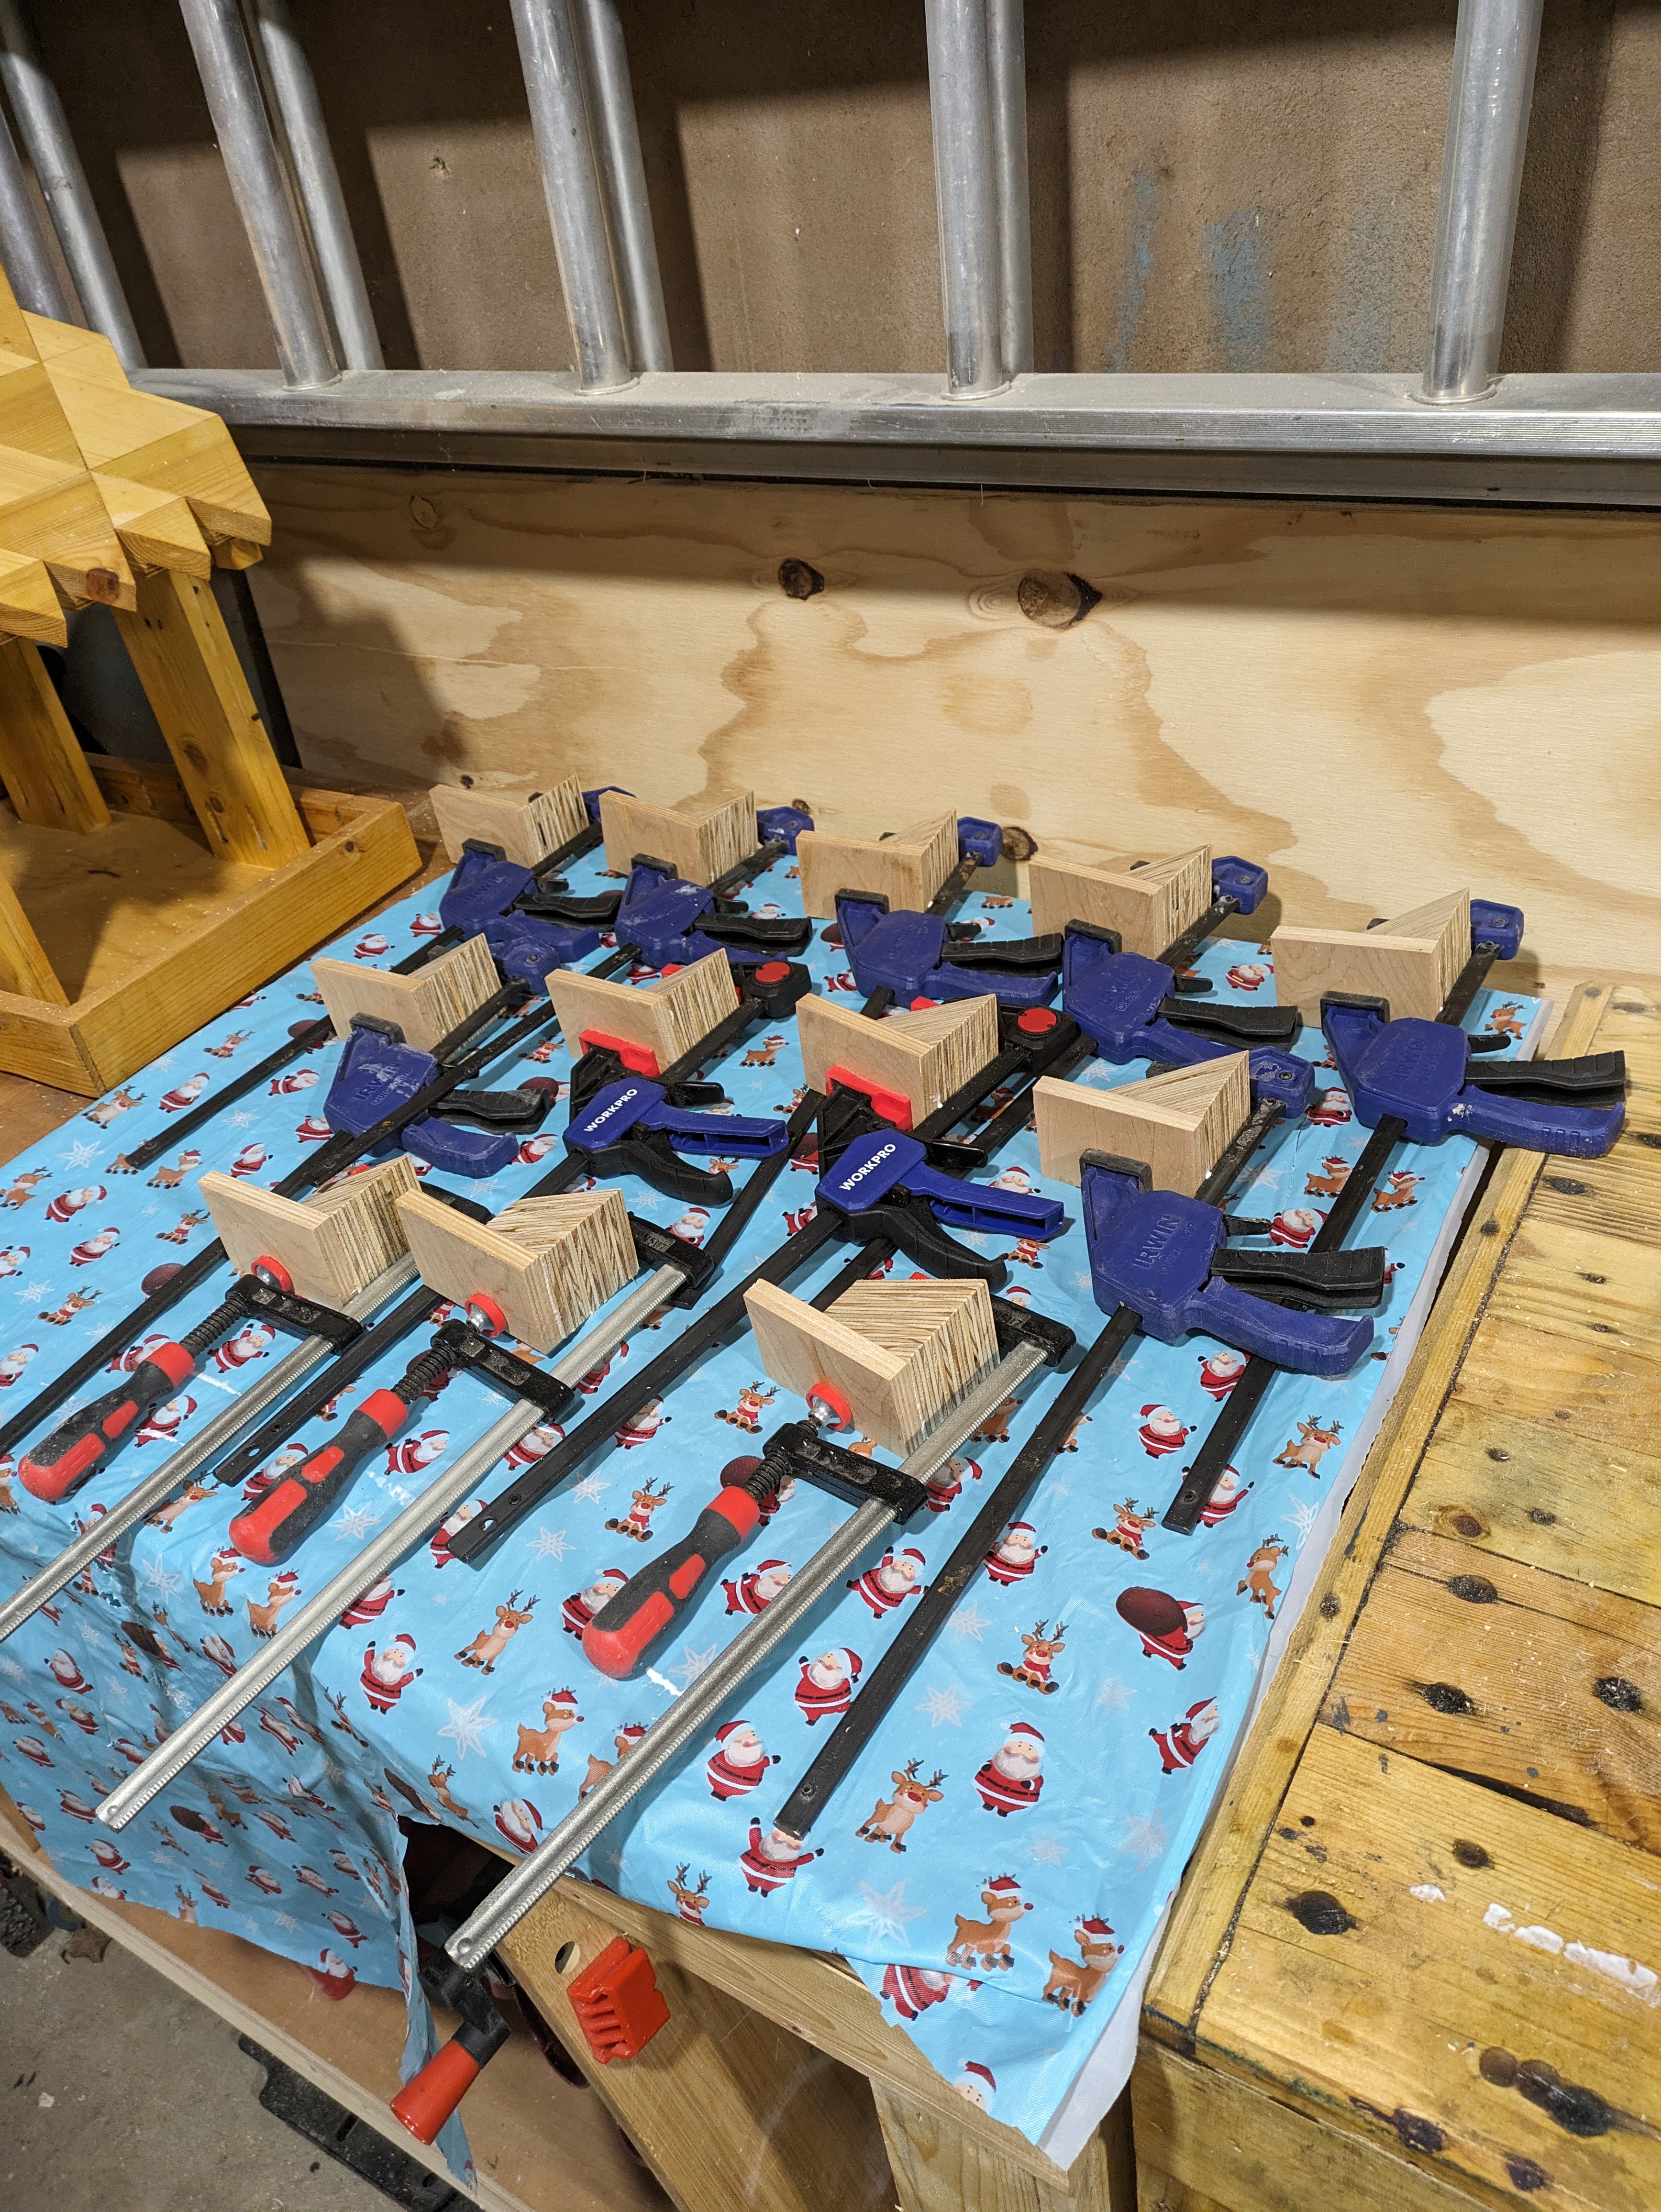
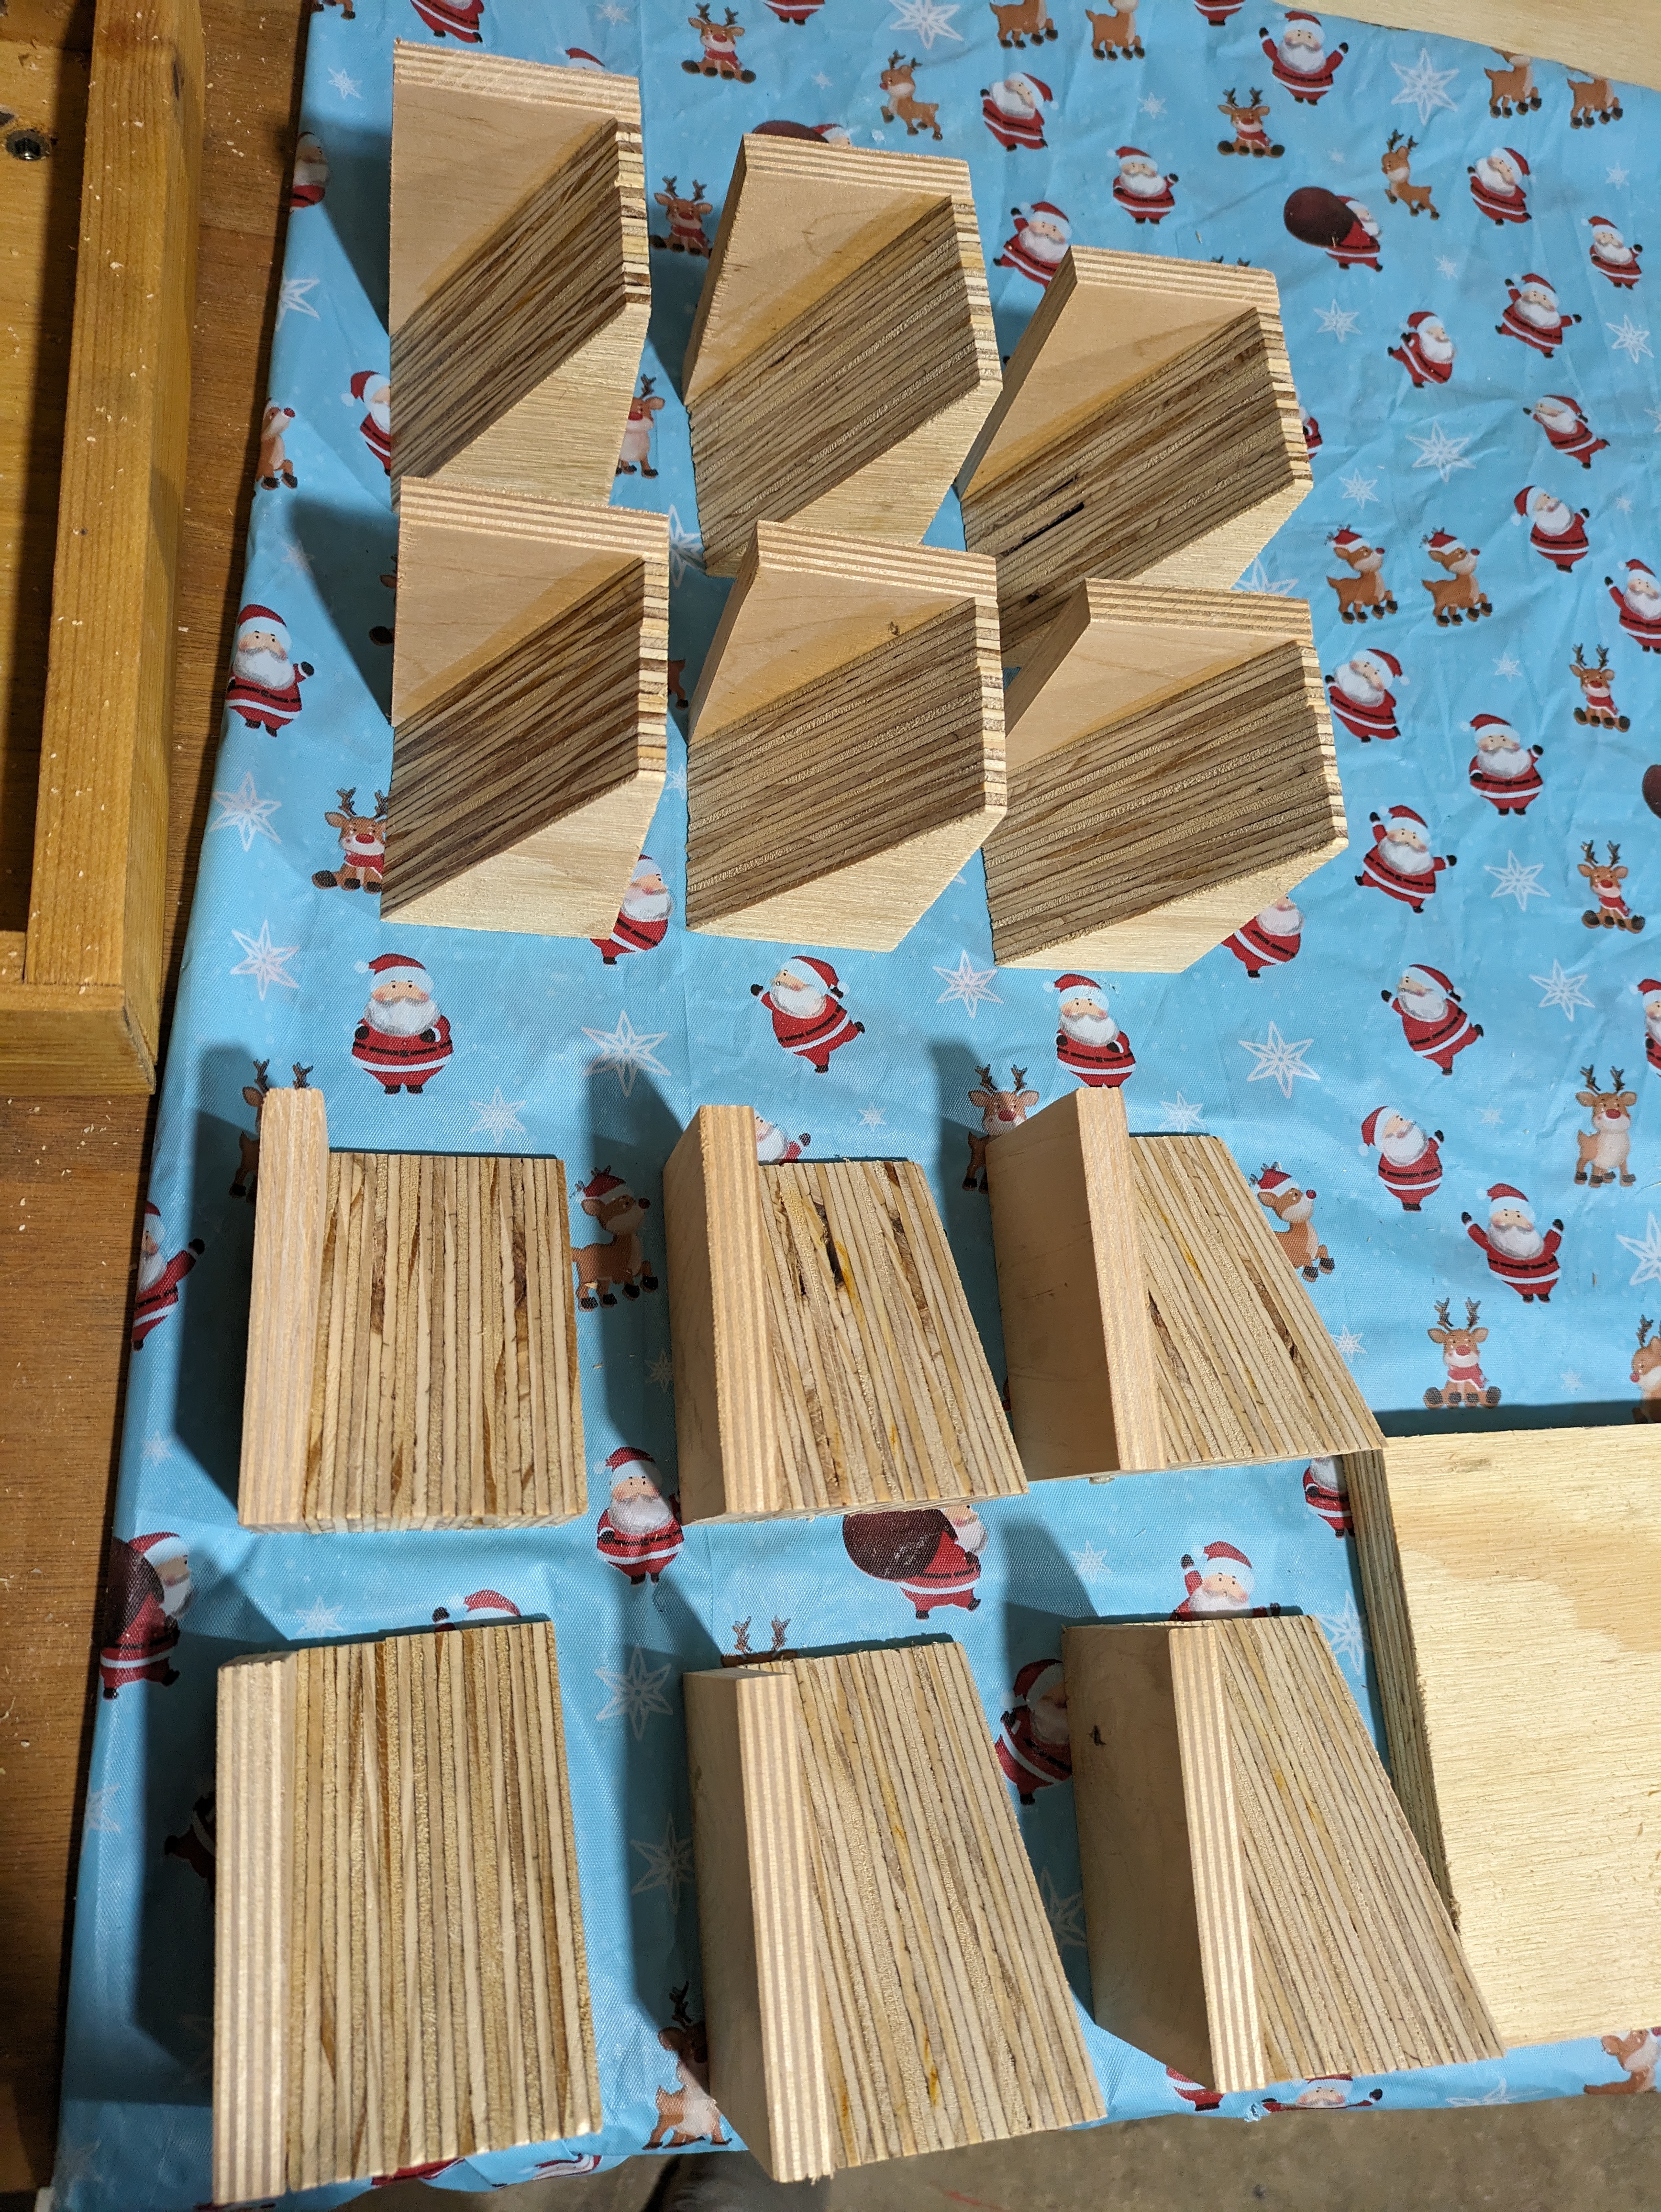
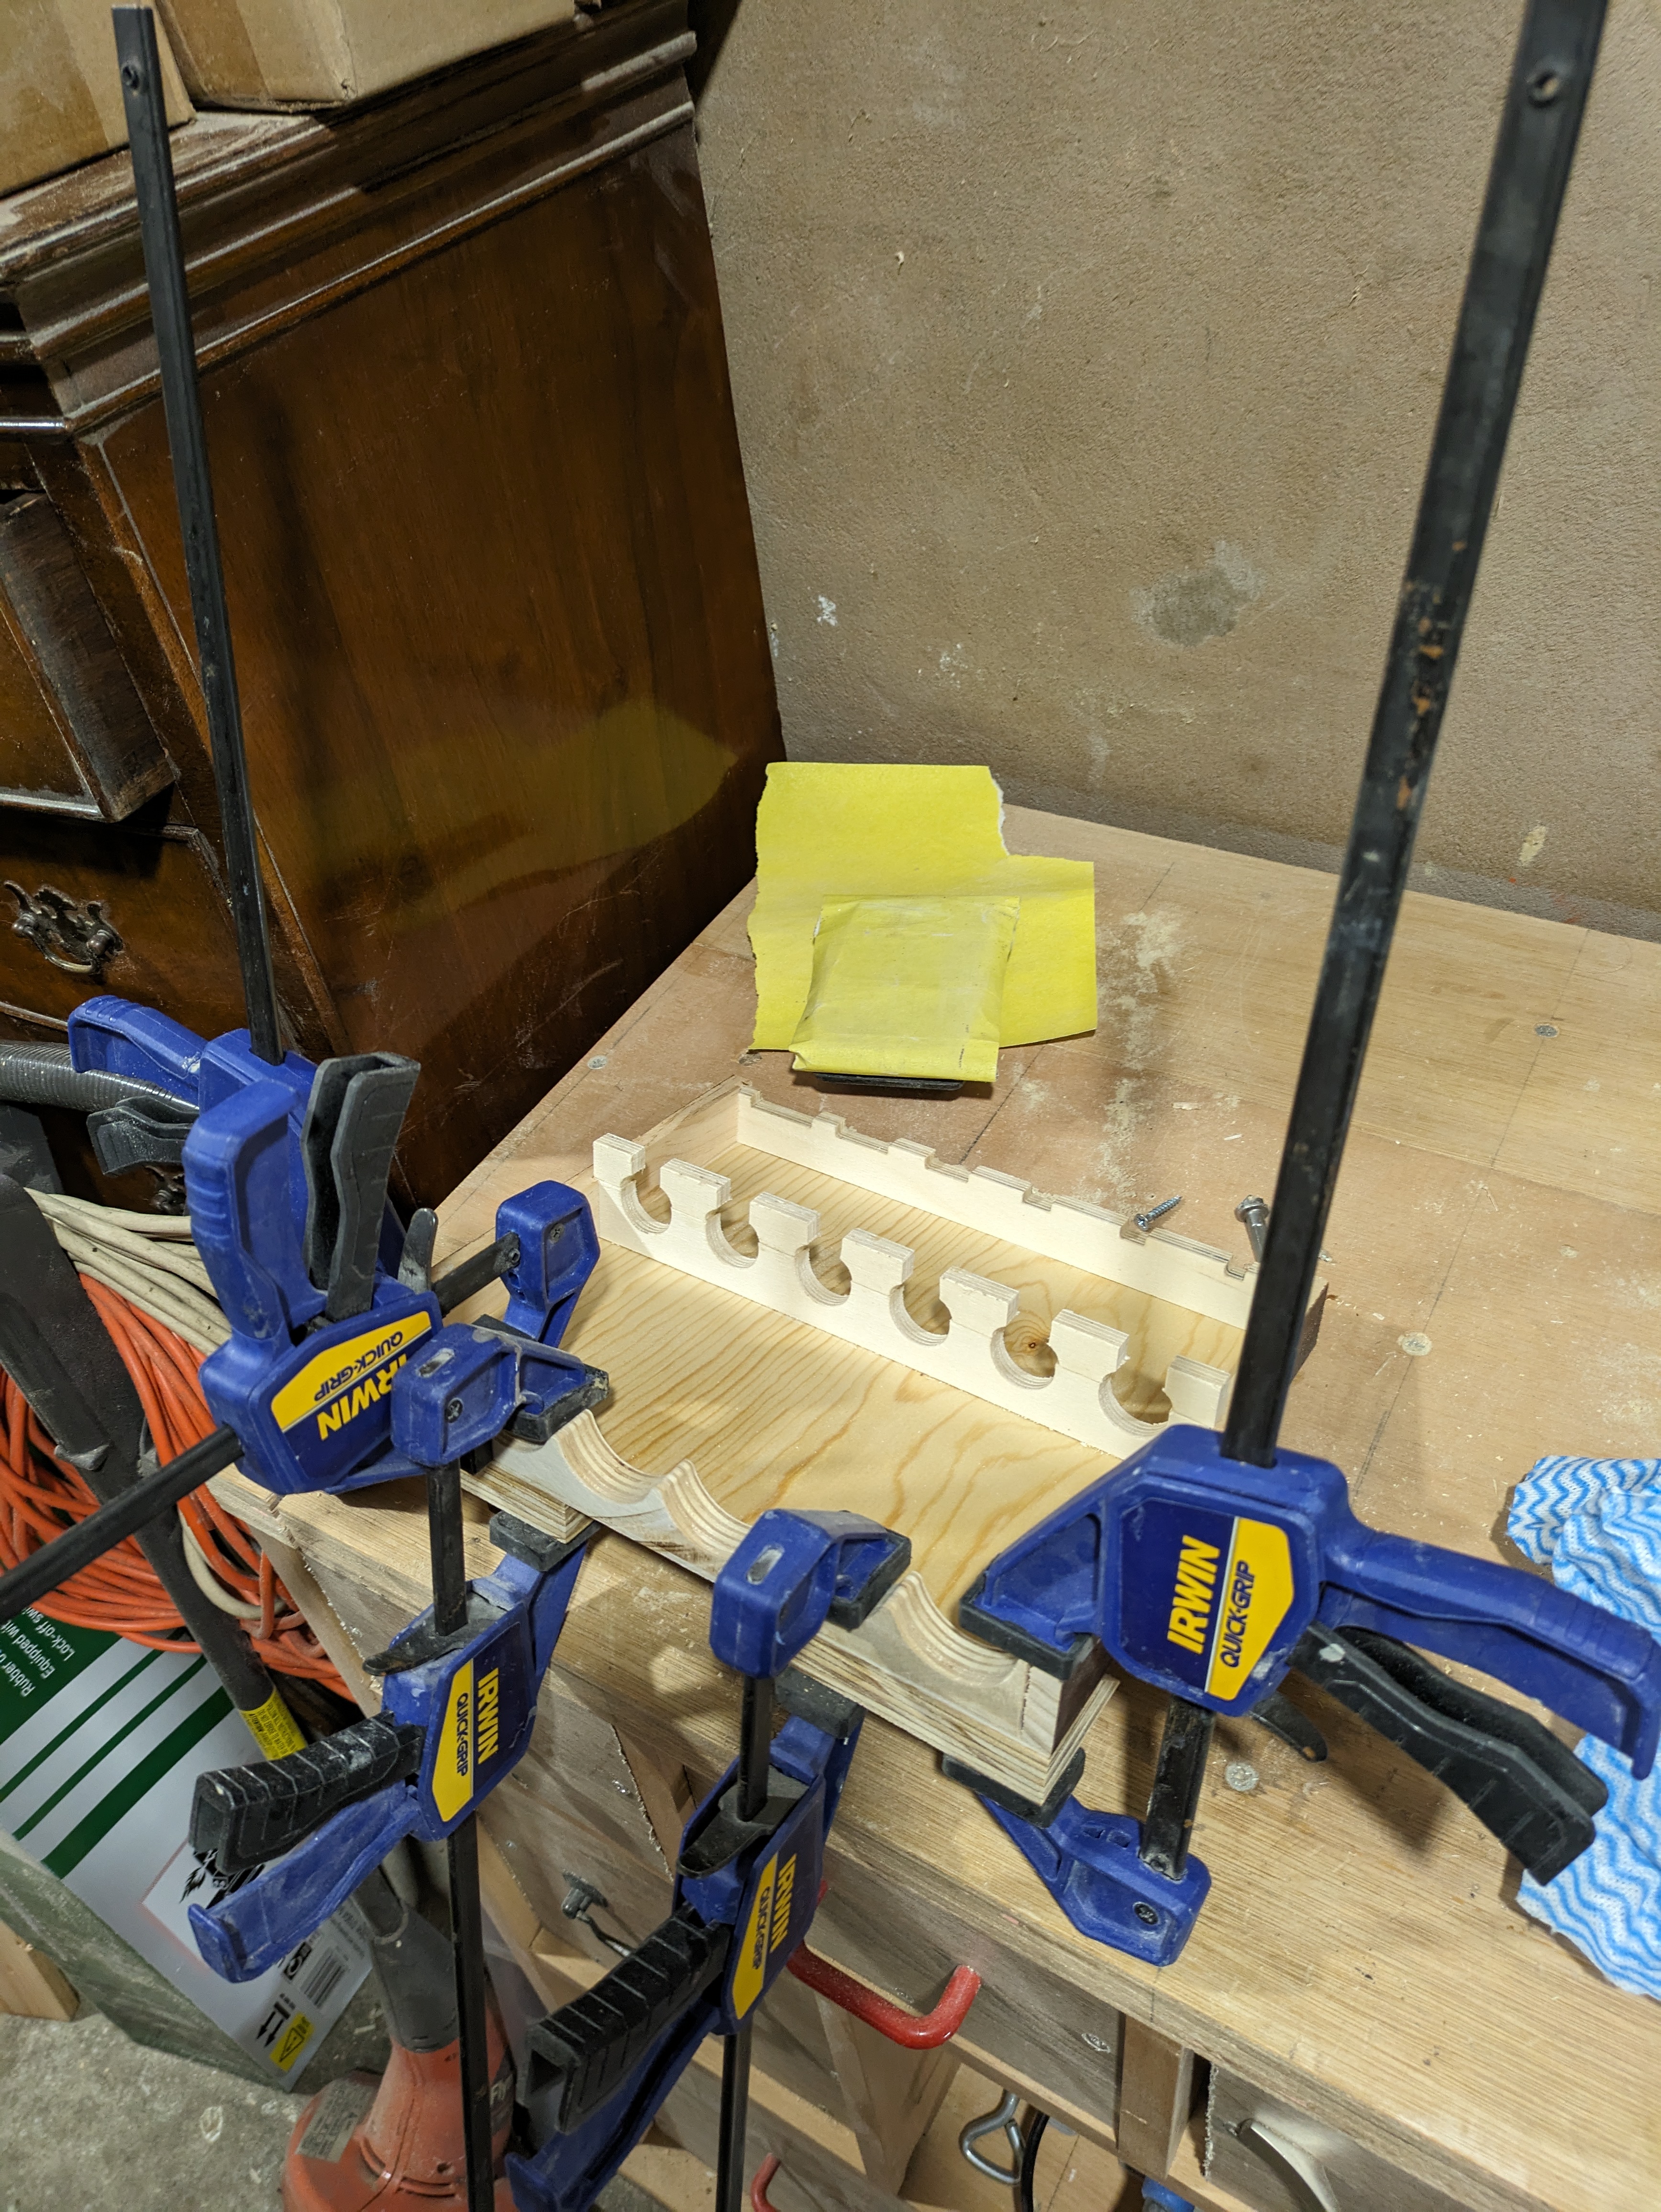
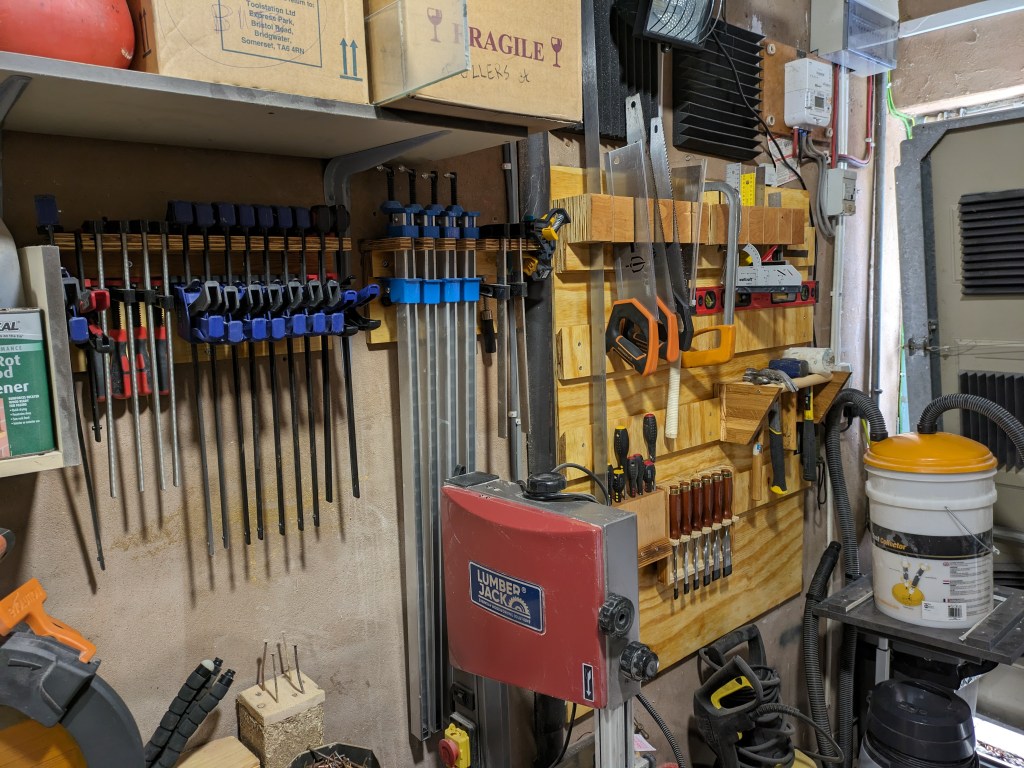
The most annoying thing to store are the various clamps as they all get tangled in cupboard were I was keeping most of them. I decided to have two racks for the different types of clamps. Firstly I layed out the clamps to get an idea of size then cut some to ply to size and started notching out the ends with a saw and chisel. I managed to get 14 clamps neatly stored and easily accessible, so marked that up as a win!
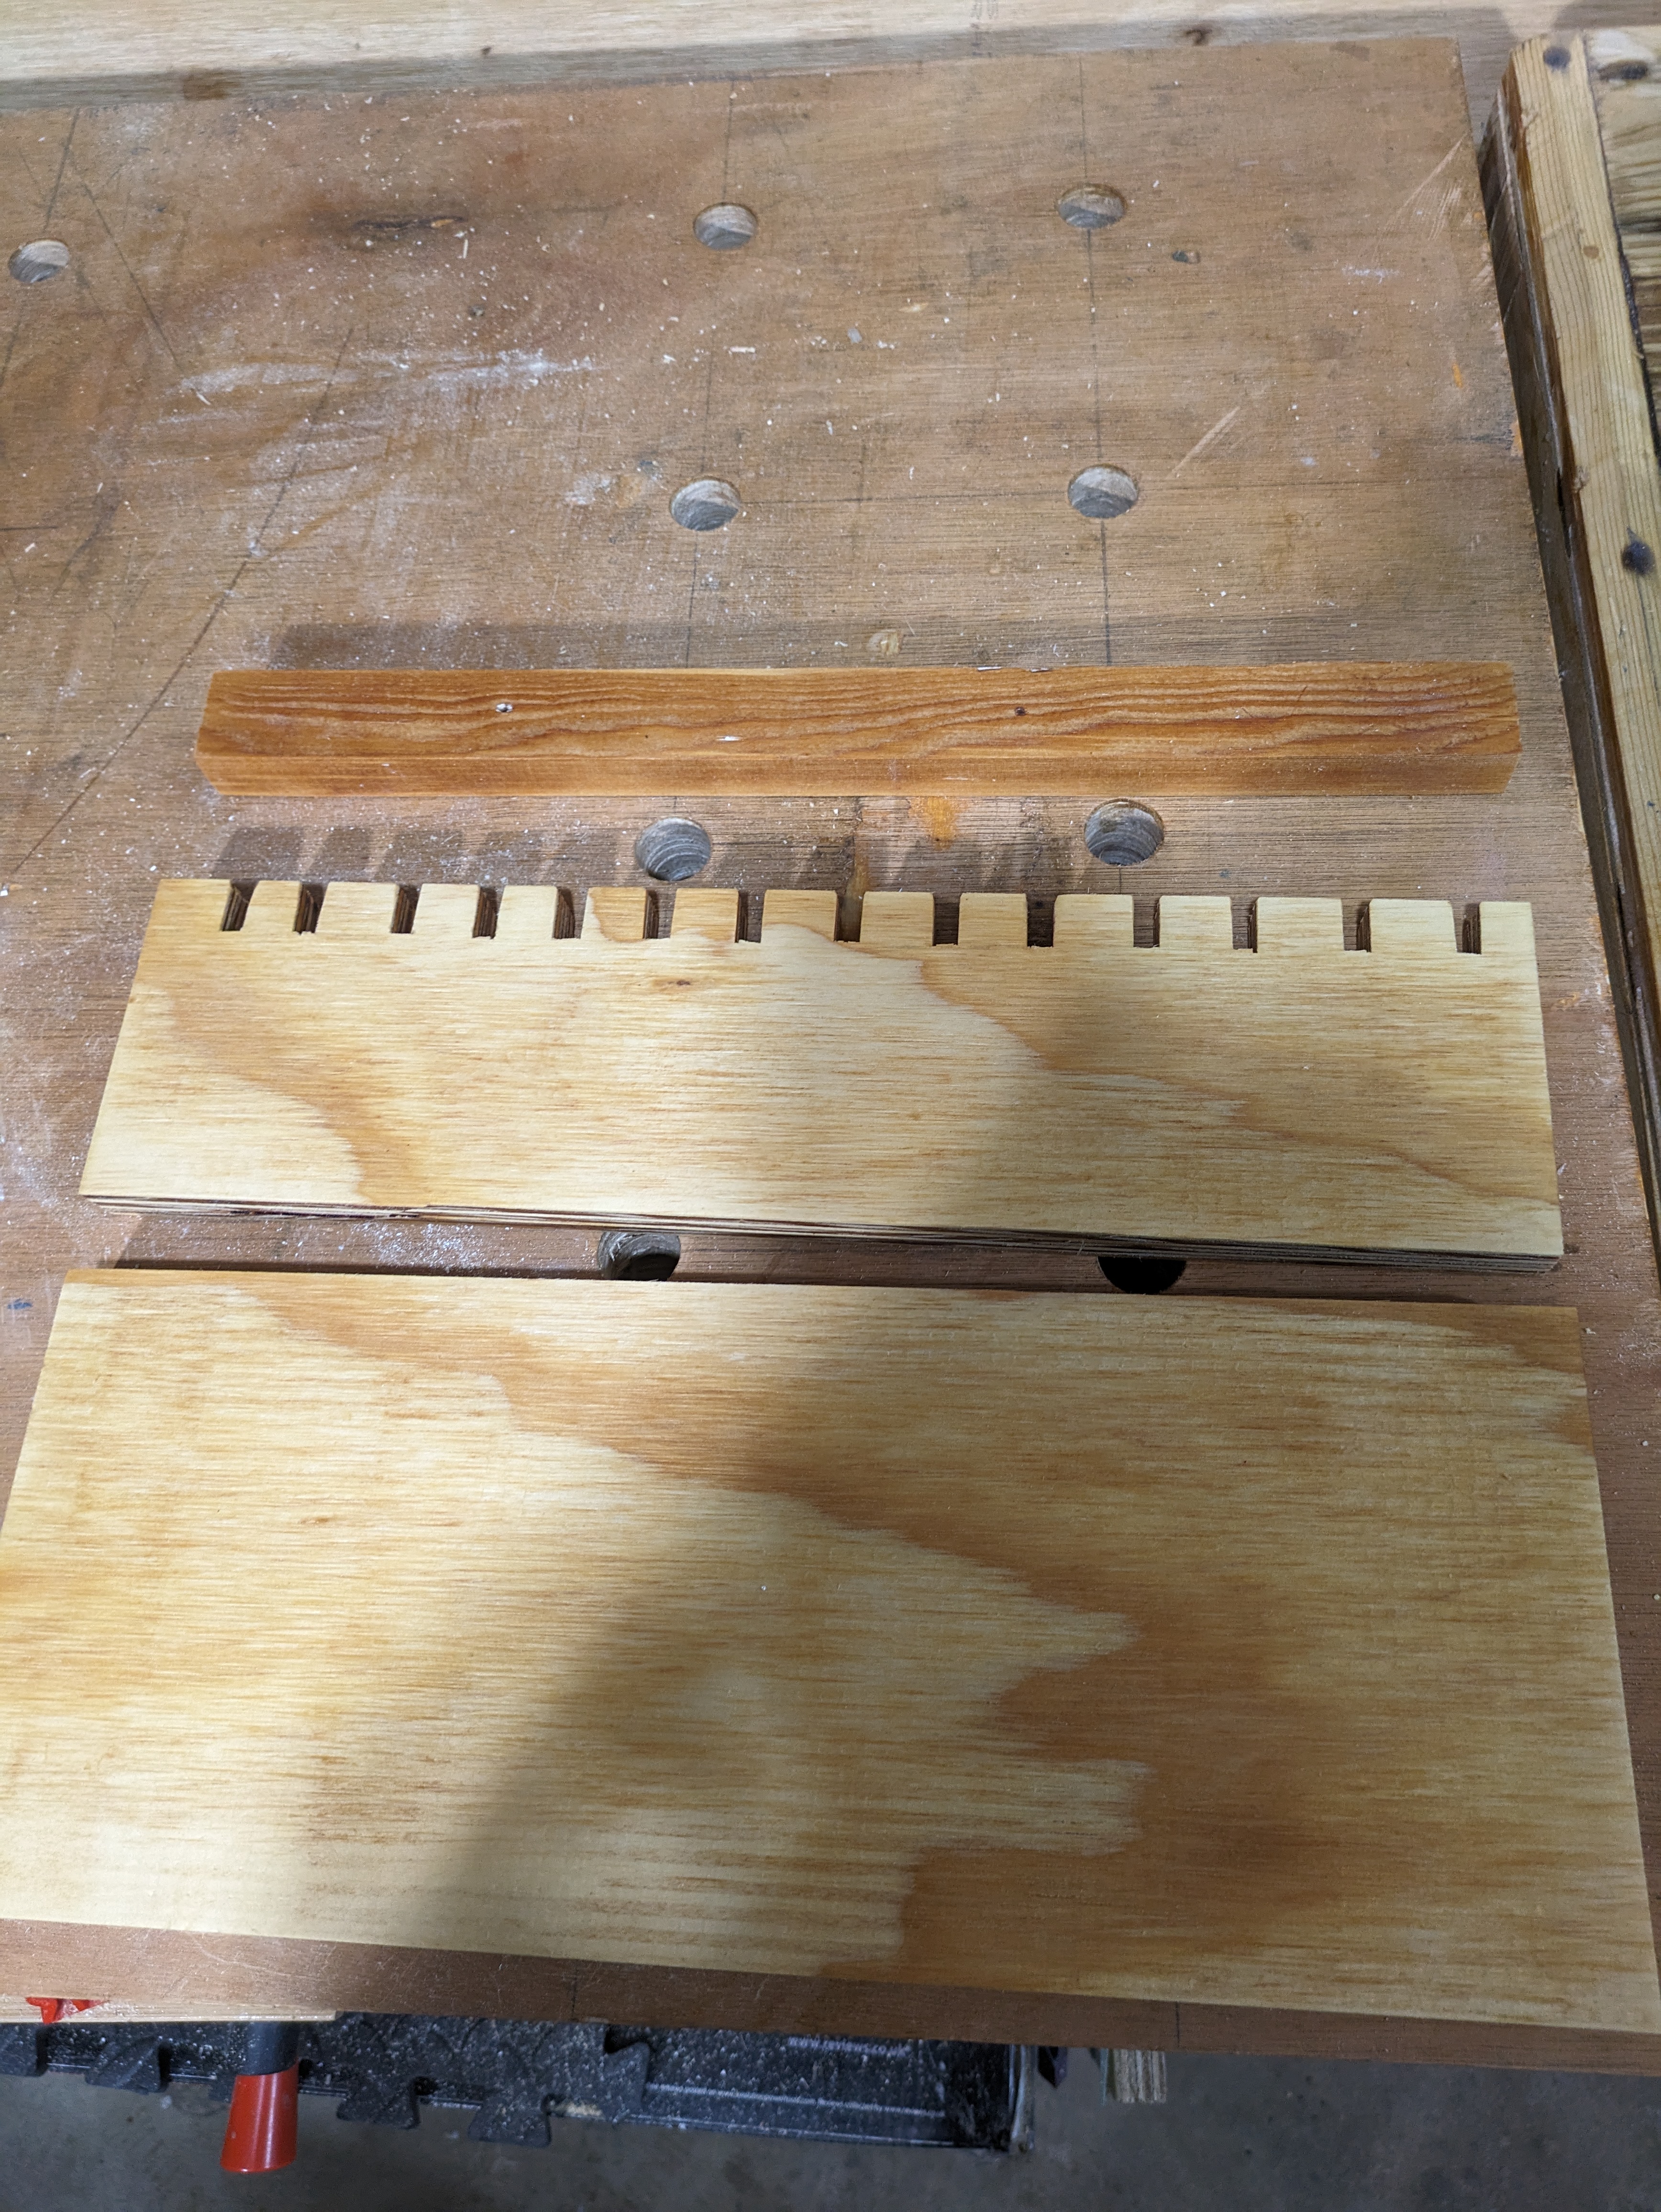
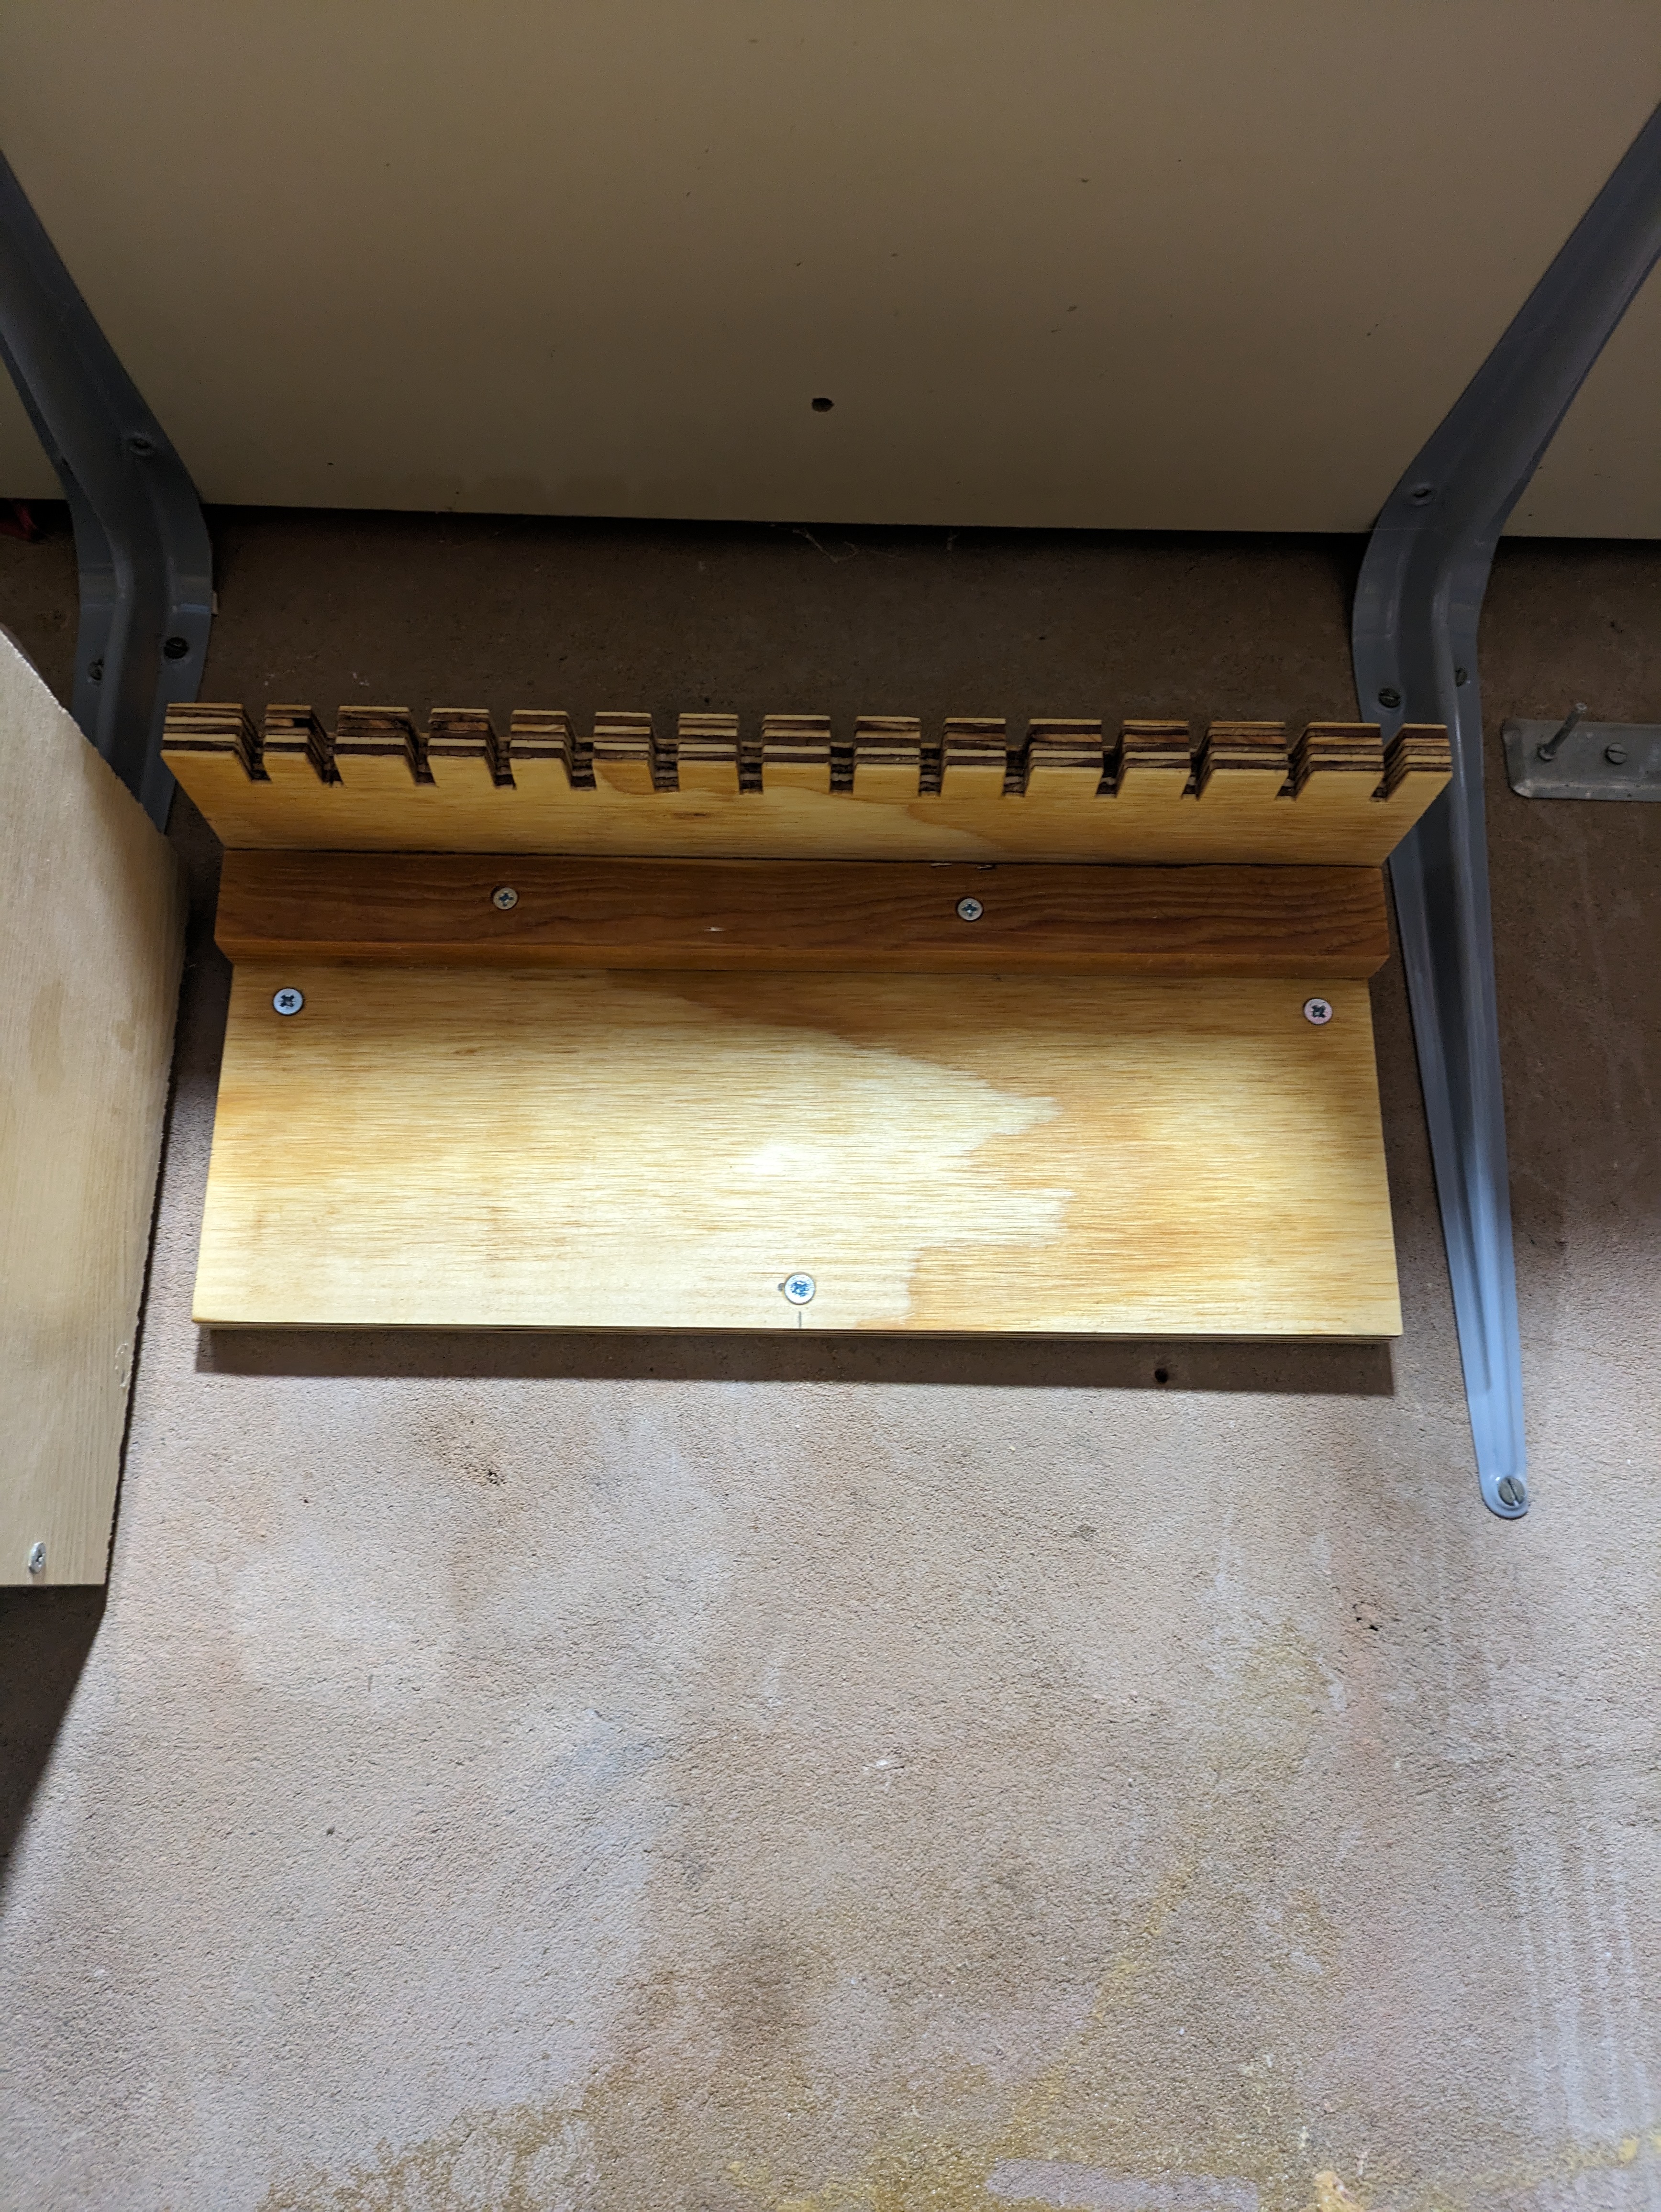

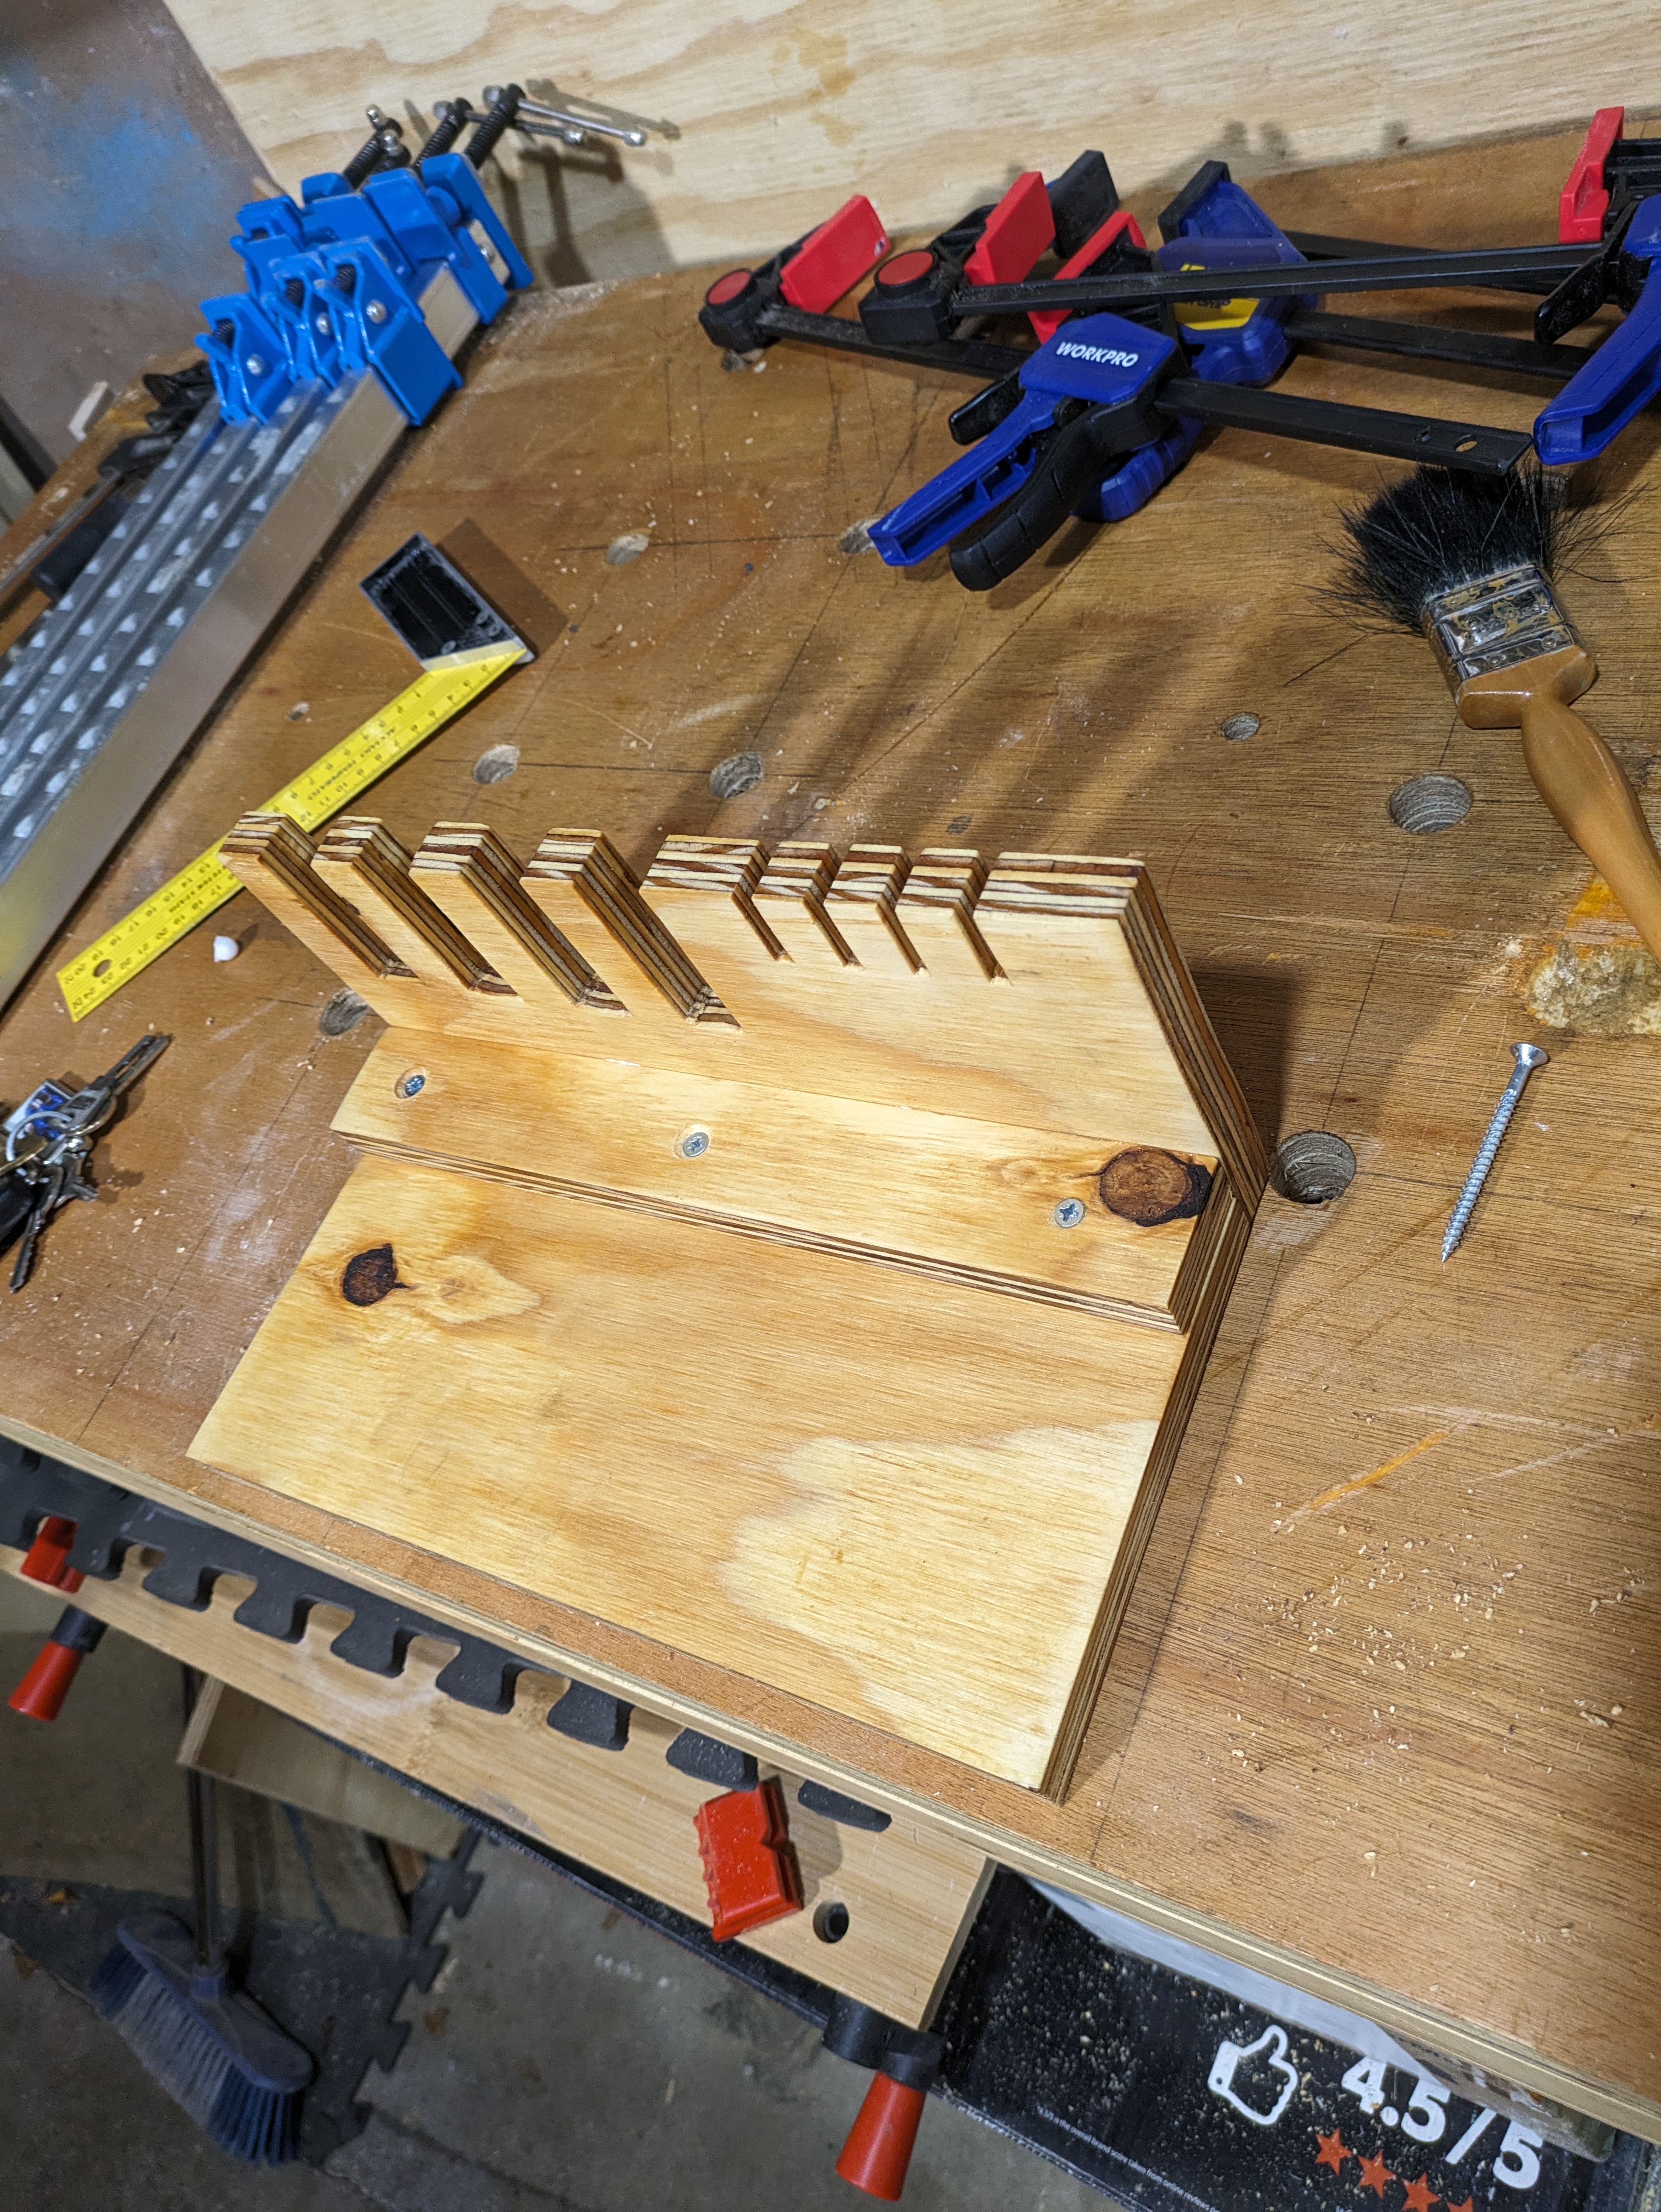
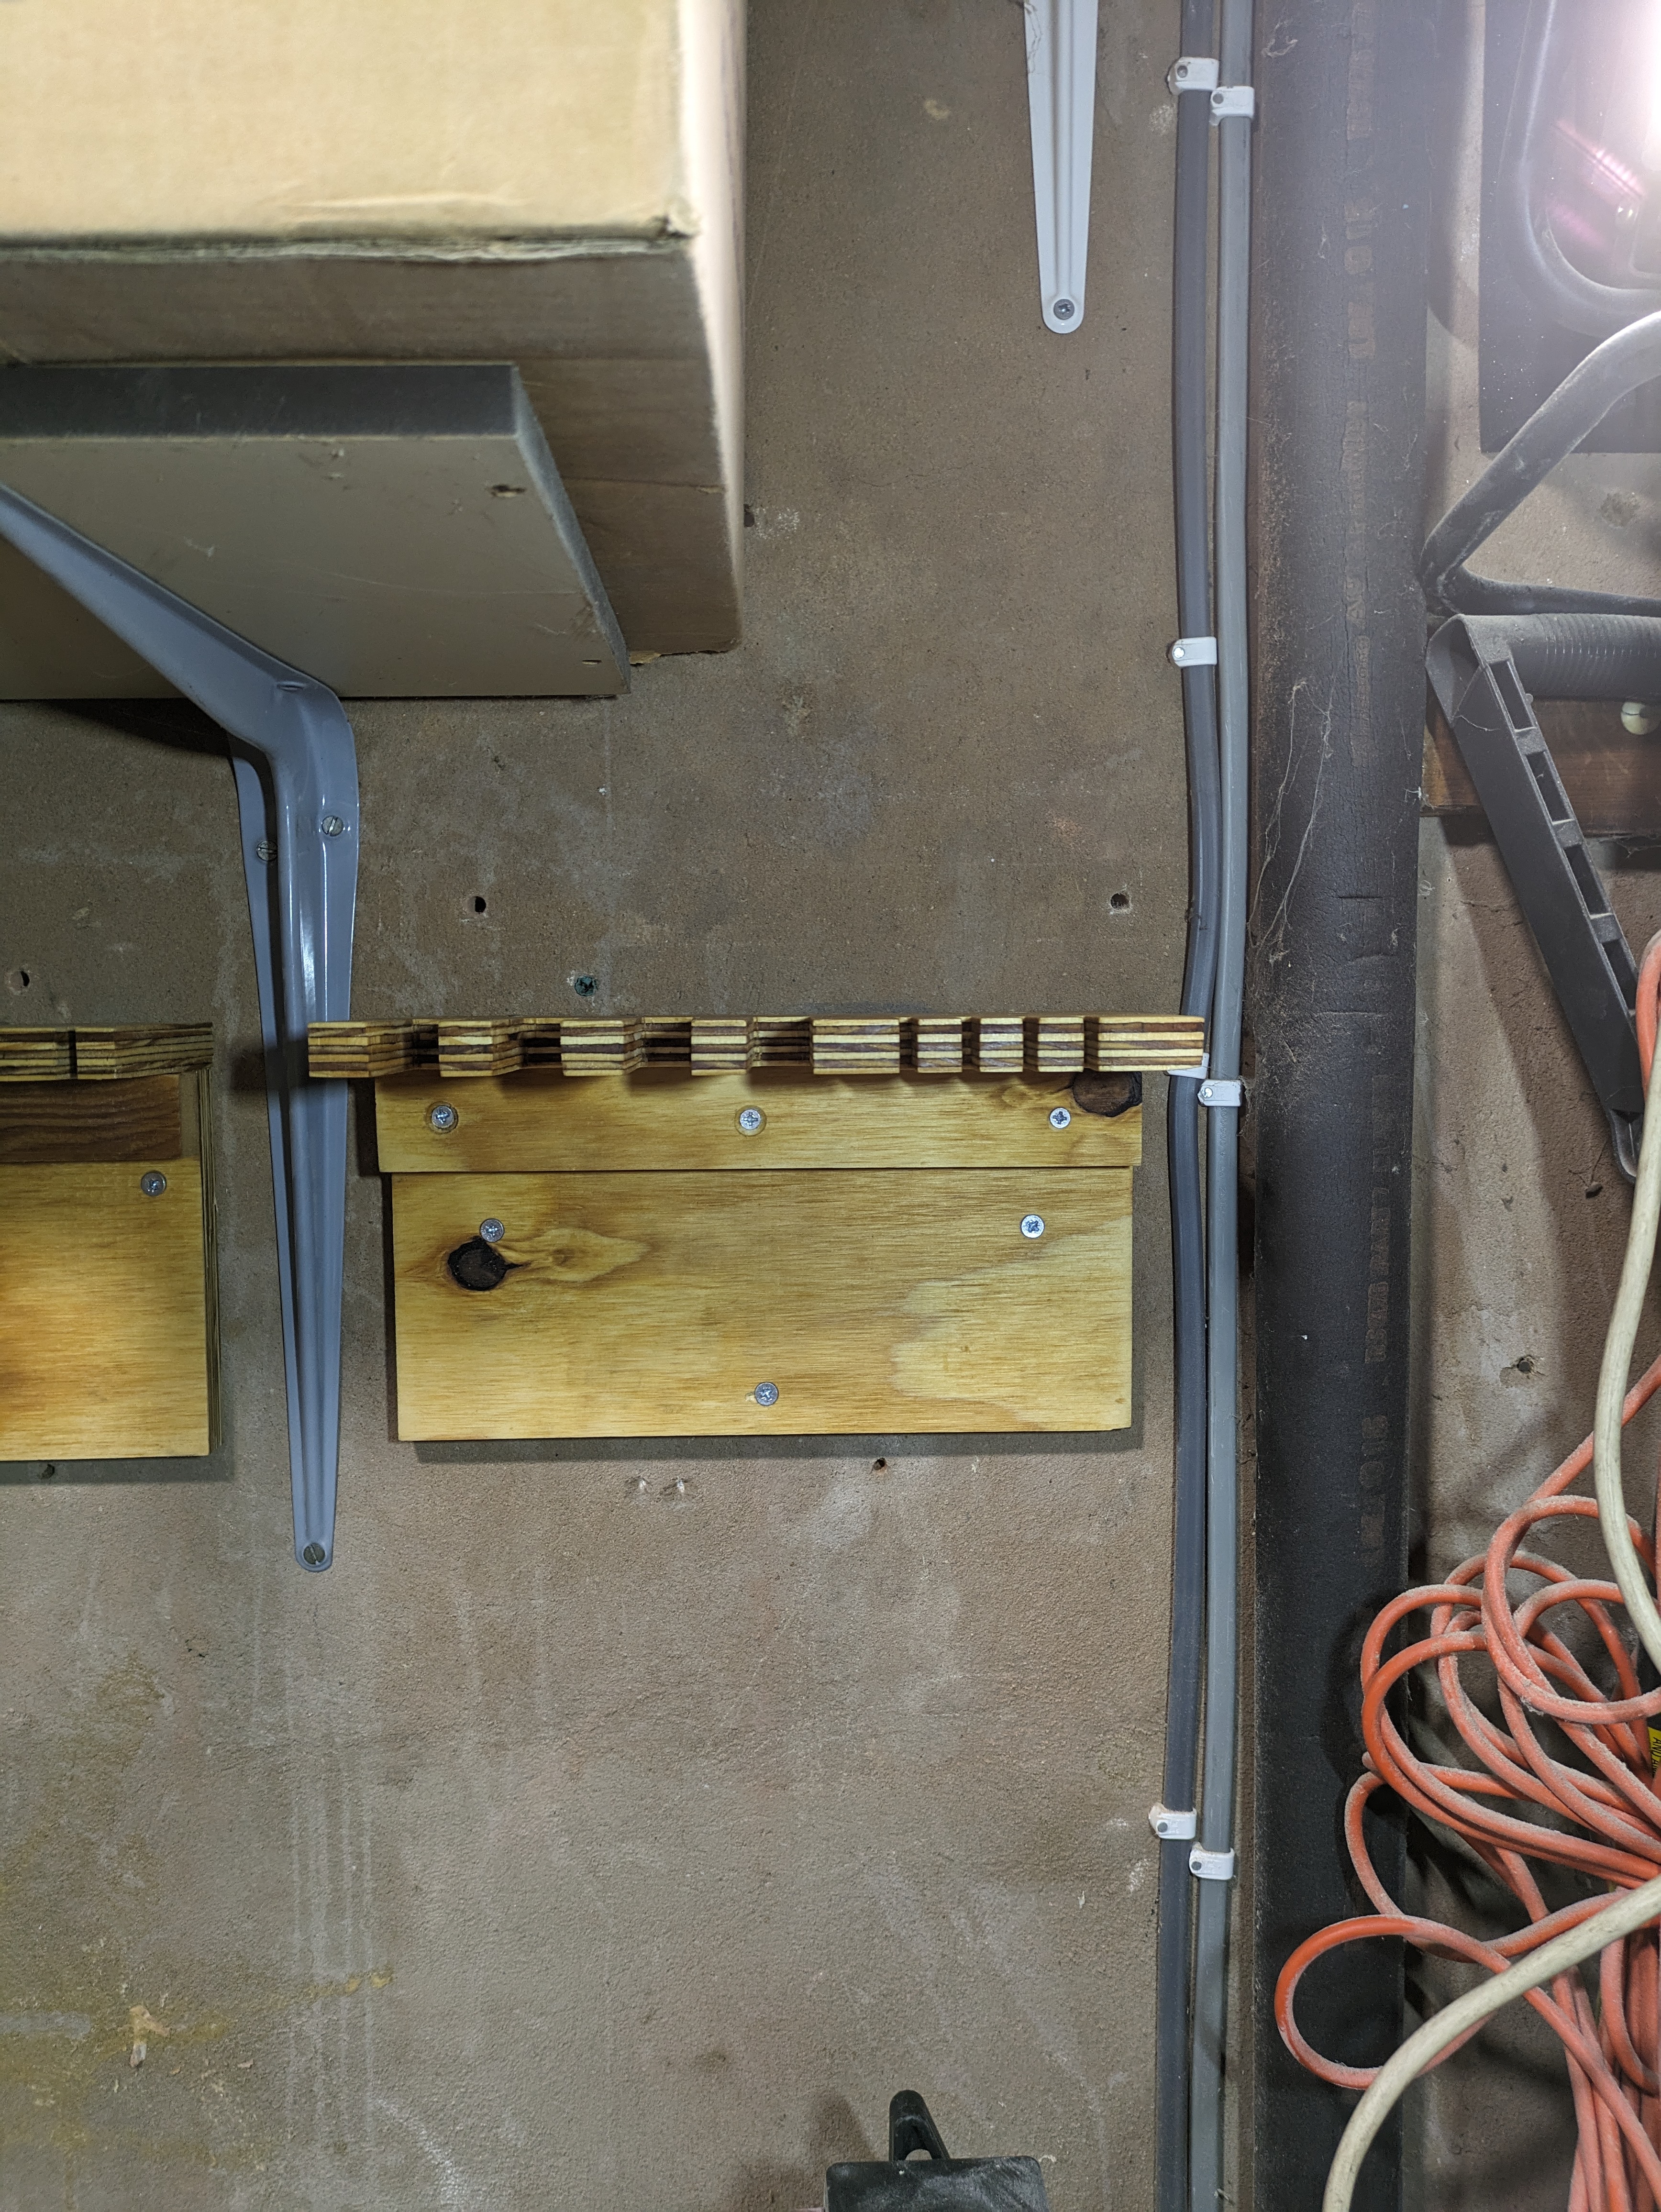
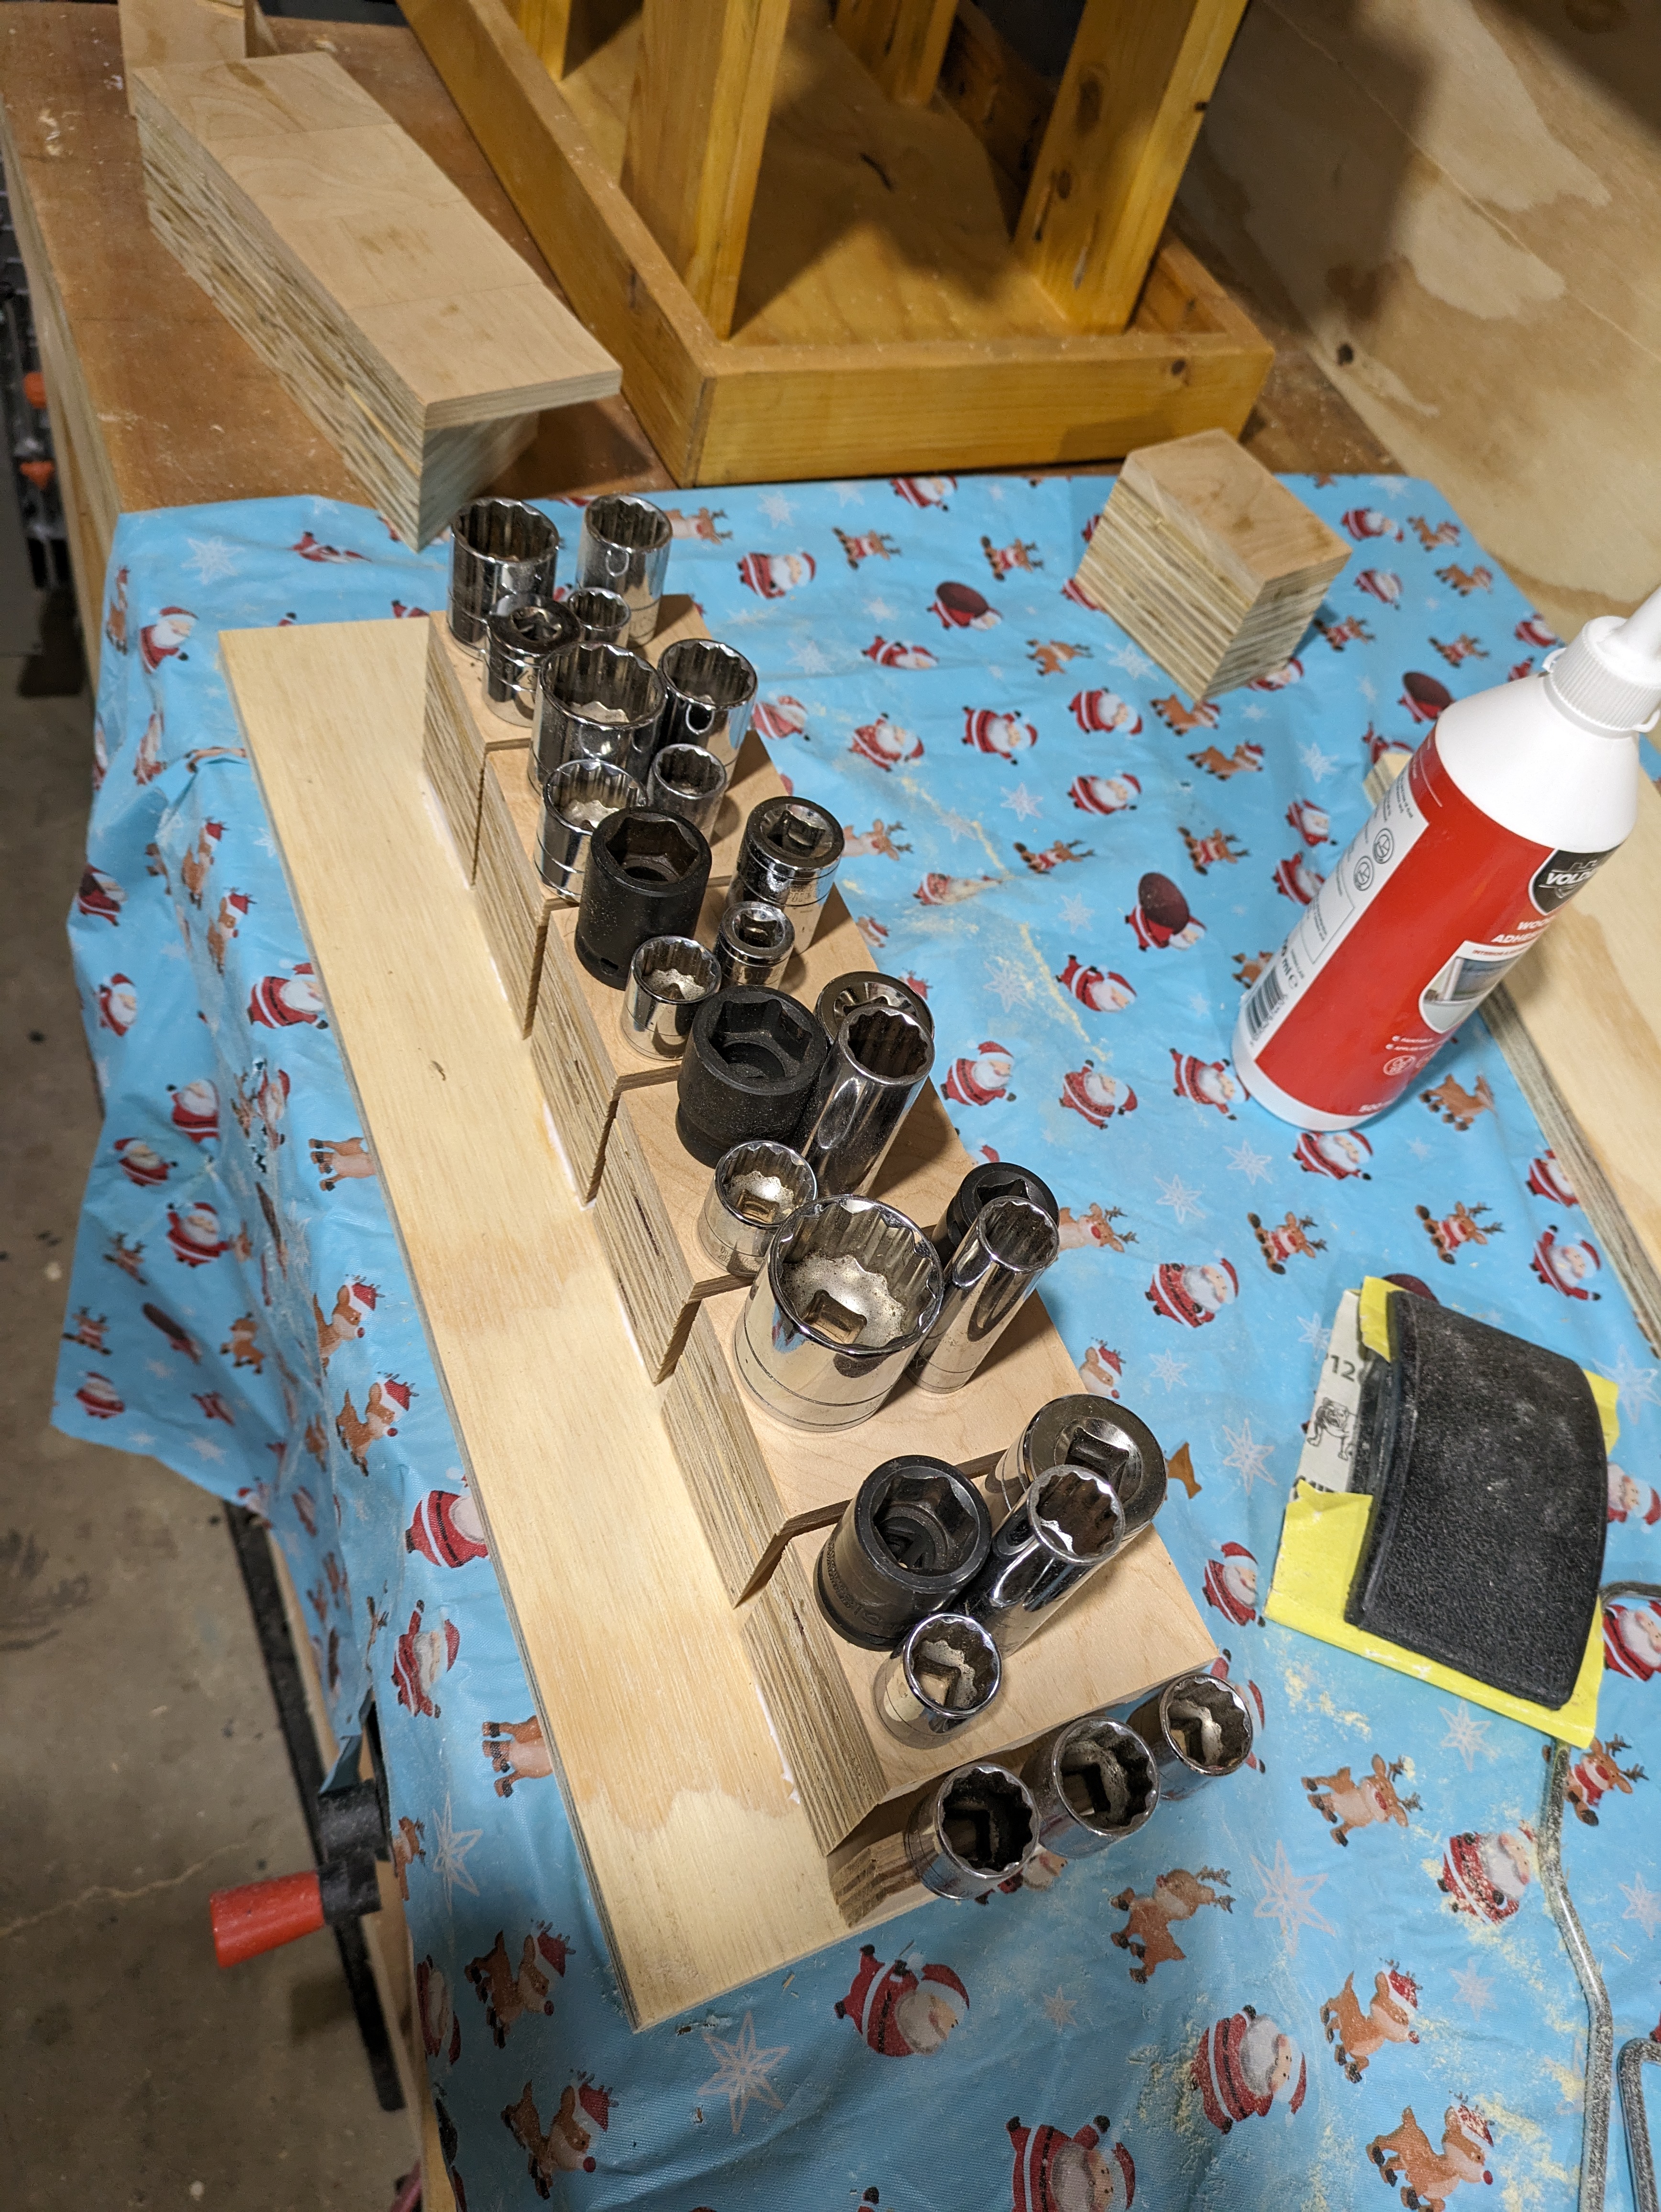
Next was to make some storage for the bigger clamps. Previously they had been precariously dangling off an old coat hook. In a similar way to the other rack, I cut some slots in the ply, added a backing piece and a drop of linseed oil then attached it to the wall. Simples. Nothing fancy but it works
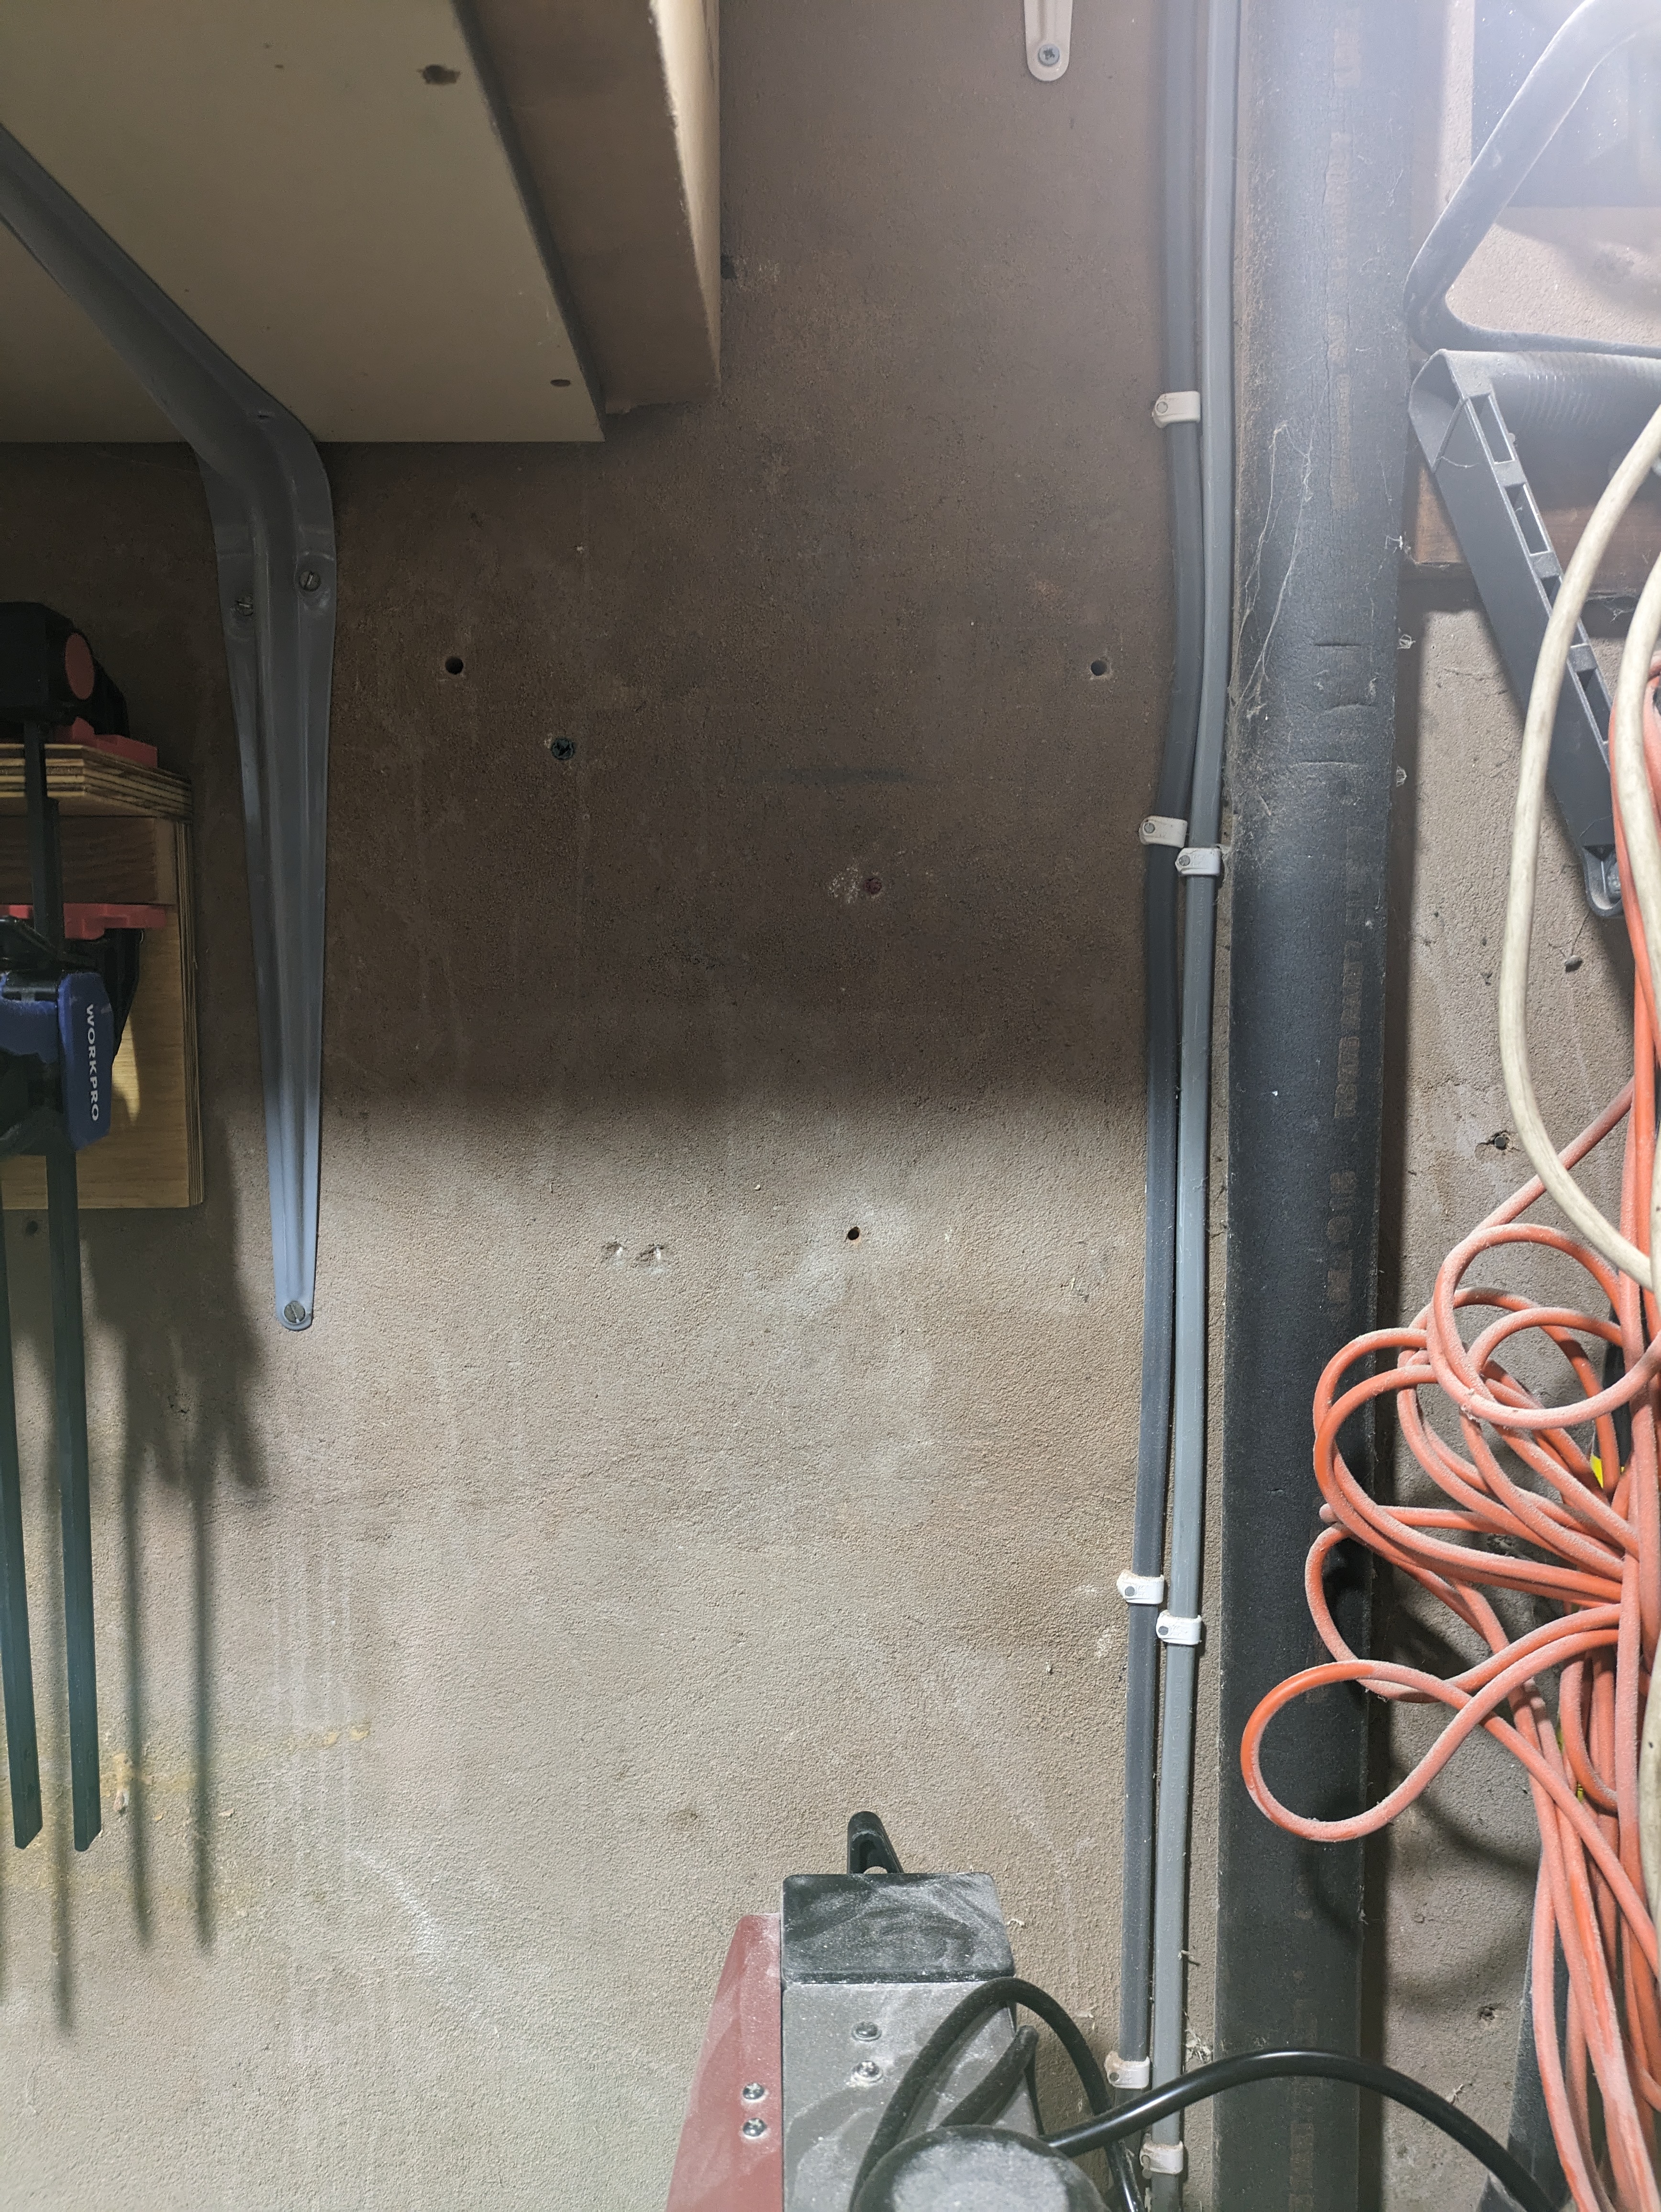

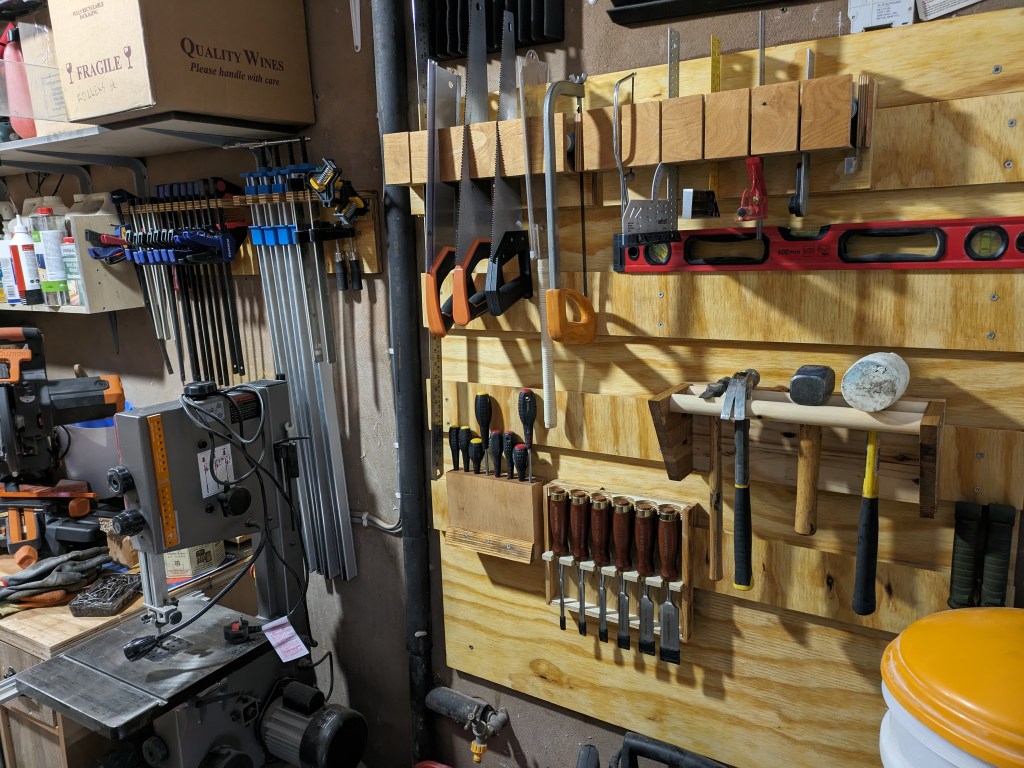
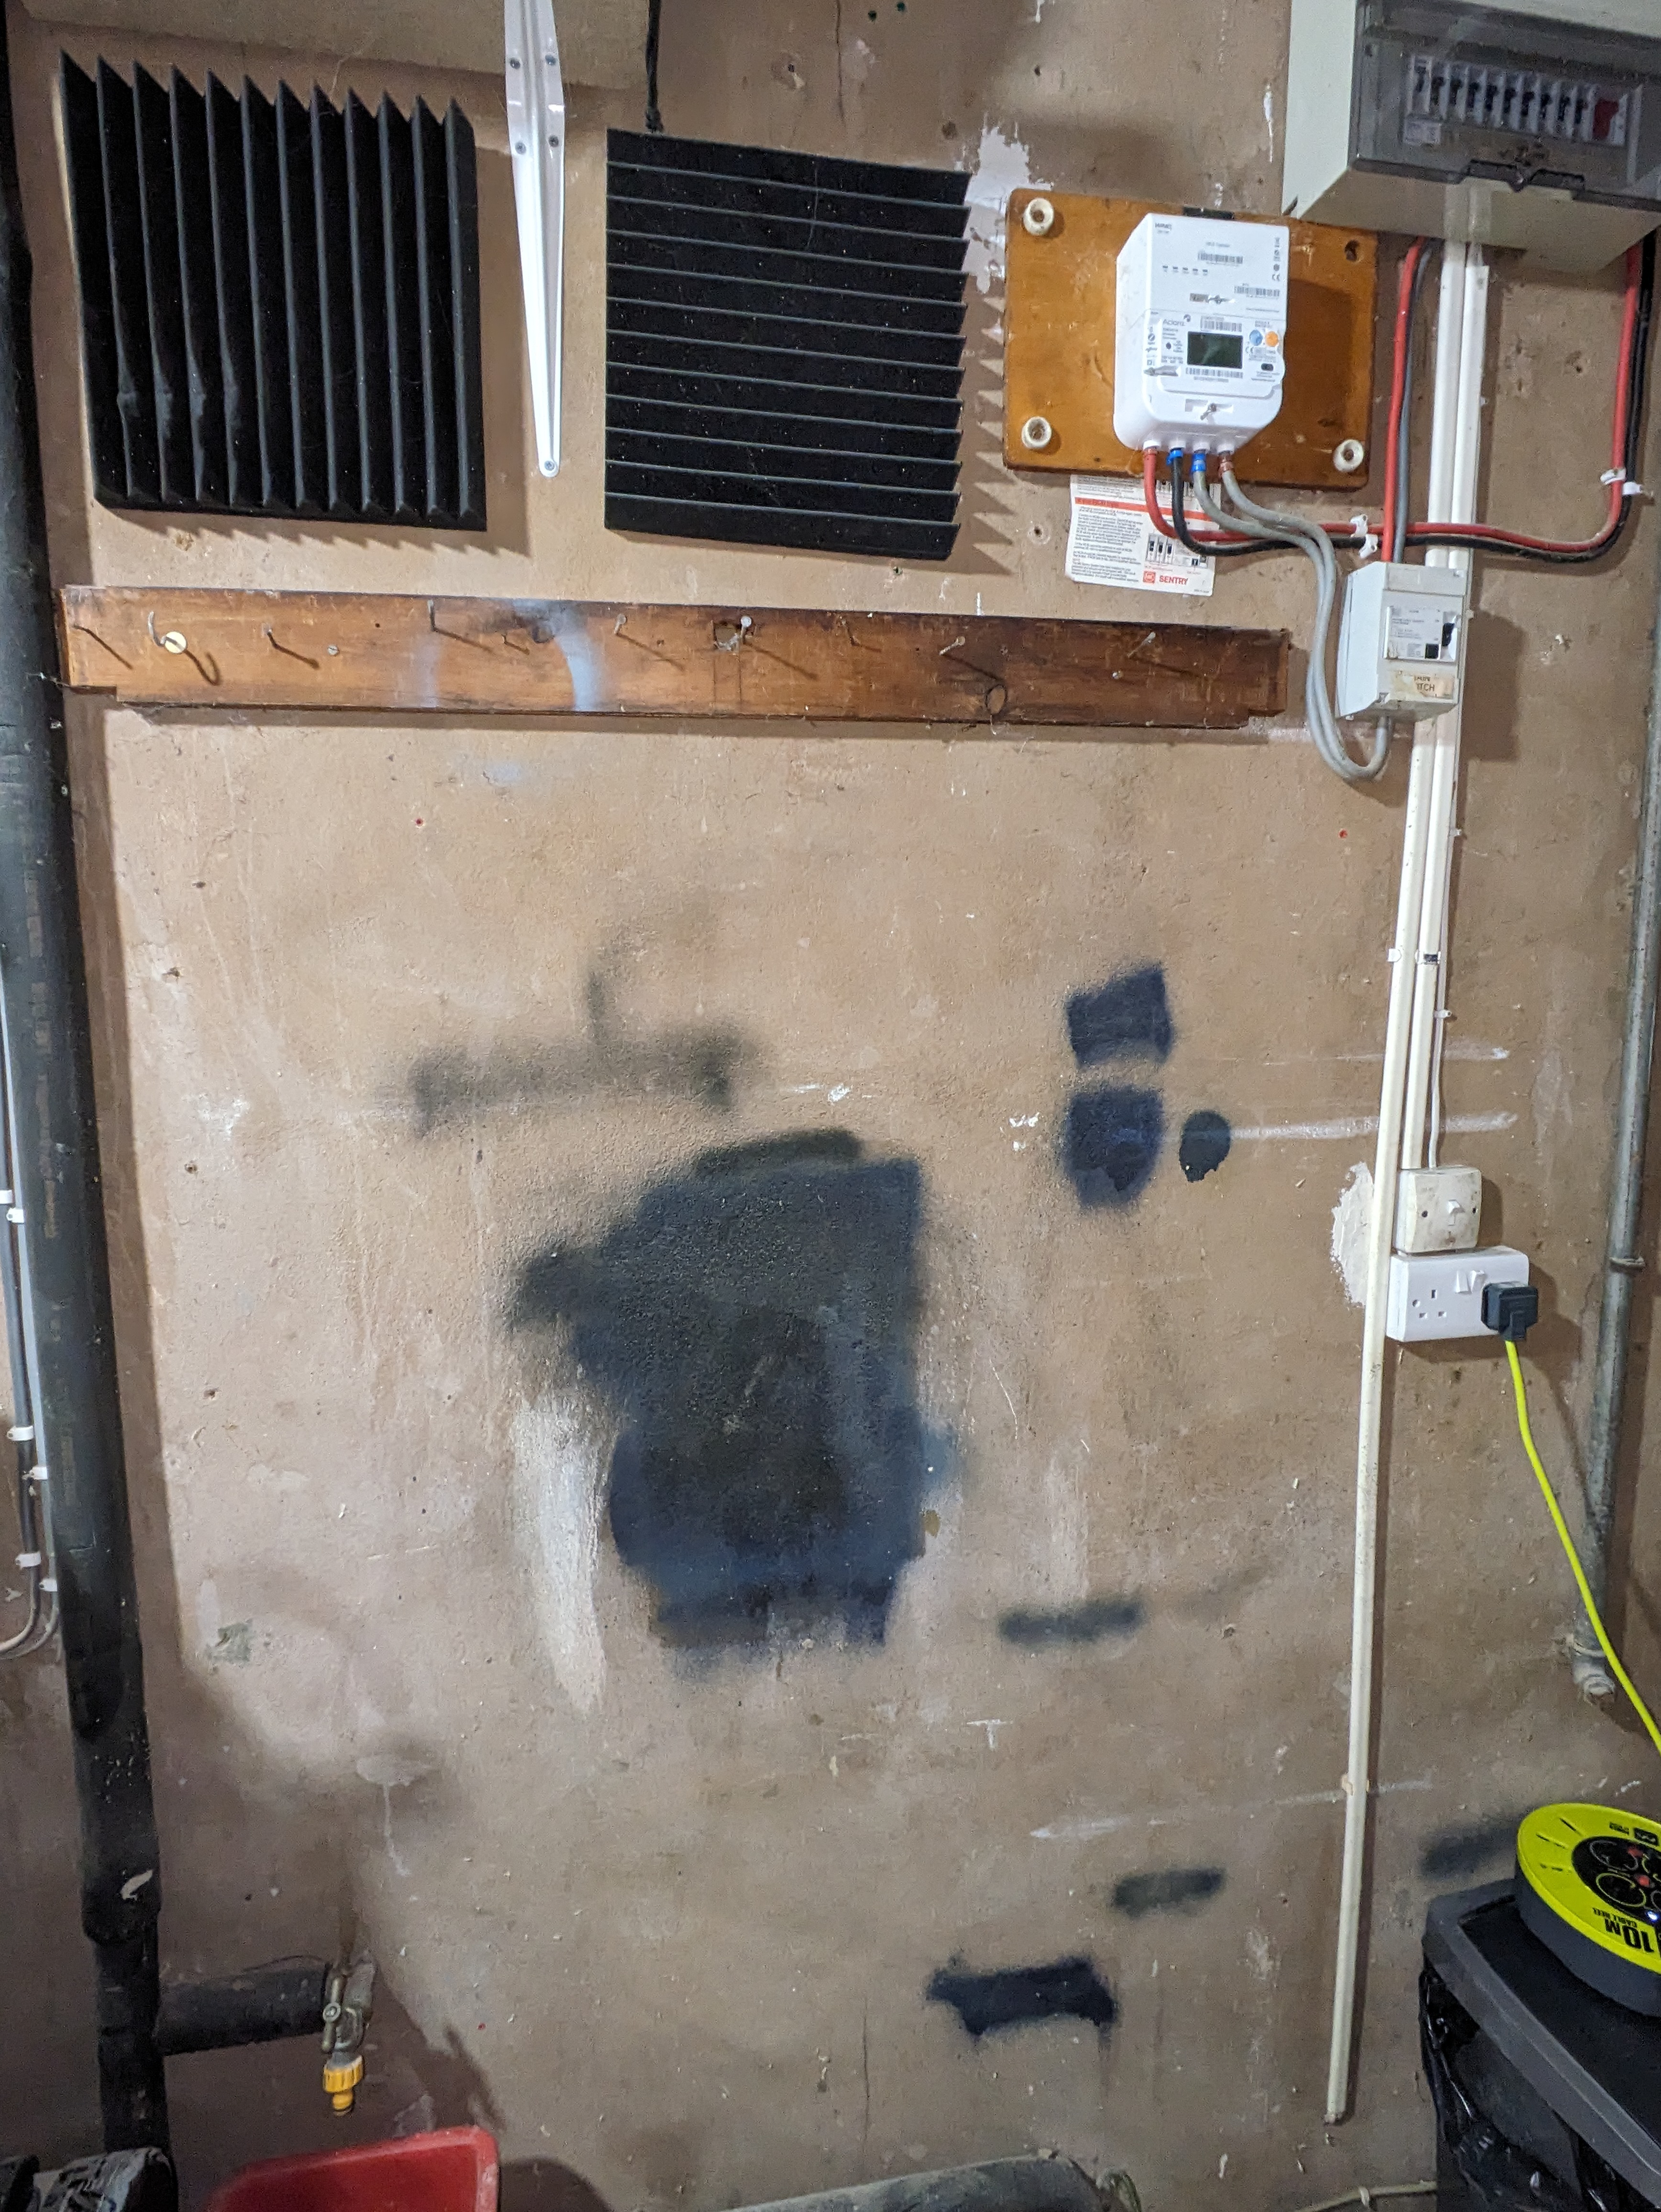
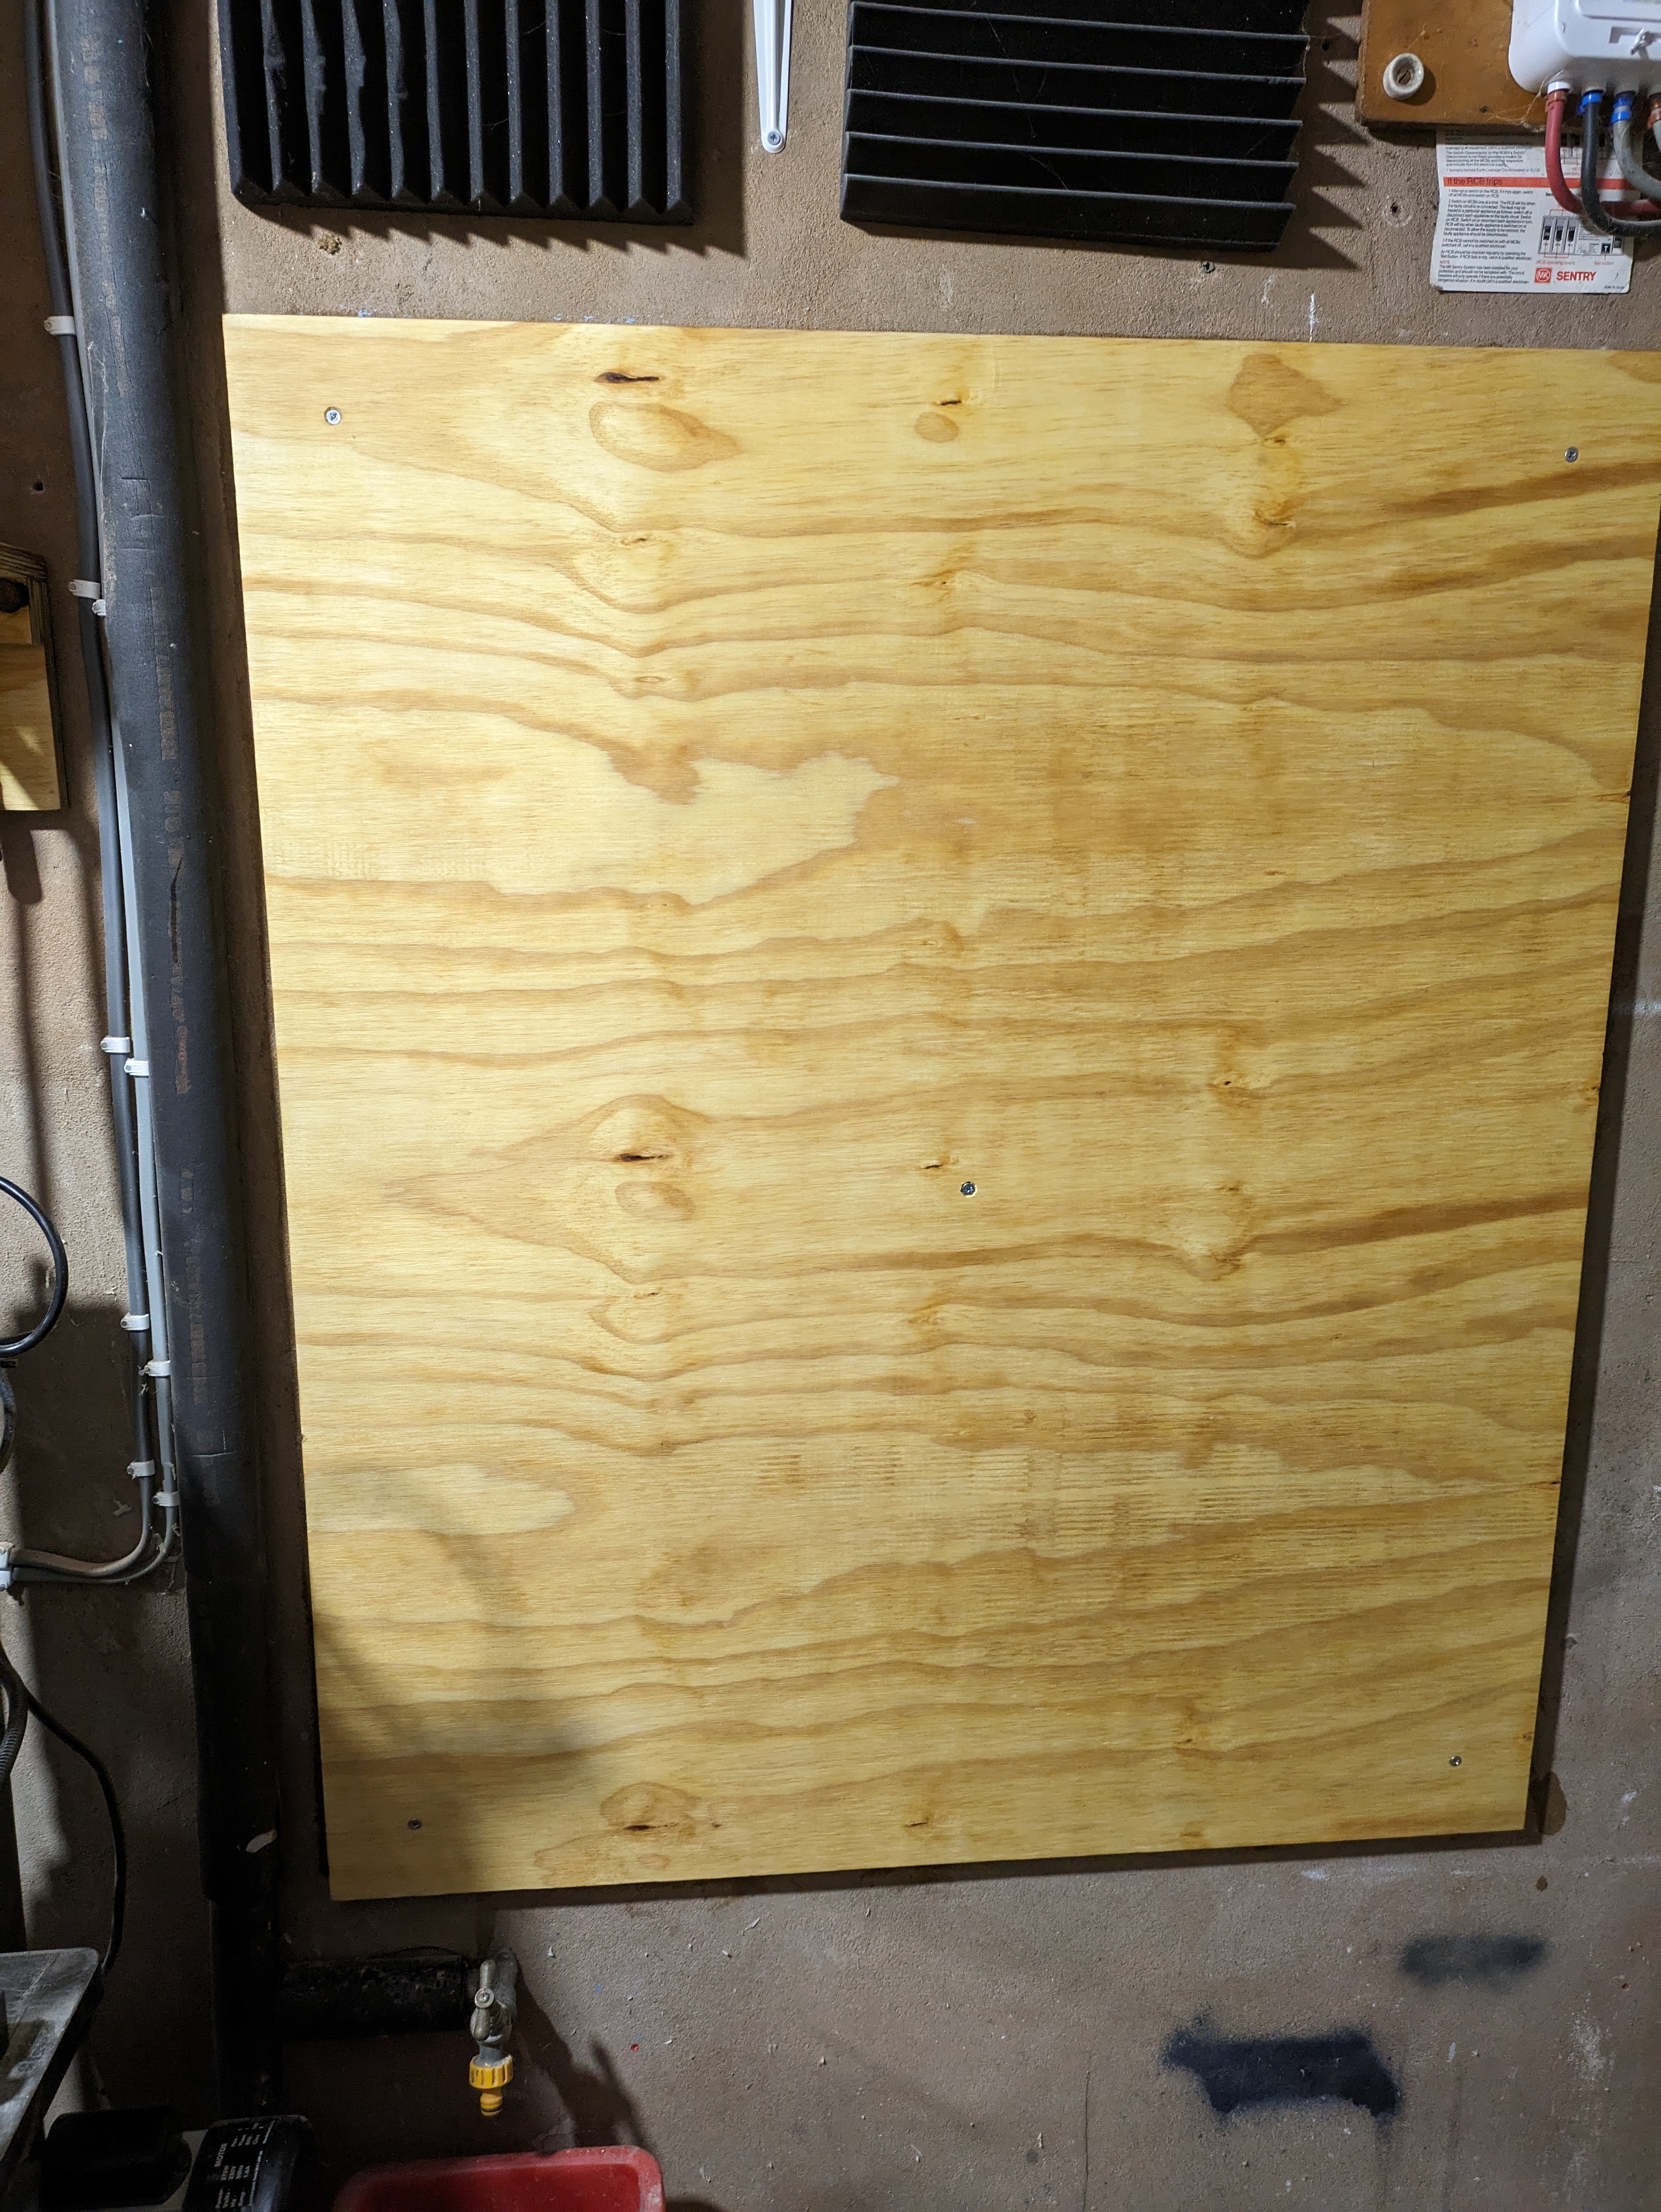
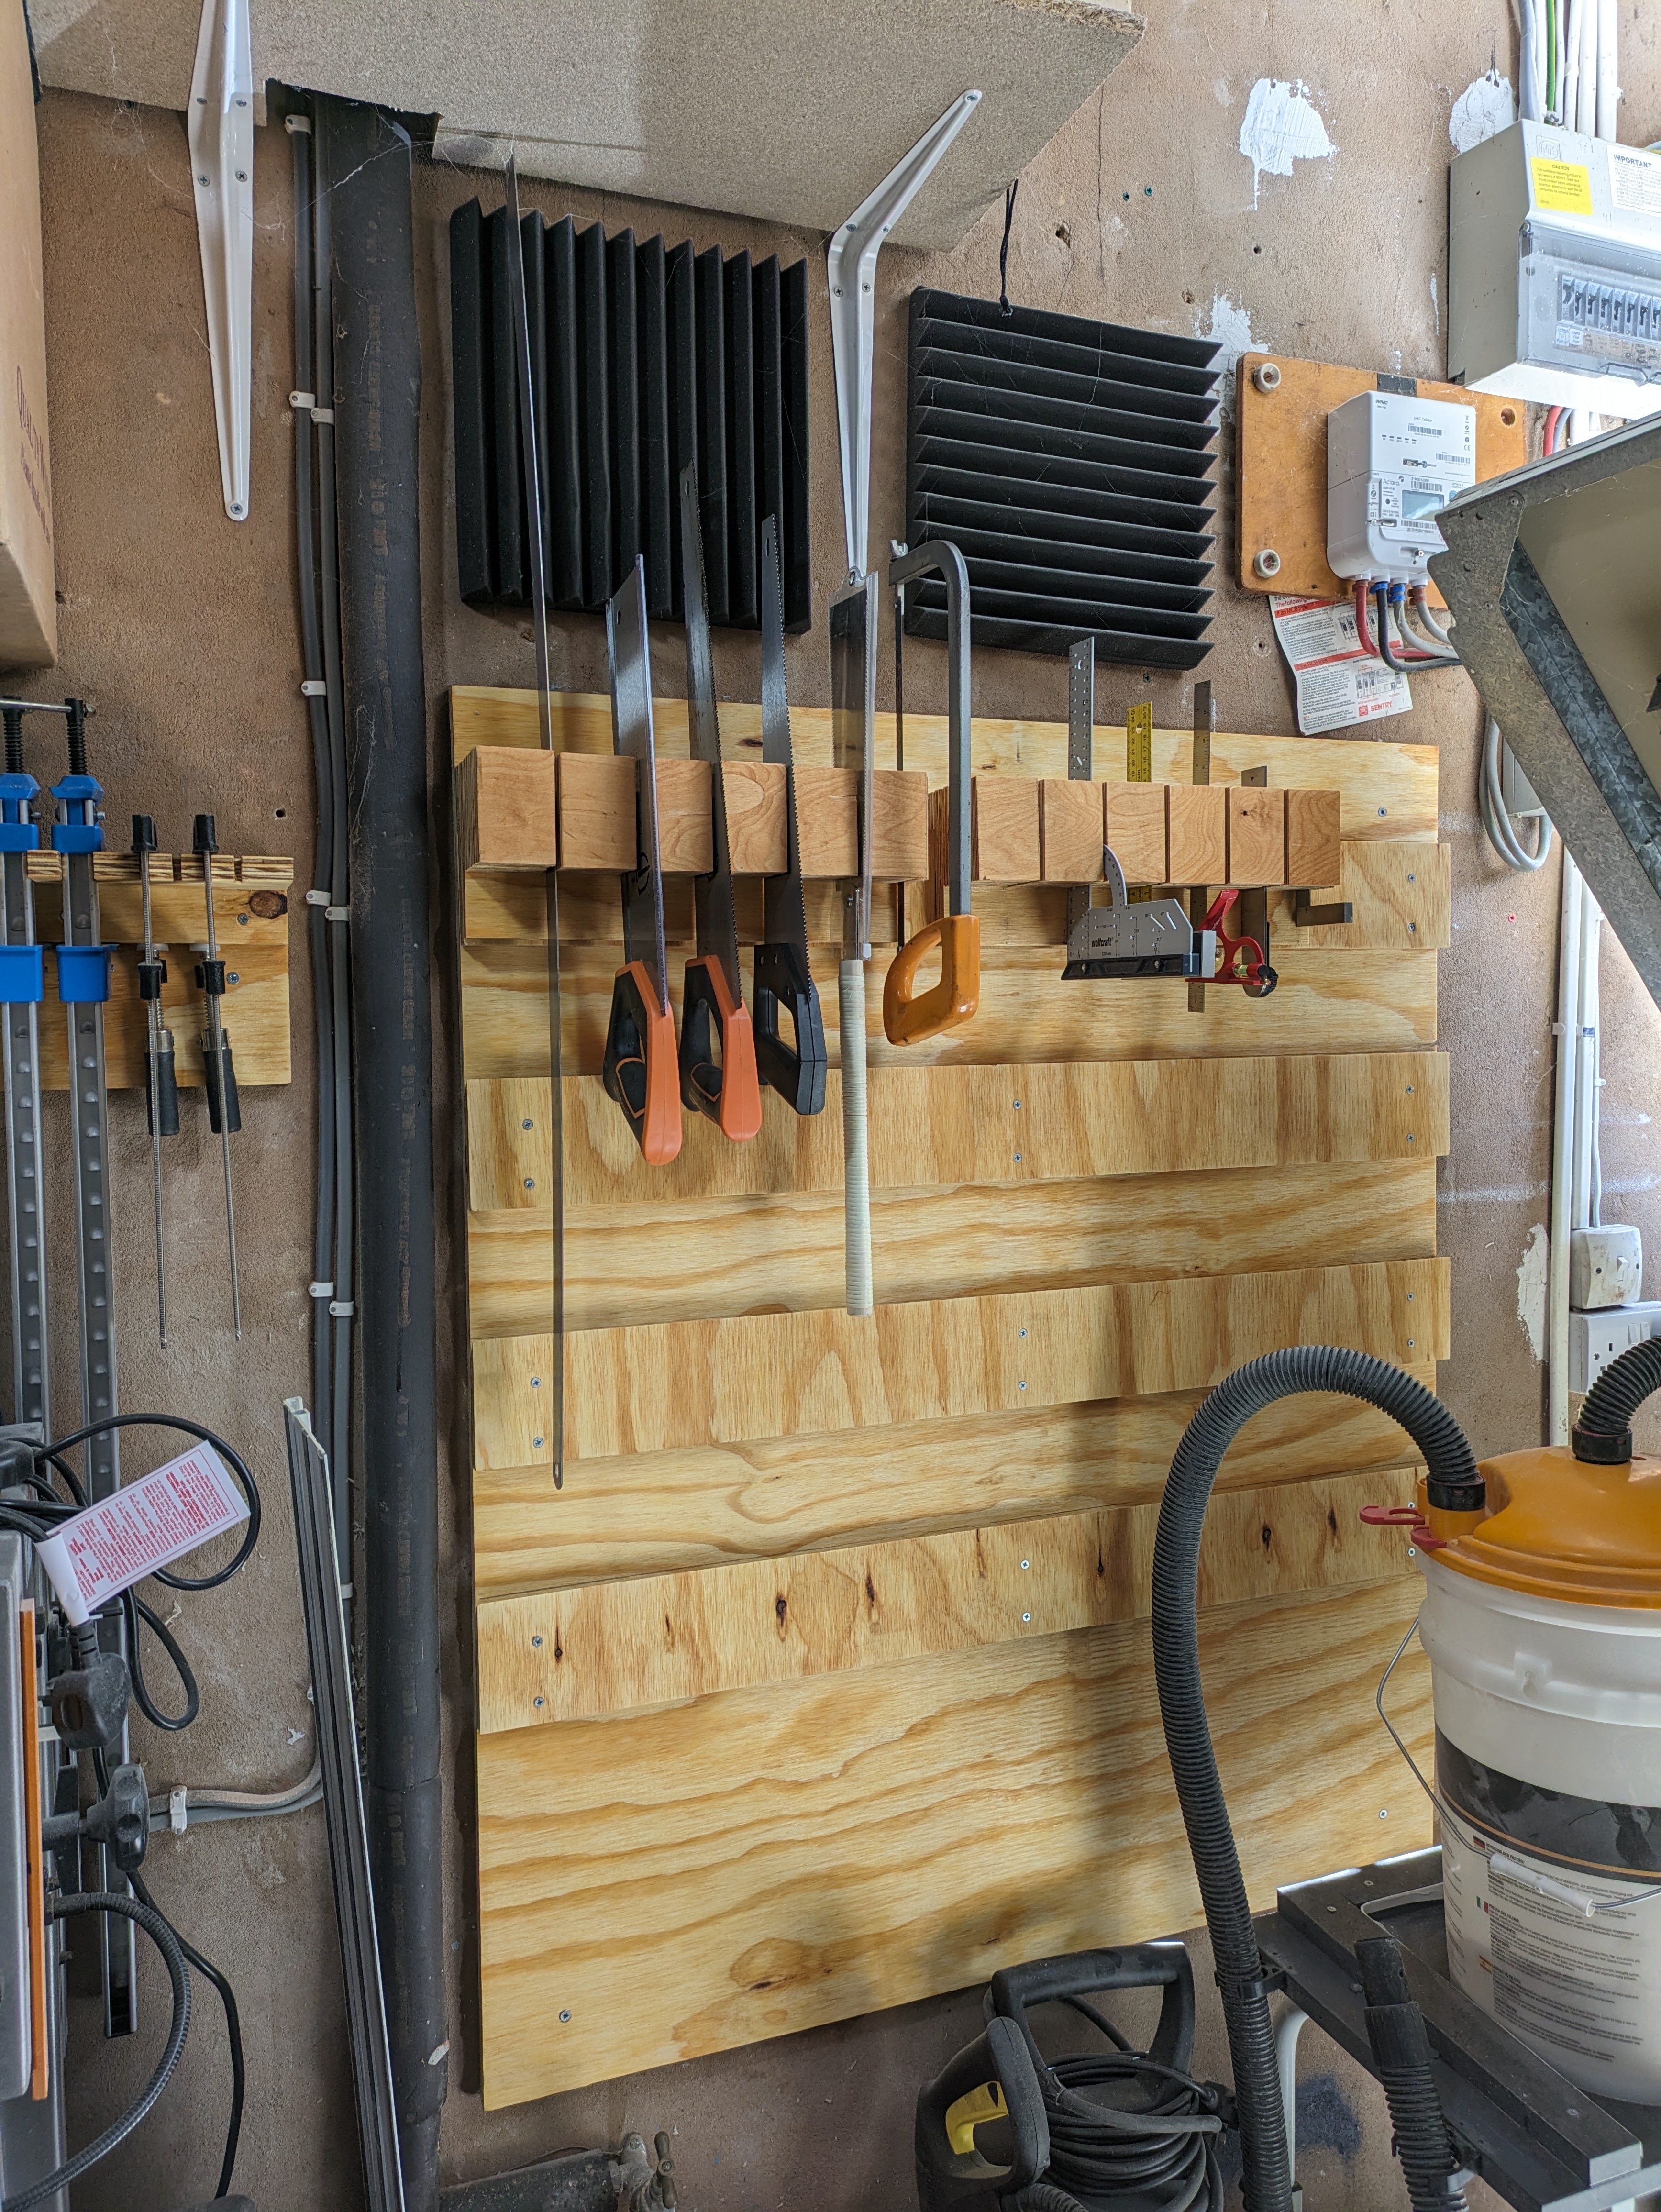
Now onto the tool wall! Using a french cleat wall seemed to be pretty popular for it’s flexibility and modular tool holding capabilities. I figured 4 rails would be enough to get me started and let me get most of the common tools out of the draws and onto the wall. First step was to take down the old storage system (bit of wood with a few nails sticking out!).
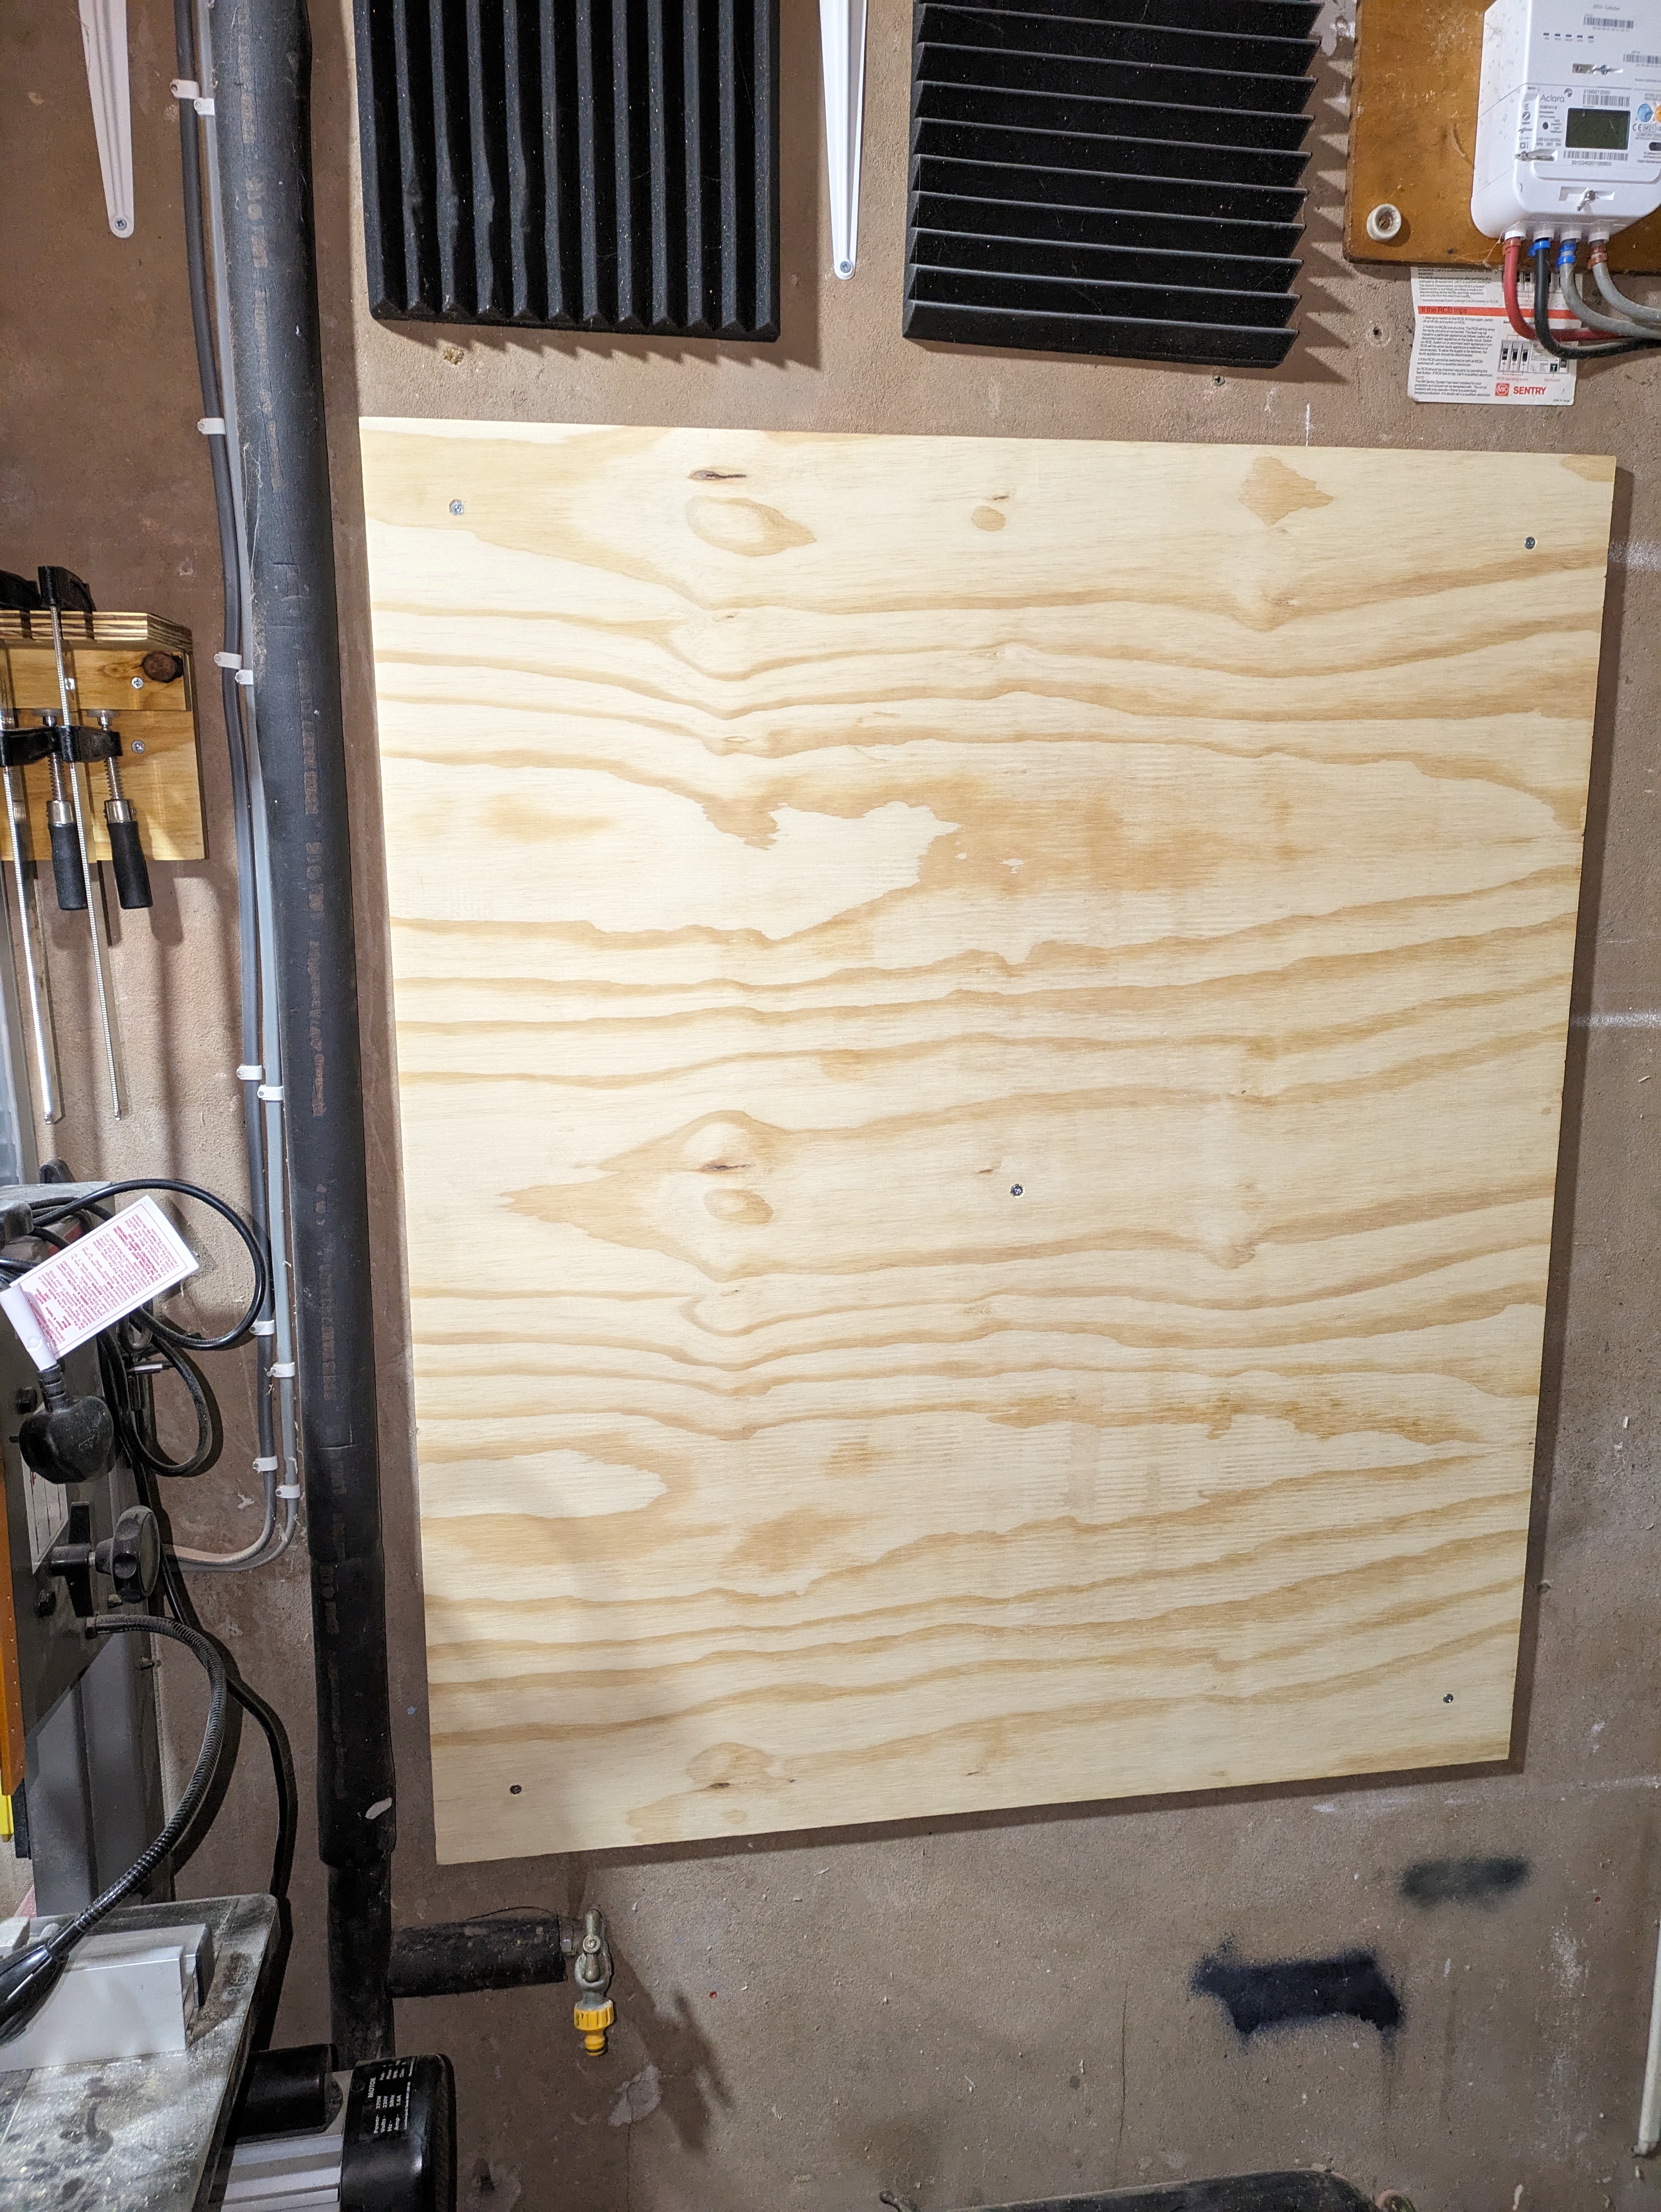
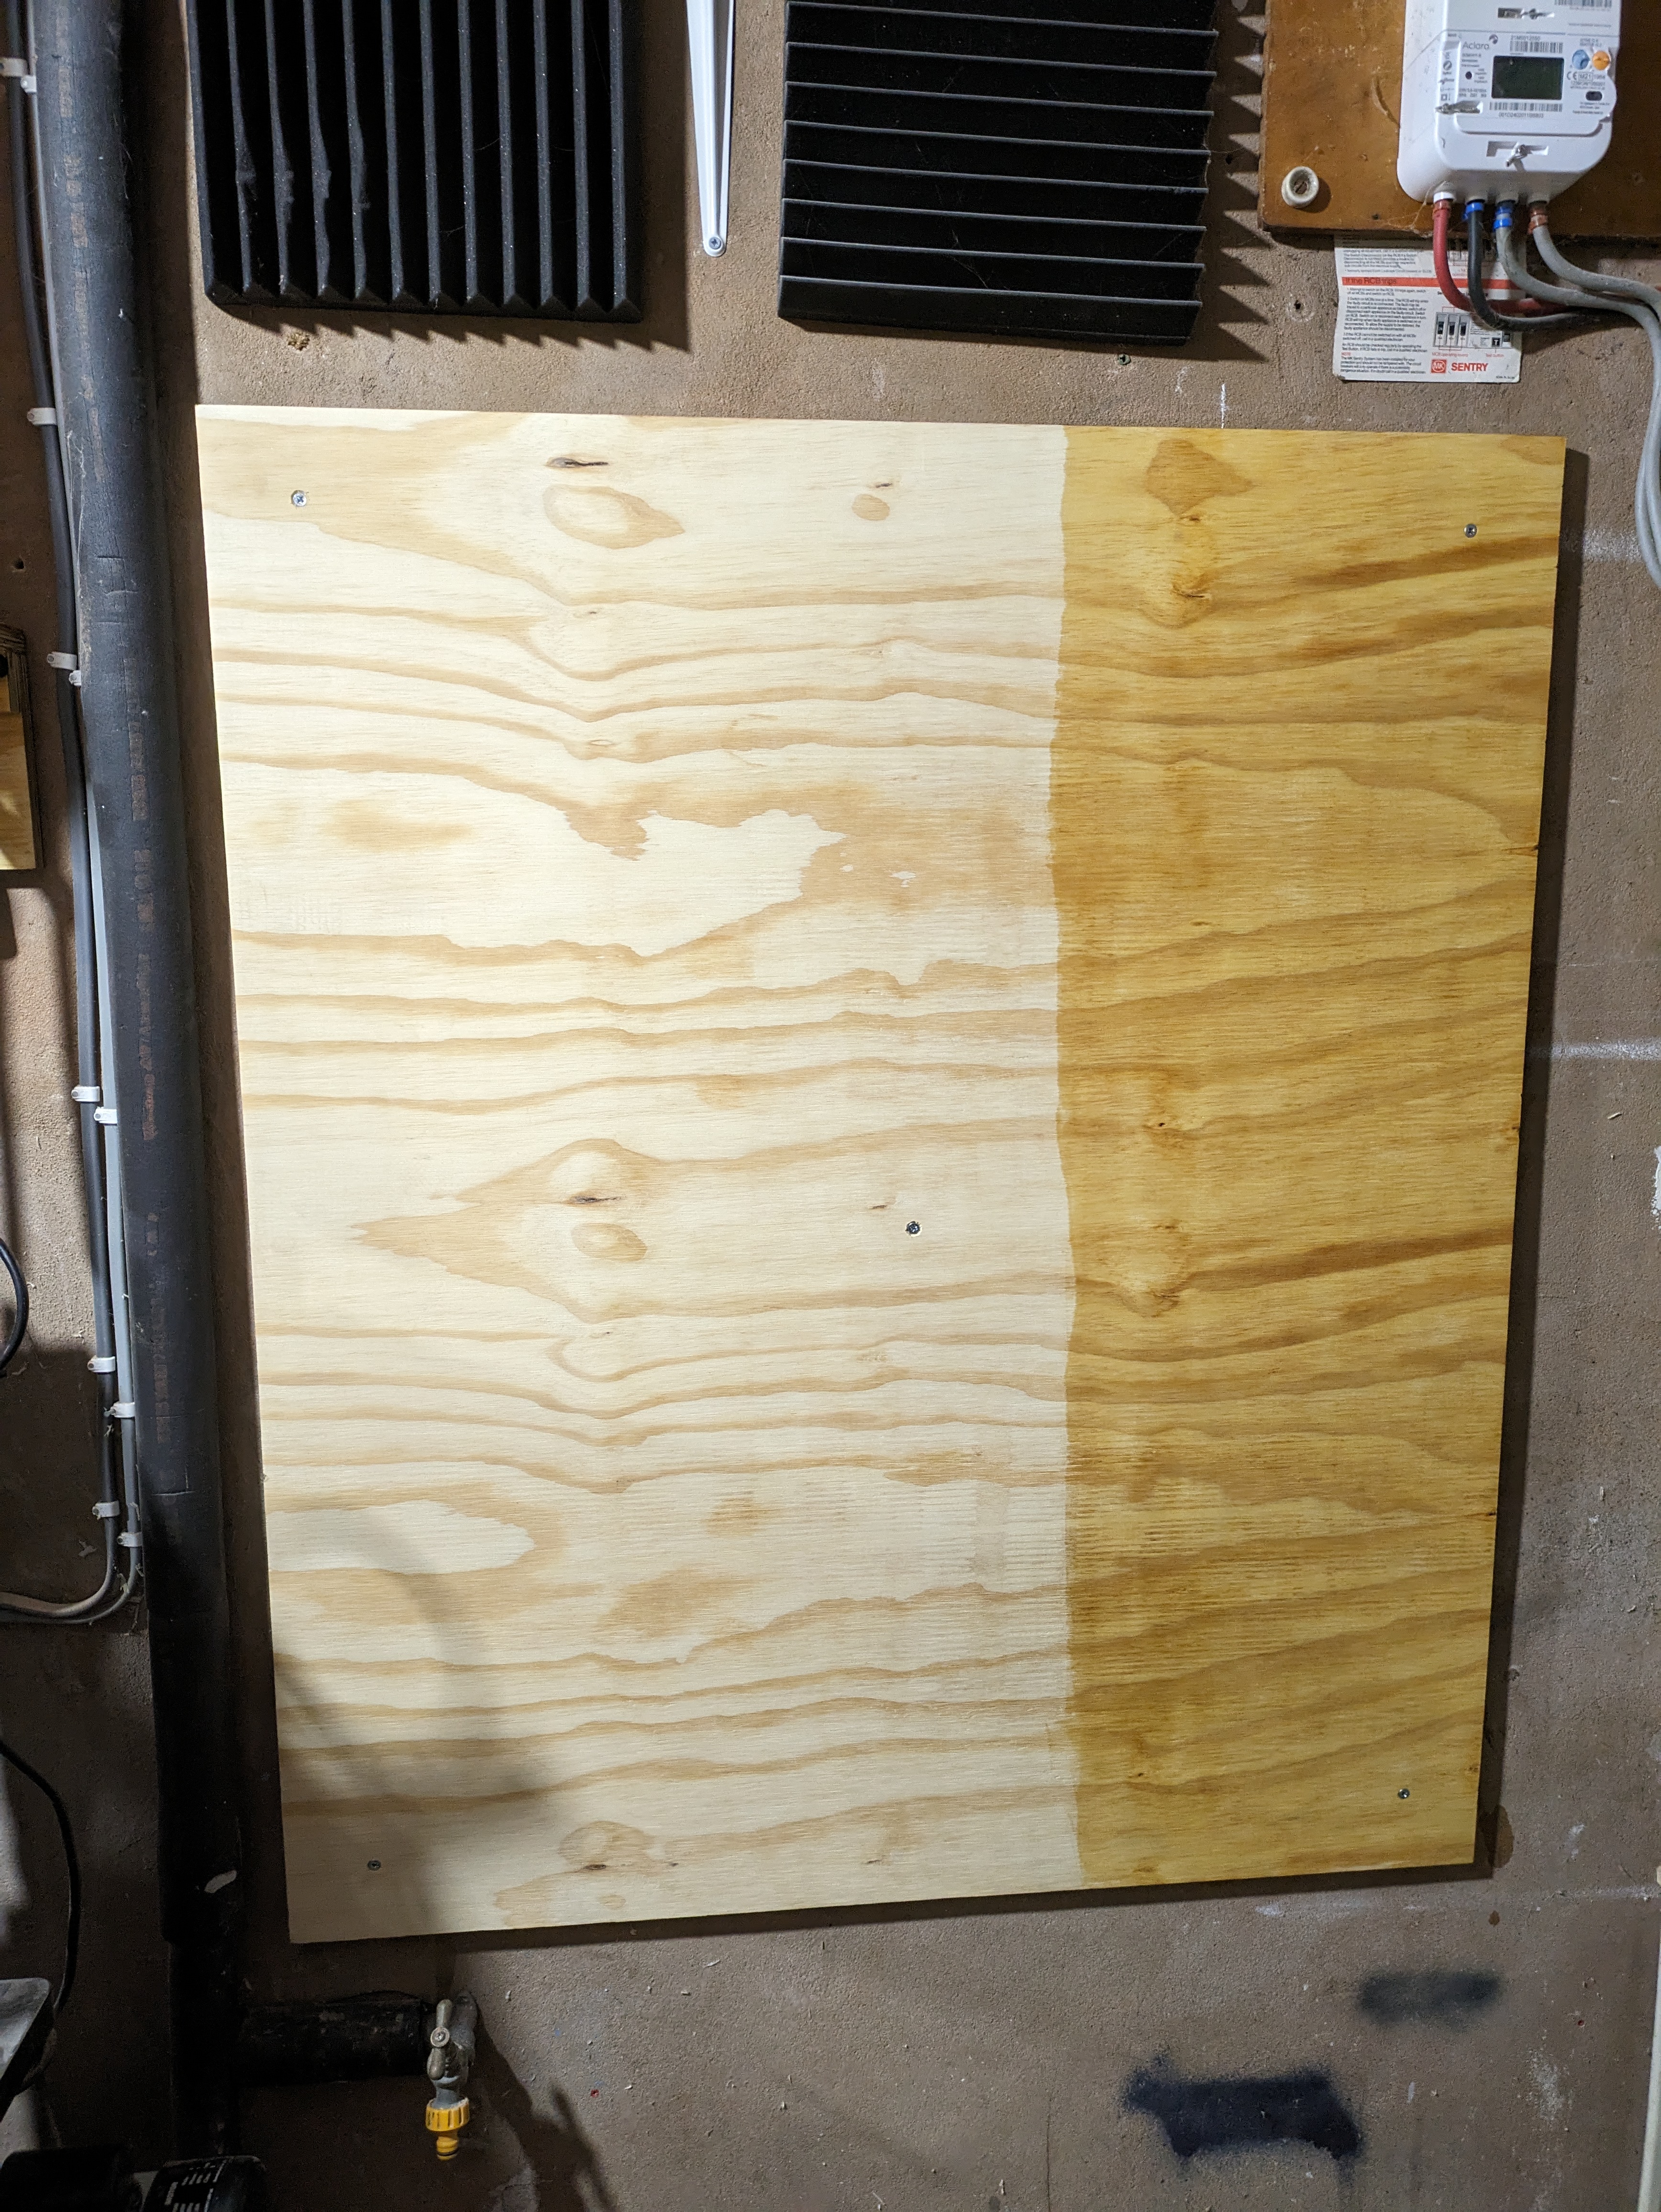
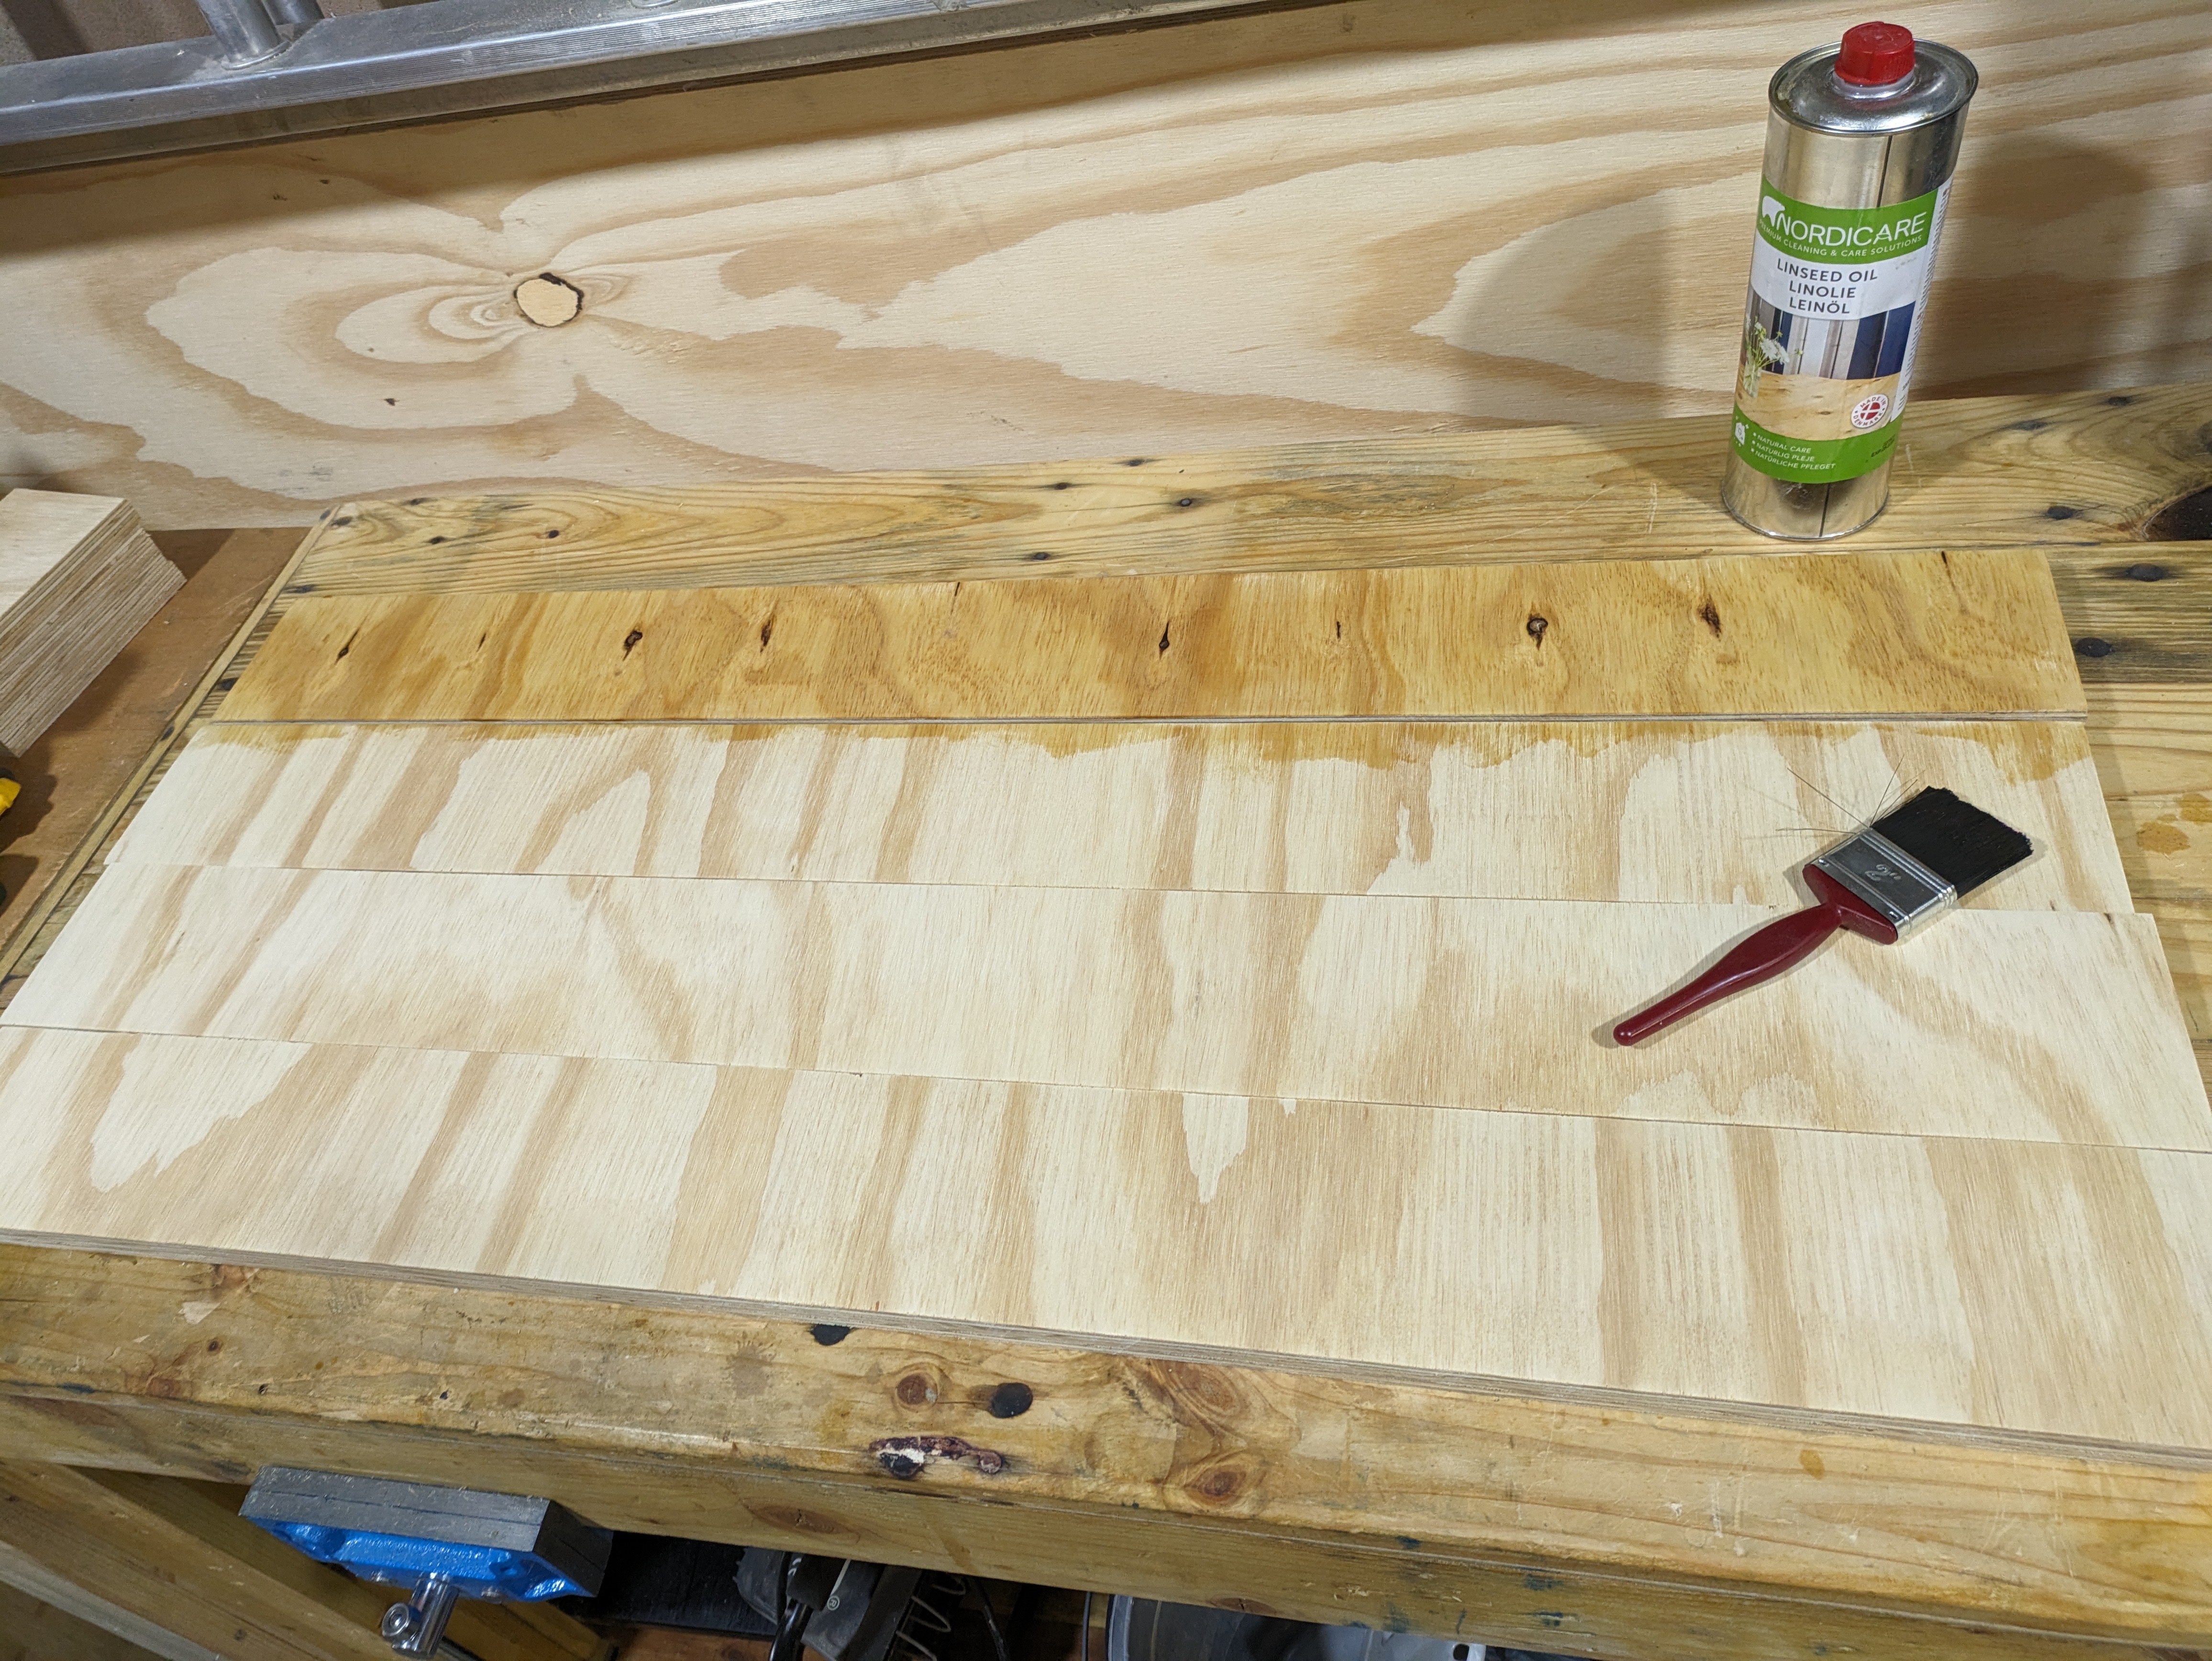
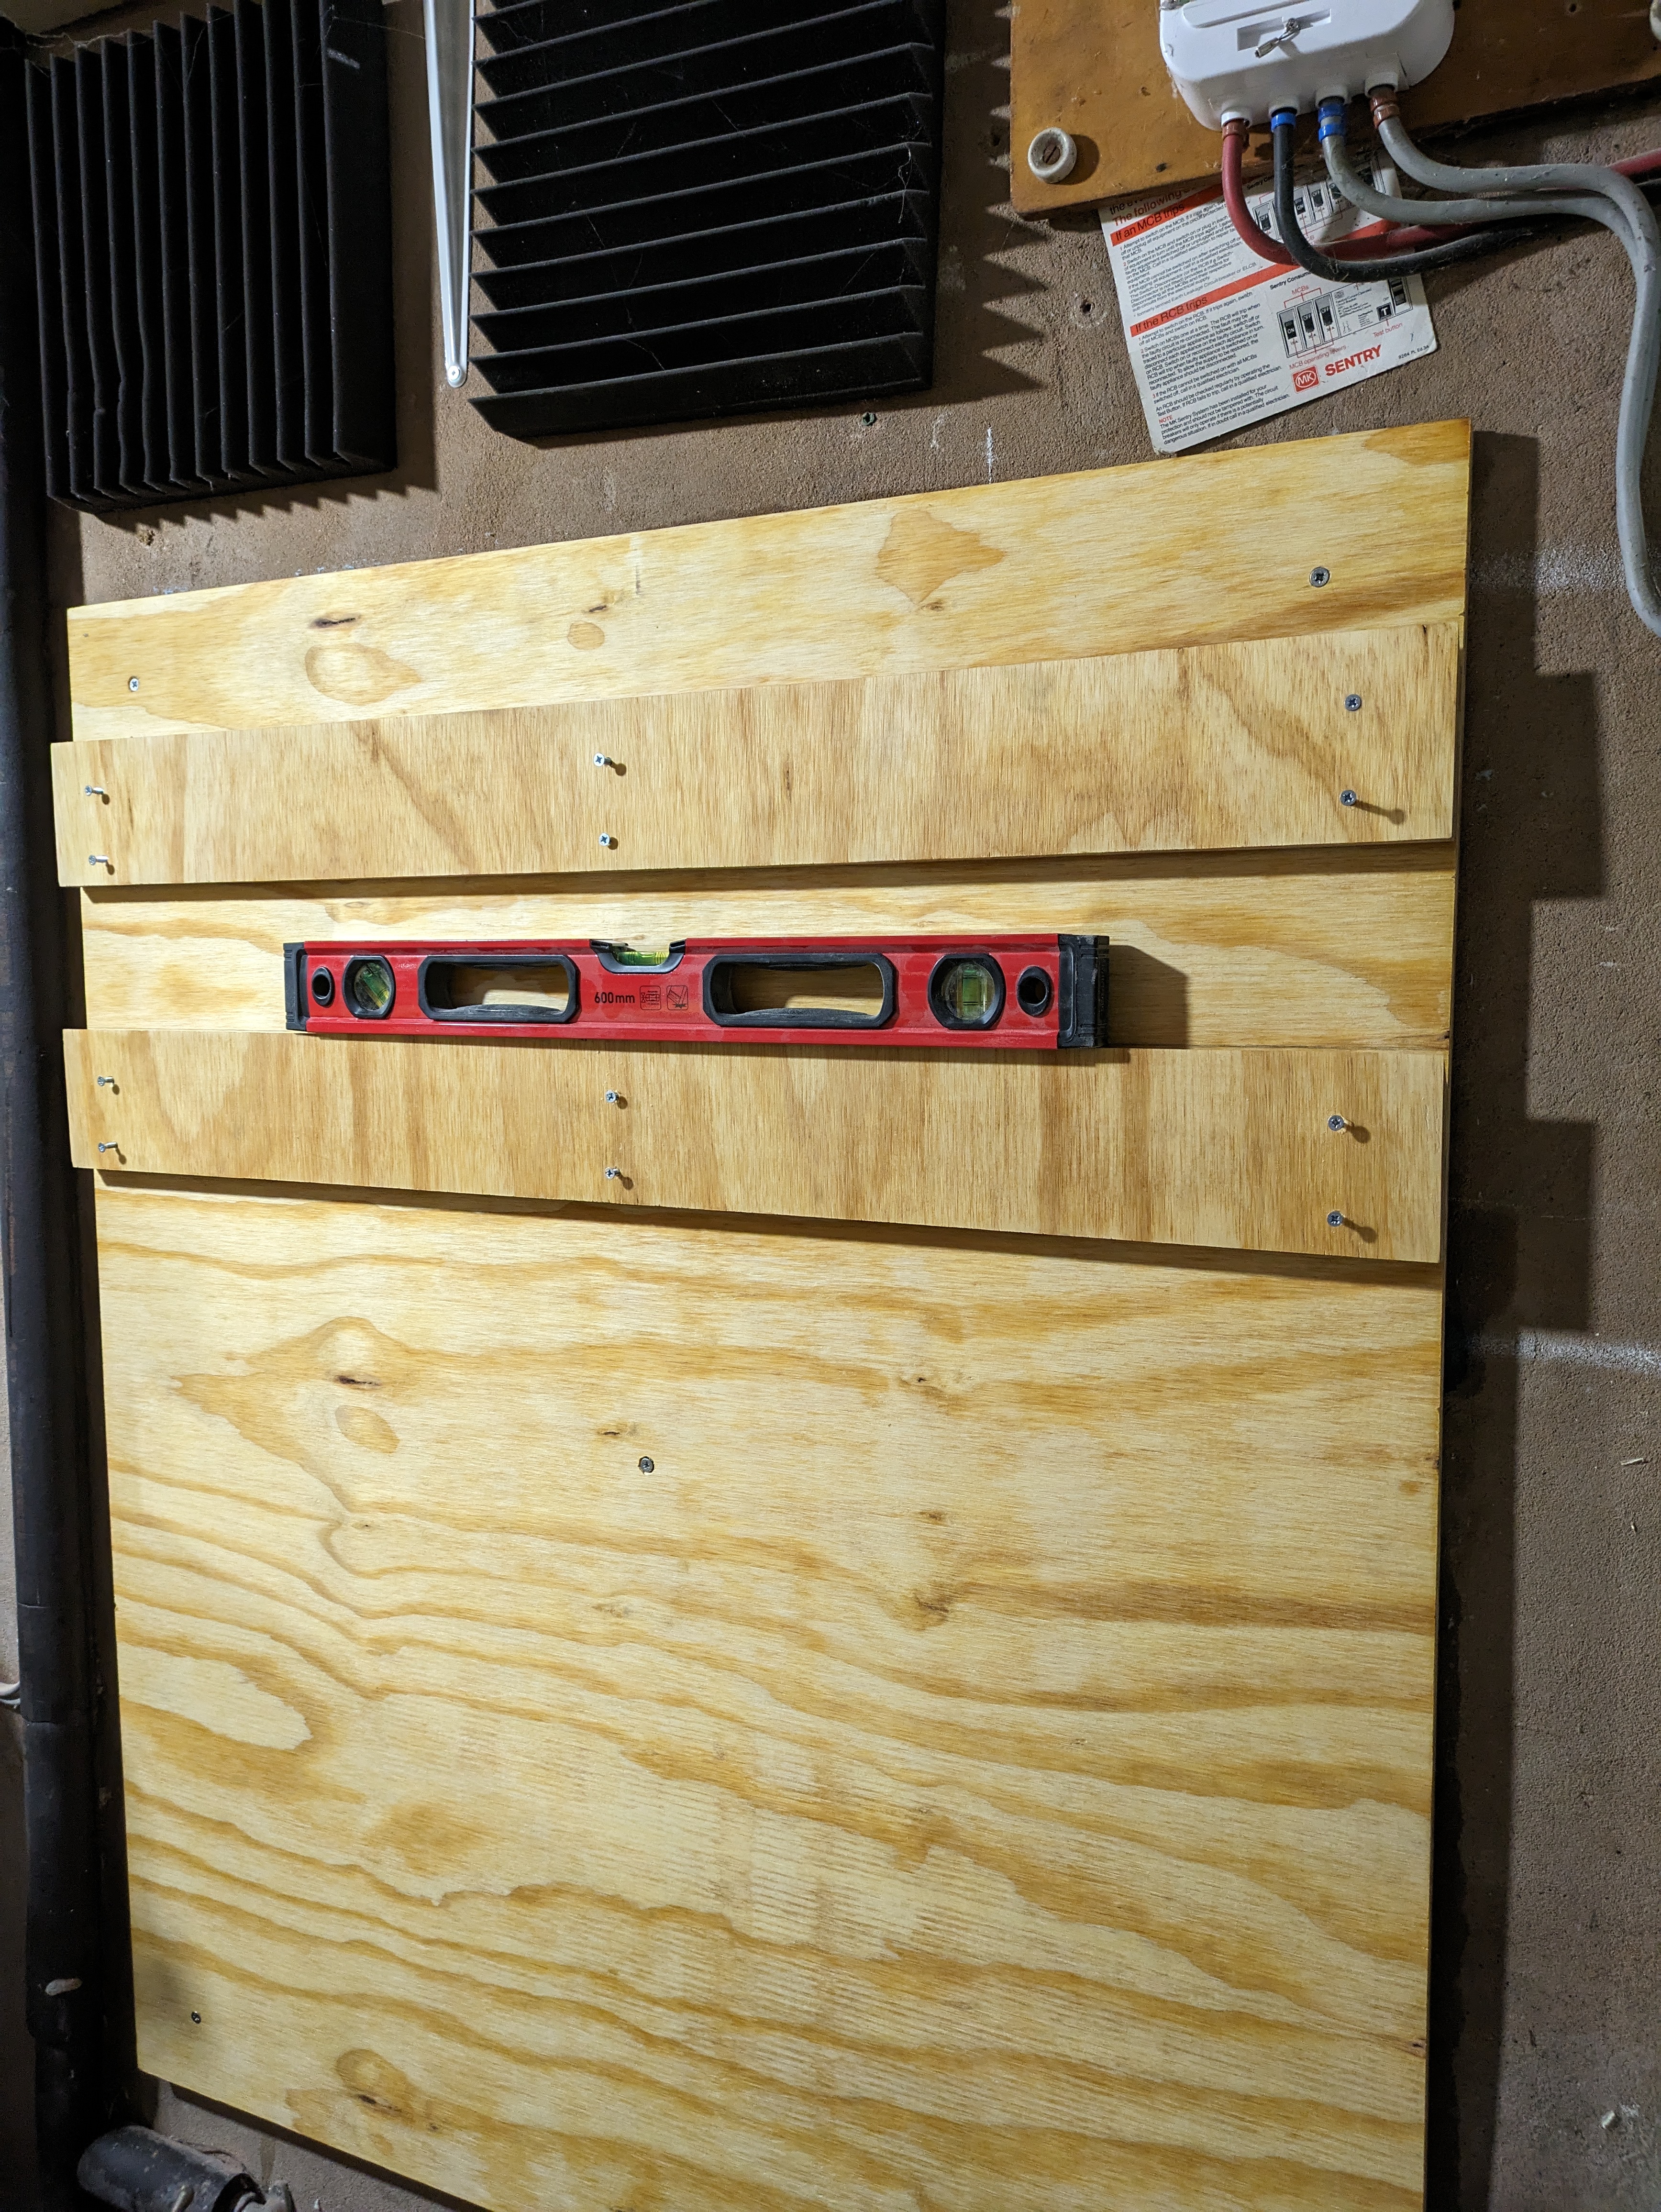
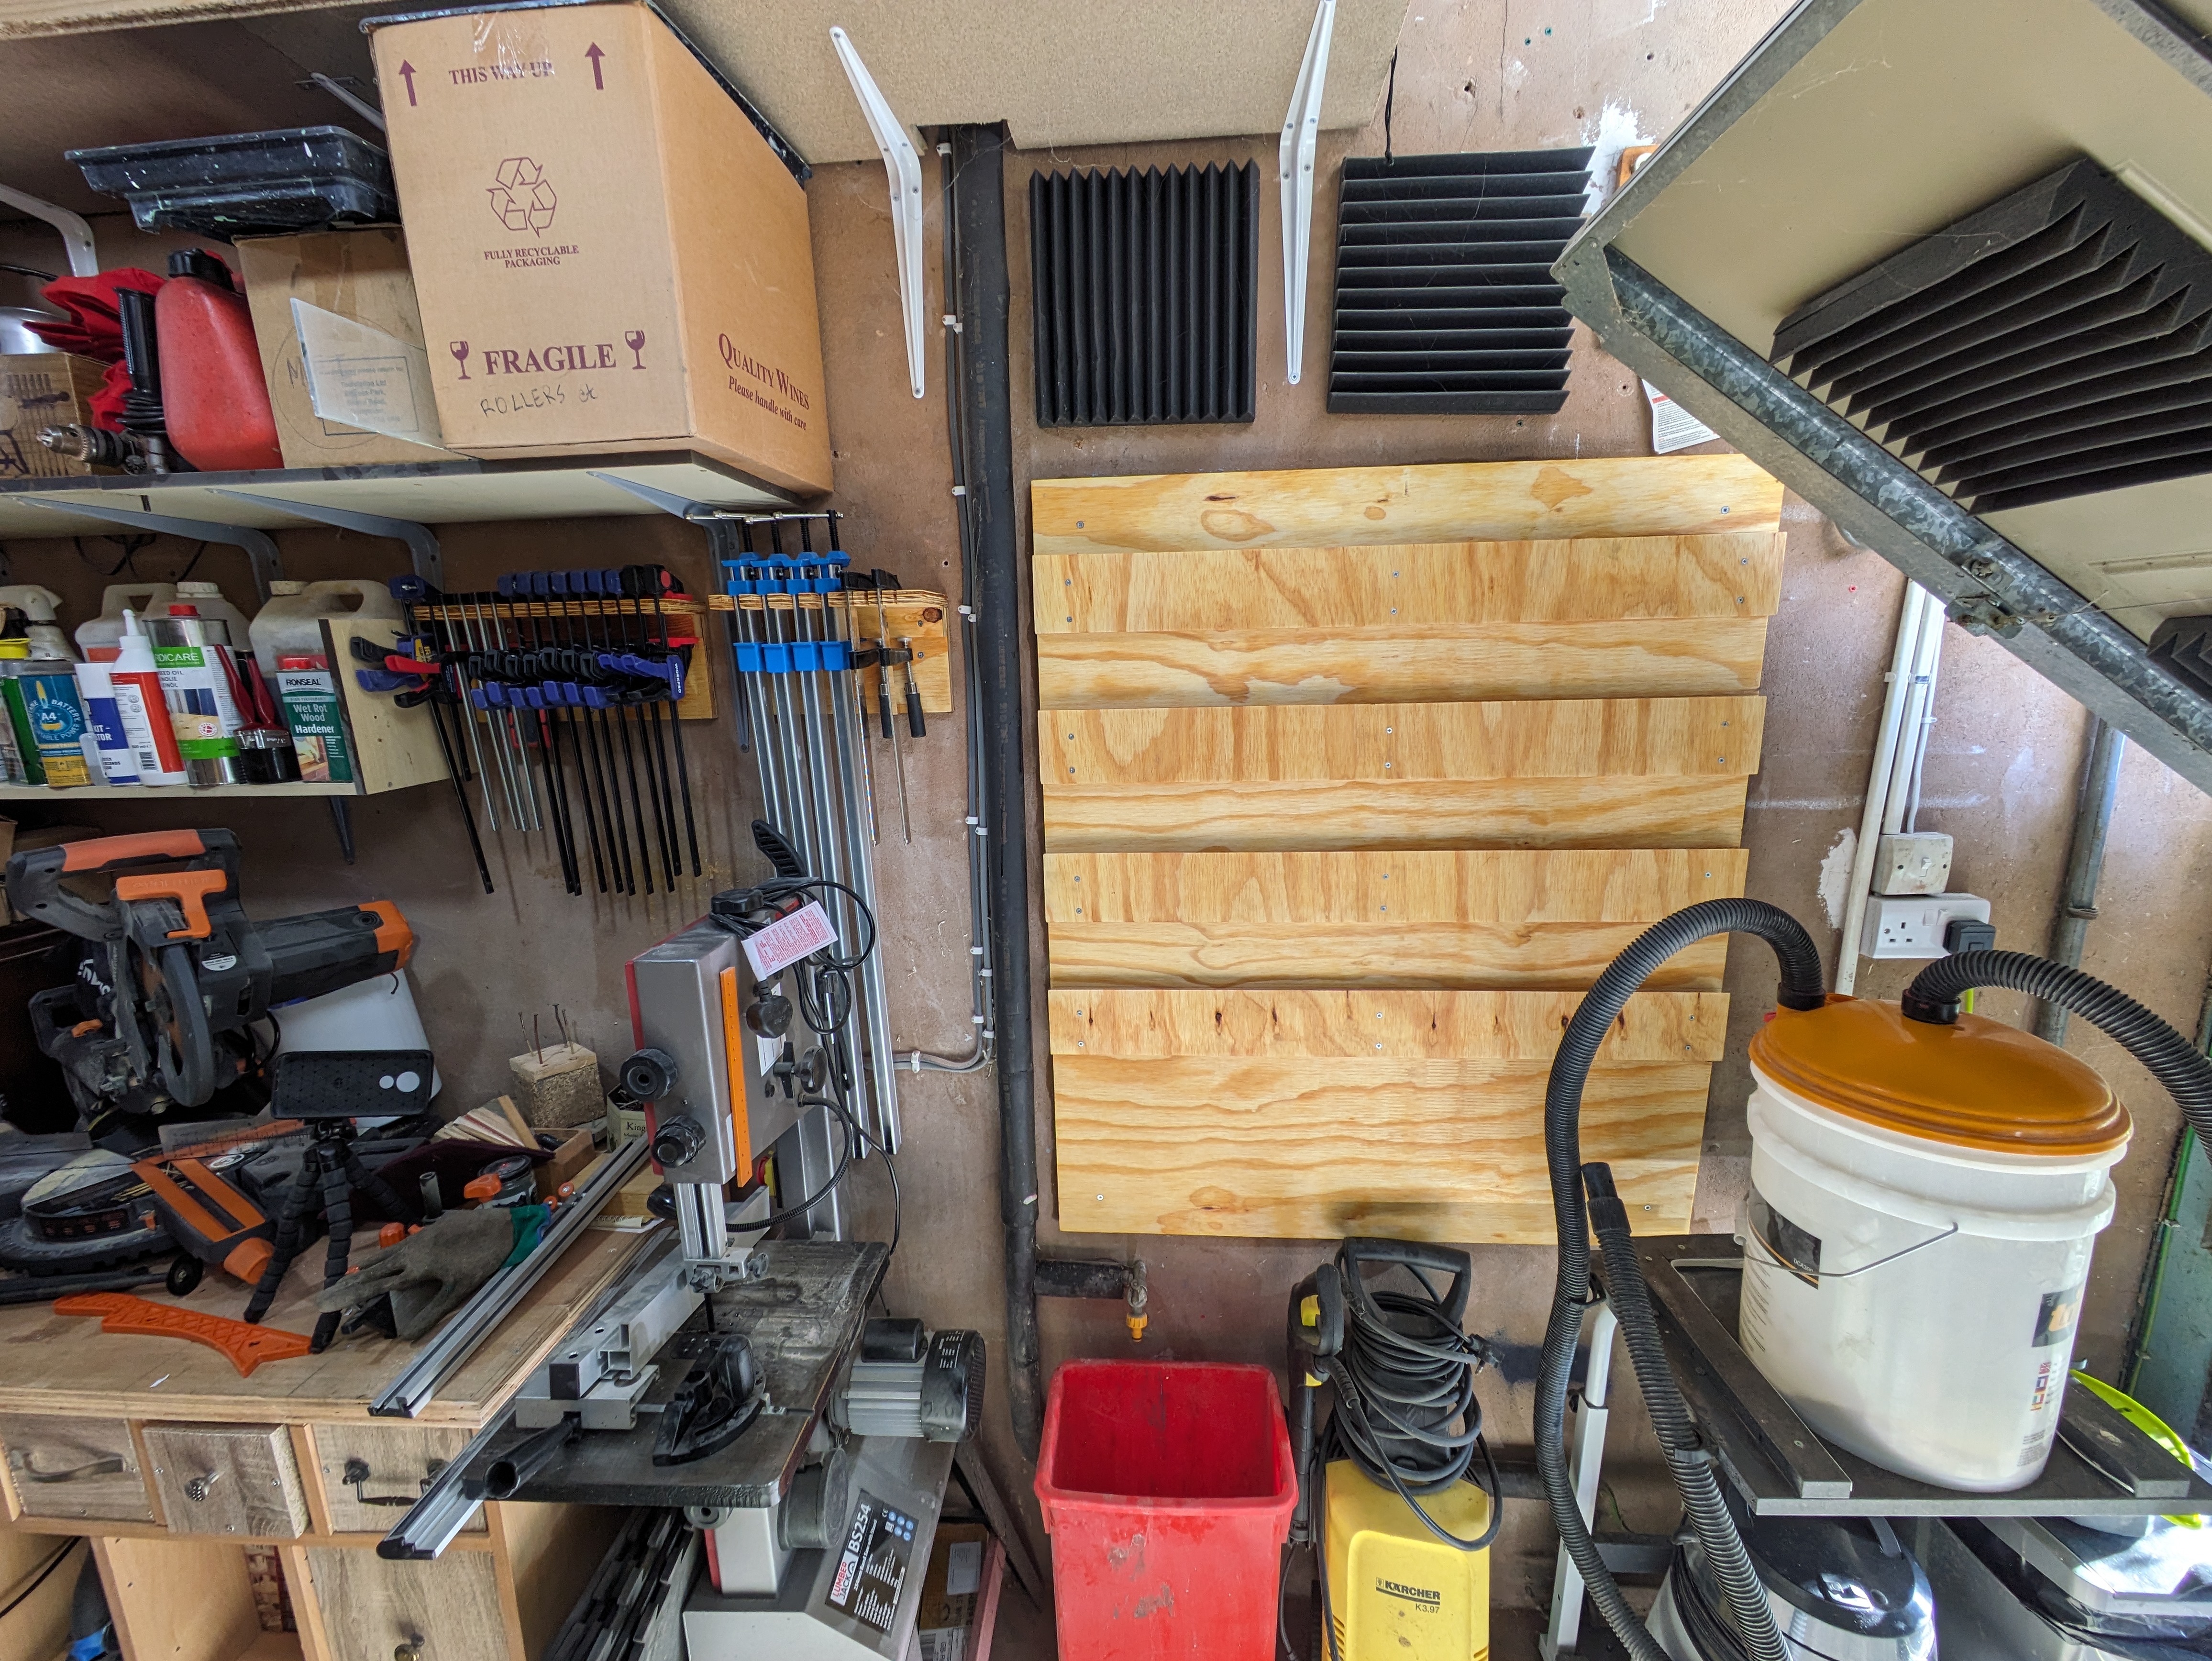
Then I measure my ply to fit the size from my sketch and trimmed it to size, screwed it to the wall and brushed on some linseed (probably not really needed but it looked nice on the clamp racks). I cut 4 rails and added a 45 degree angle on one side as this is what would hold the future tool holders. The rails were levelled and screwed to the backing ply and ready for some tool holders to be built.


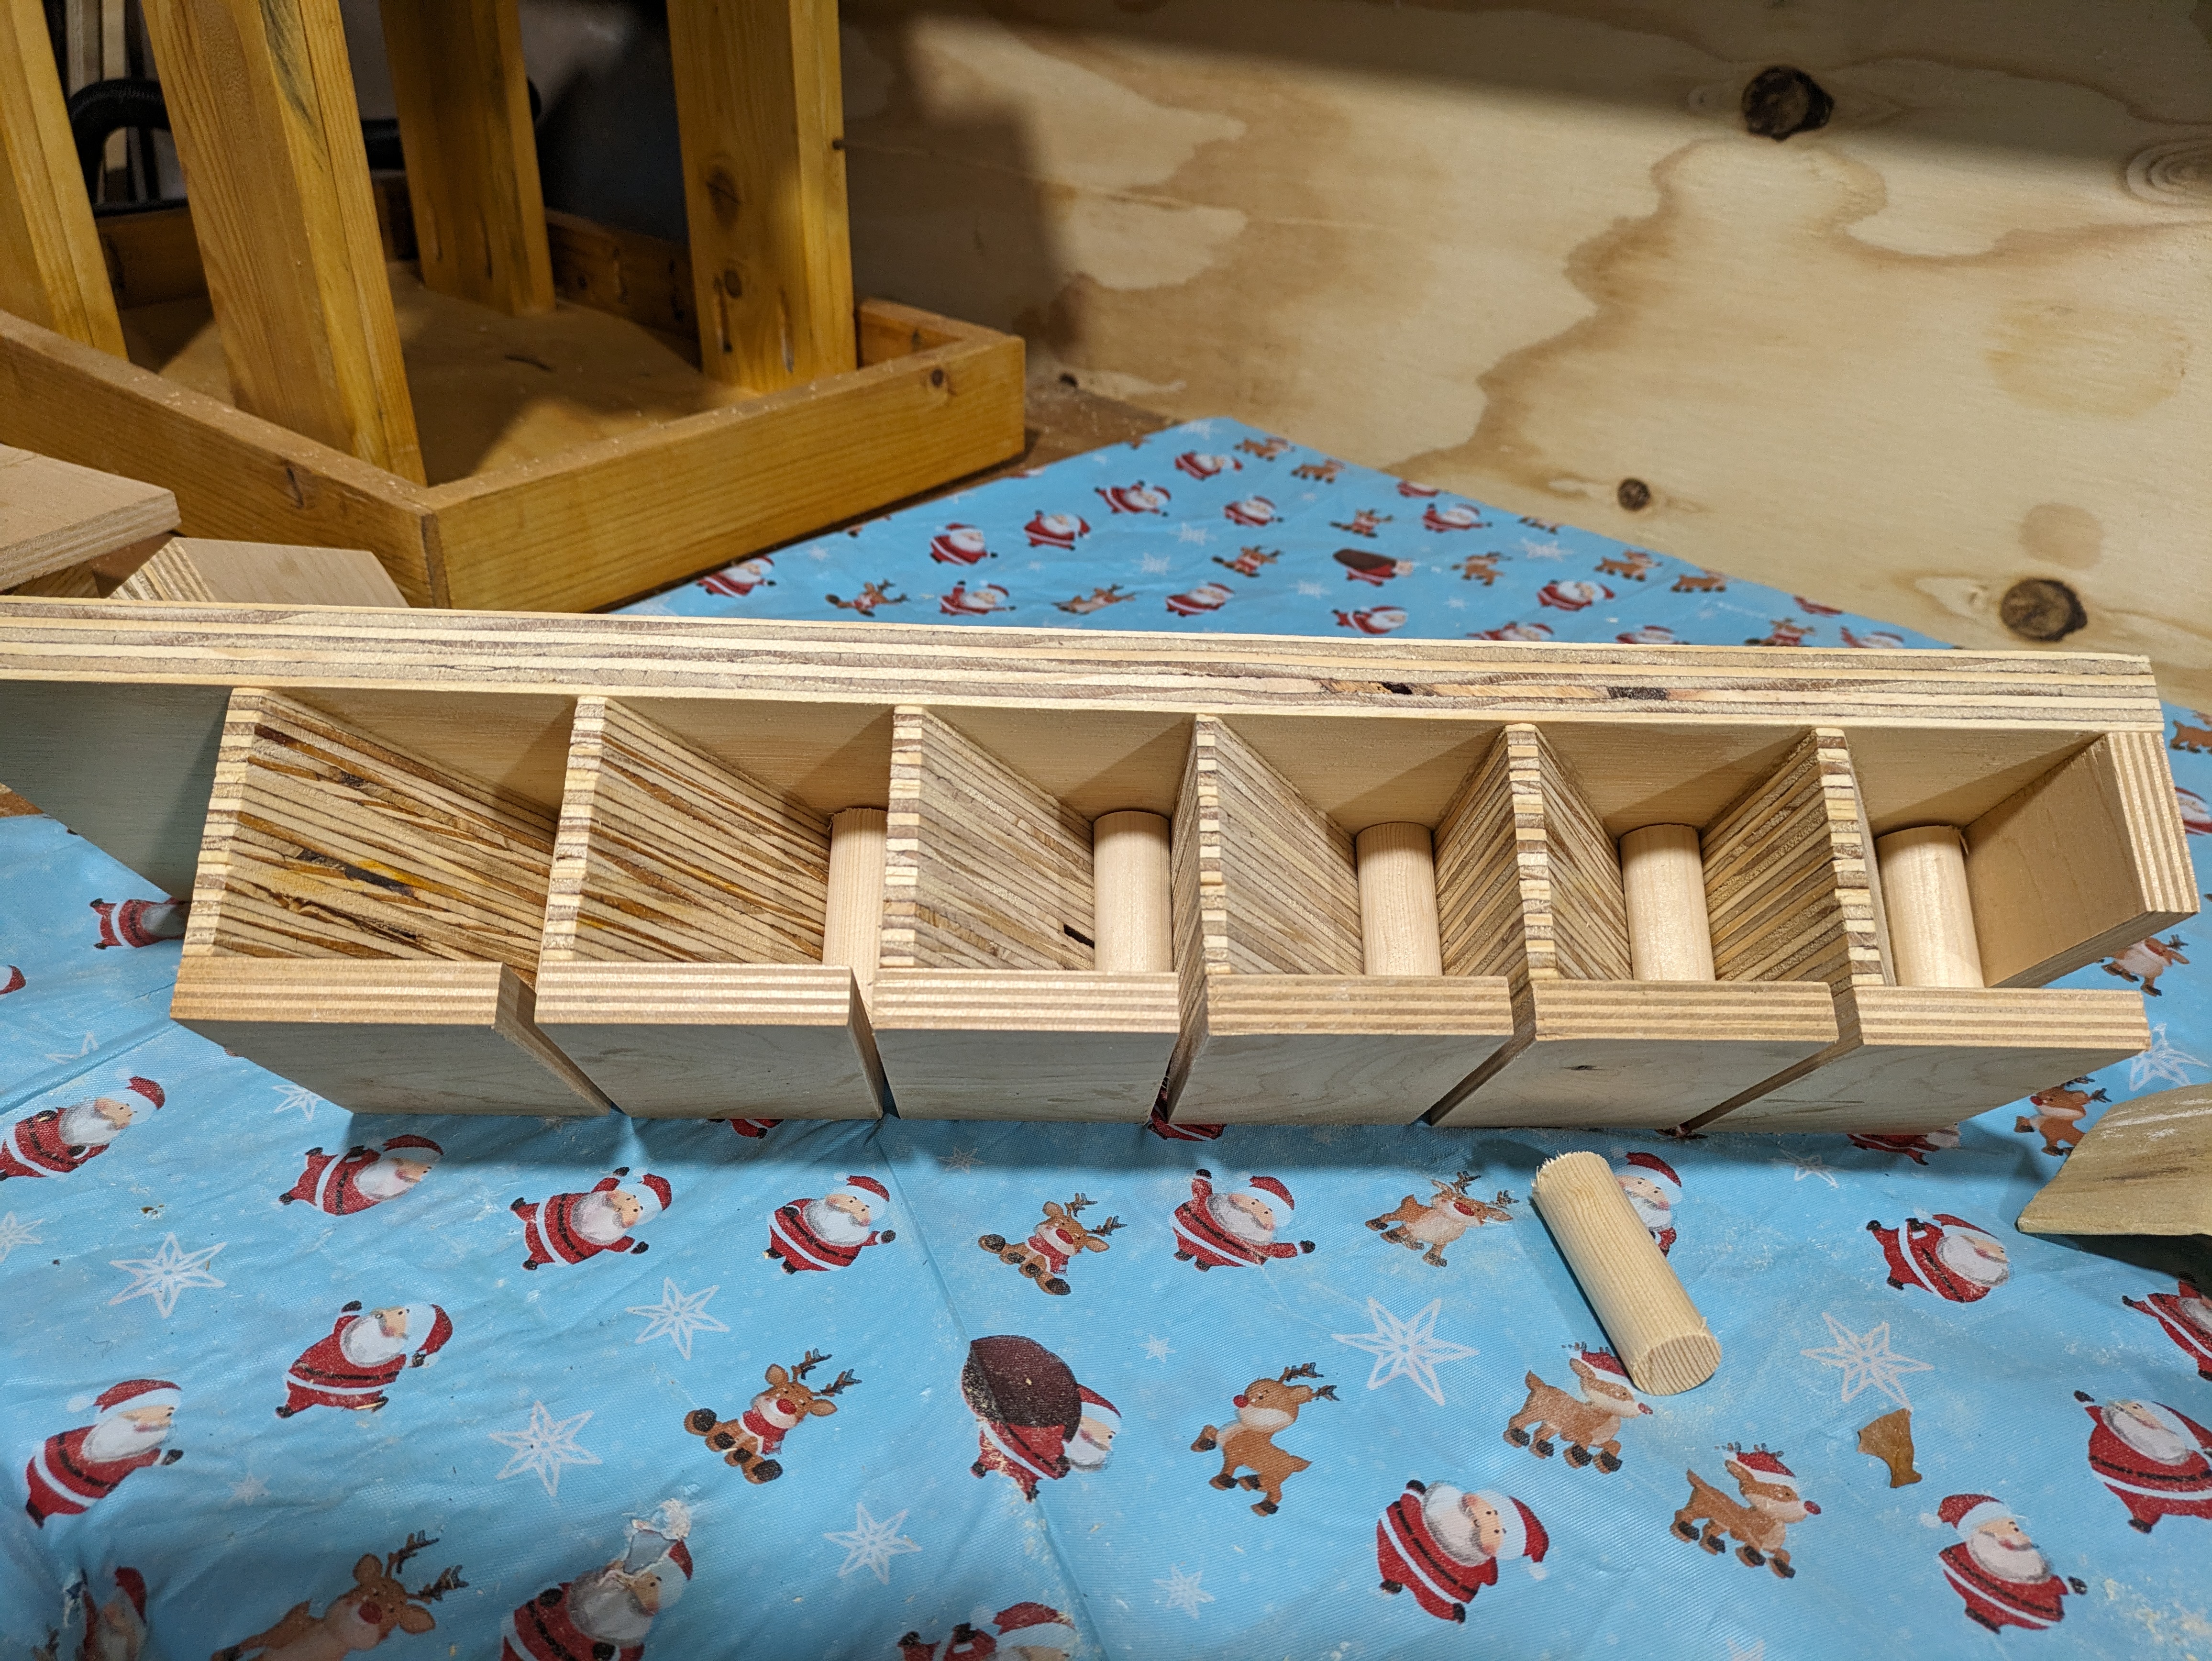
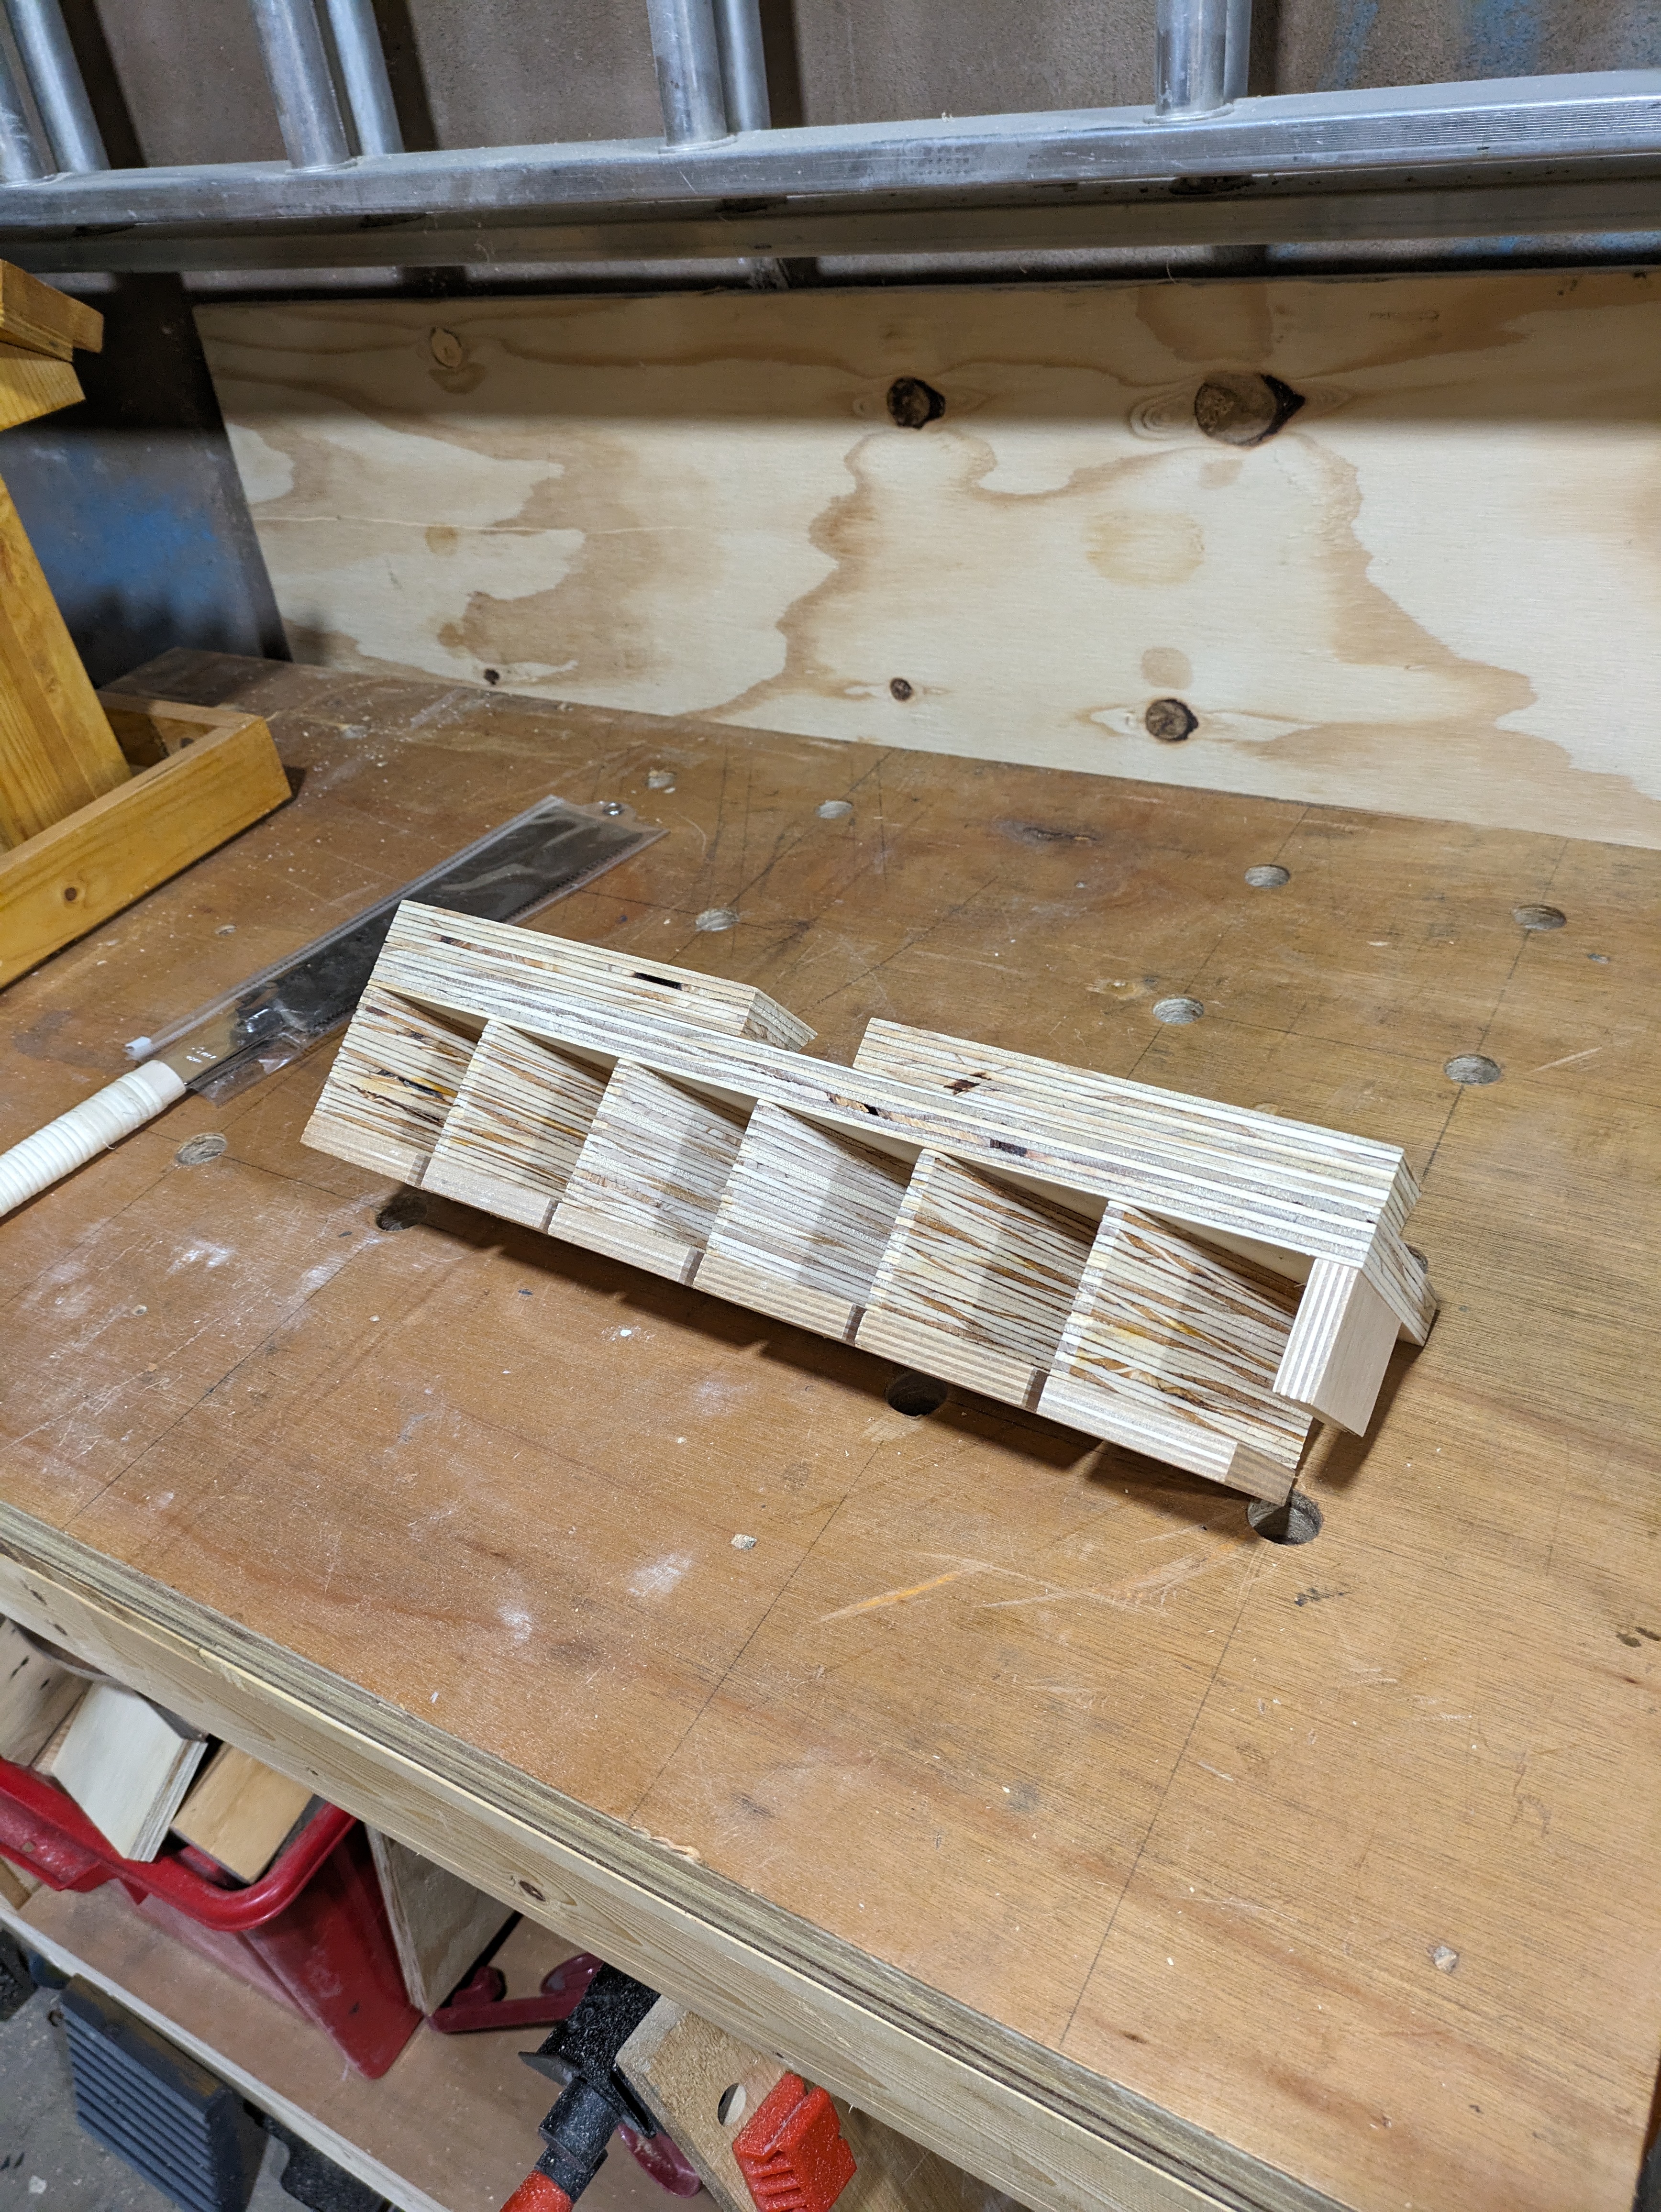
Now onto the tool holders! I really didn’t know how I would go about making the holders so I just typed “french cleat *insert tool* holder” into google and attempted to replicate a design. The first tool holder was for the saws, I kept seeing a floating saw holder which looked pretty awesome and could also be used for holding squares. This turned out to be quite involved but was worth the effort for the end result.
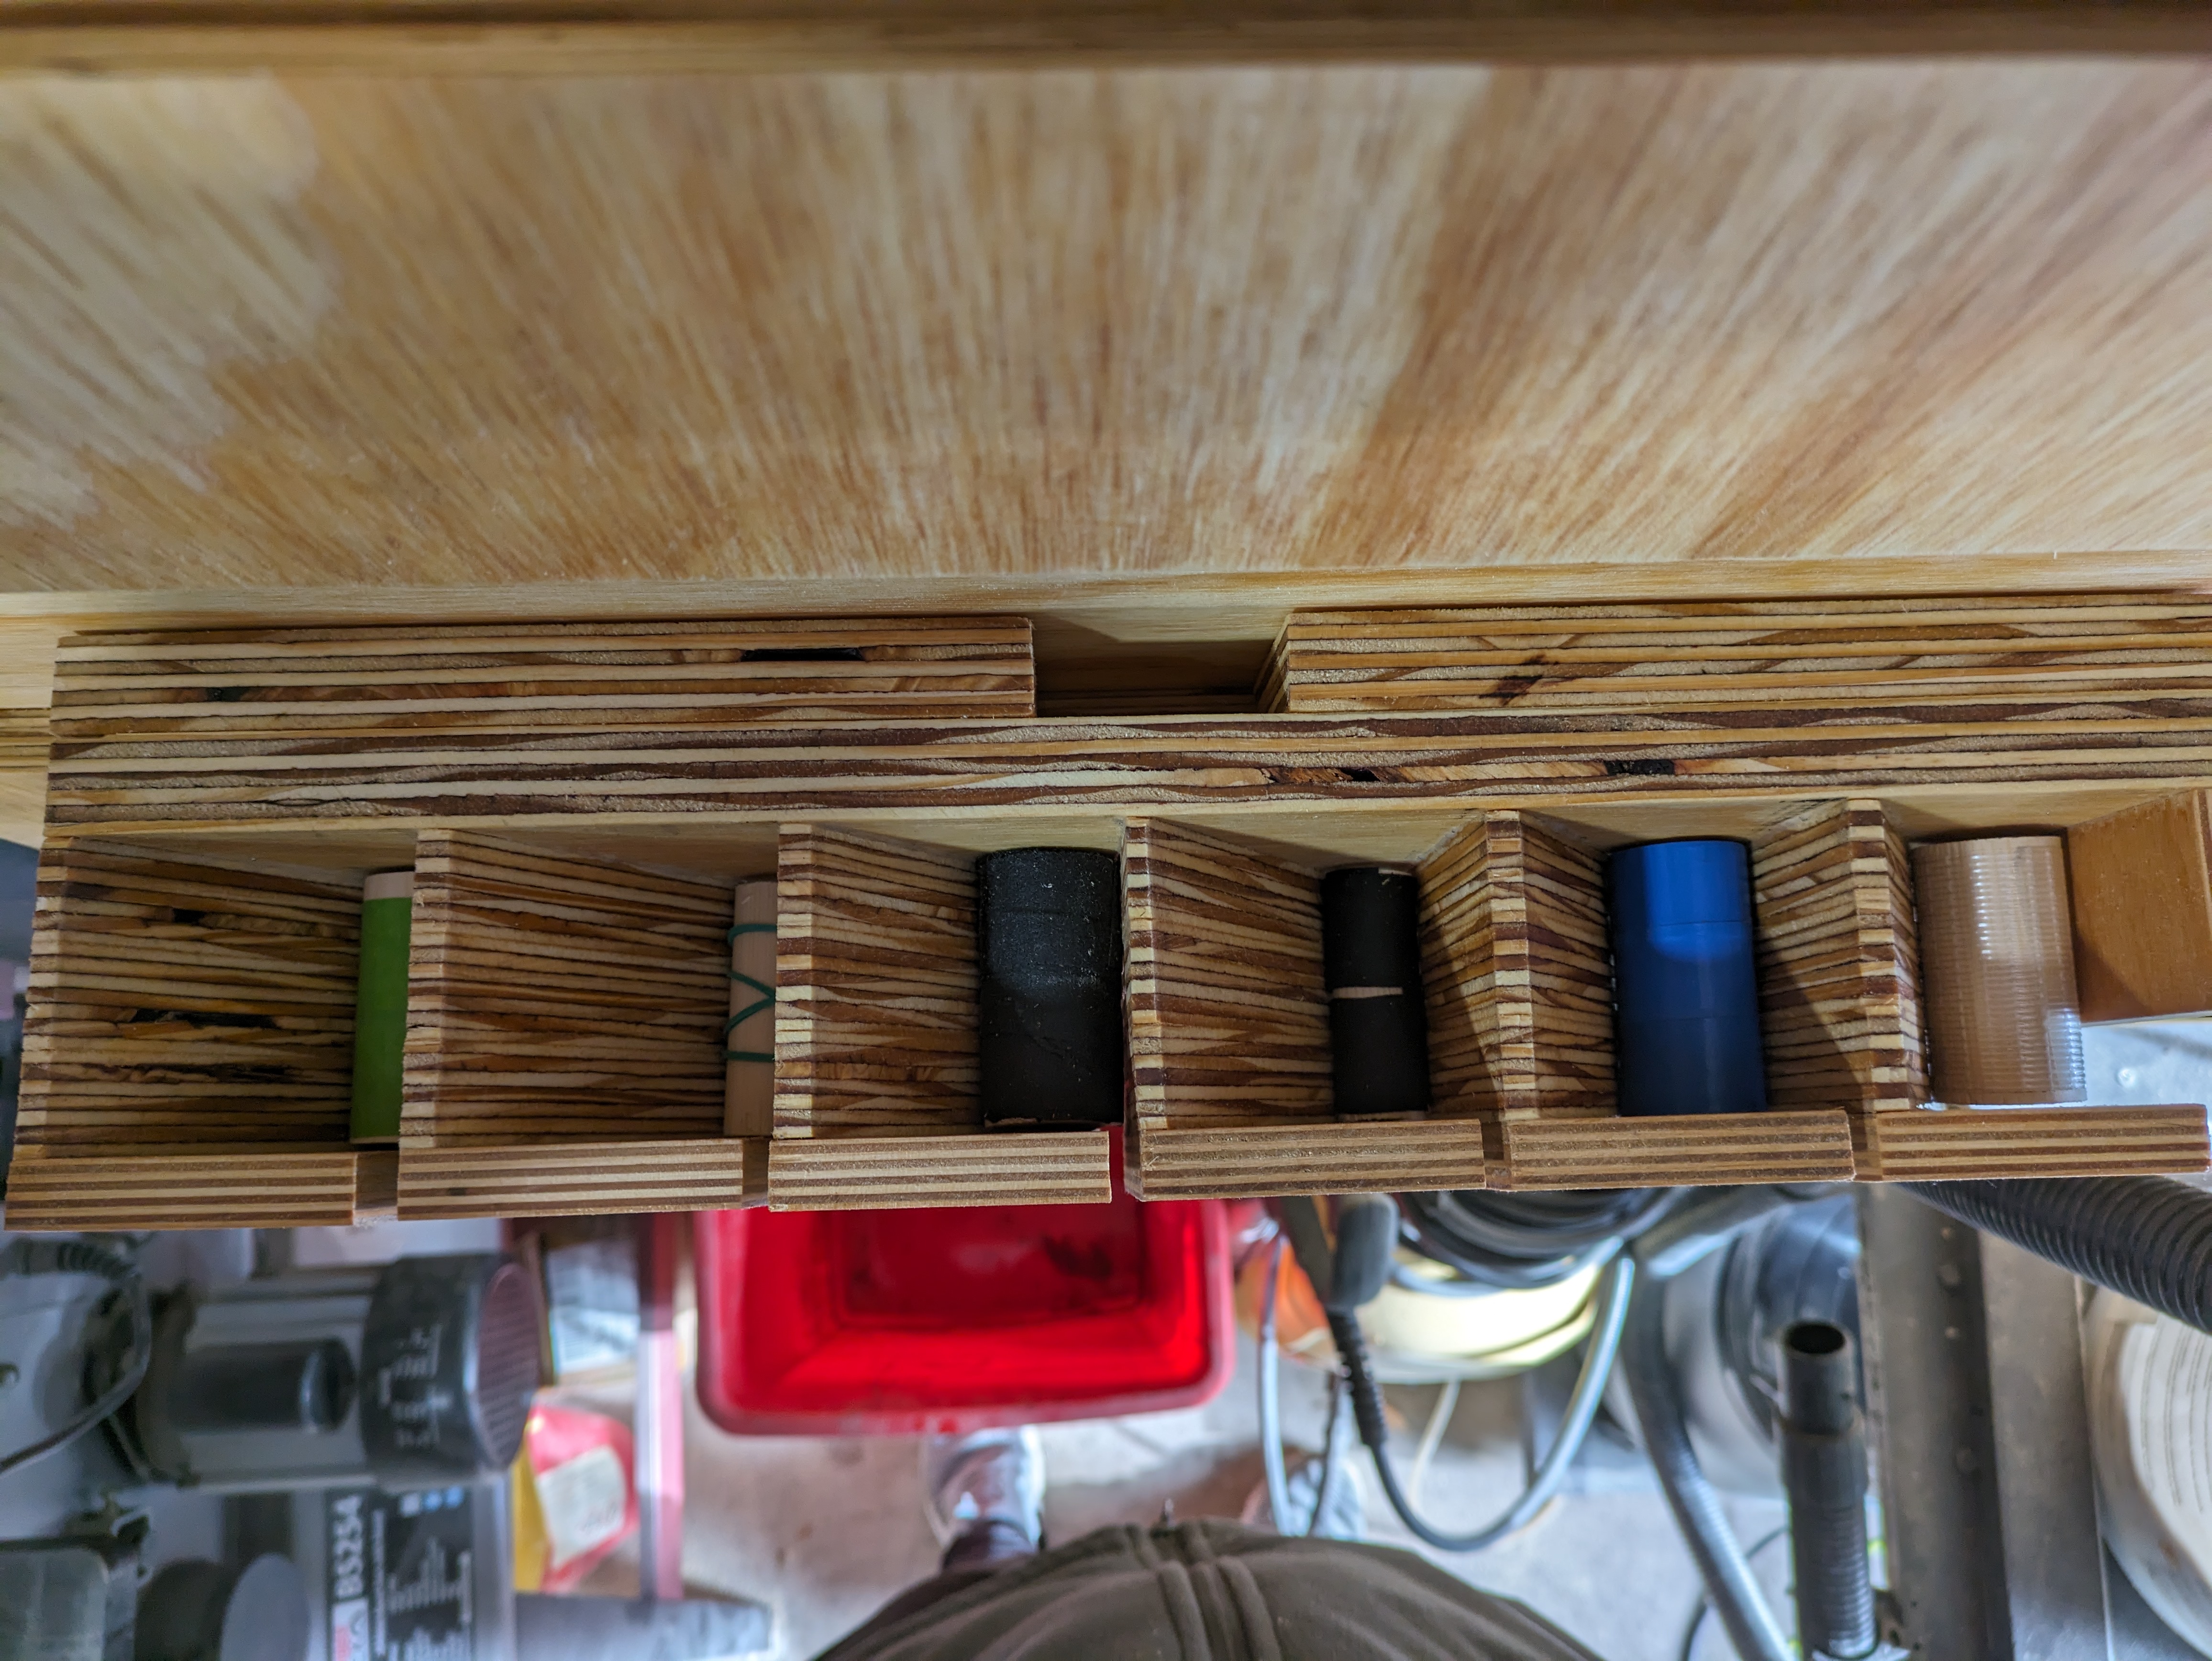
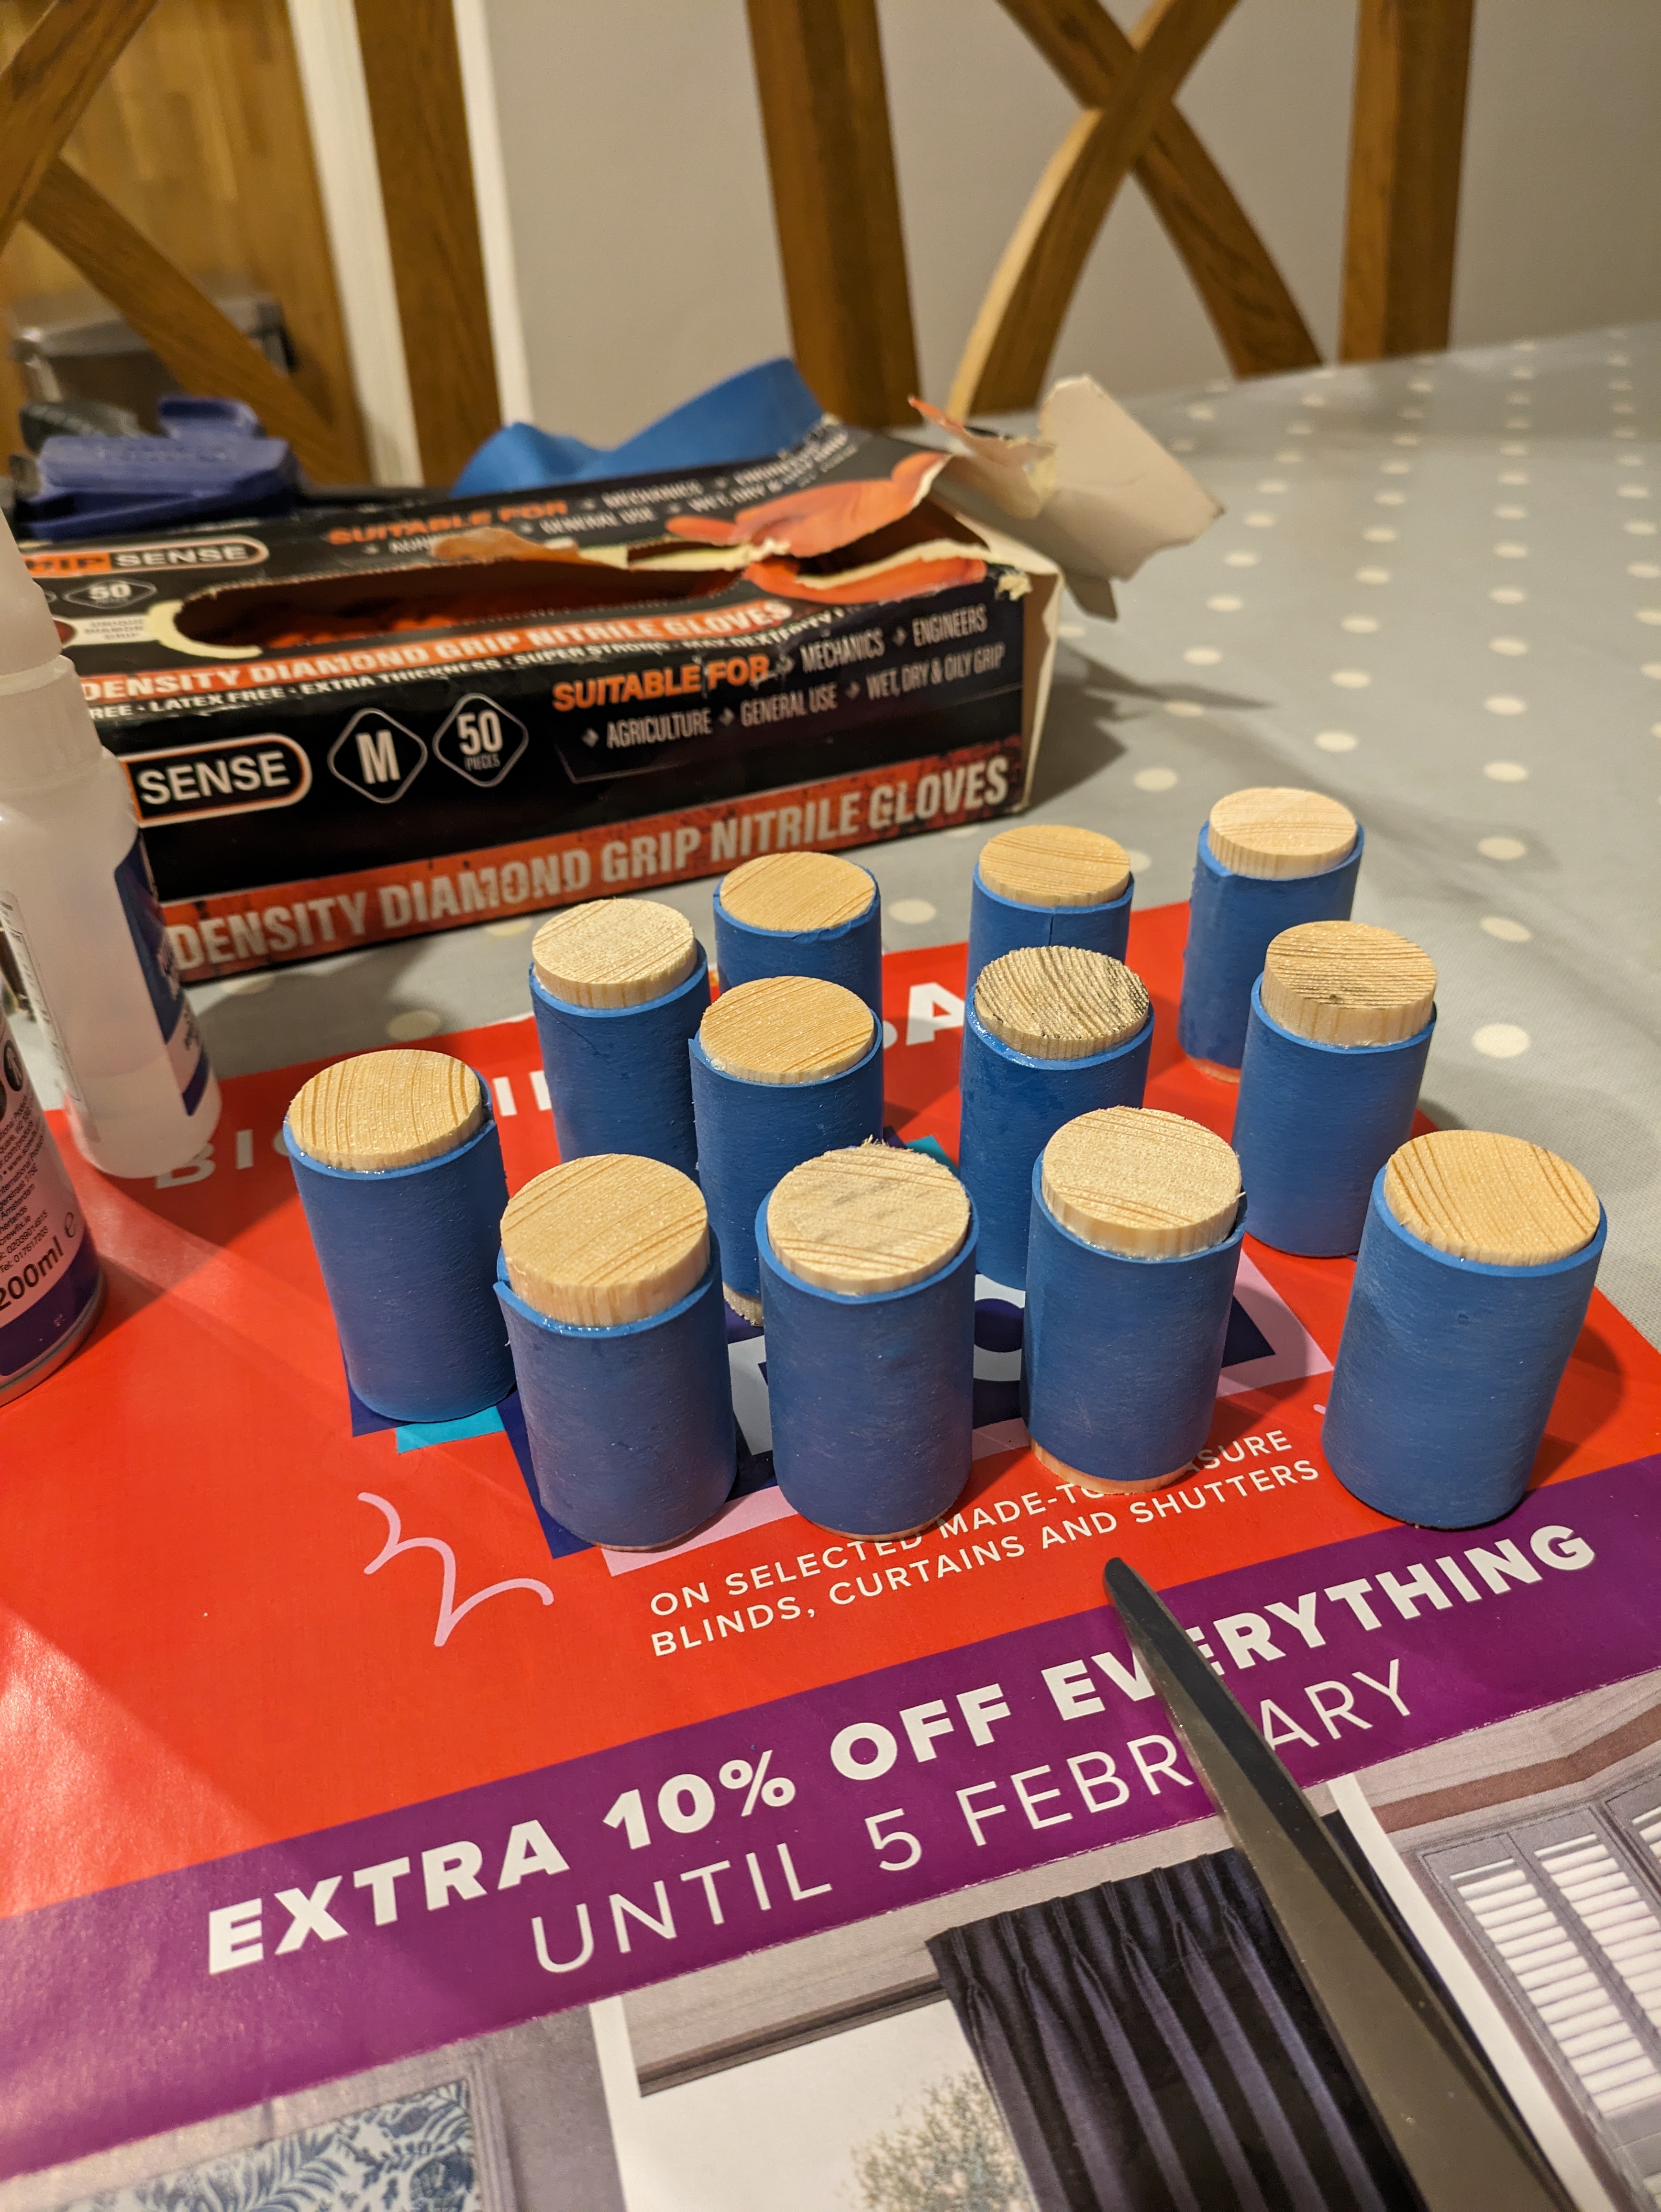
The floating saw holder basically used a bit of dowle in an angled box that locks the saw in place with gravity and friction of the dowle. In theory.
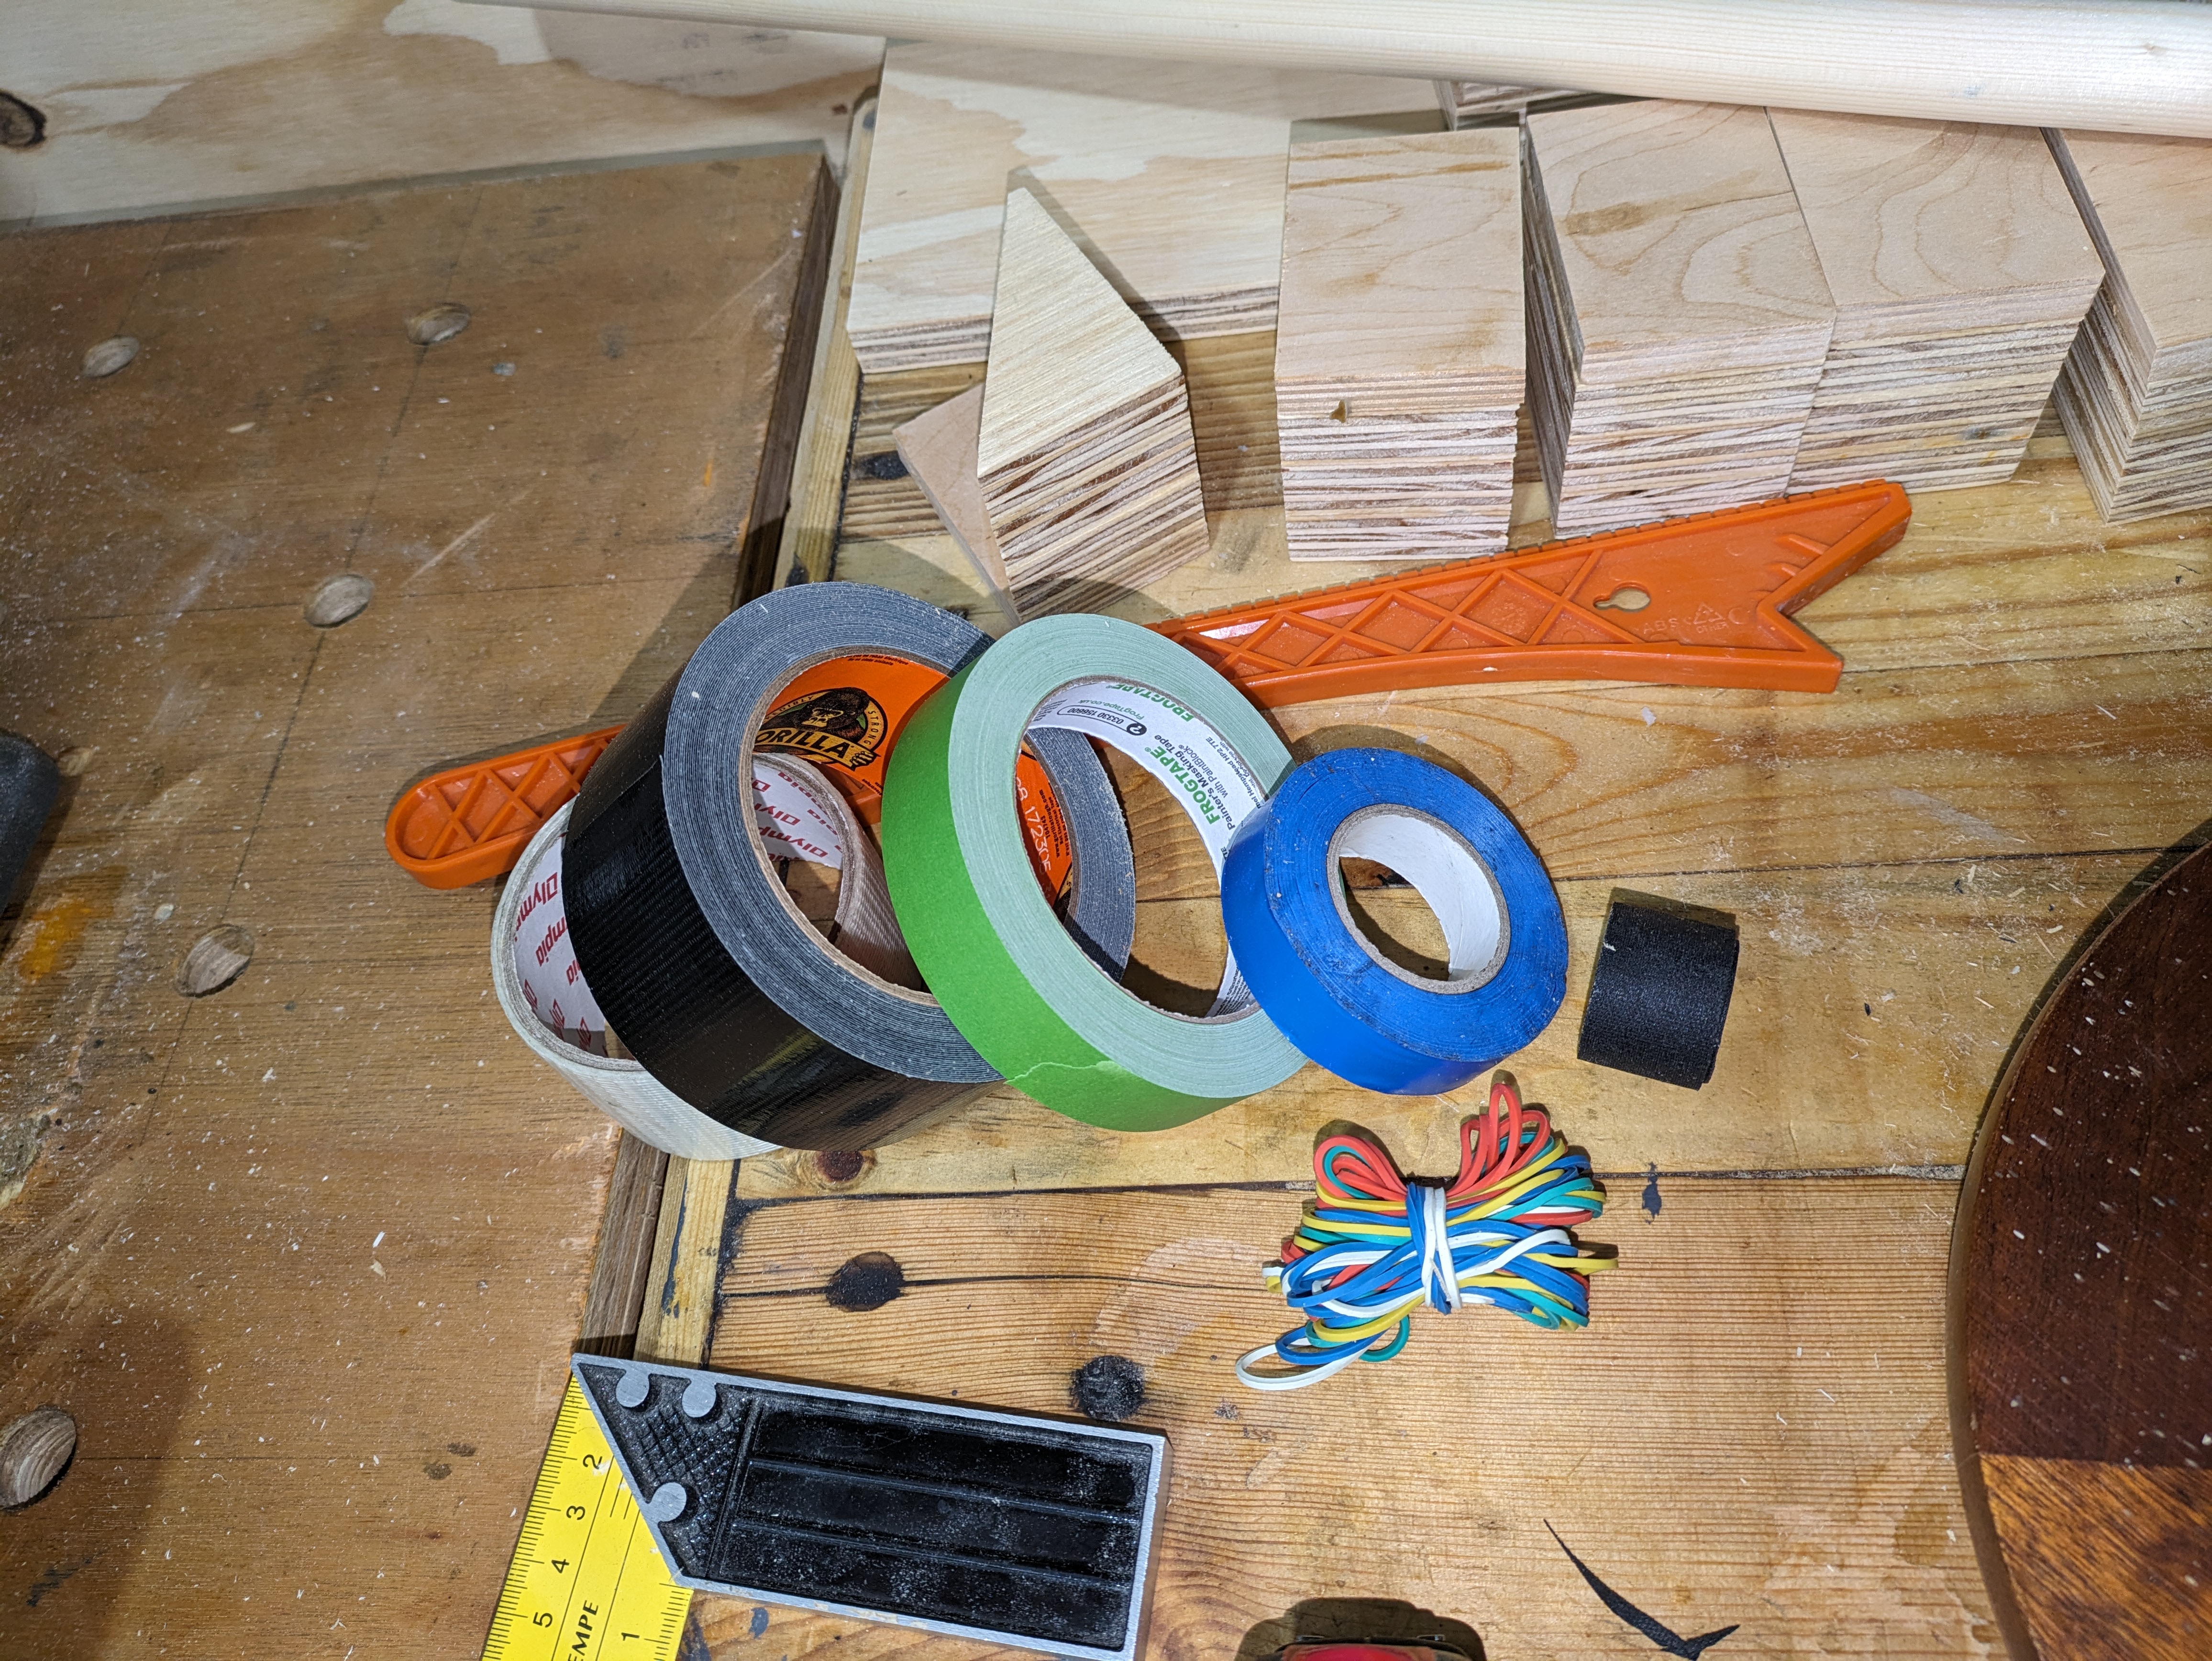
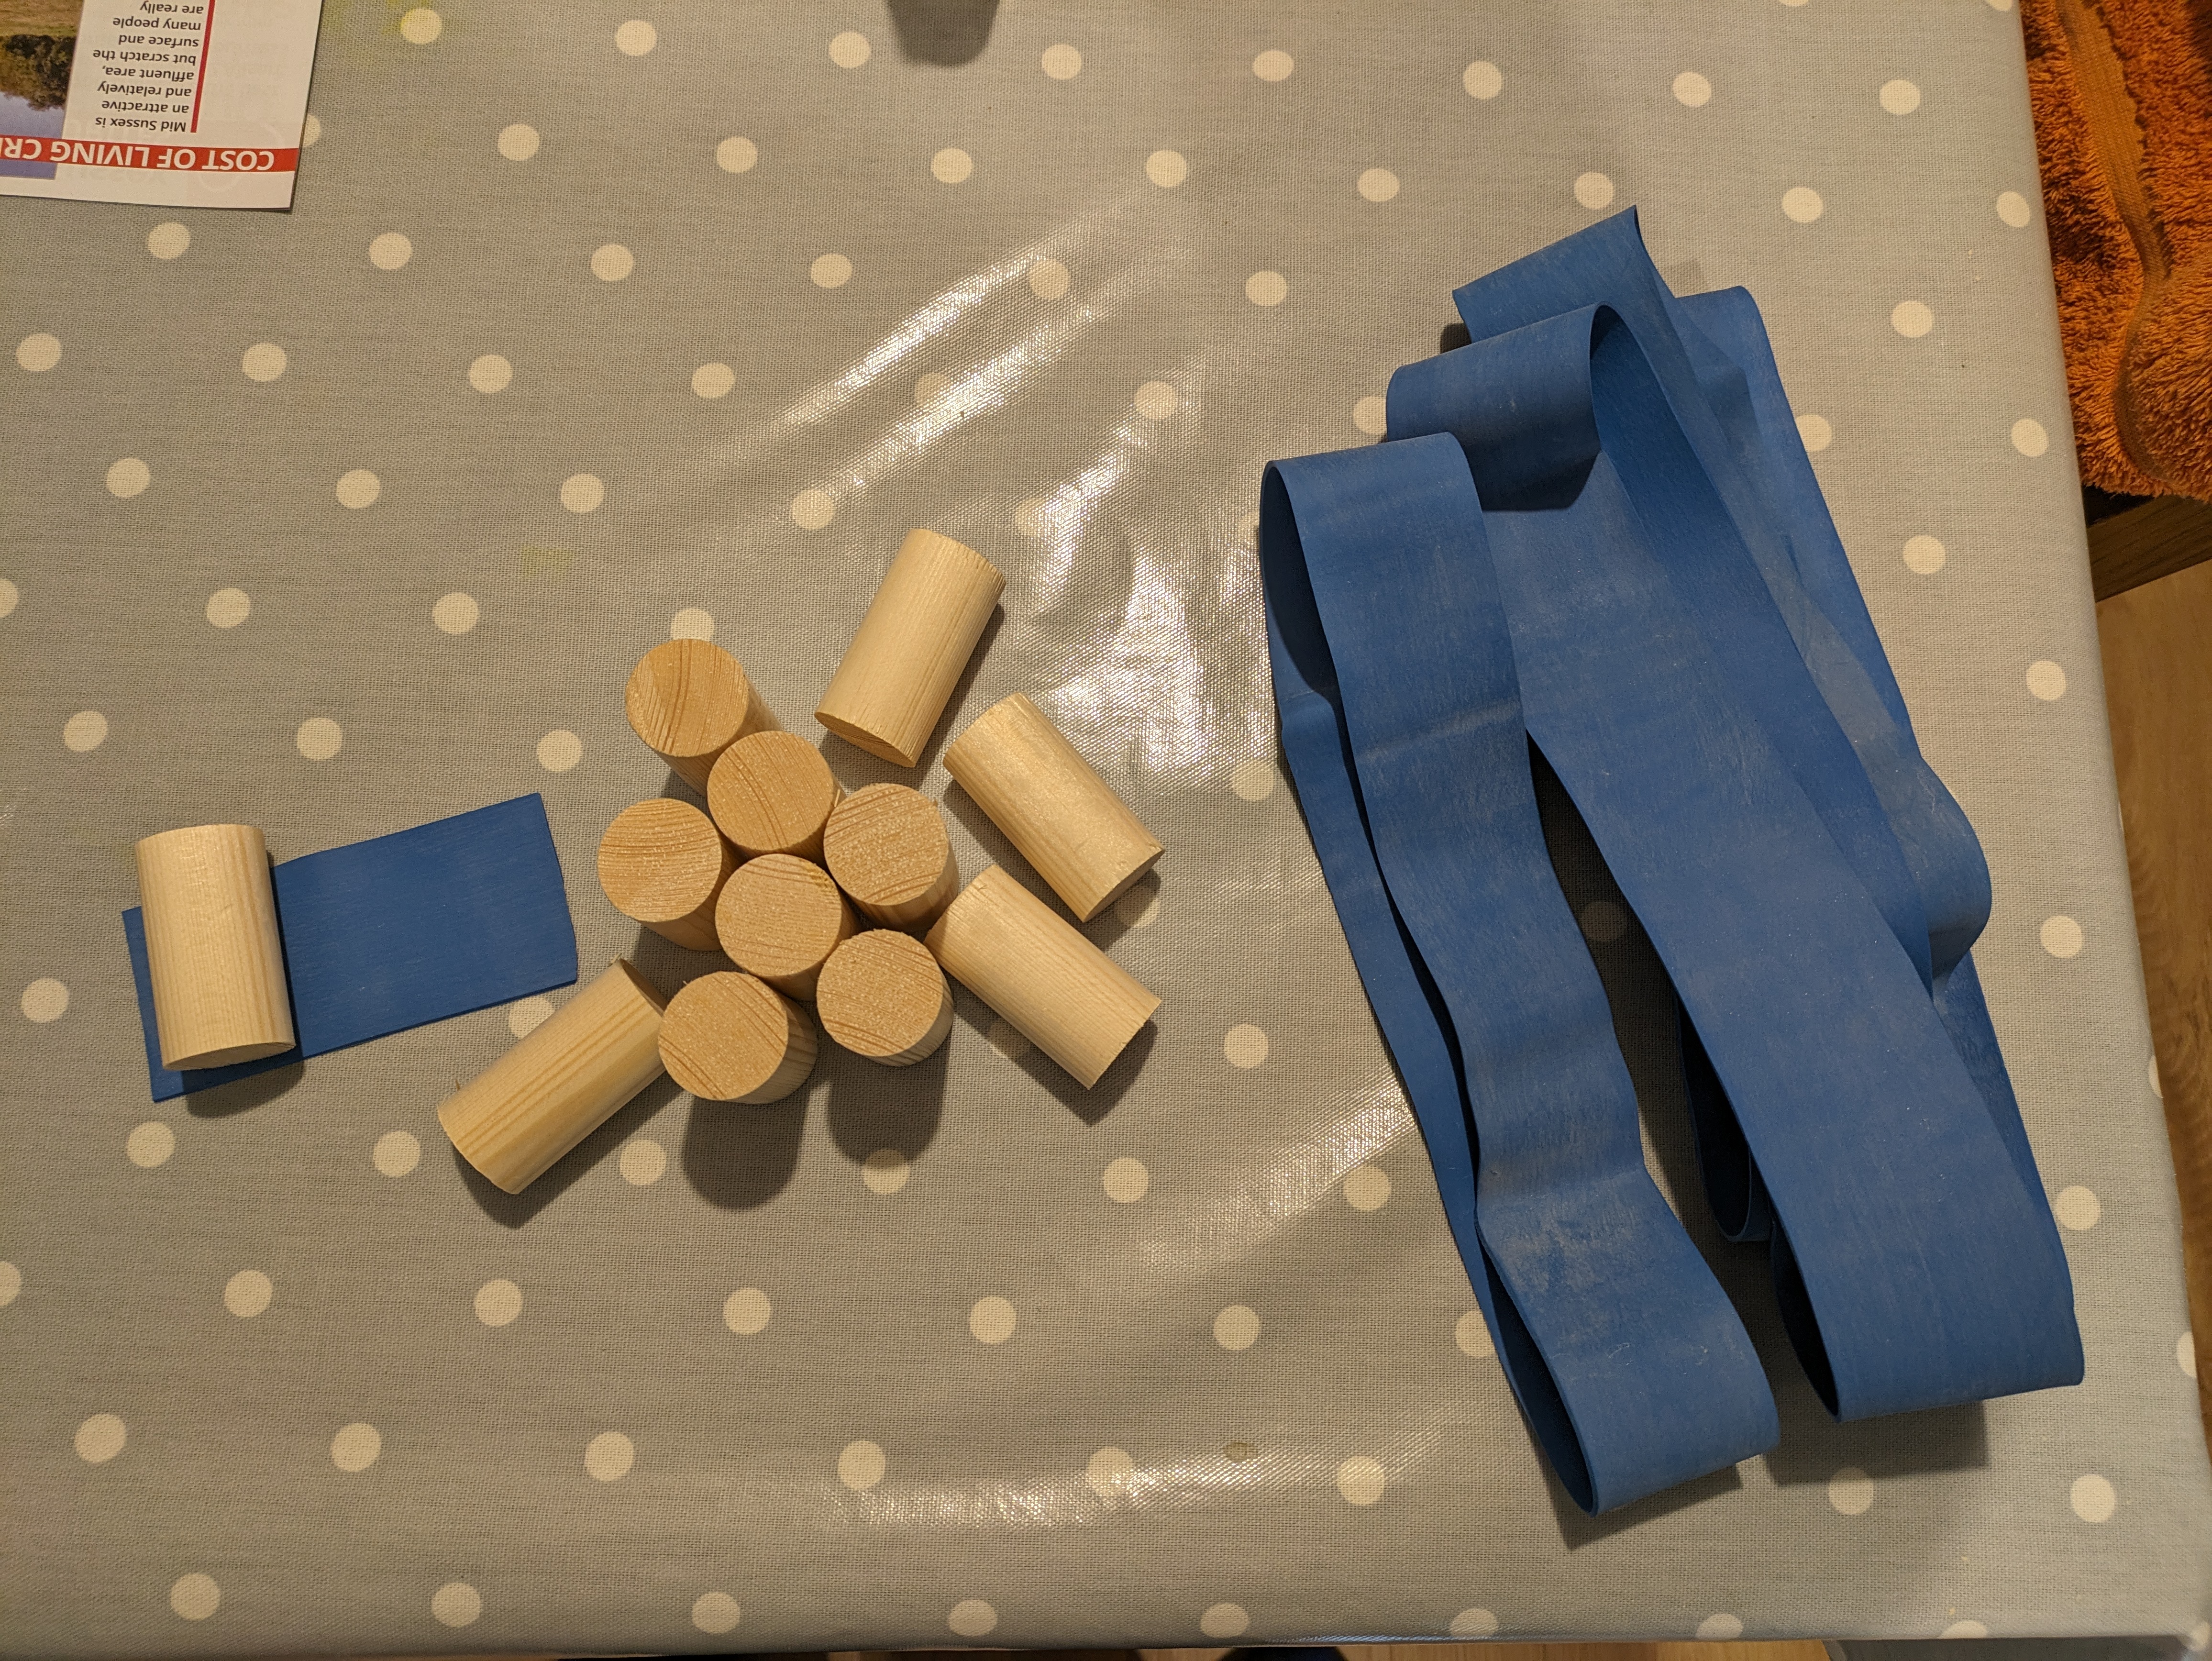
I set about making the boxes and glueing them to a backing board and dropping a dowle the same width of the box into it. This was partially successful, but I found that there was not enough friction on the dowles so I tried adding a bunch of different tapes to the dowels to create more friction. In the end I bought a larger diameter dowel and a massive elastic band and cut it to size to wrap around the dowel. This probably makes no sense but the pictures really explain it better that I could!


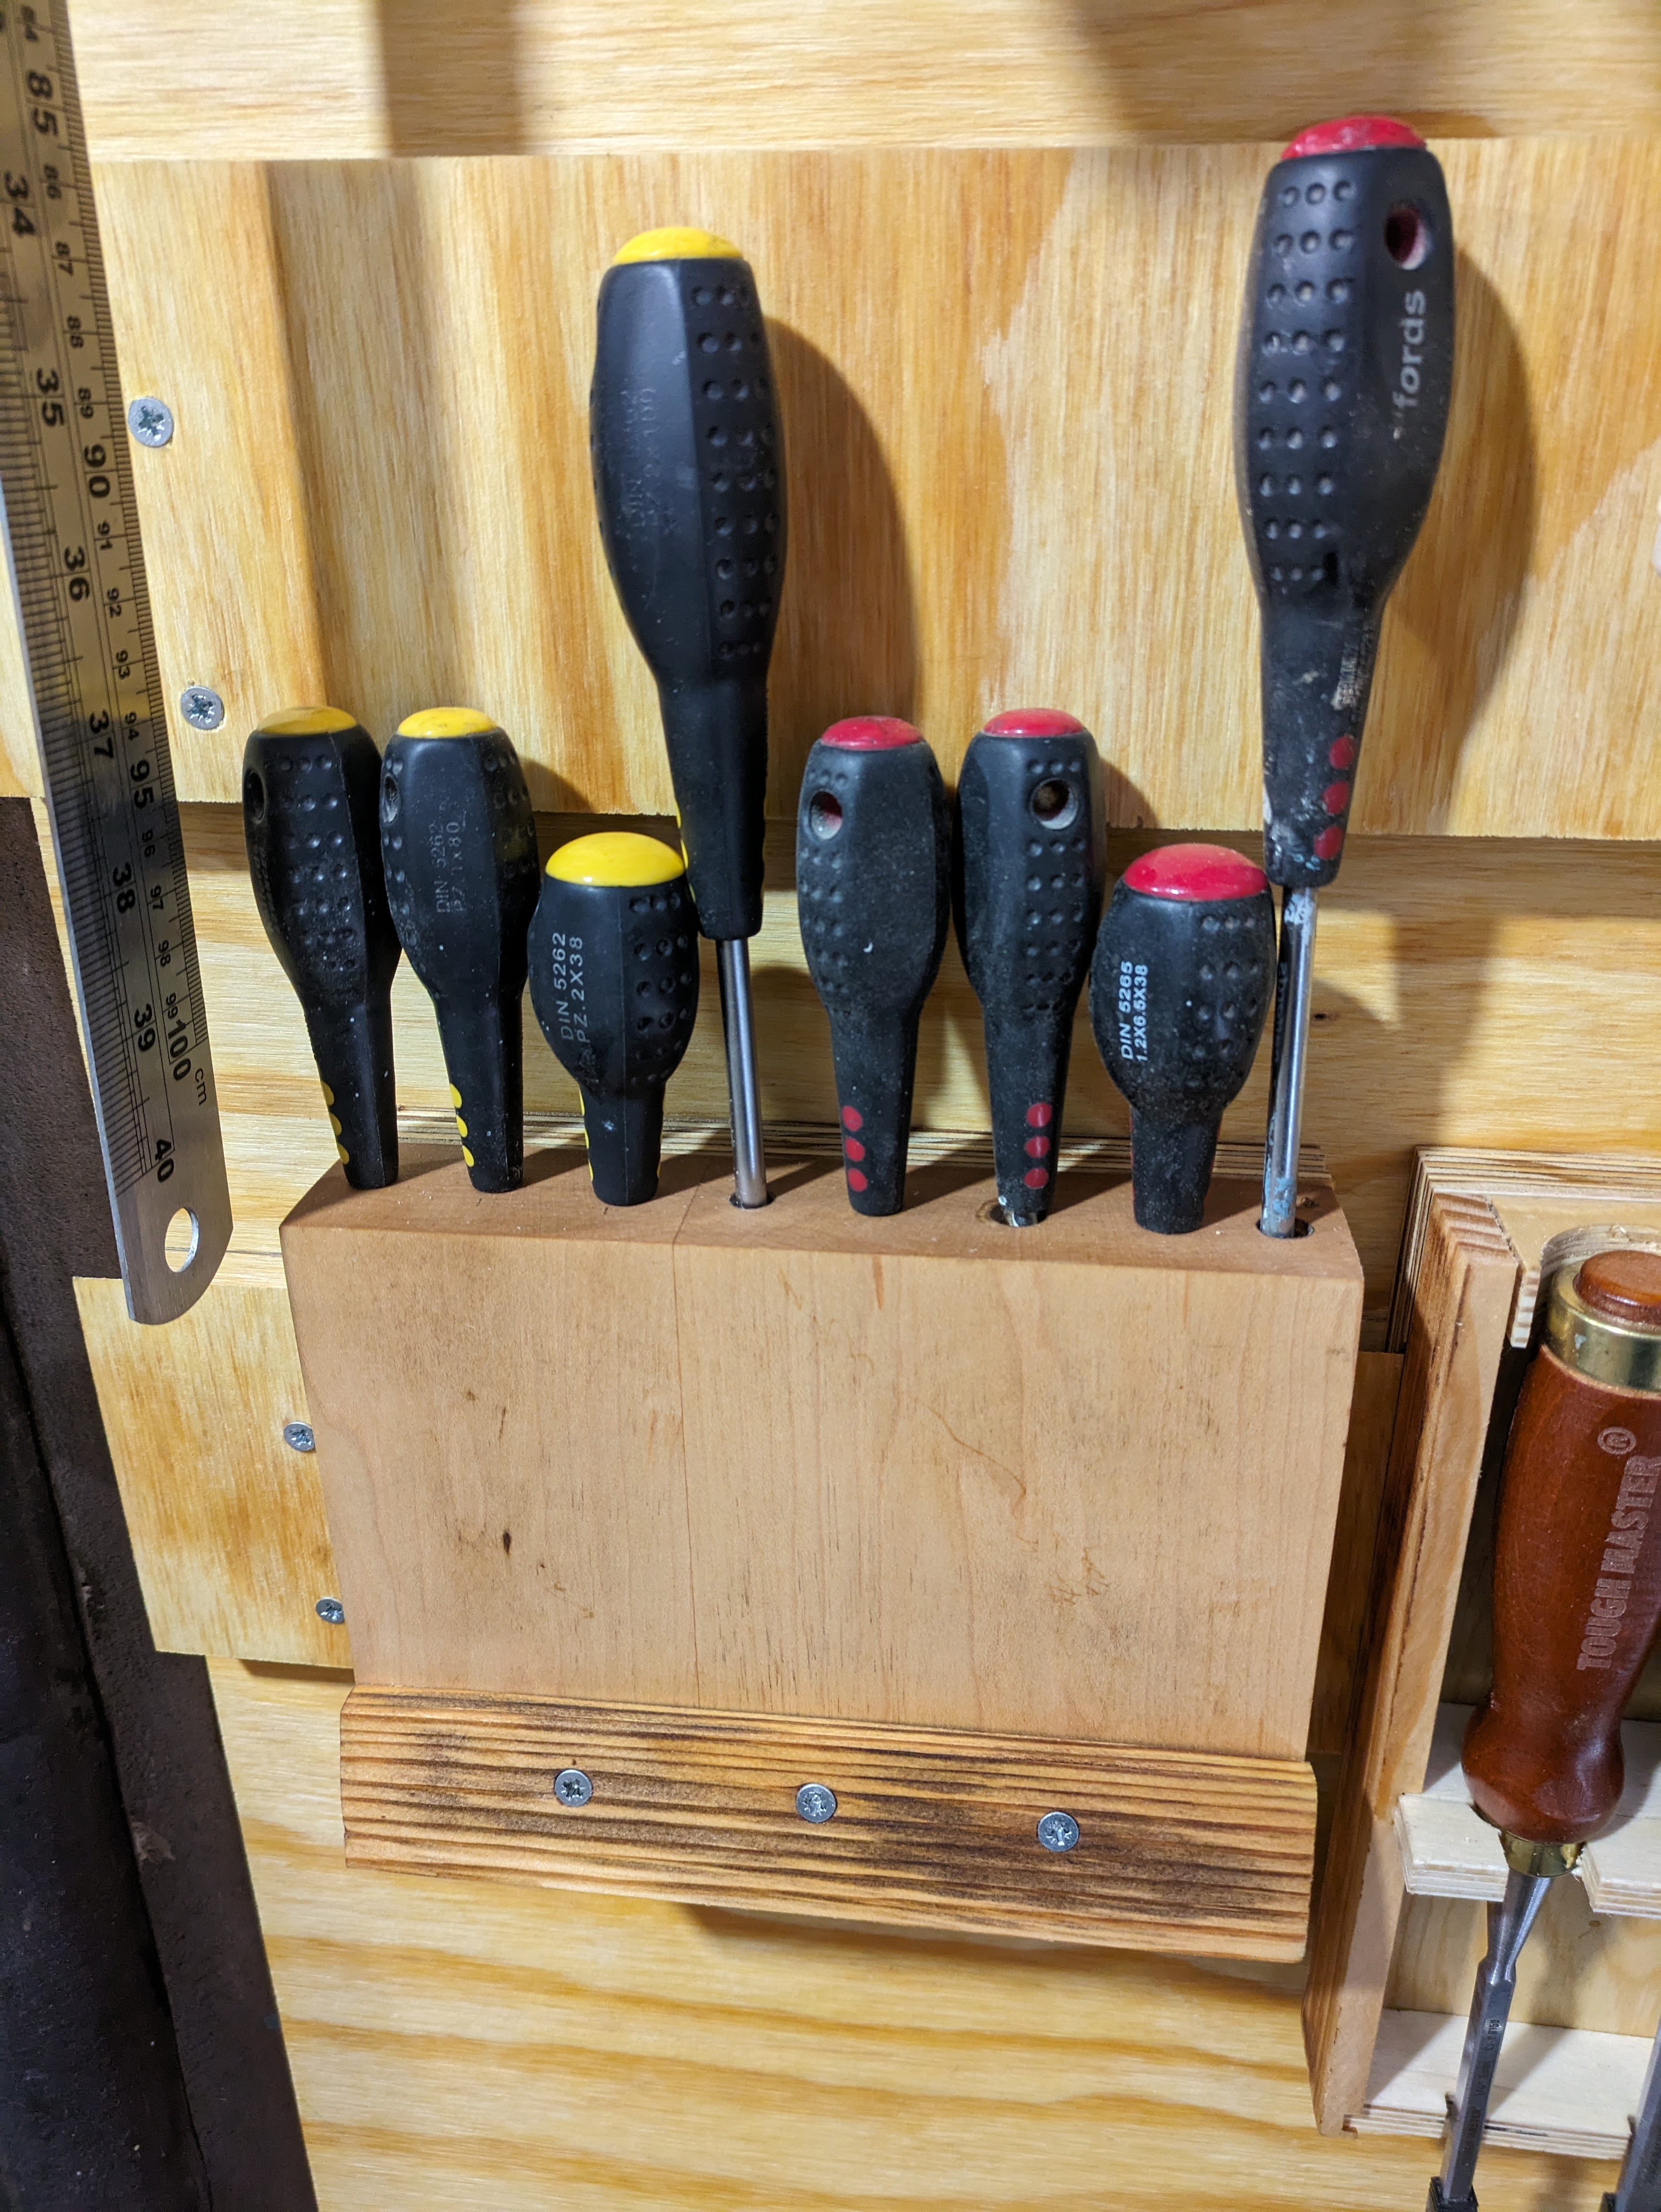
The next tool holders were made in fairly quick succession. I already had a screwdriver holder on the workbench so I slapped a 45 degree rail on the back and stuck it straight on the wall.
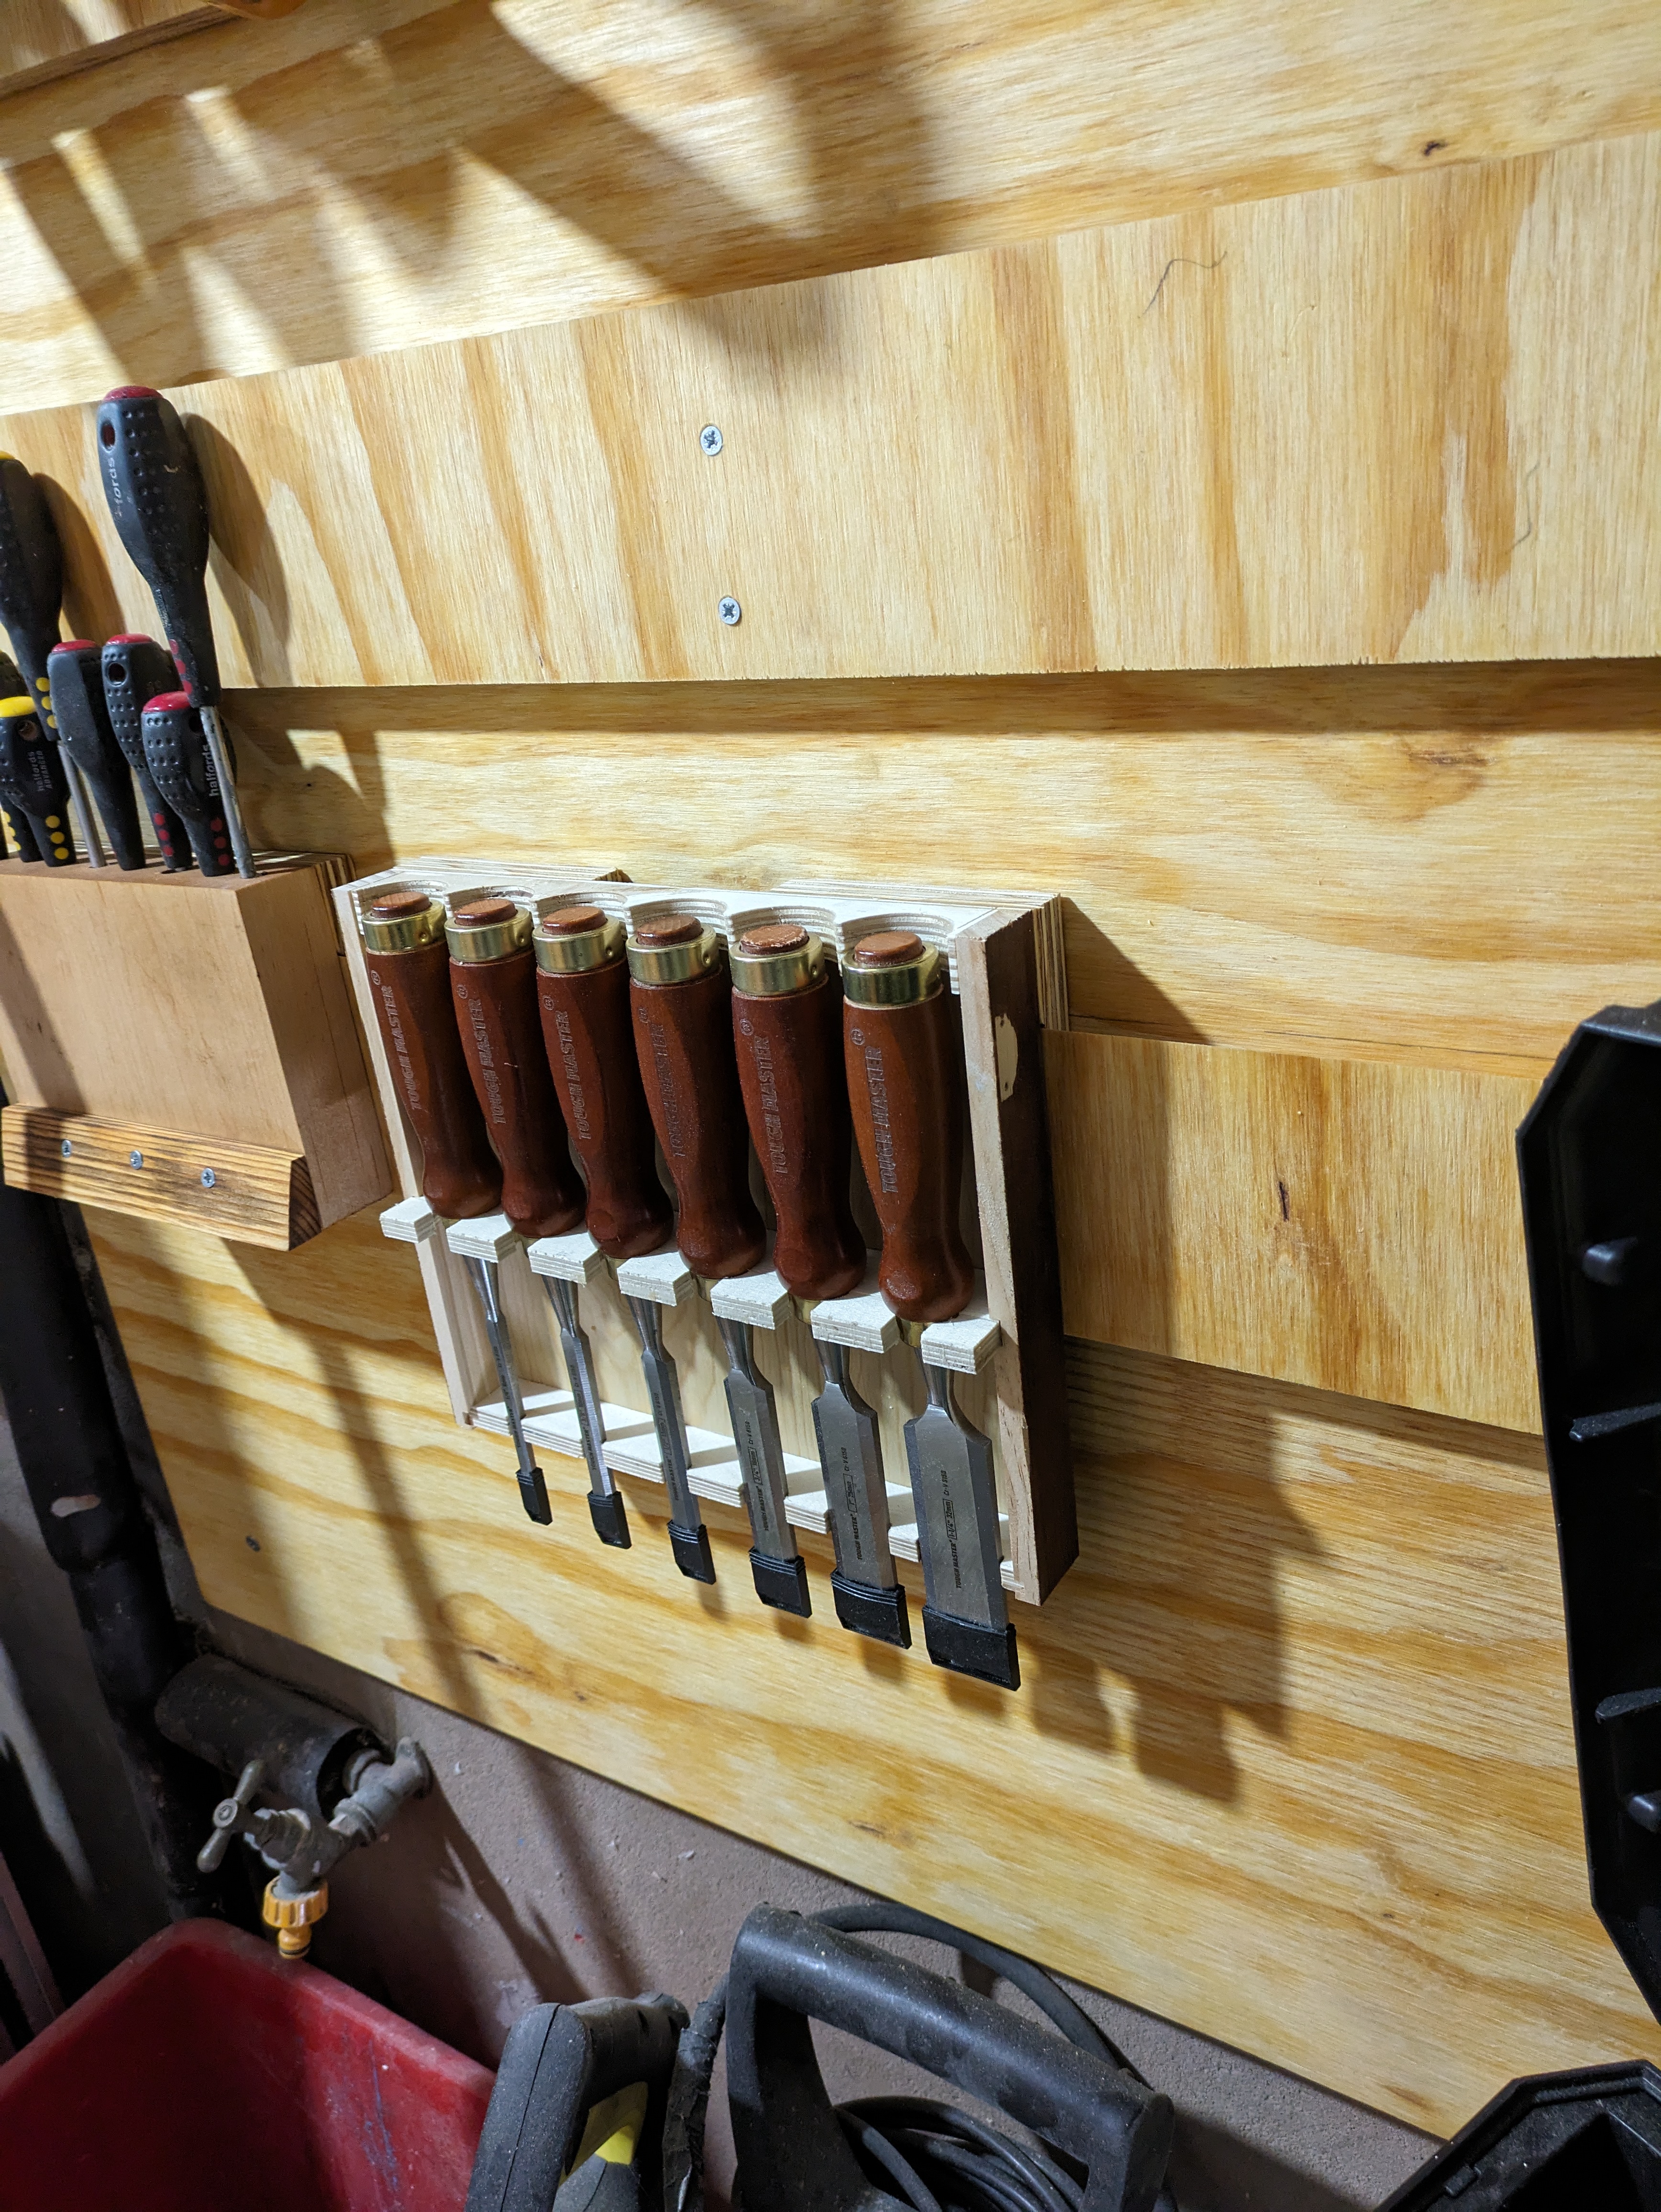
Then I used my chisel box to make a quick tool holder by taking the lid off and adding a collar to it to hold the chisels in place the slapping a 45 degree rail on the back.
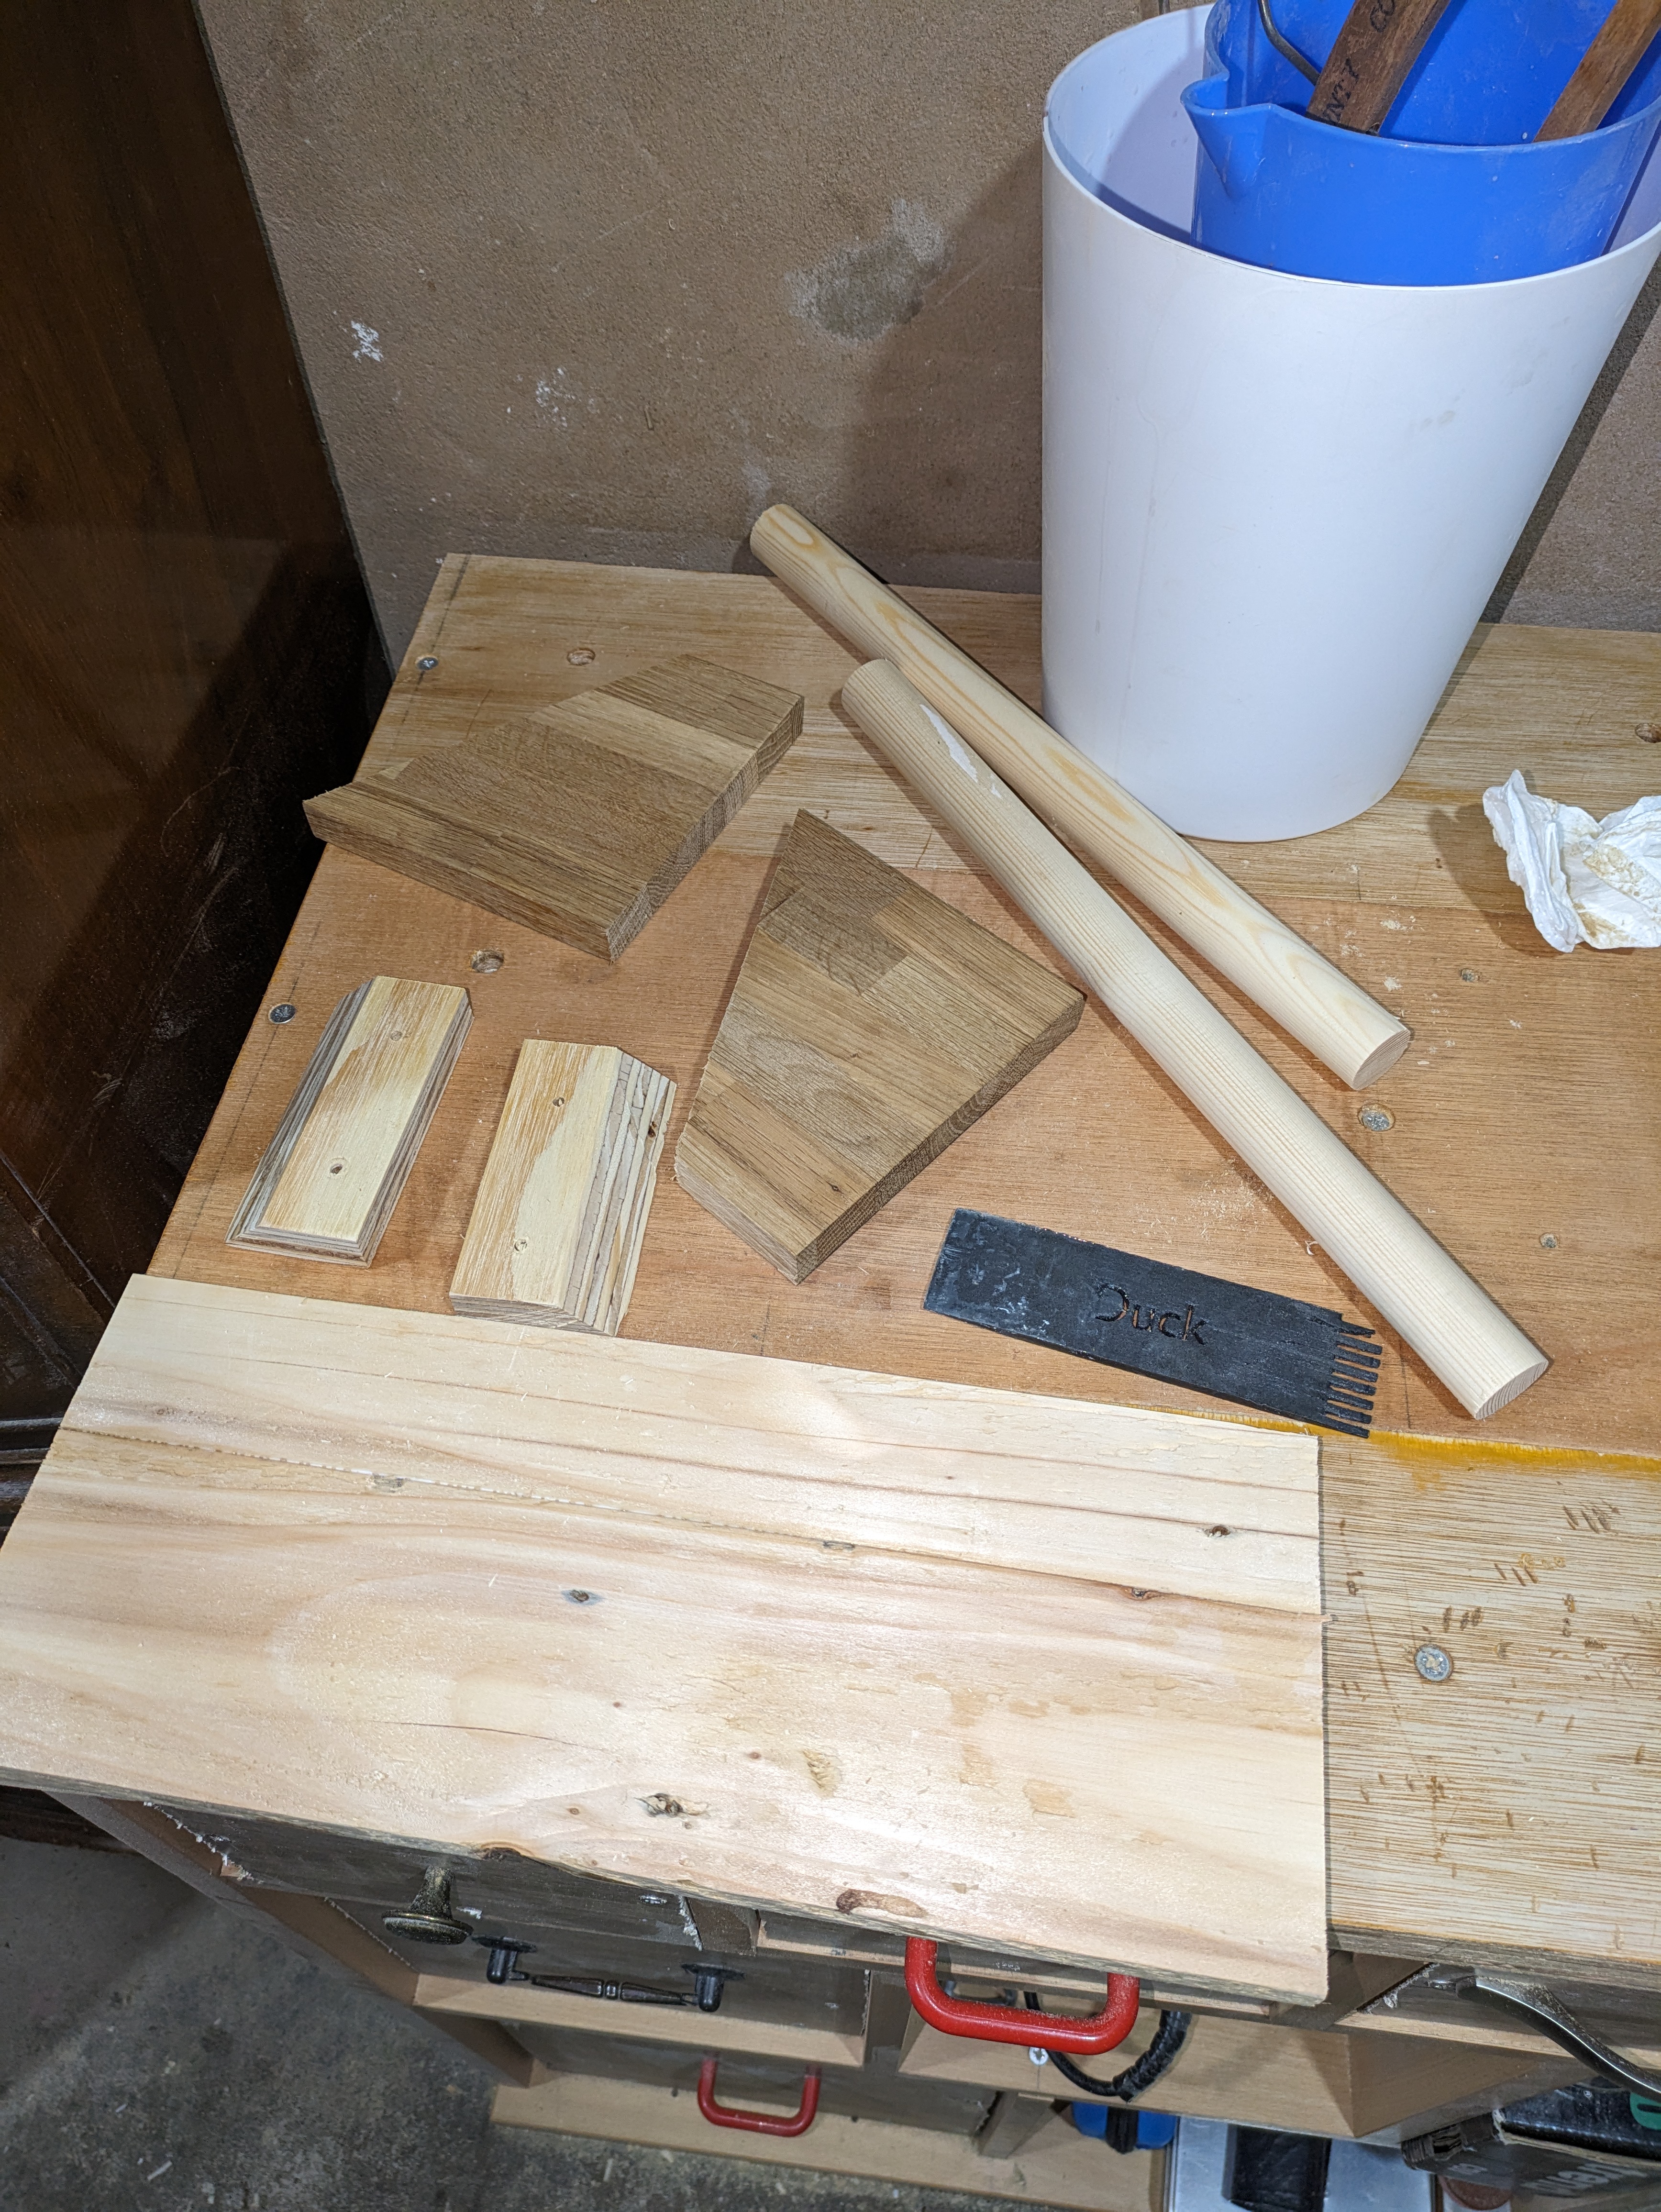
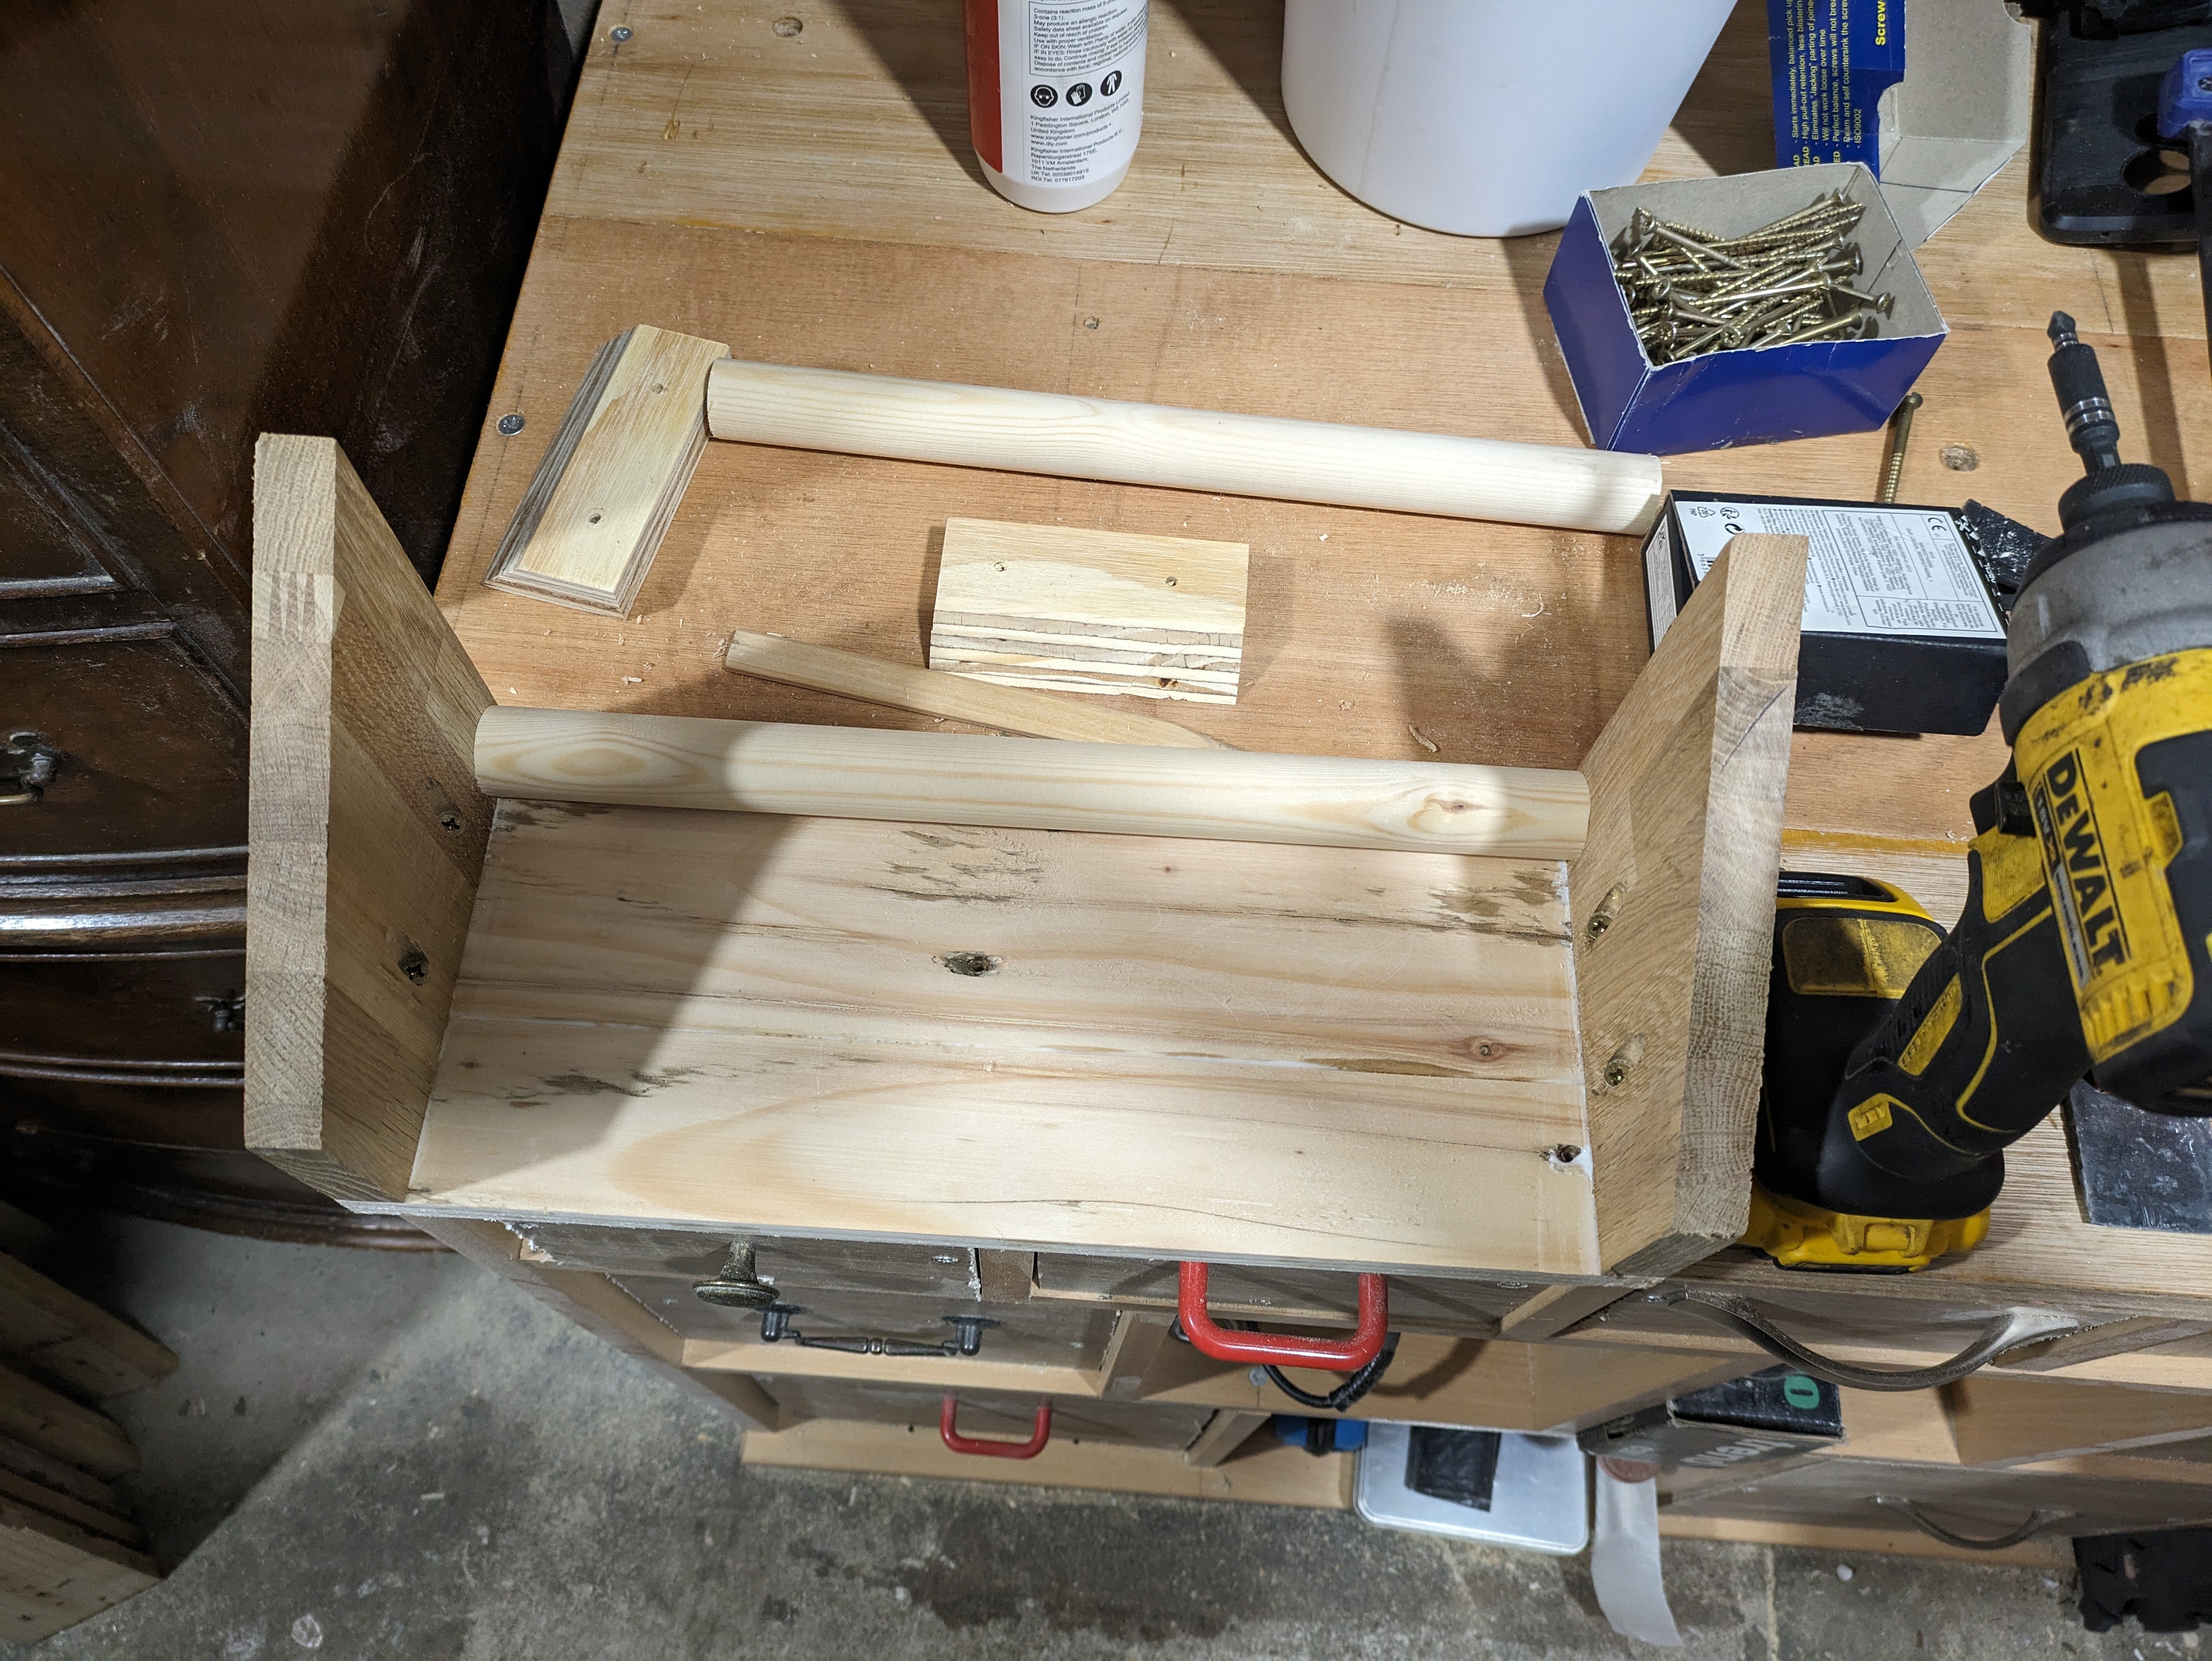
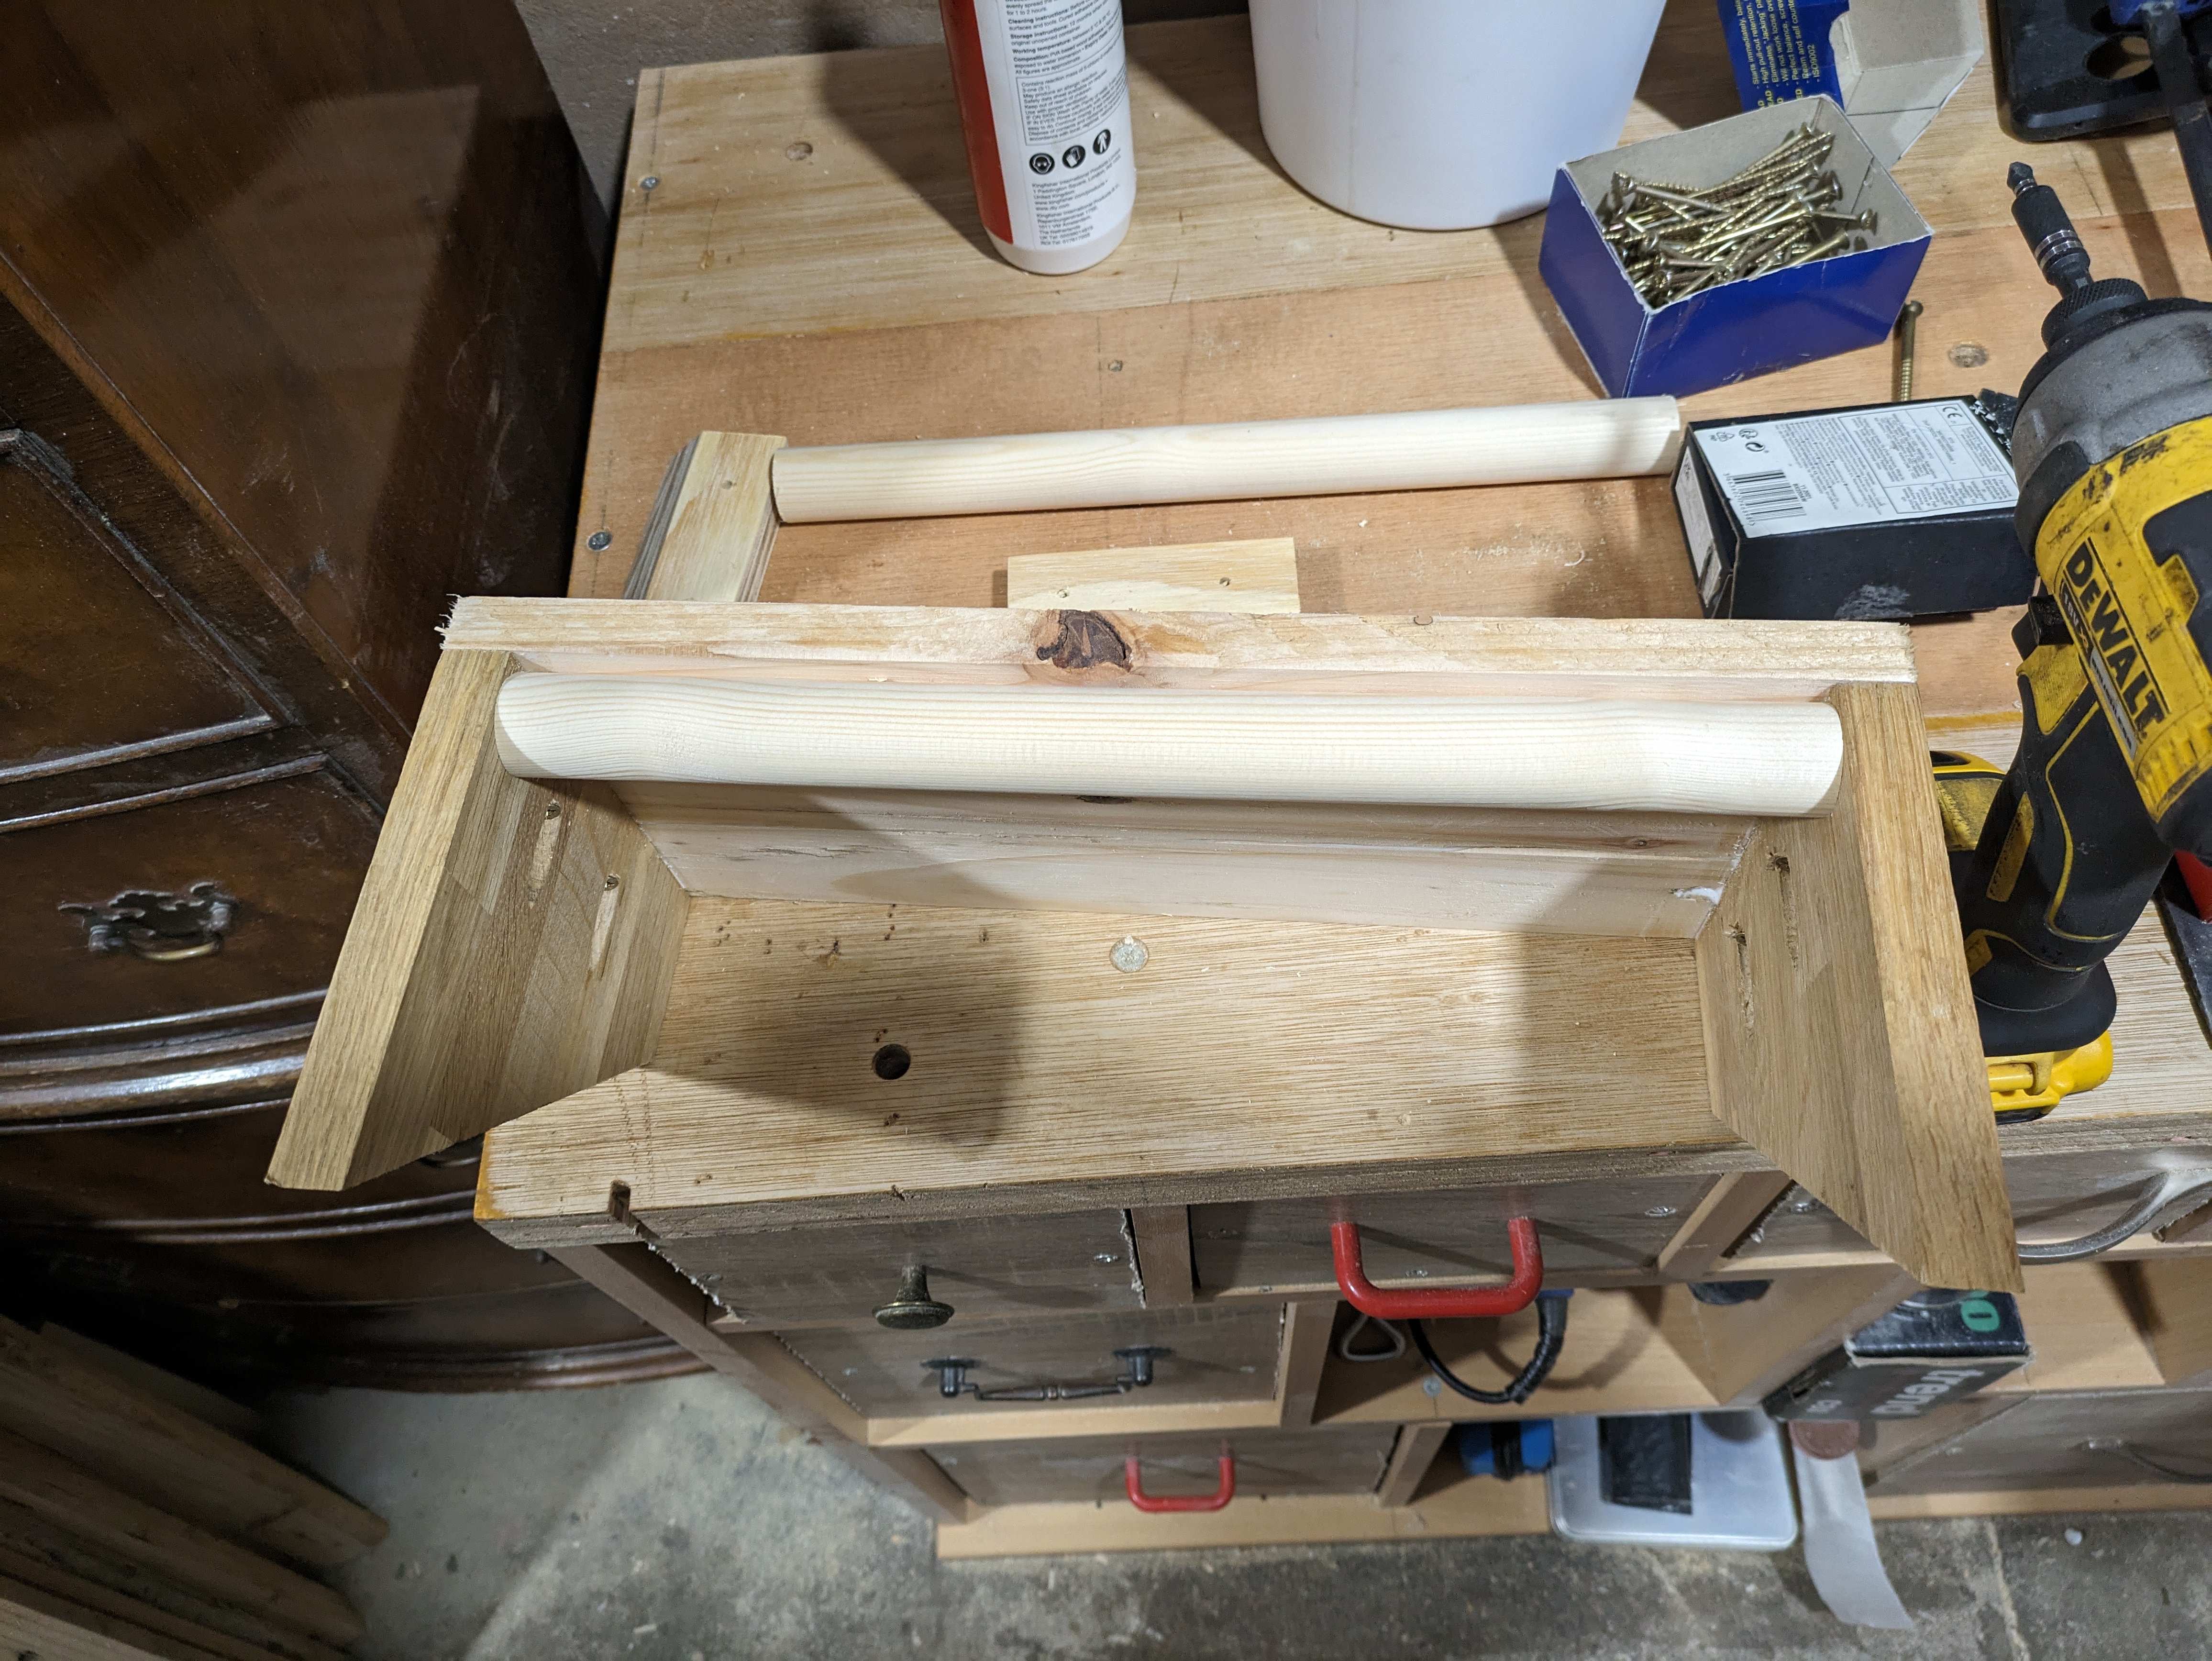
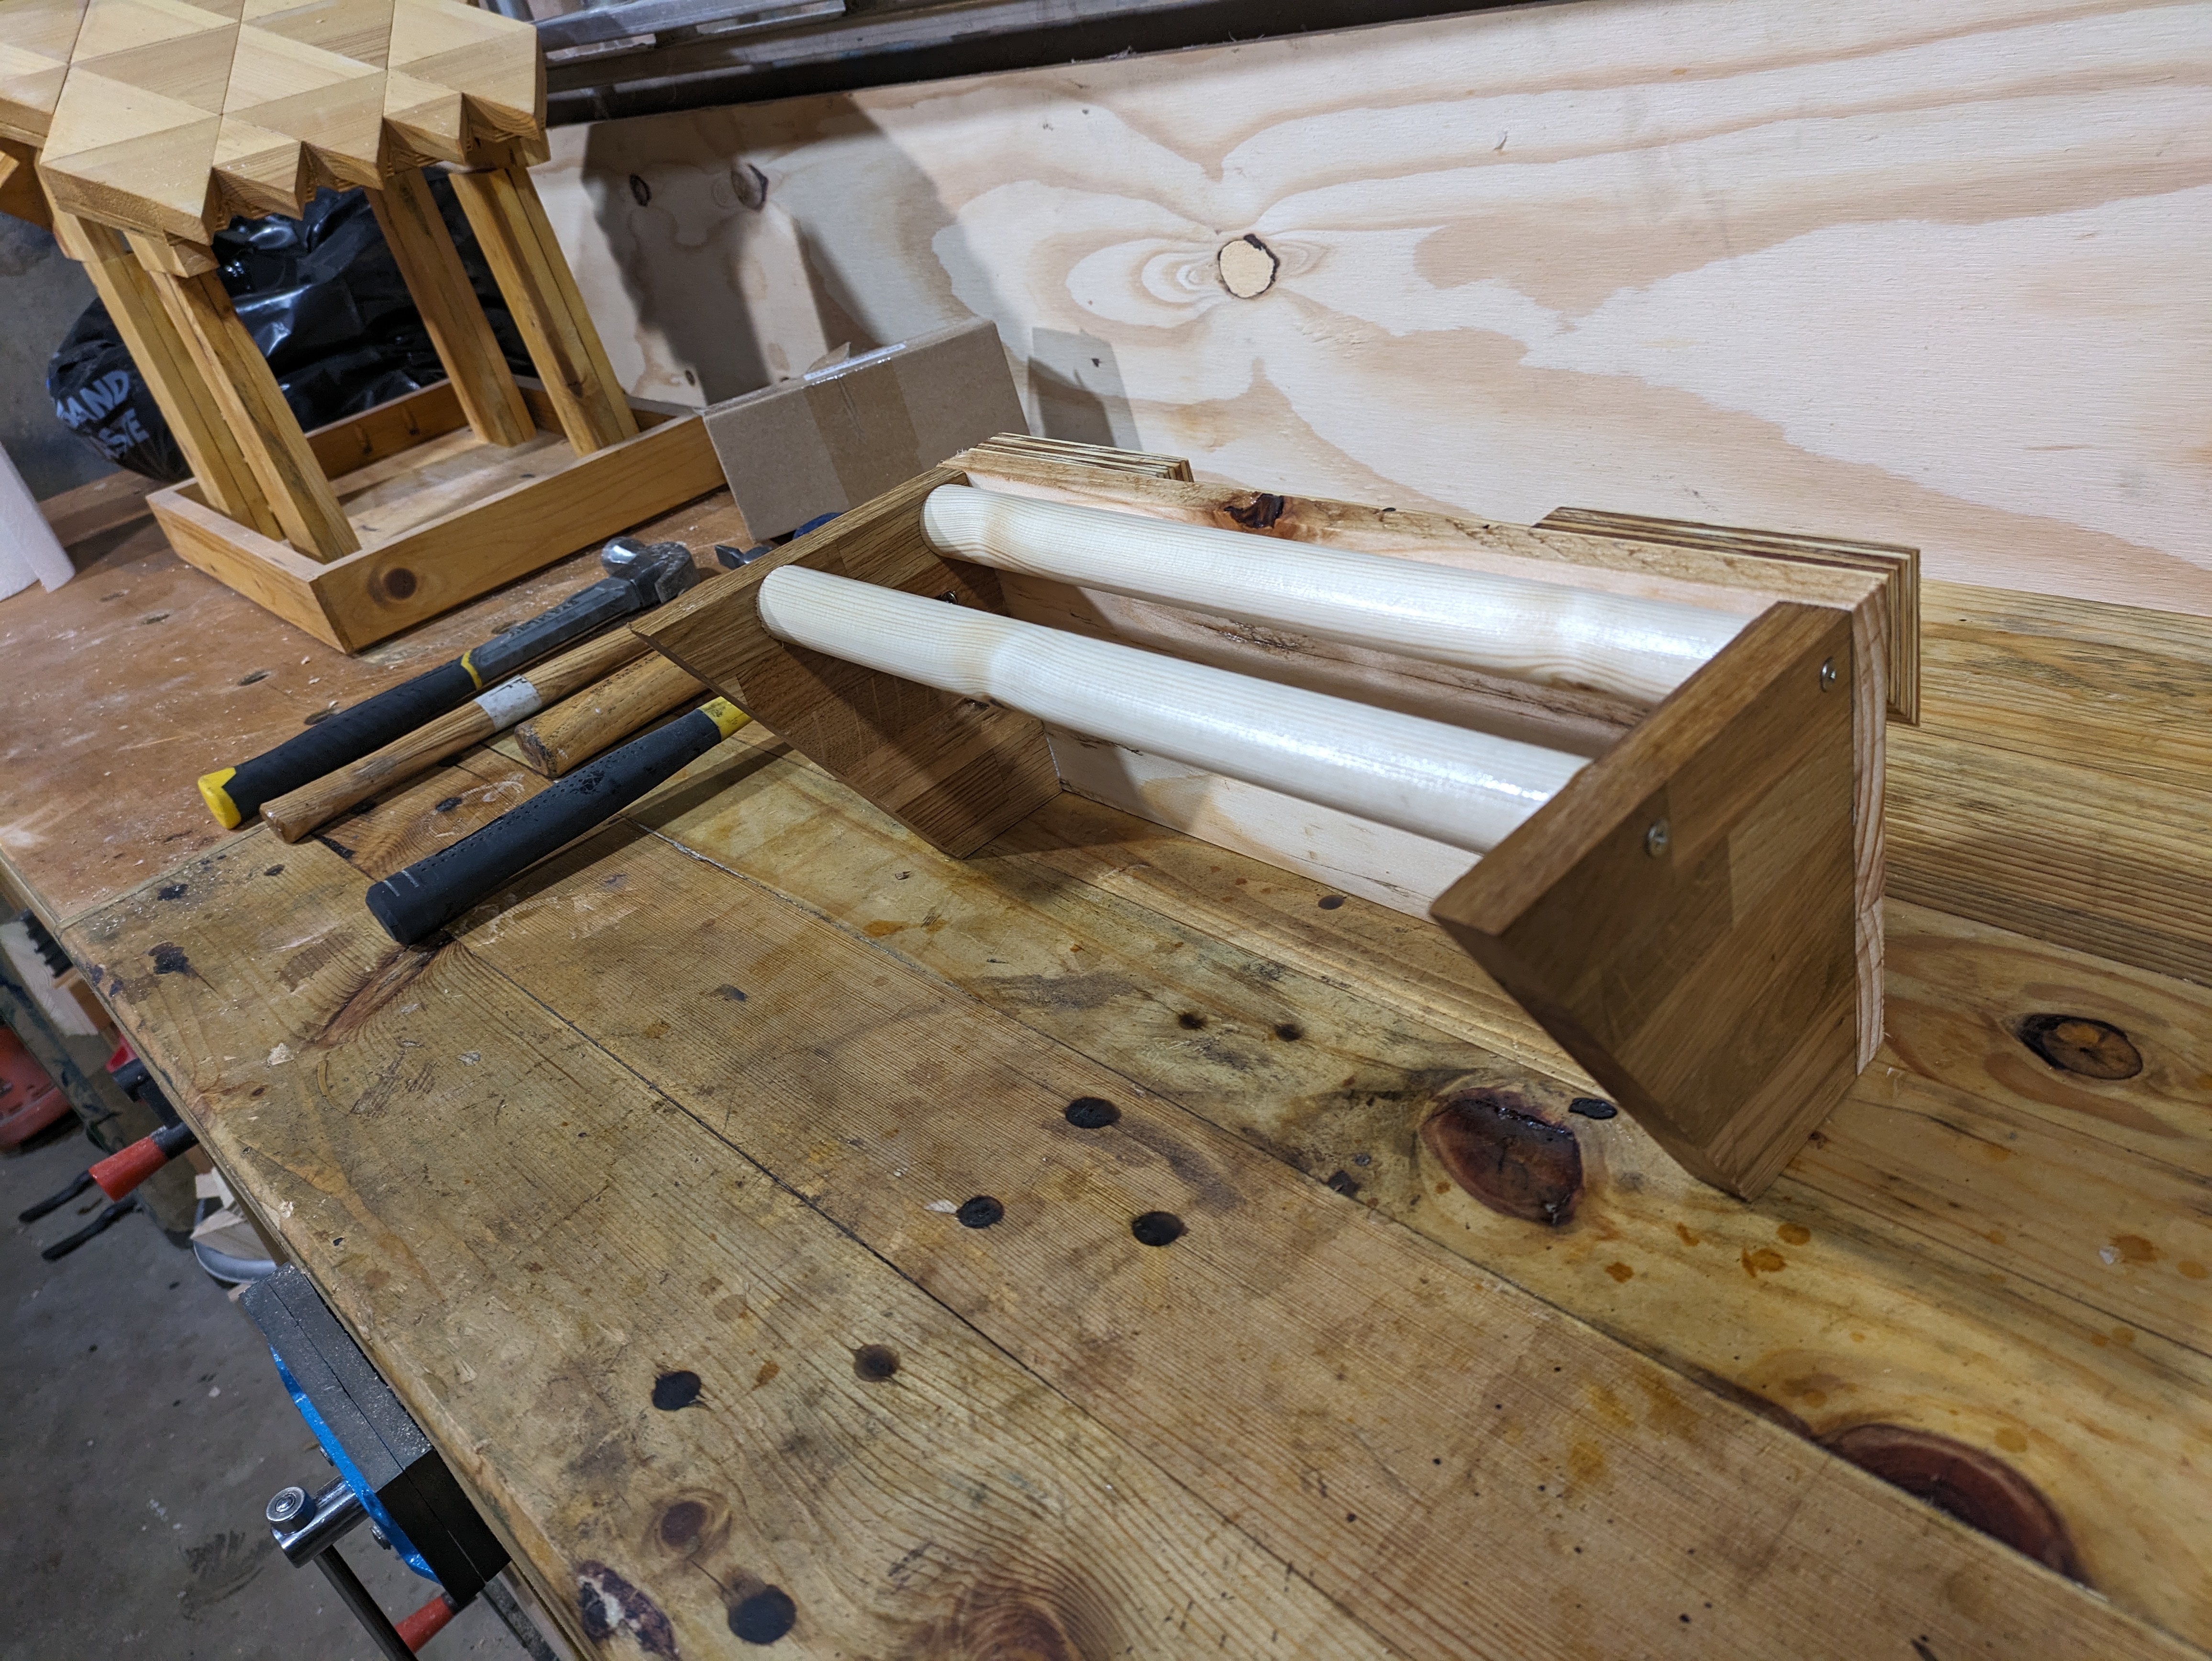
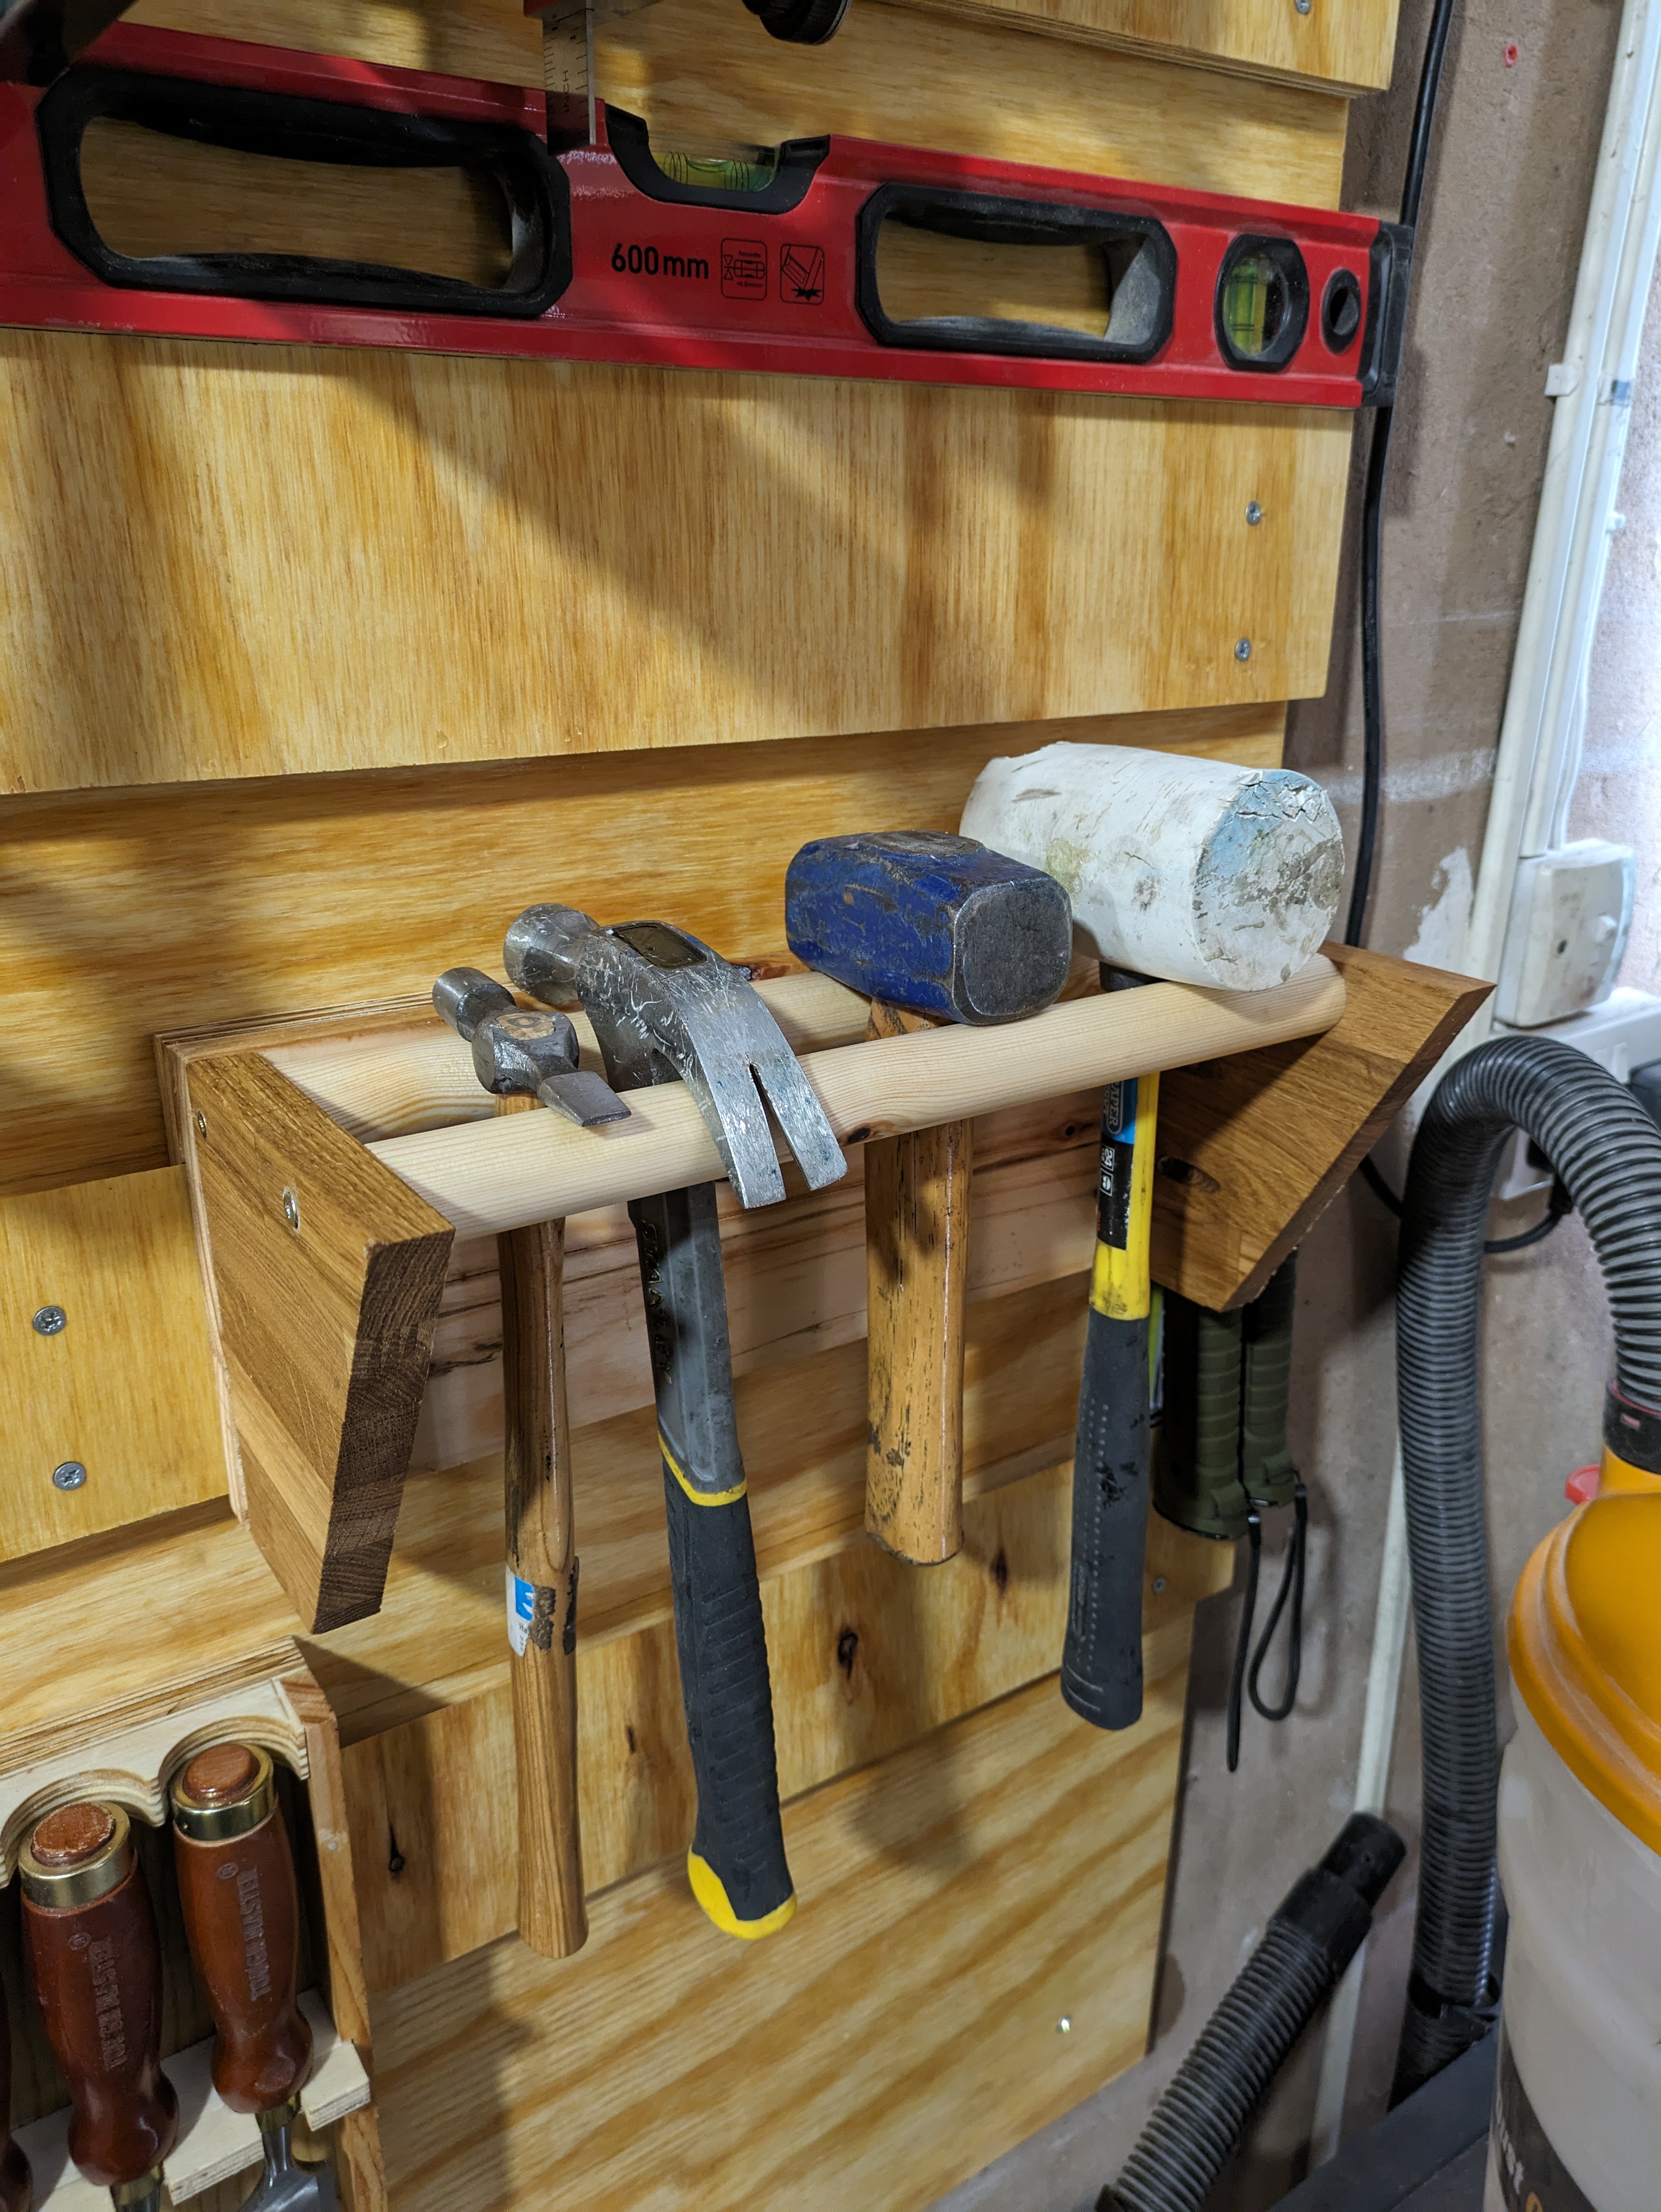
Lastly I made a hammer holder which was made from 3 different off-cuts from various projects. A simple holder with two uncut dowels screwed into an angled back plate. Then the hammer simply slot between the dowels.
All in all it was pretty fun project and it’s made the workshop an easier place to navigate and looks a little more workshopy! There still space for some other tools to go up on the wall and may replicate something similar this down the other end of the garage at some point.


Leave a comment